When the chart table is to far away
Aquabelle has quite a long companionway that before coming down in the boat proper. This means that it takes a couple of steps before reaching the chart table or other places where one might stow away charts, the ships log, mobile phones, cases for spectacles etc.
During the first season with the boat I quite quickly realised that the chart often ended up on the companionway engine hatch and the rest mixed in with the soft stow in the cockpit. This is less than ideal because the chart is stepped on and the other things mingle with halyards and other stuff coming down into the cockpit.
An idea was hatched to sew some kind of ditty-stow for the companion-way starboard side. The port side have some similar things planned, but nothing decided yet. In sweden we sometimes call these ditty-stows for mums or dads, because they keep track of your things for you.
The plan was to be able to quickly stow away the chart in a place that is accessible and yet out of the way, get the log protected and accessible and maybe to store some phones, harbour access cards, pens and maybe some other stuff.
Around here we have some very practical A3 charts put together in booklets, which are handy when navigating in the archipelago. When larger charts are required, normally the boat would be further out to sea and the focus would shift from navigating in the lap to having to have a table anyway. The planned pocket was going to accommodate a full size swedish chart folded twice in any case.
I ordered some Sunbrella cover fabric in the colour marble, which kind of looks like linen, some edging in a darker charcoal colour and a lot of velcro. The ditty stow is going to be fastened in the companionway with velcro glued to the bulkhead.
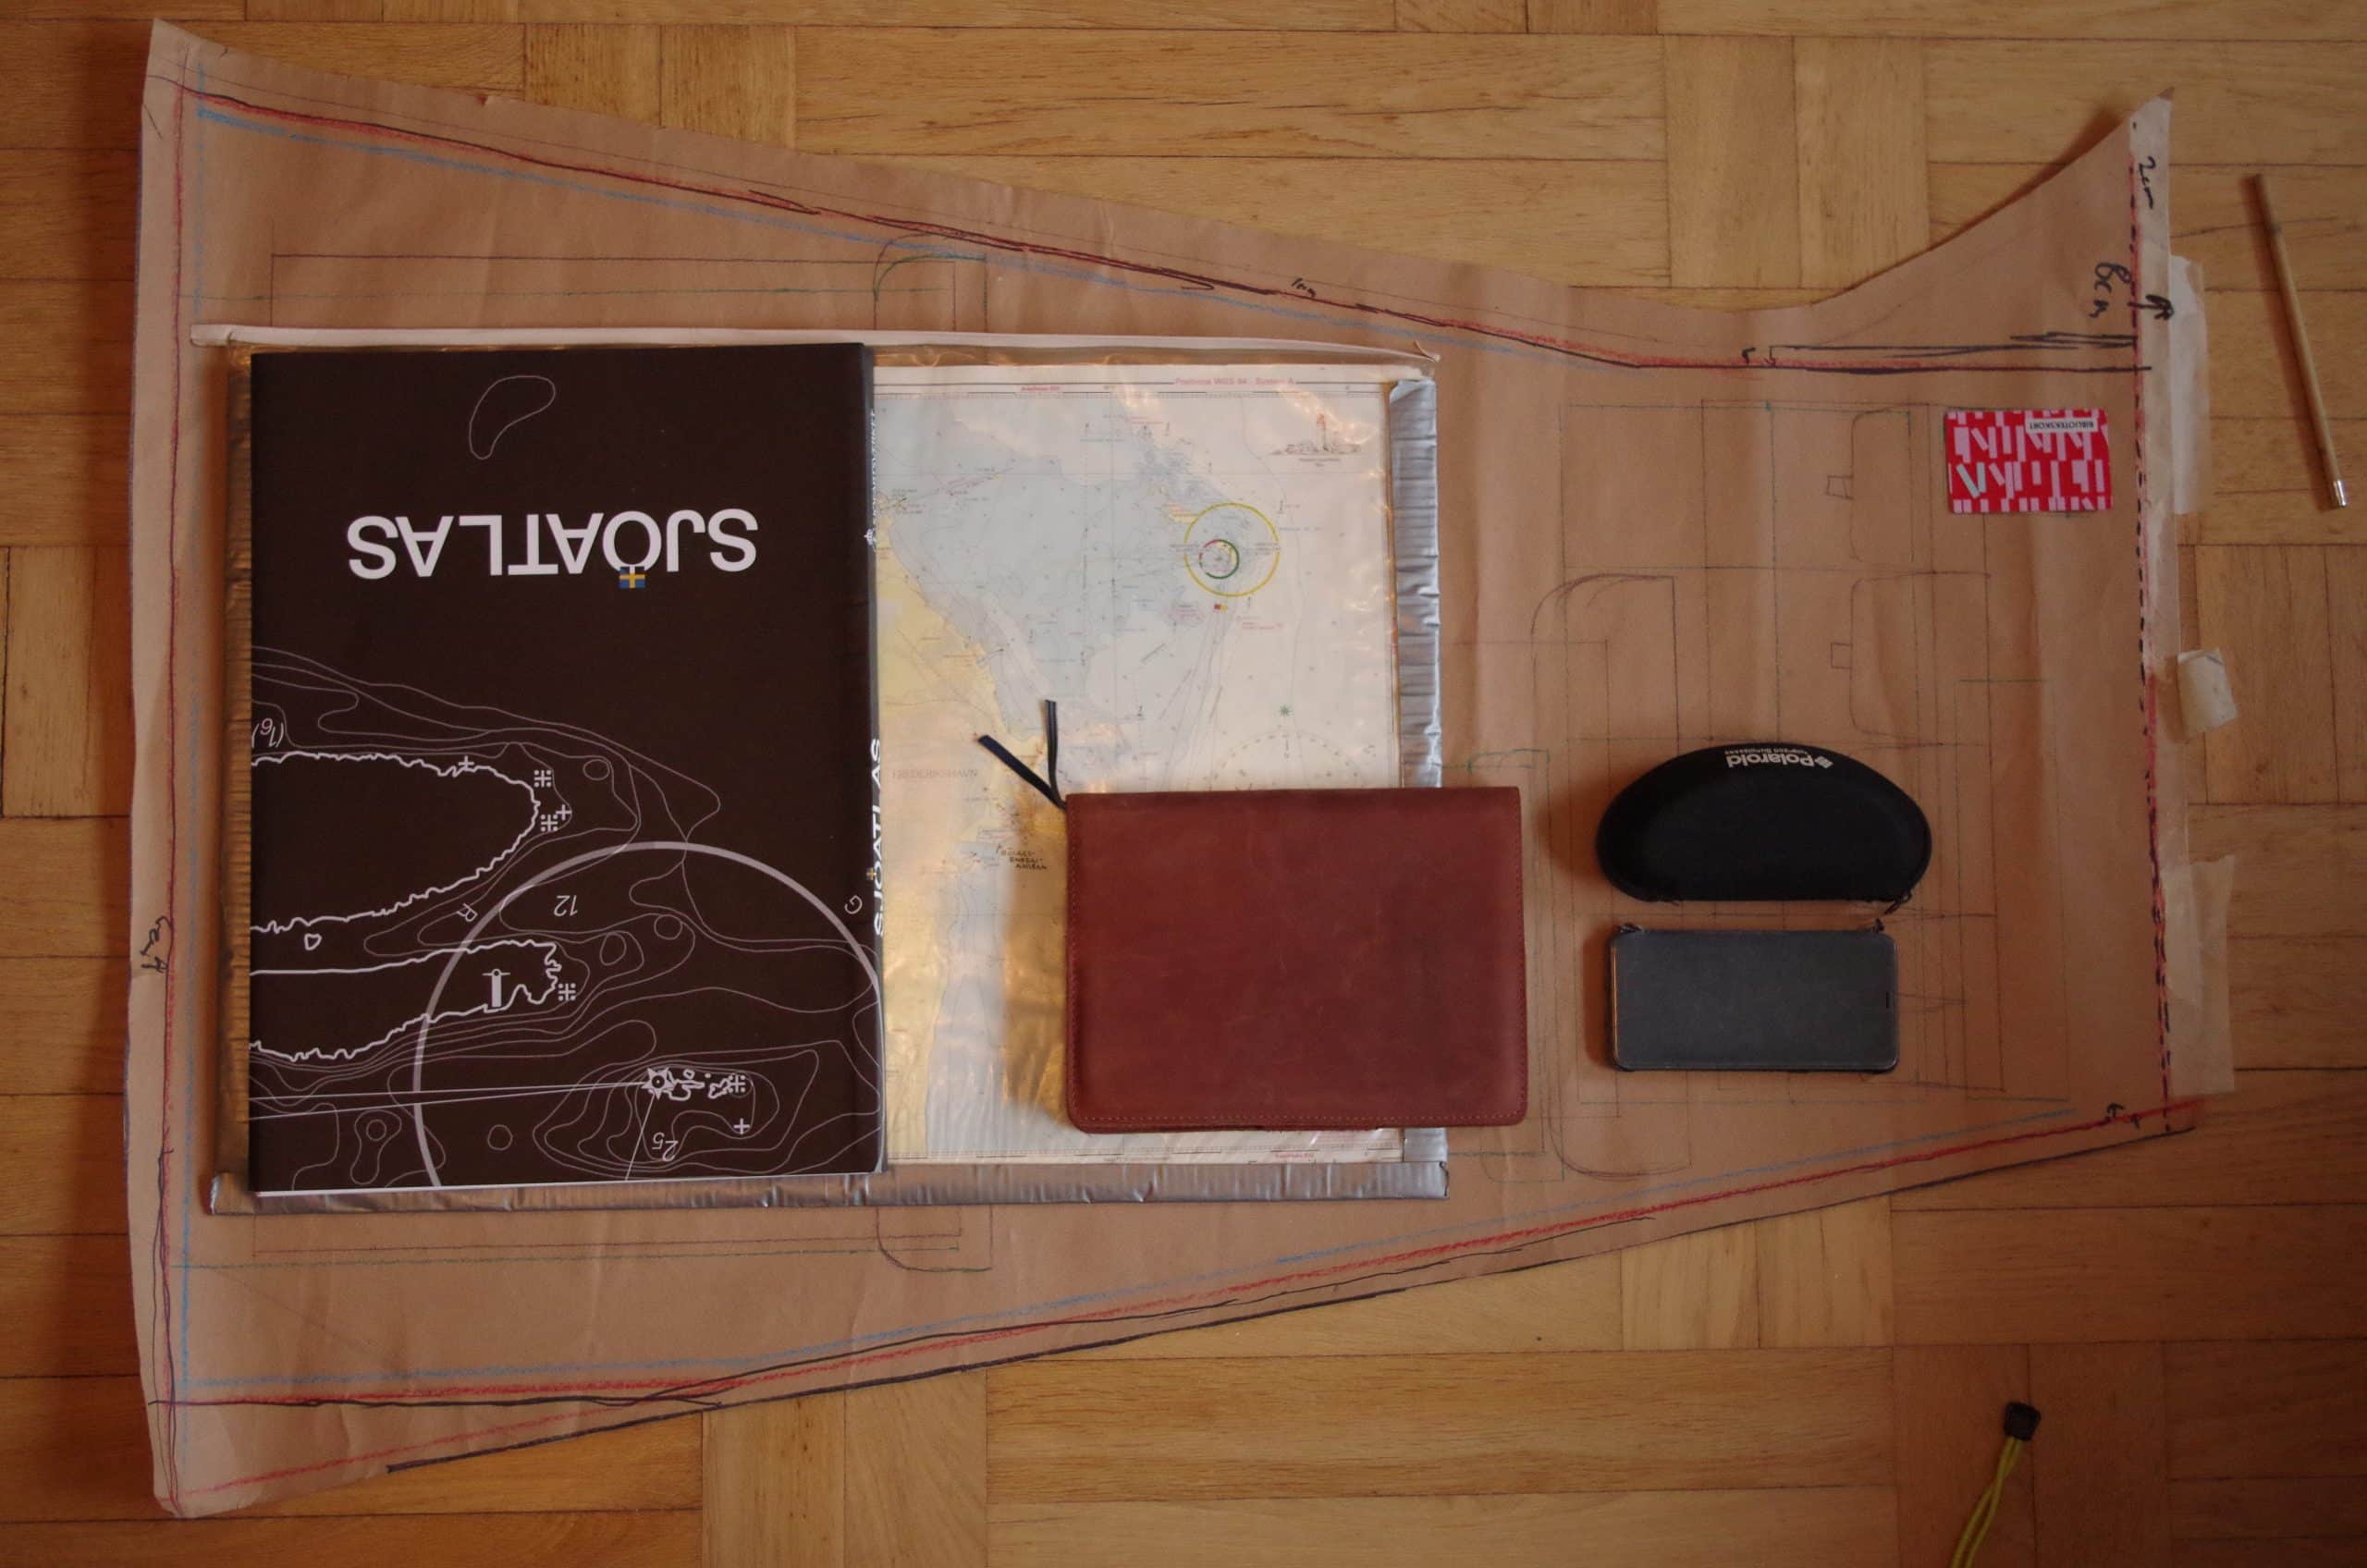
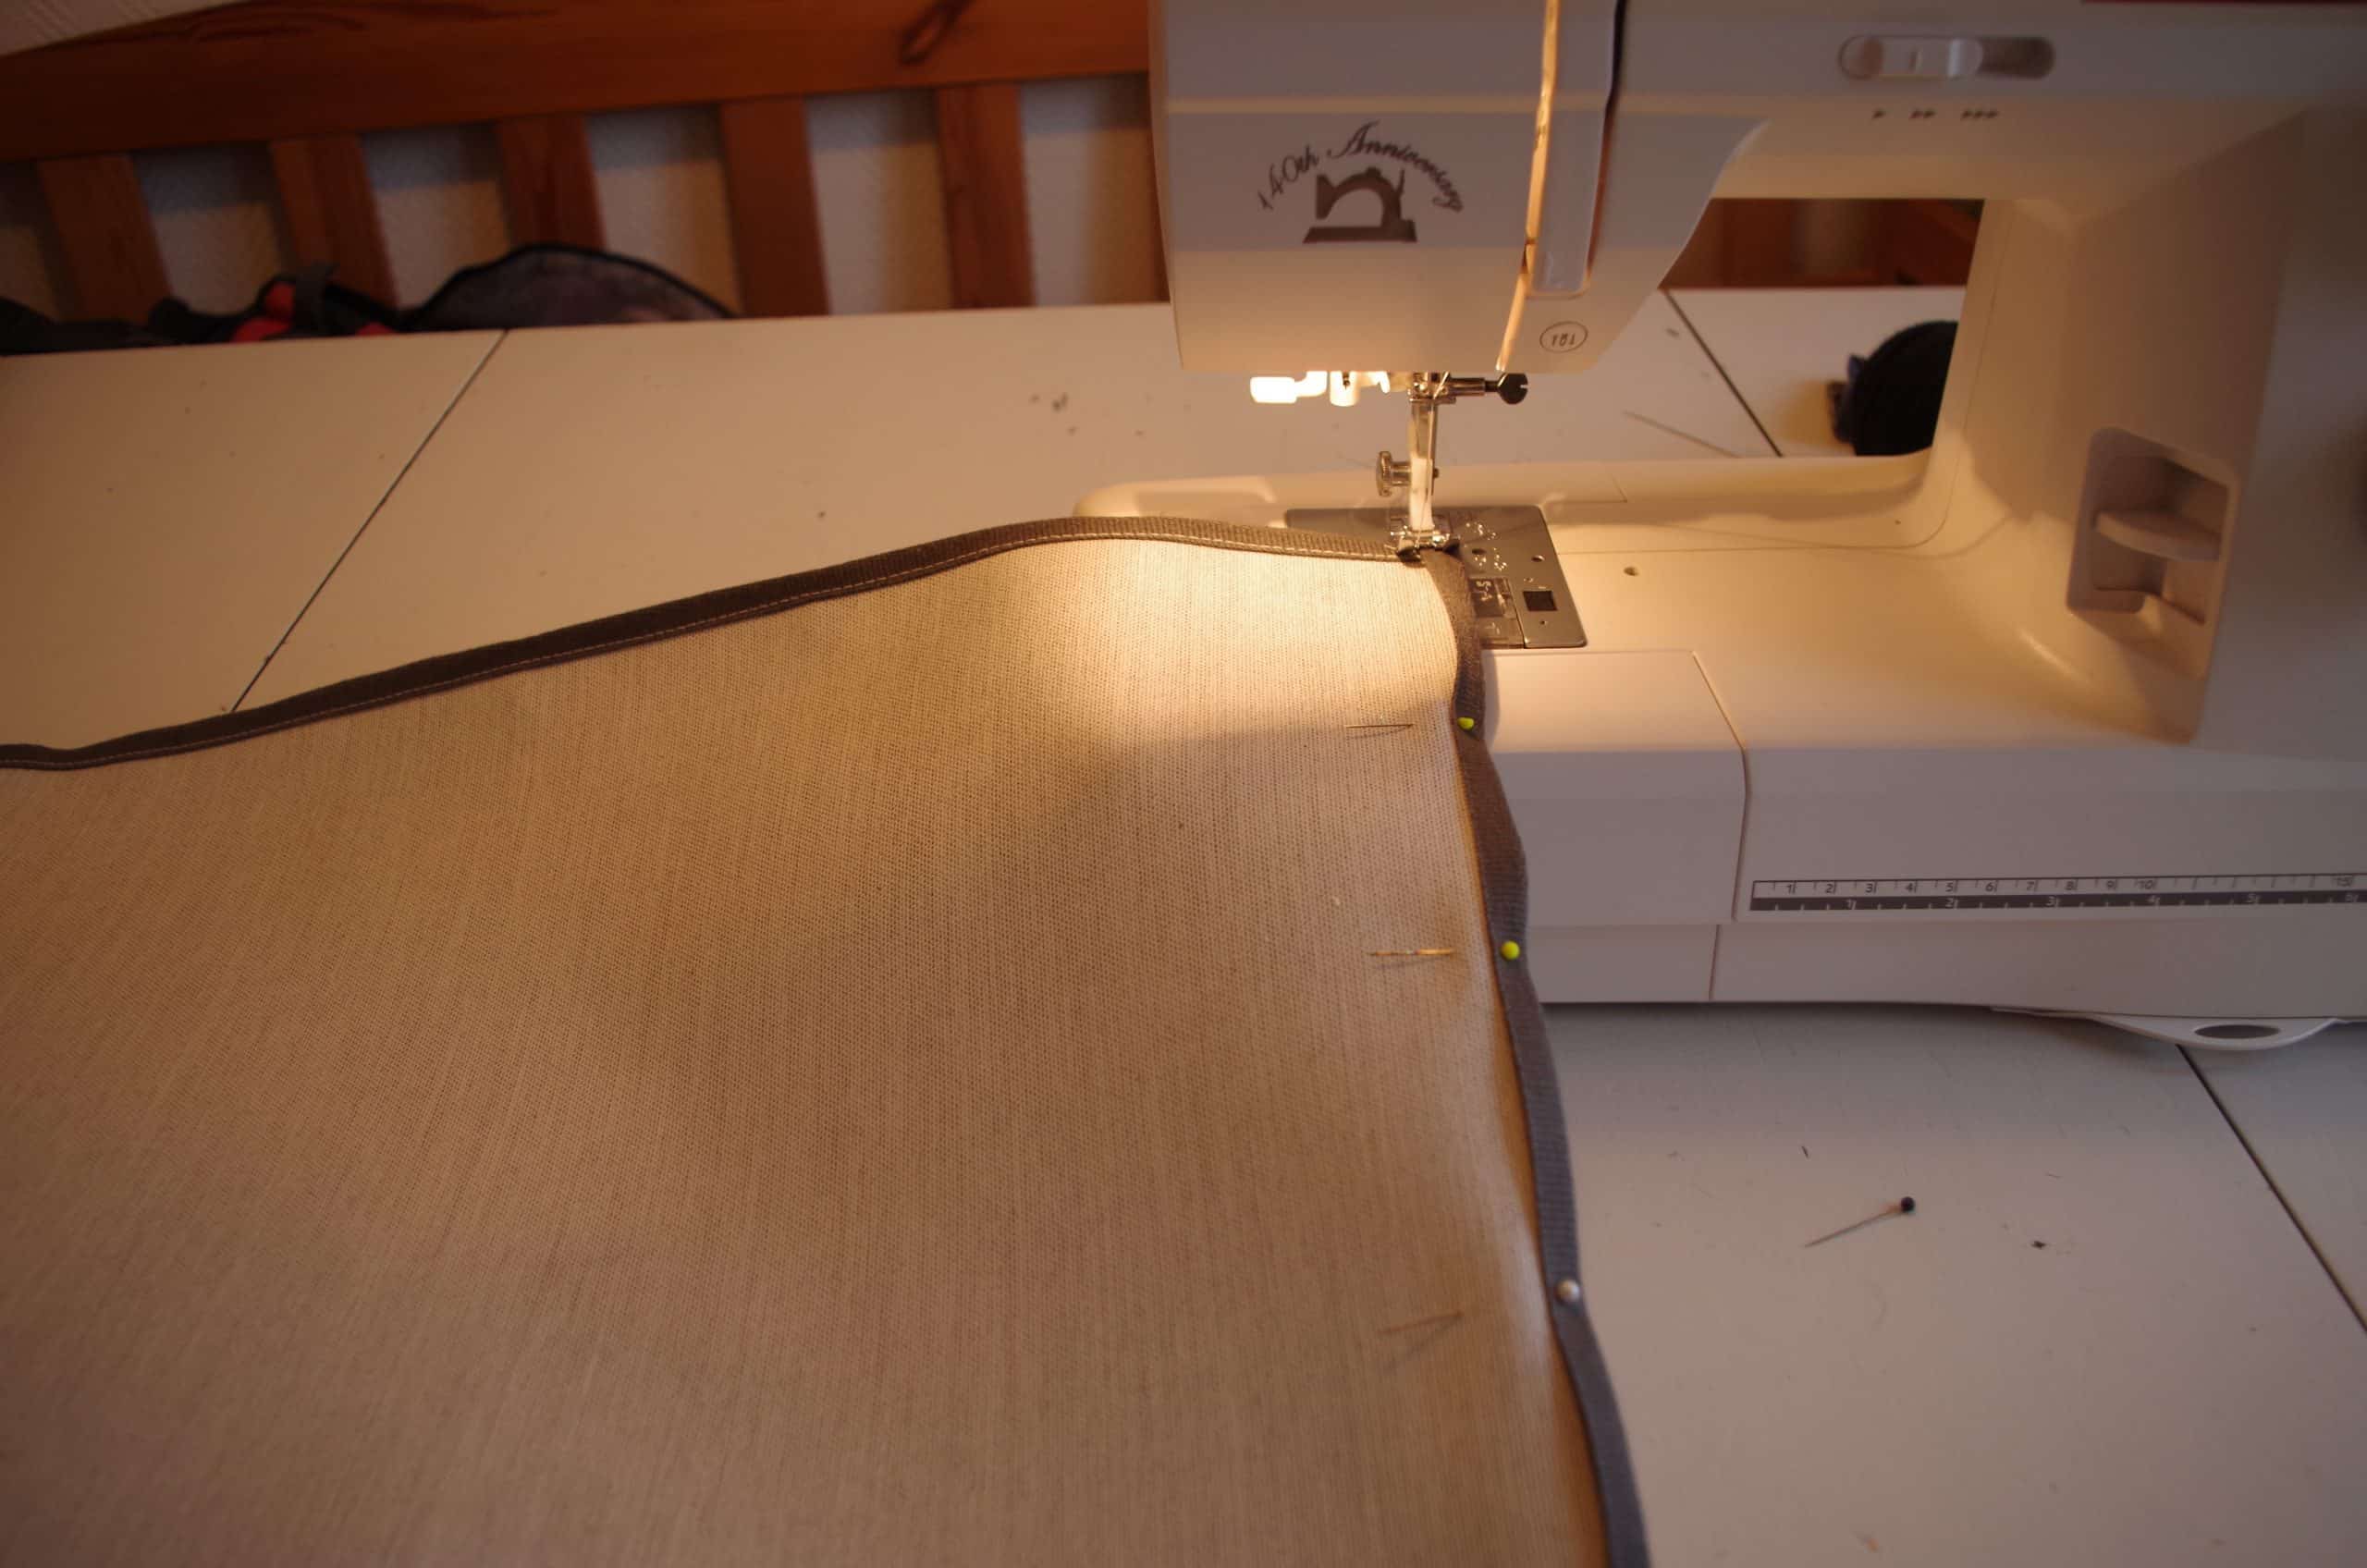
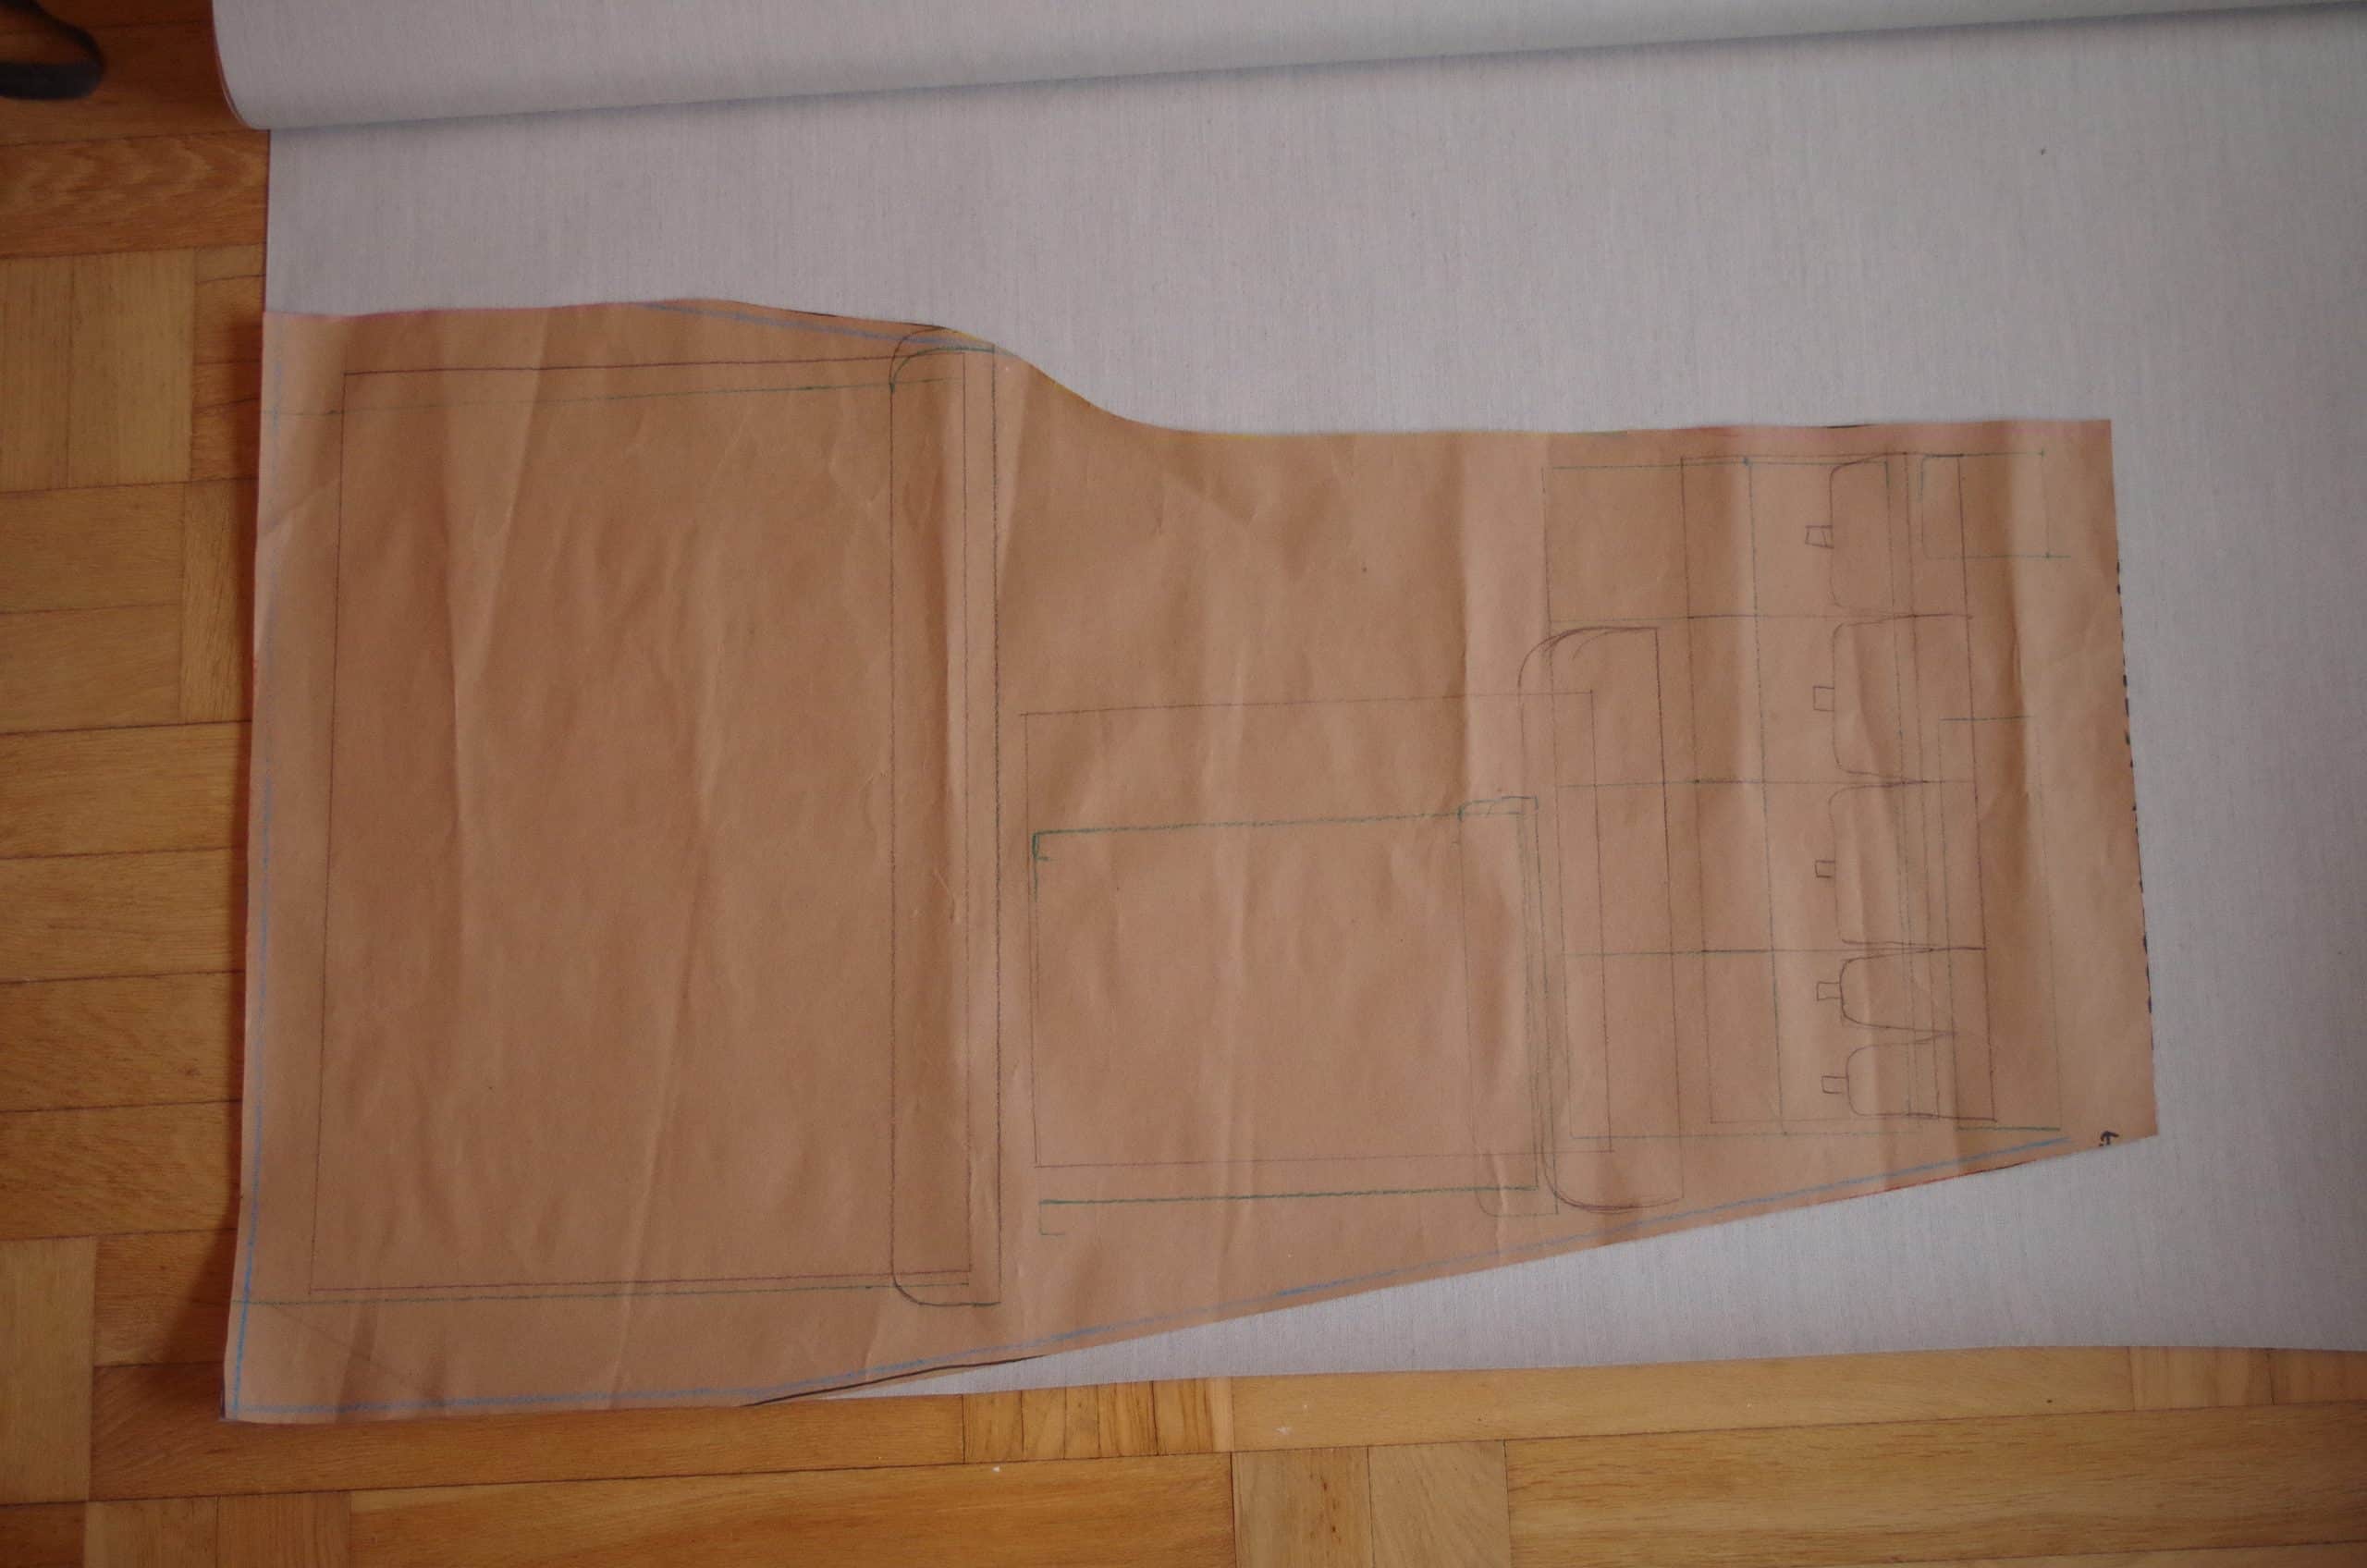
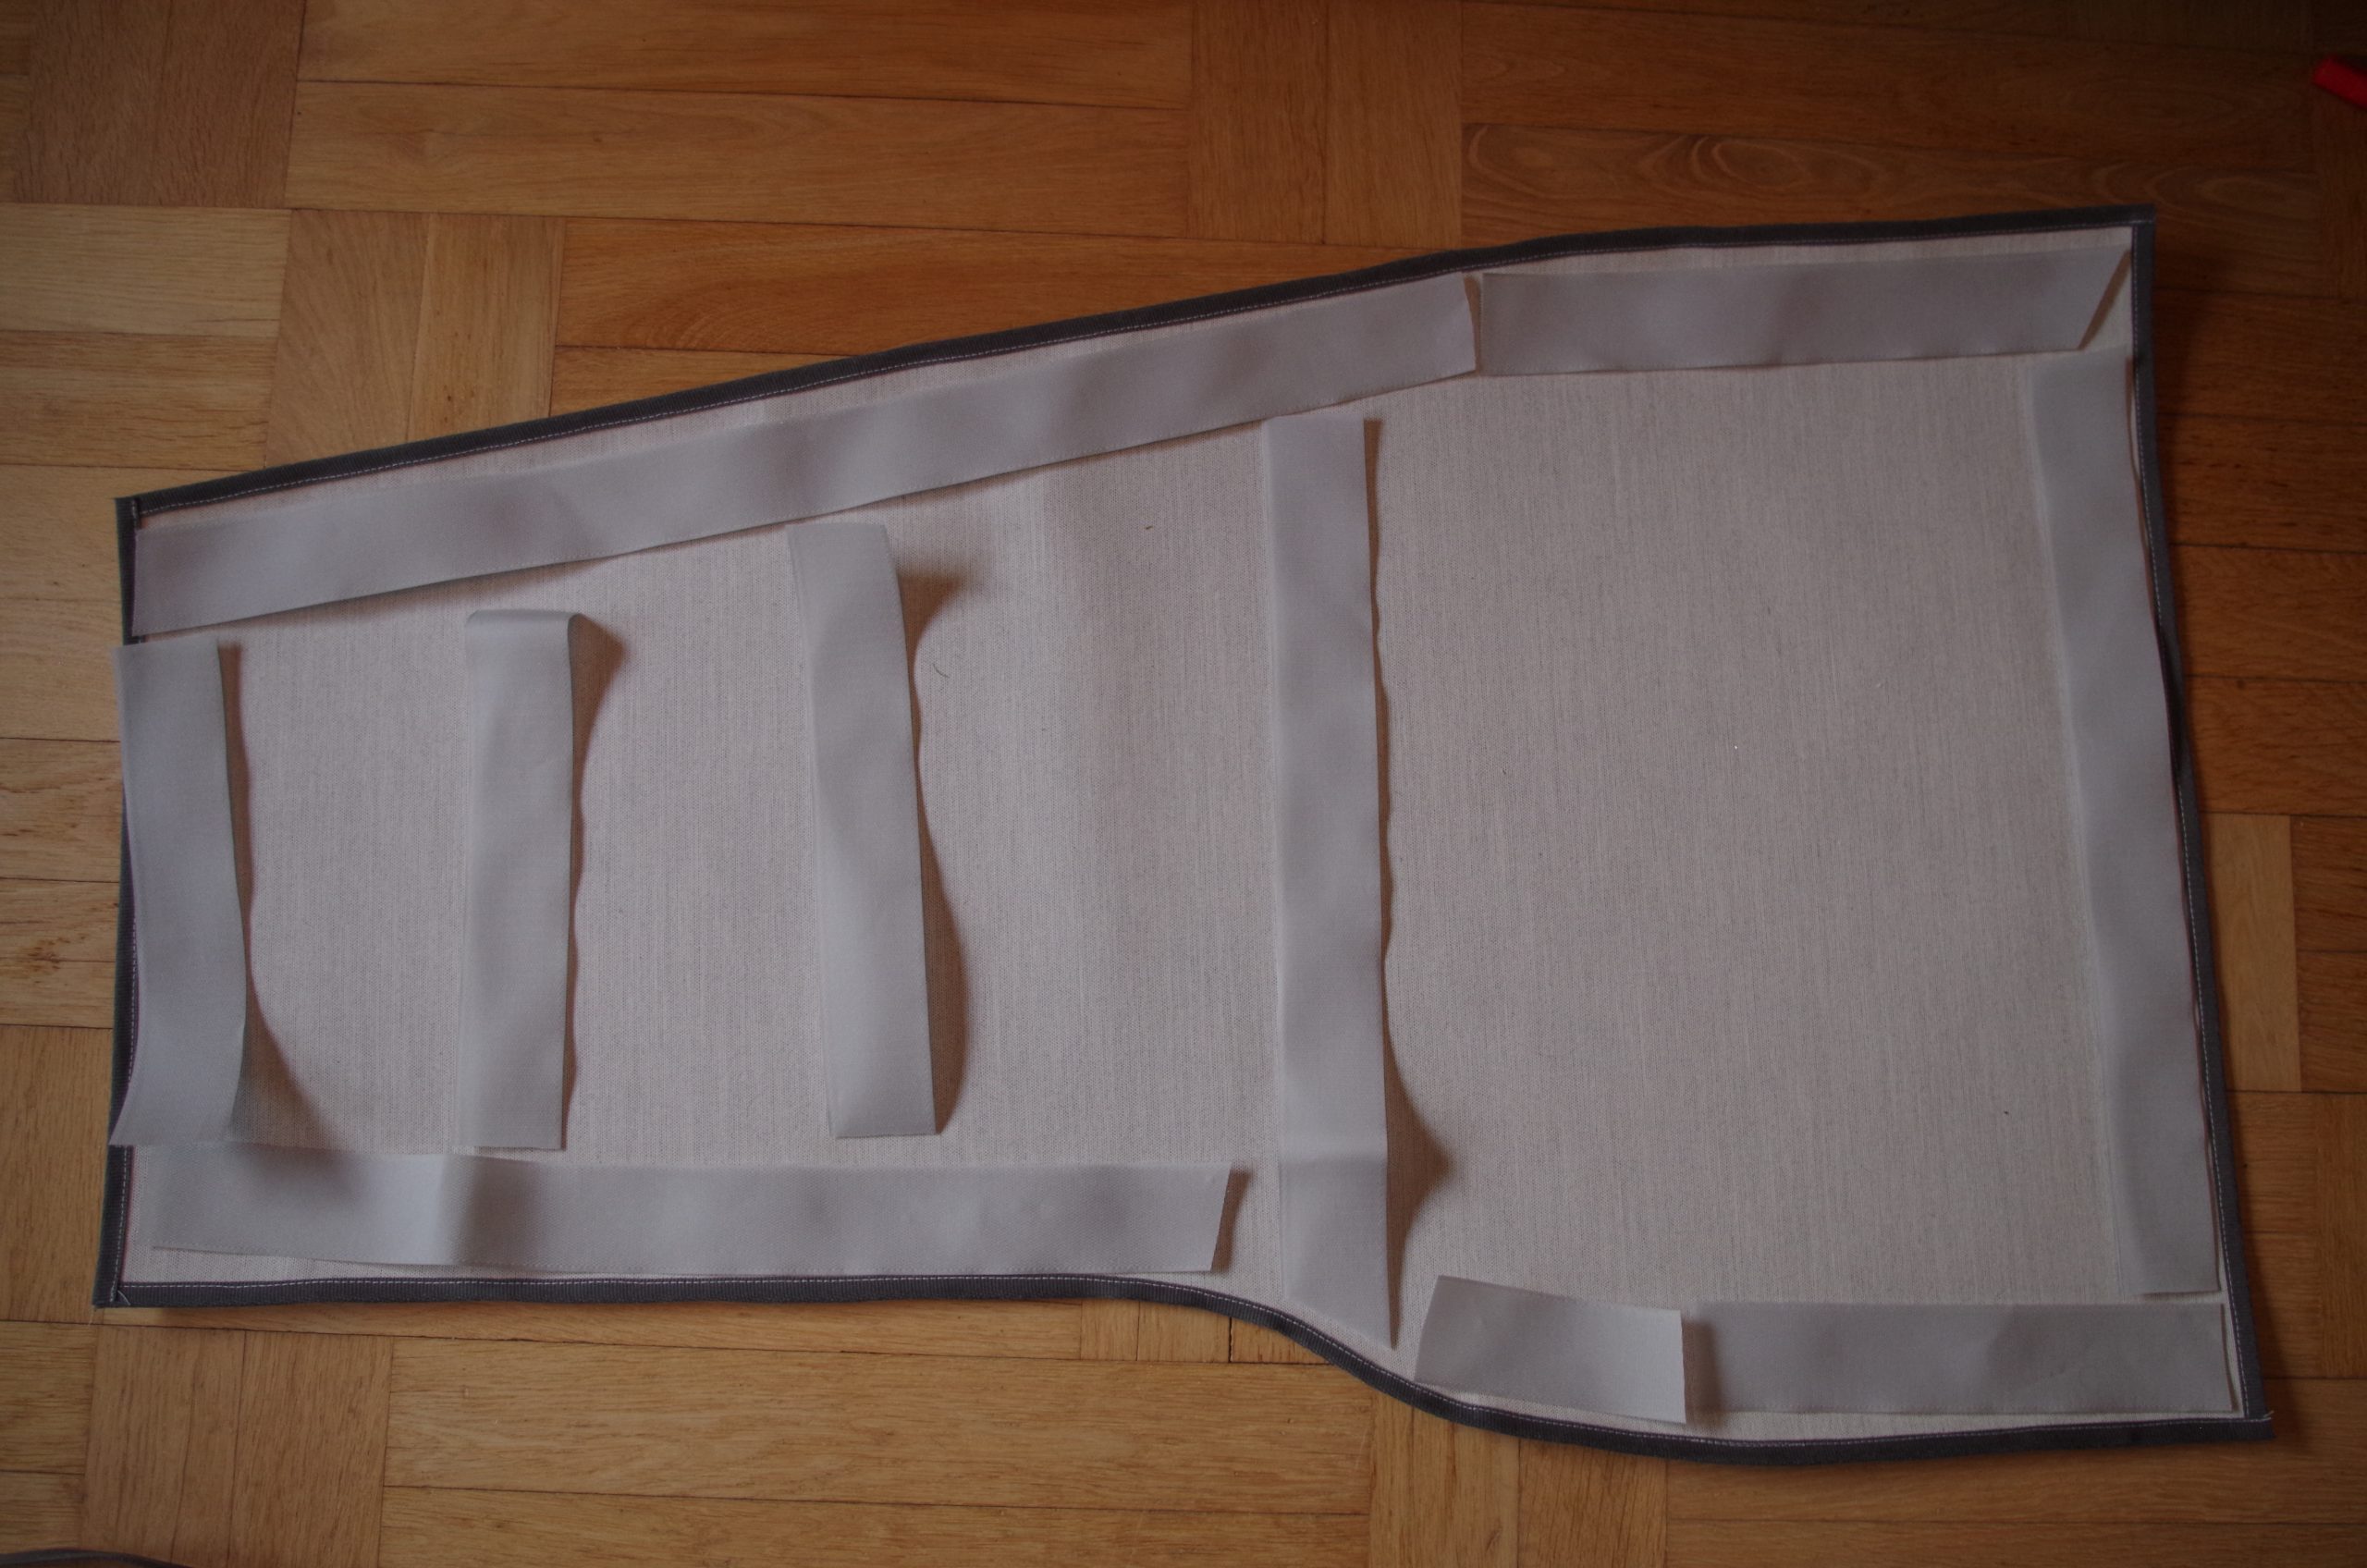
As you can see on the pictures the design changed a little bit from the template from the boat. I figured that there is no point in sewing the pointy corners, I also want to make some kind of hold for a hand or two so some cutout needed to be made in the pattern halfway up.
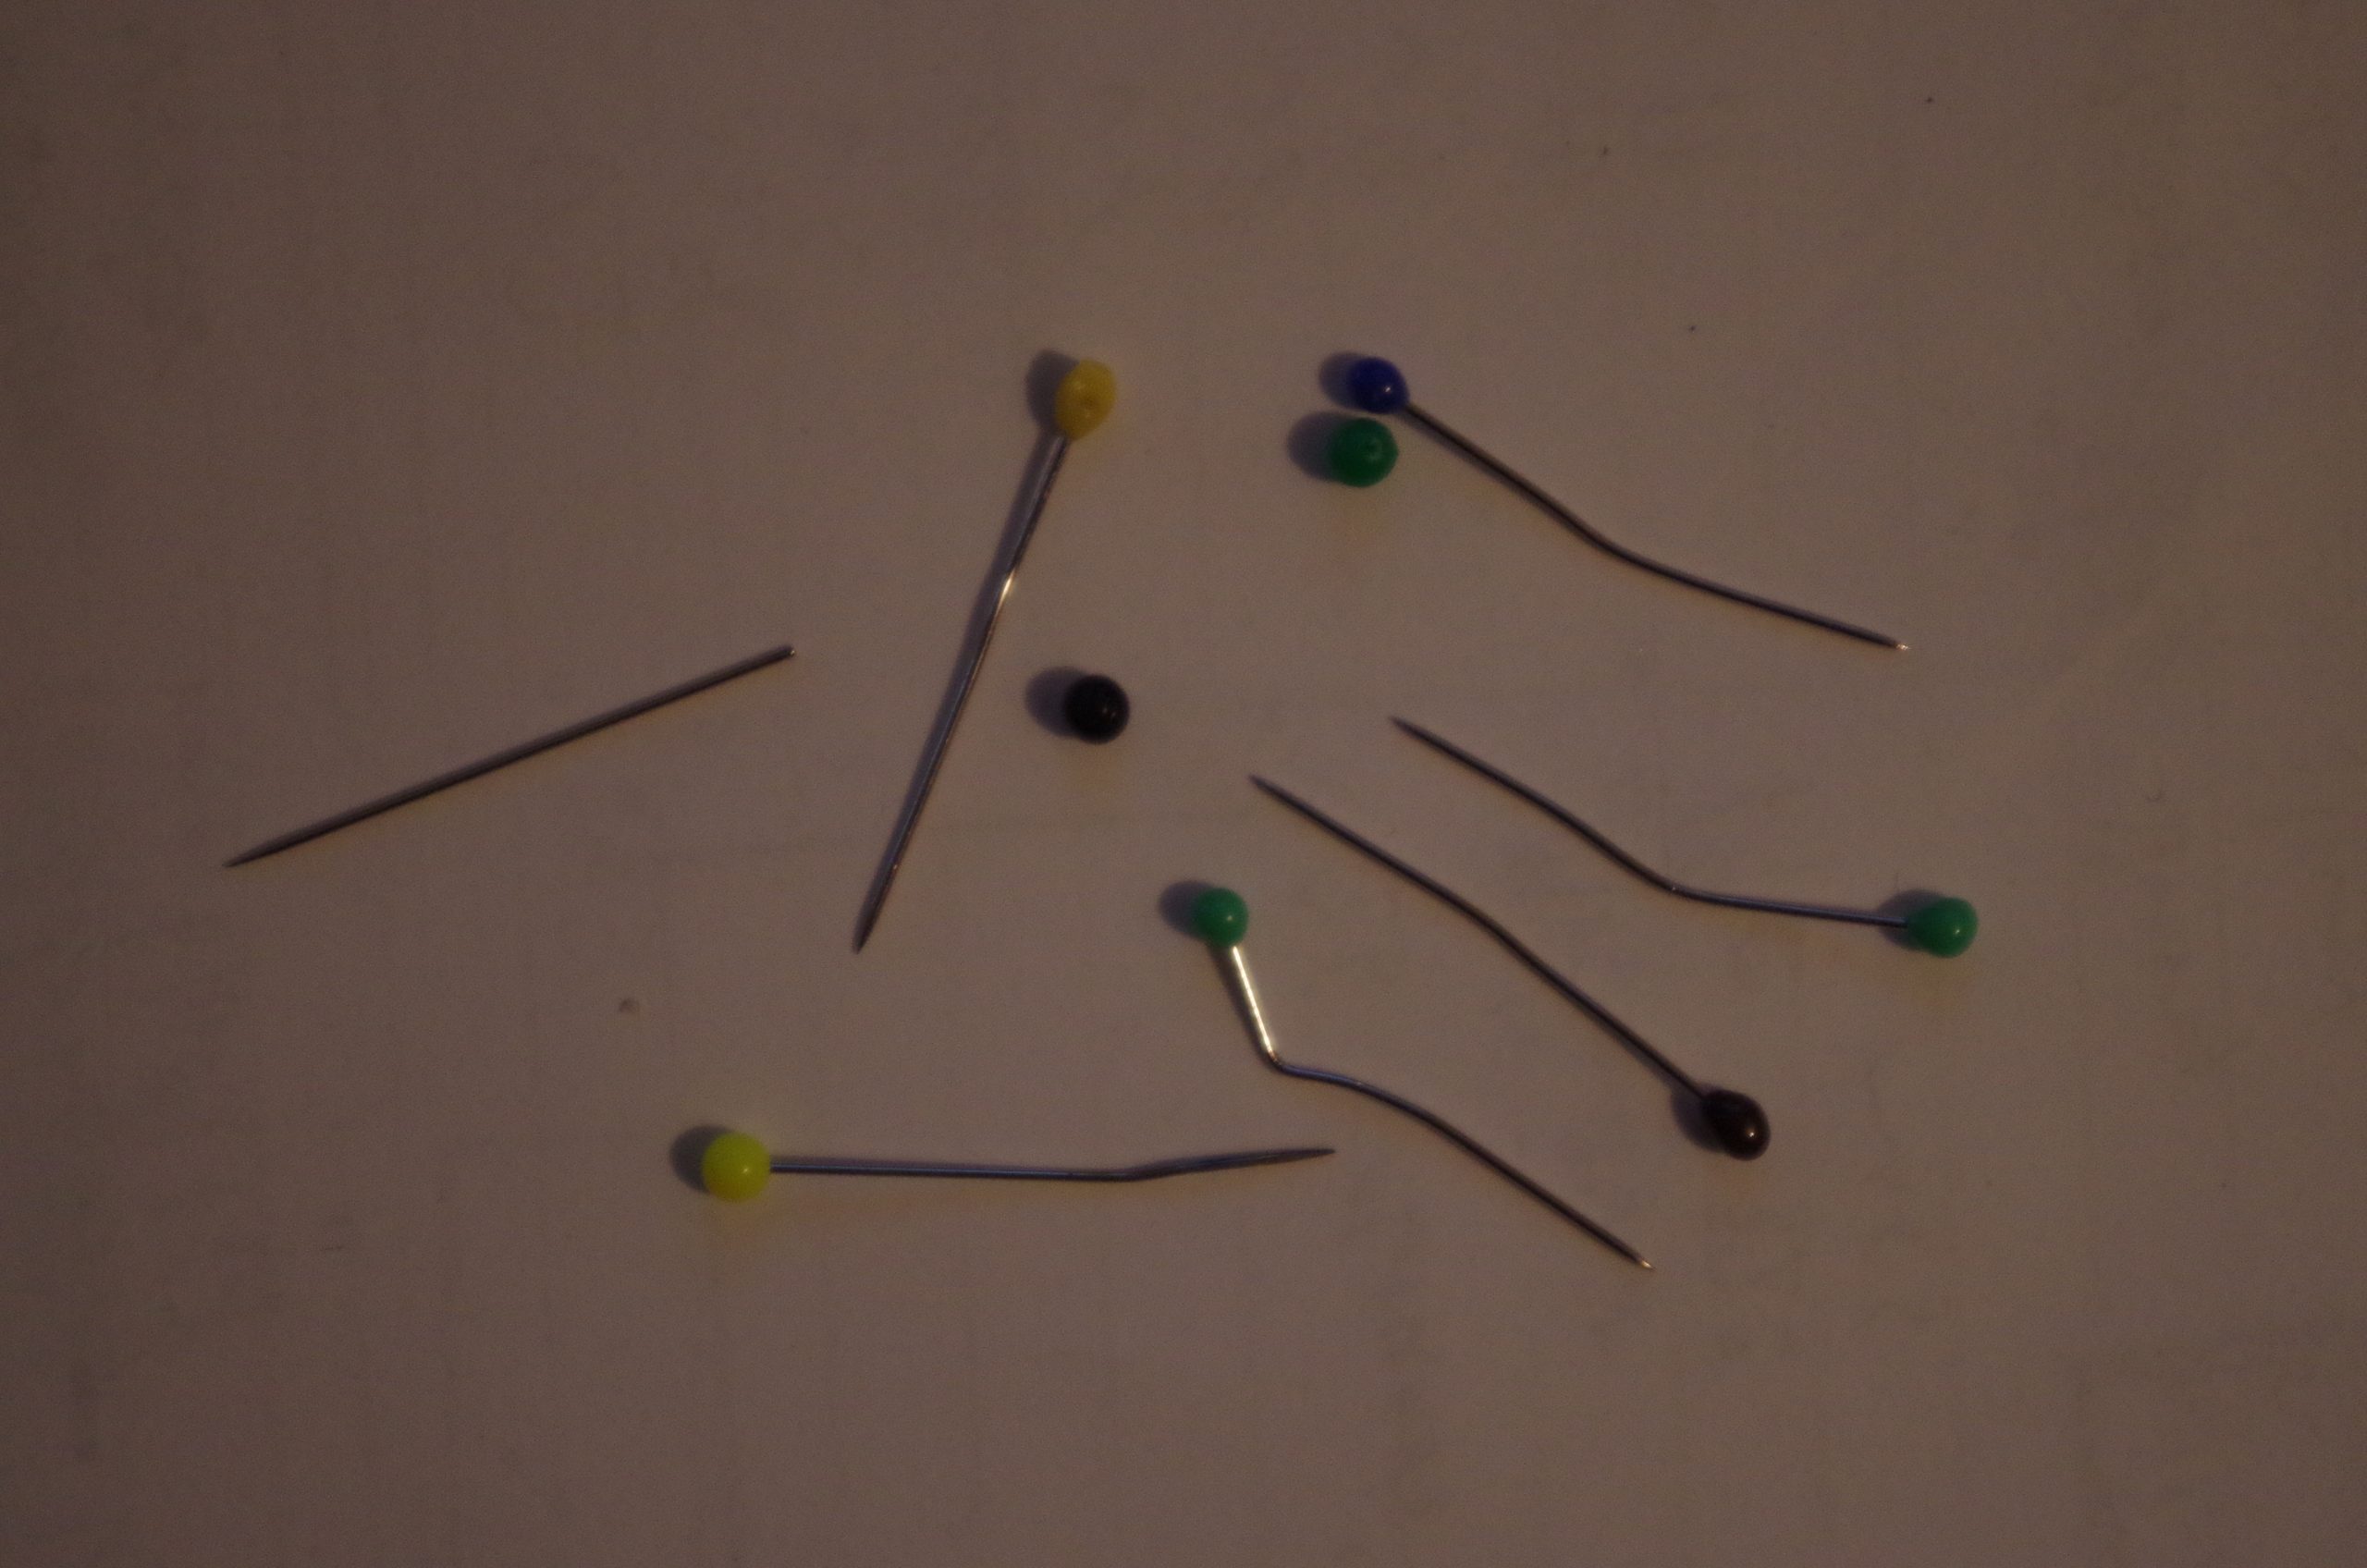
After I had decided on a final outline I cut the piece out and sewed on edging around the whole piece to make it look nice, at least on the front, the back is not very nice since it was hard to get the edging on properly. The sunbrella fabric is quite thick and tightly woven, so sticking pinning needles through it was very hard. I gave up pinning the edging after a while. There where some casualties during the project…
When the edging was sewn on I cut out big lengths of velcro. I had an idea to use the broad velcro as channels for battens to help stiffen up the whole thing to distribute load more evenly on the backing velcro. This idea is kind of dead now as it stands because of all the pockets and lids that got sewn over the velcro. I added velcro all around the edge and also three horizontal strips where most loads from pockets and lids where planned to be. When the velcro was sewn on It was time to start with the chart-pocket.
Chart pocket
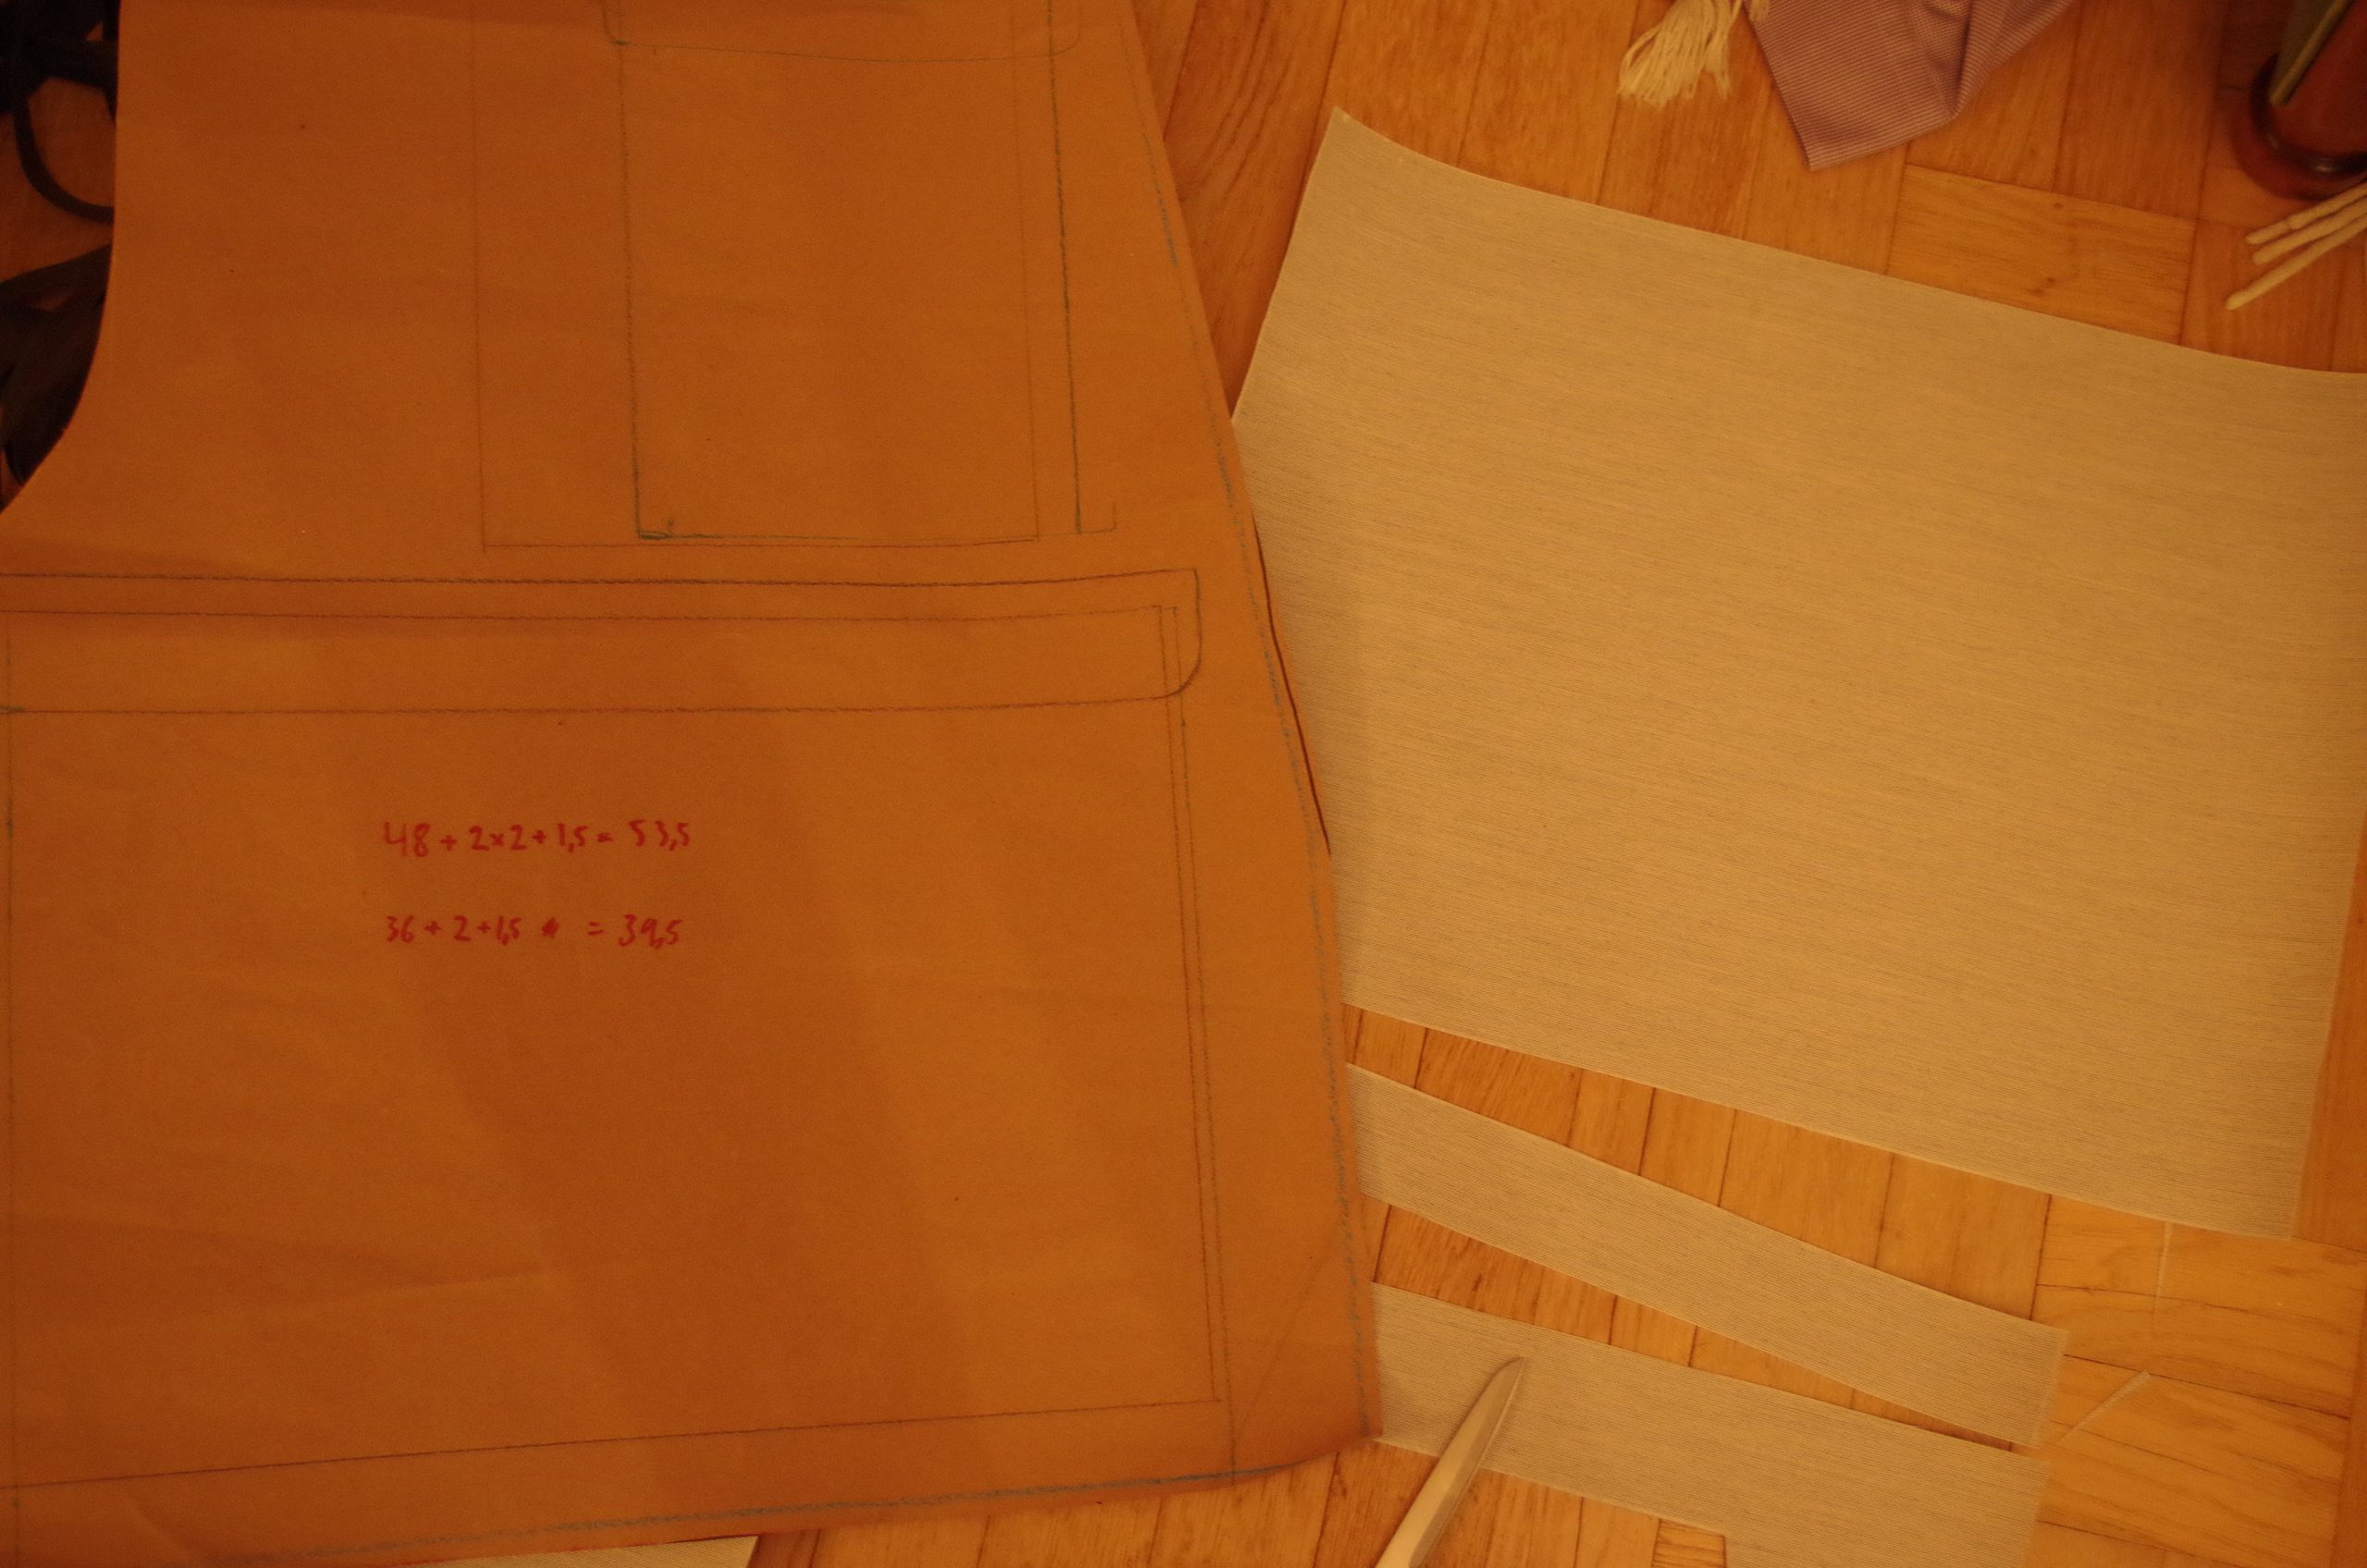
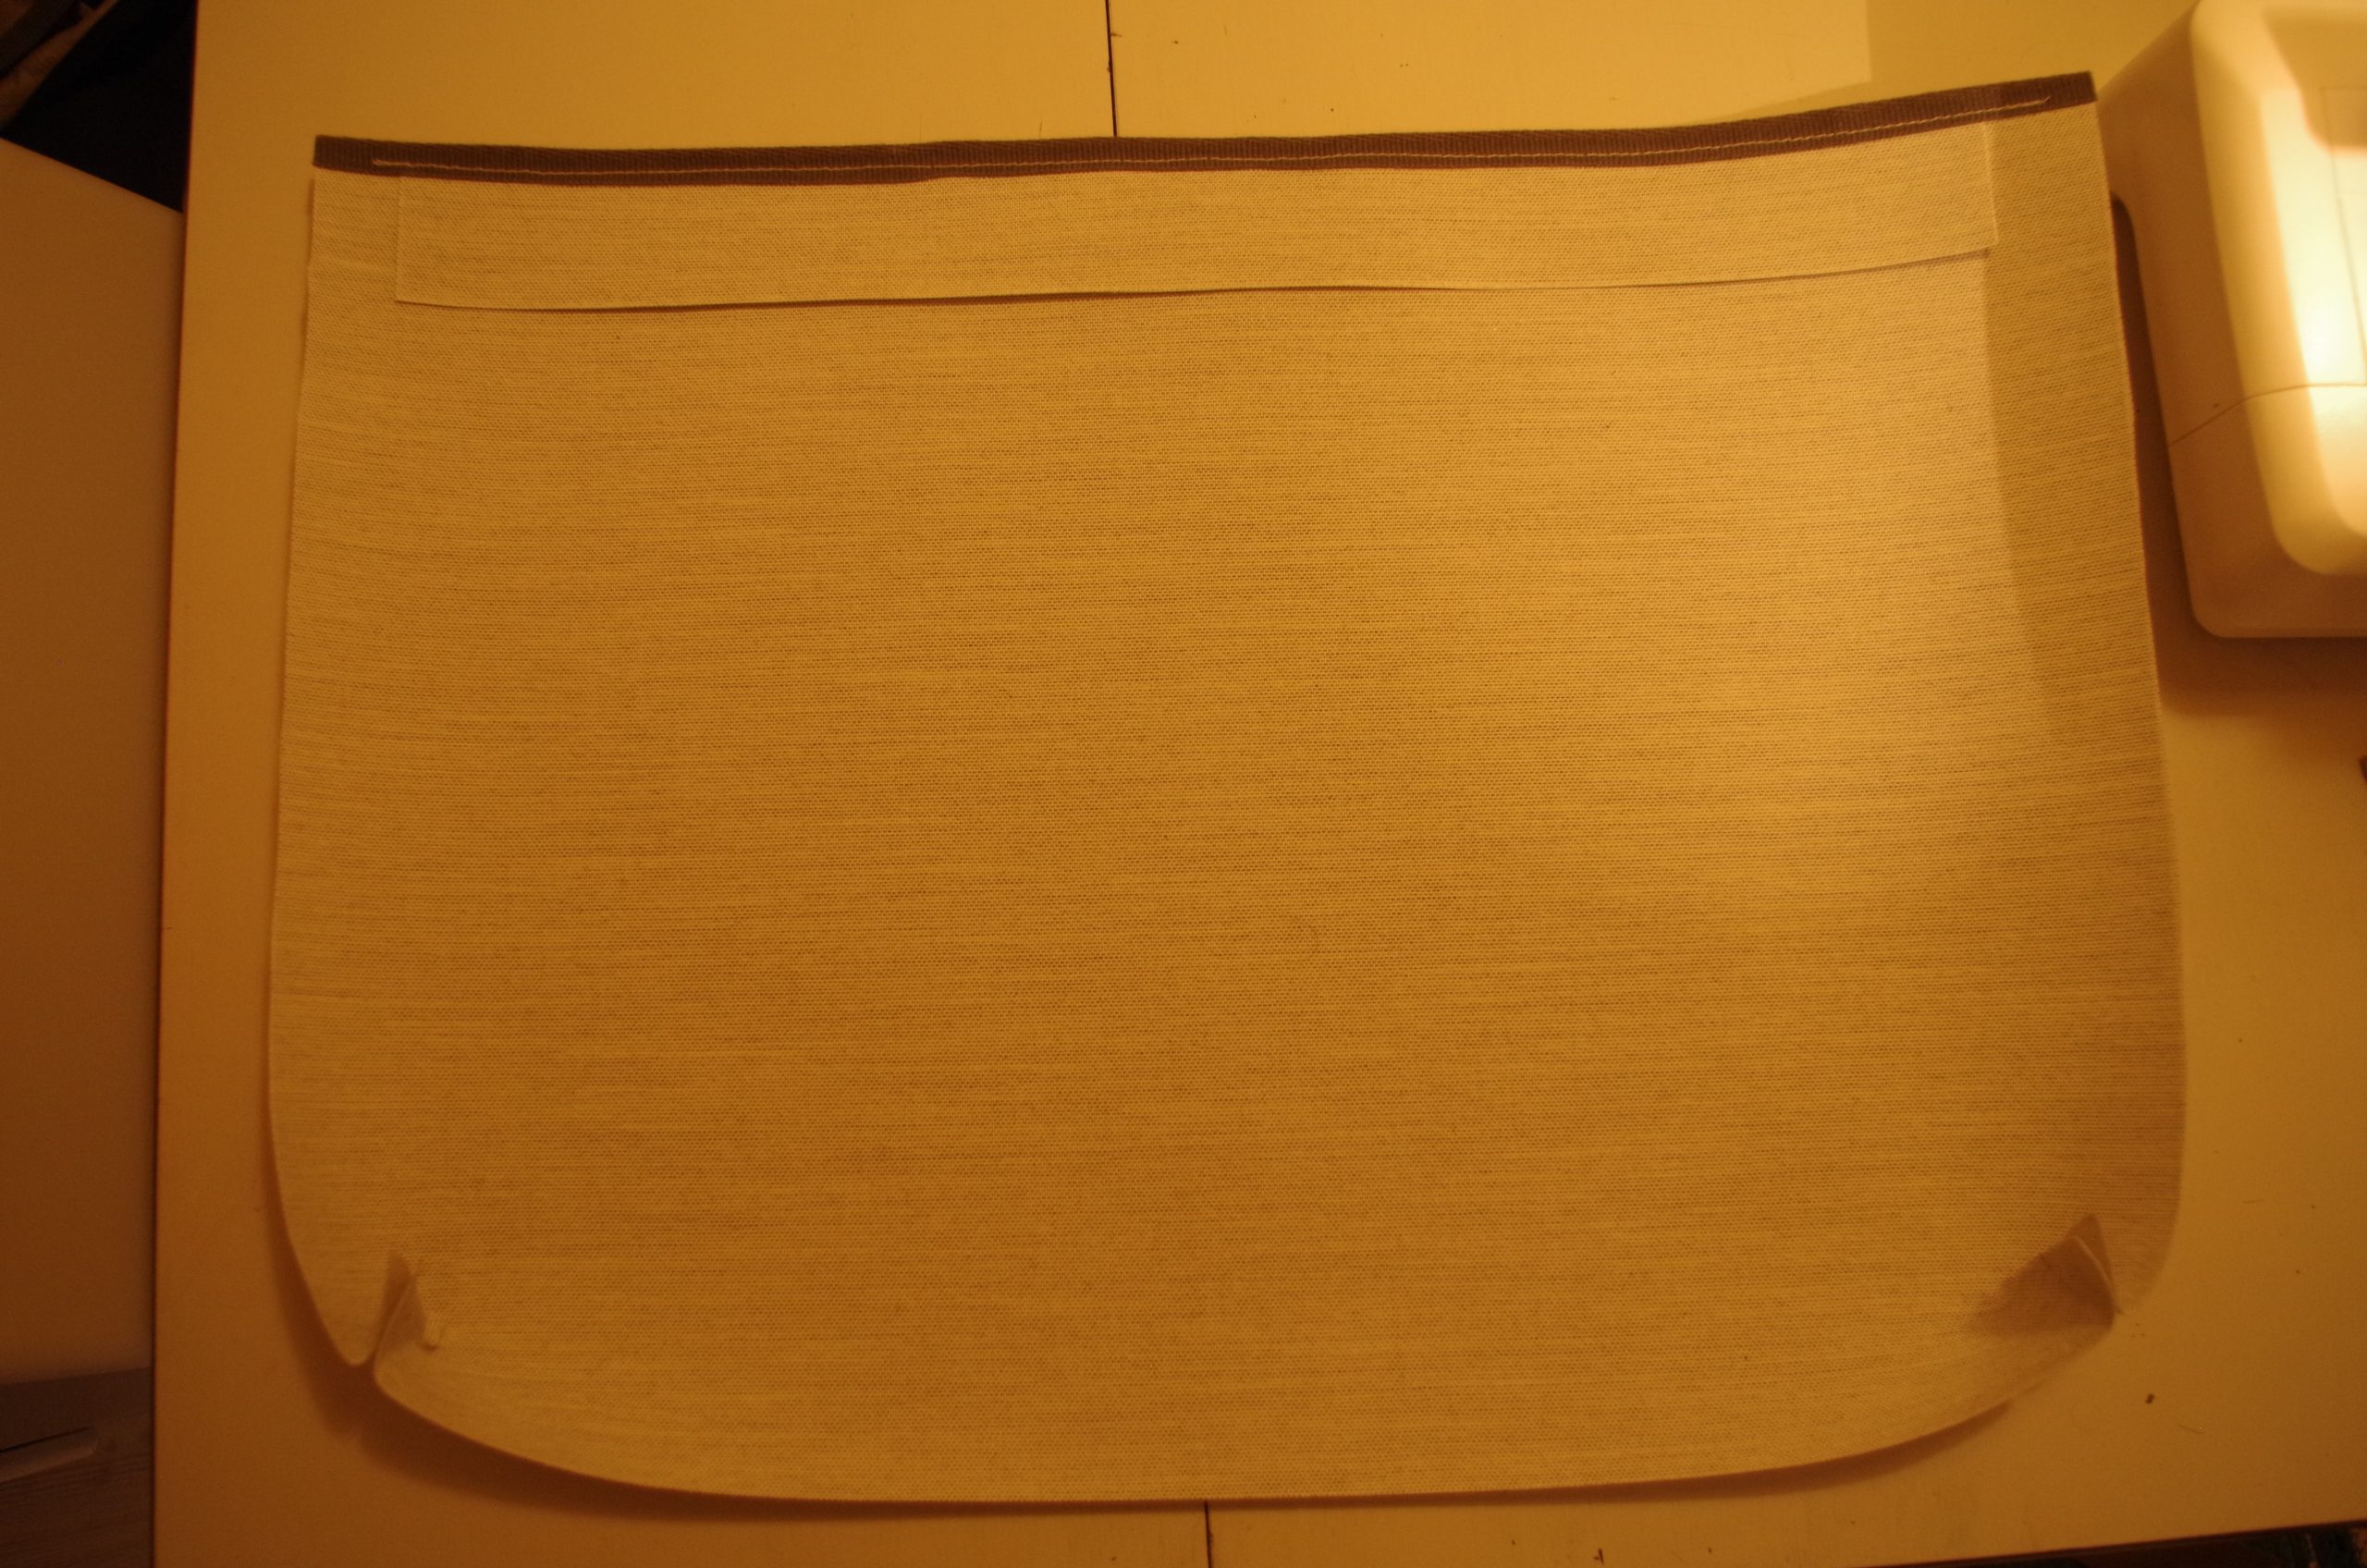
For some reason I had my camera on some weird white-balance setting and I didn’t realise until it was too late, ooh well.
I made this pocket around 6 cm wider than necessary, good thing I did, because it didn’t end up that wide, I must have made some kind of faulty calculation somewhere. I think I only had seam allowance on one side.
I decided since this is quite a big pocket it could be nice to have the possibility to add a batten at the top of the pocket to make it less saggy. When adding the edging I therefore added another piece that could hold a batten. Before this point though, I should have added the velcro to be able to close the lid. Because I didn’t the velcro for the lid ended up being quite far down. At this point I also sewed the corners by simply making a 45 degree seam.
I began with sewing on the bottom of the pocket folded out to establish a good starting point. I did mention my problems with the pinning needles? I then folded up the pocket and sewed it to the panel from the outside all the way around.
After I had sewn on the pocket came the realisation that I should have done the velcro patches a lot earlier. It was quite messy to get them attached to the pocket.
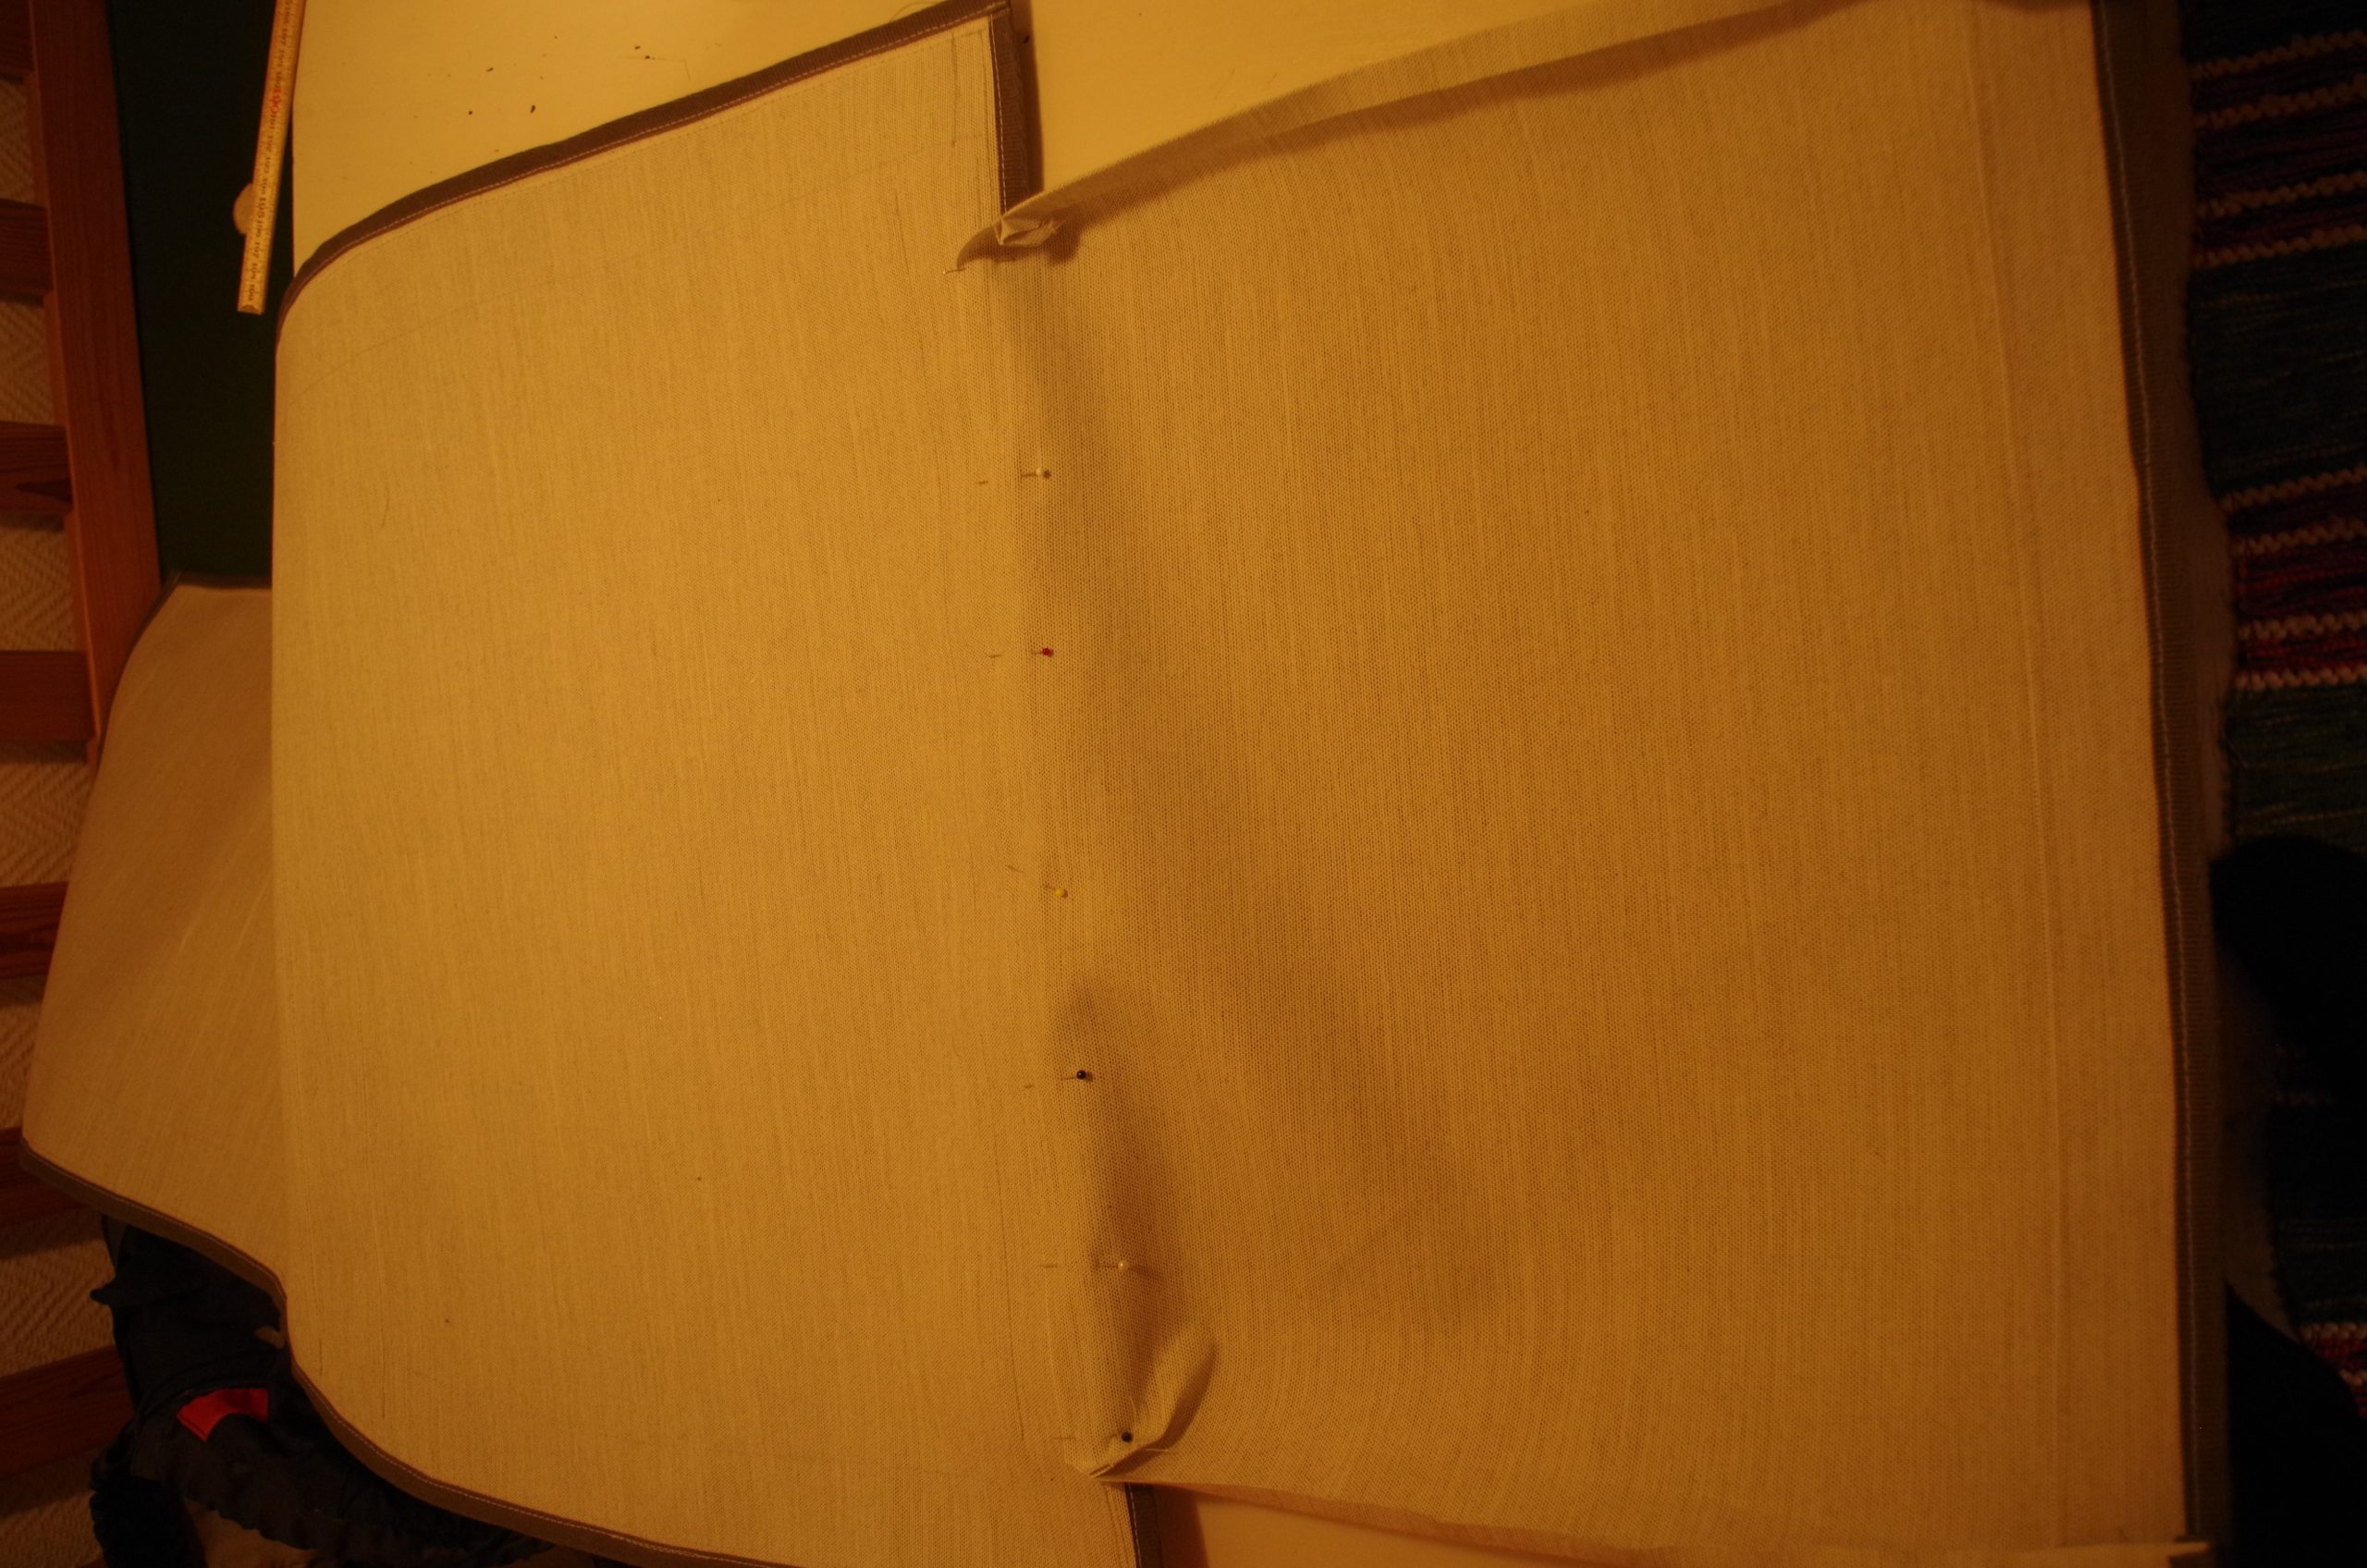
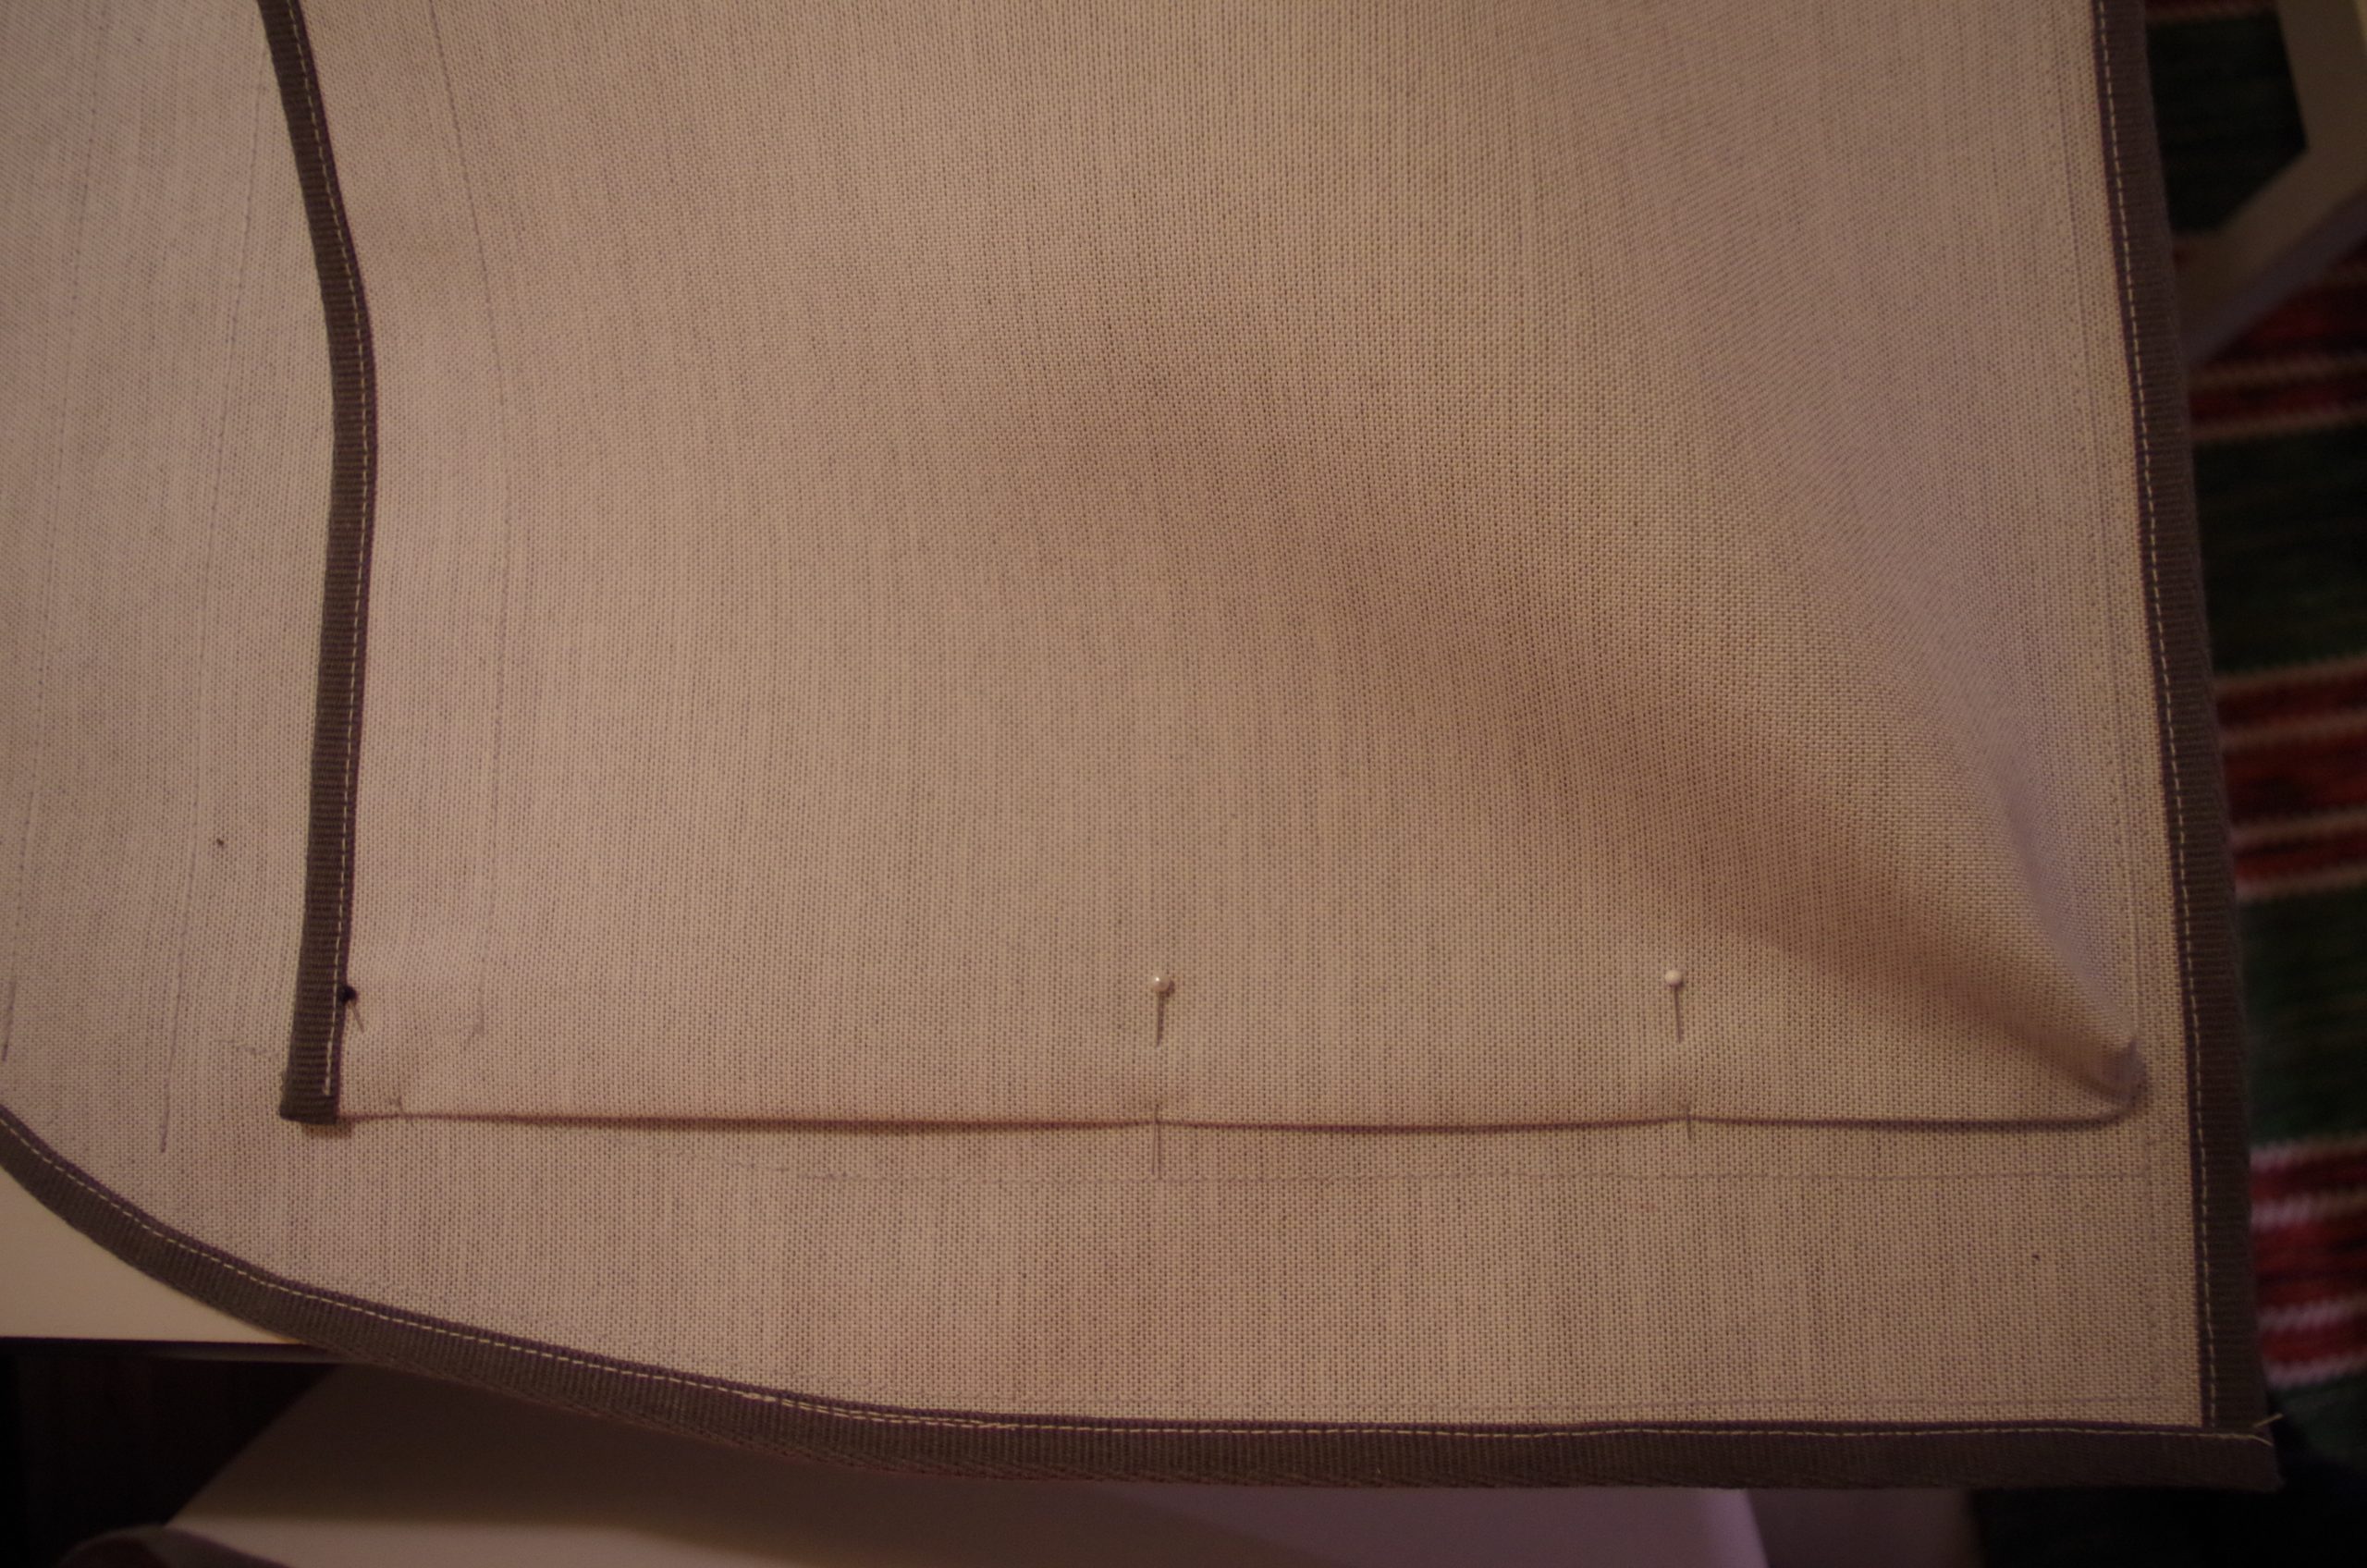
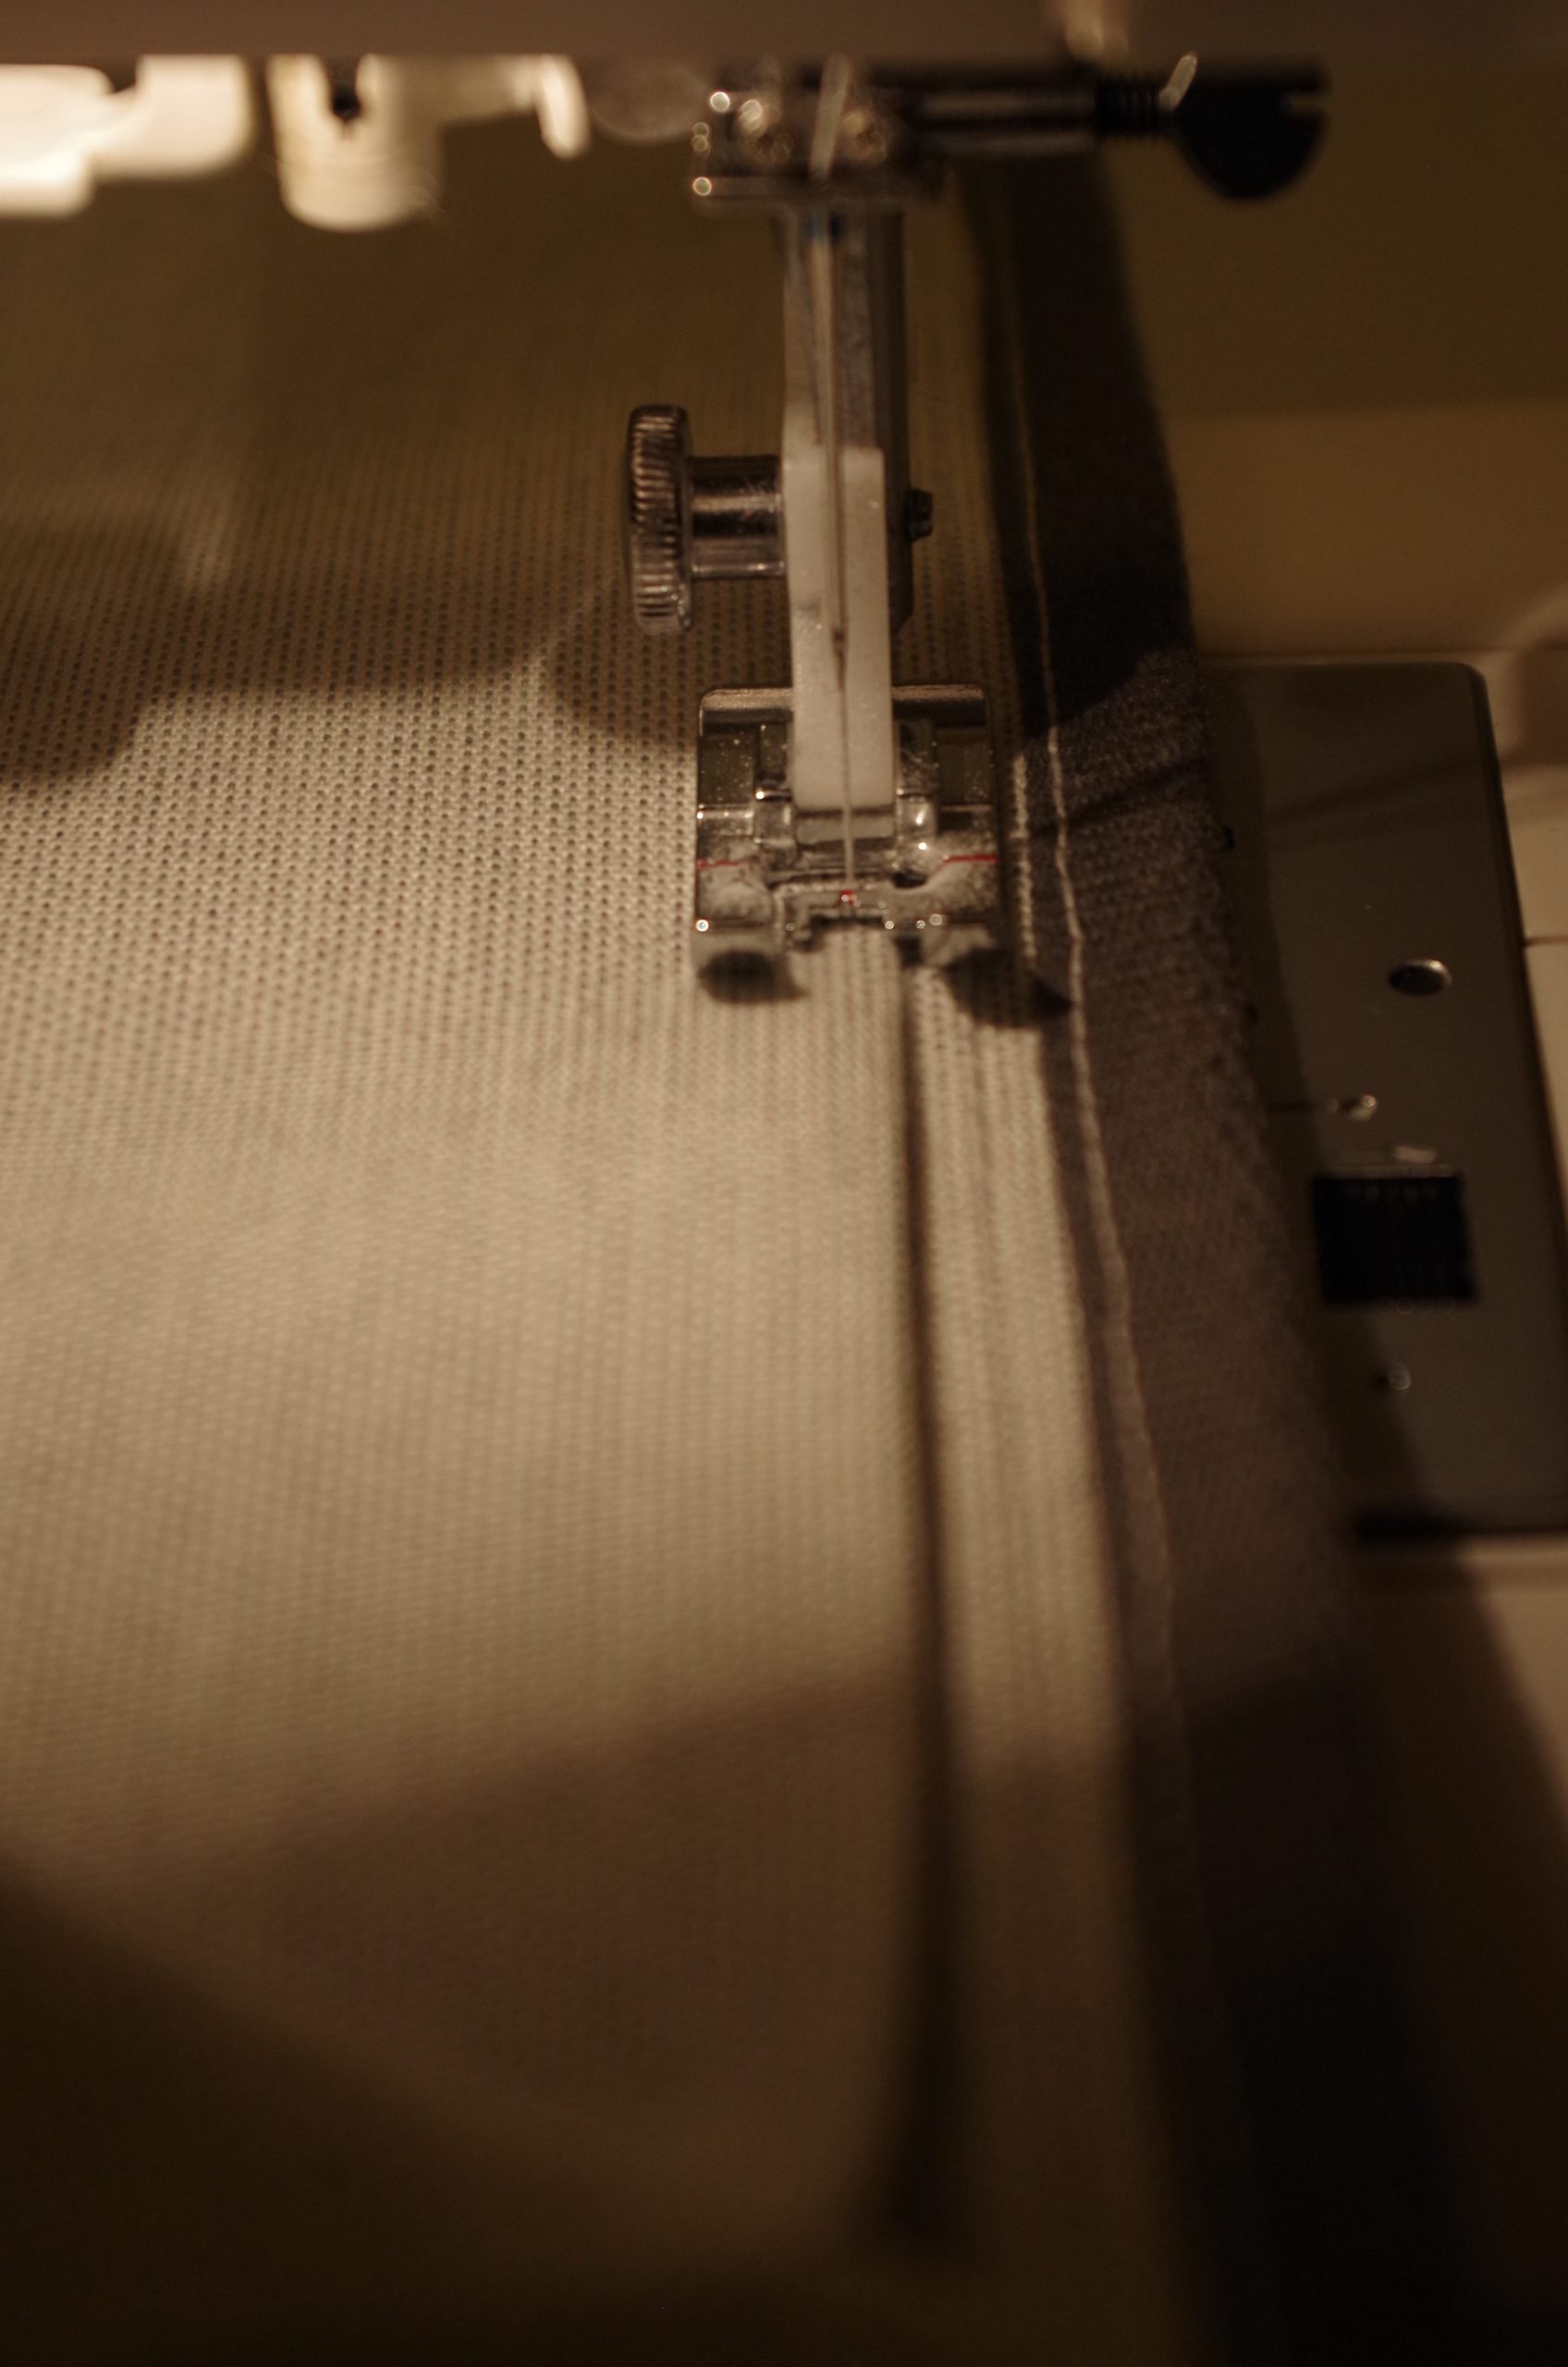

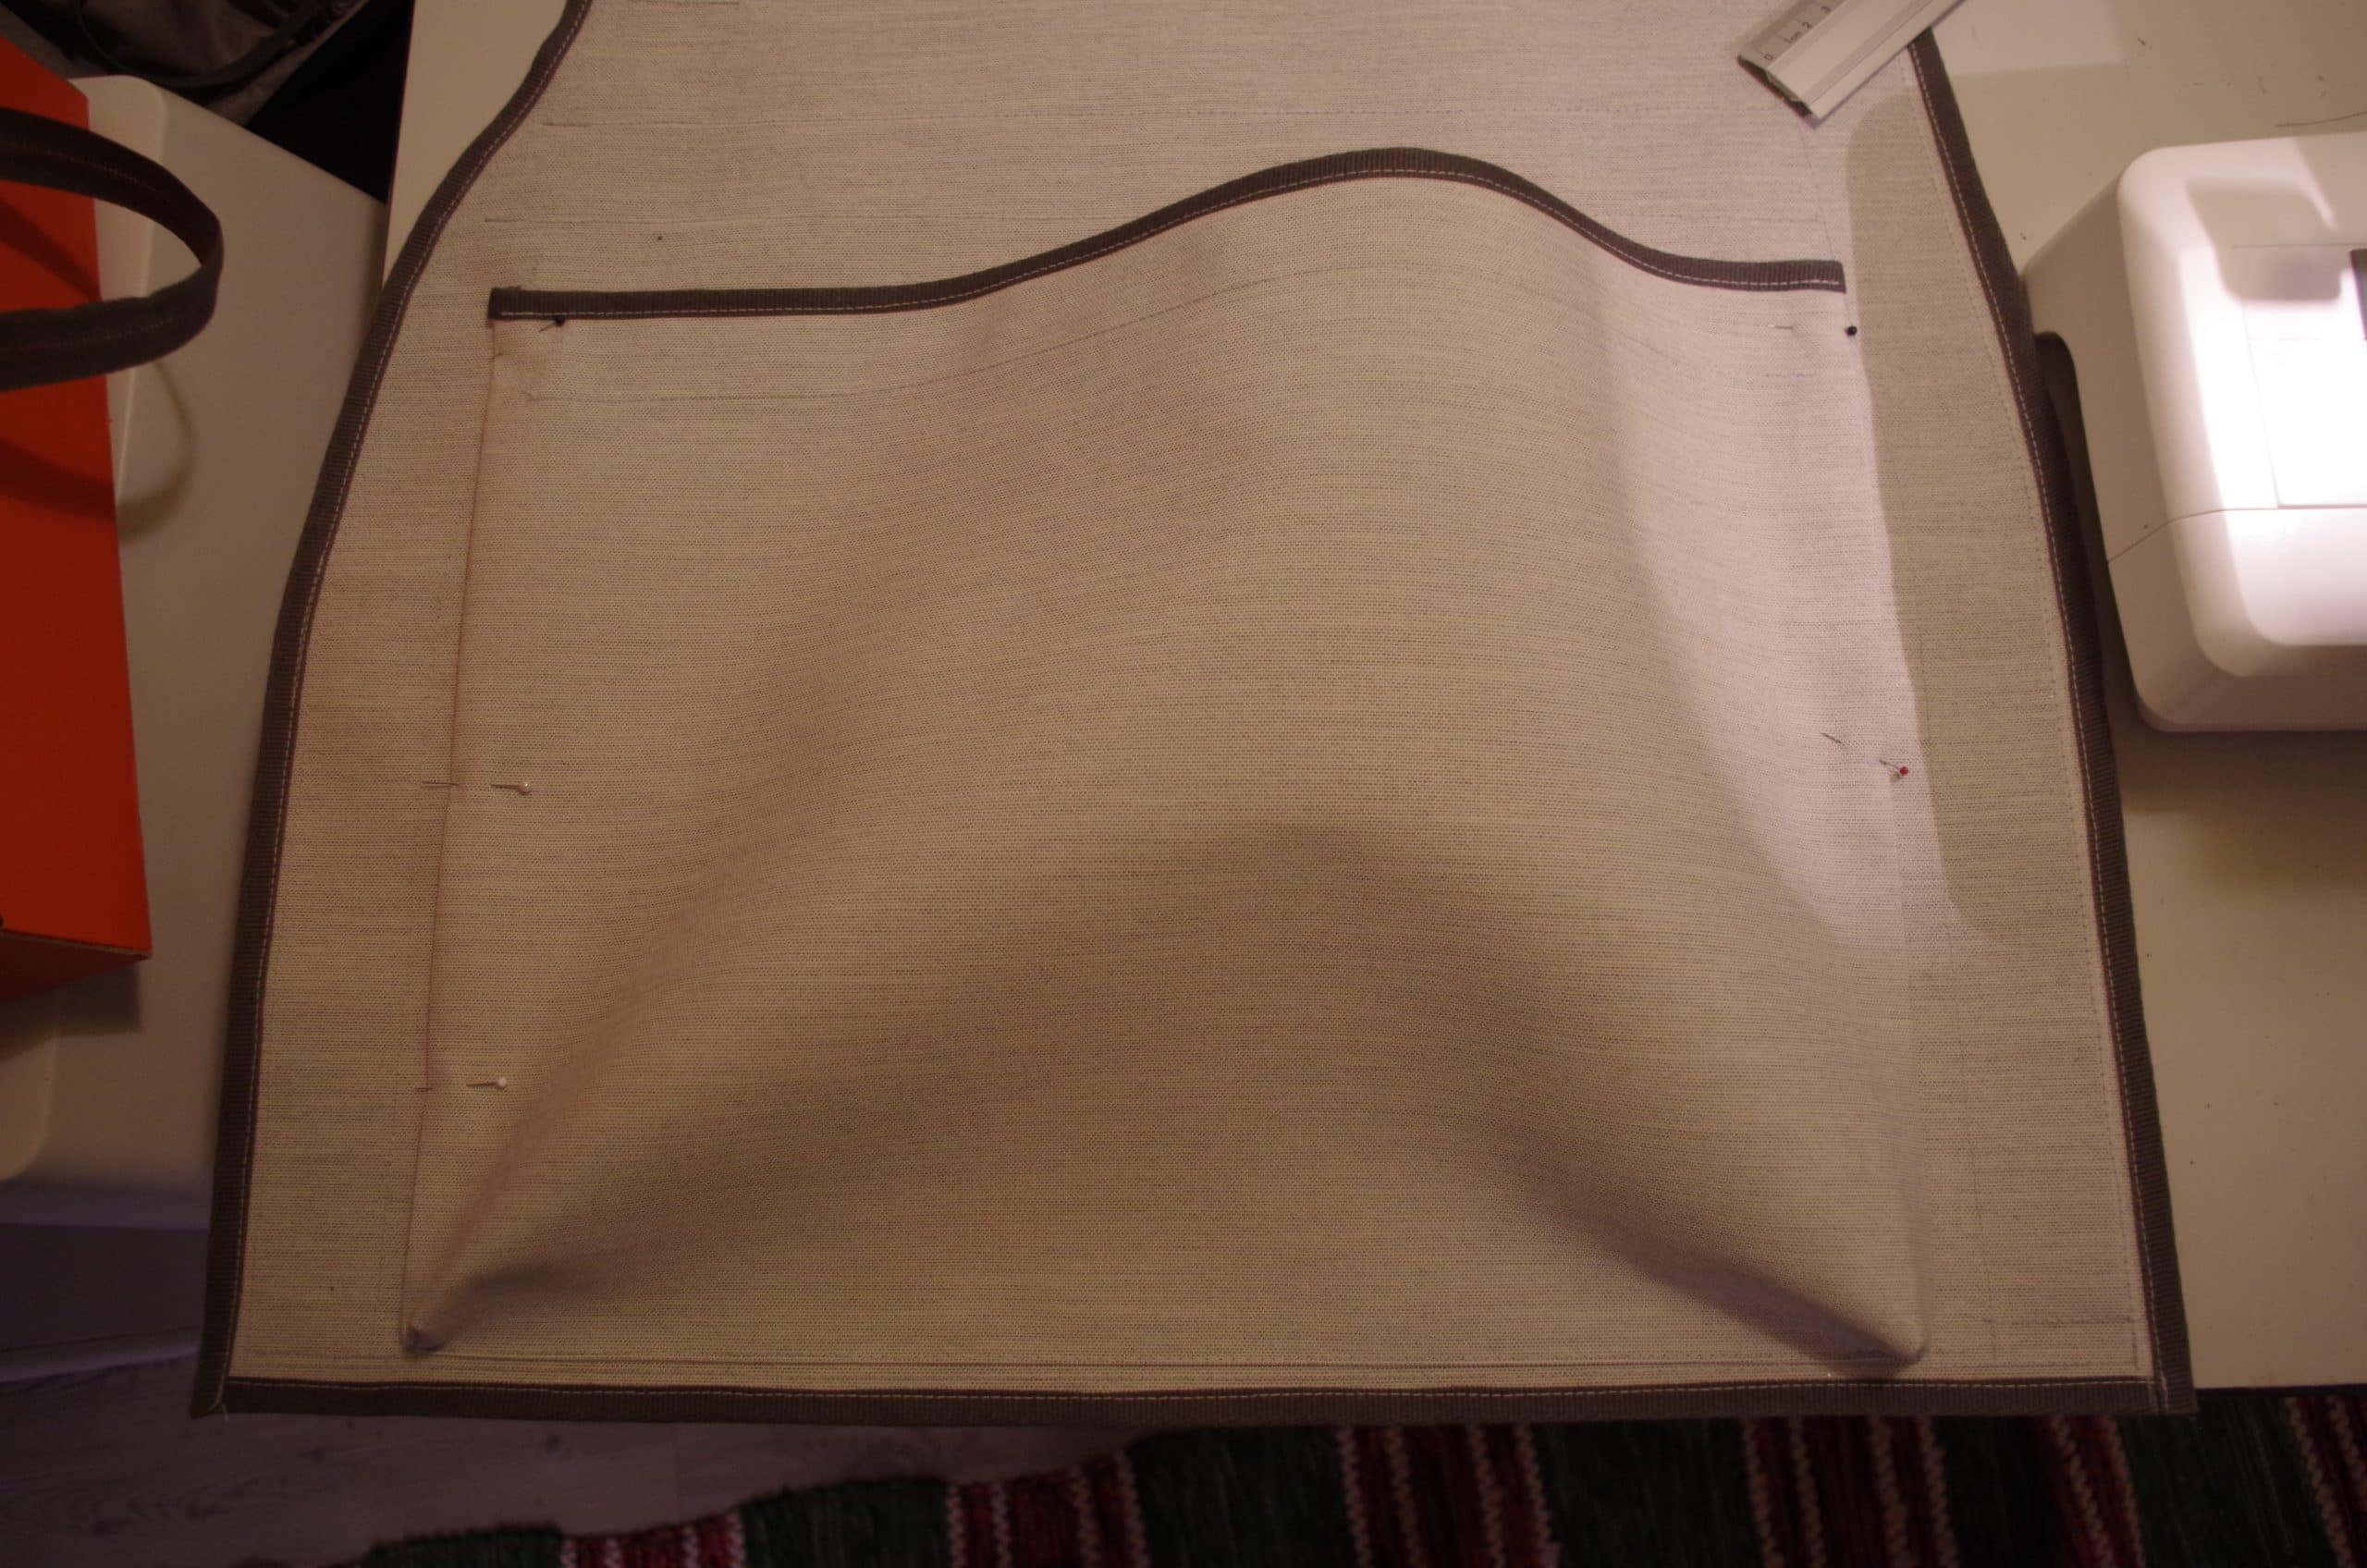
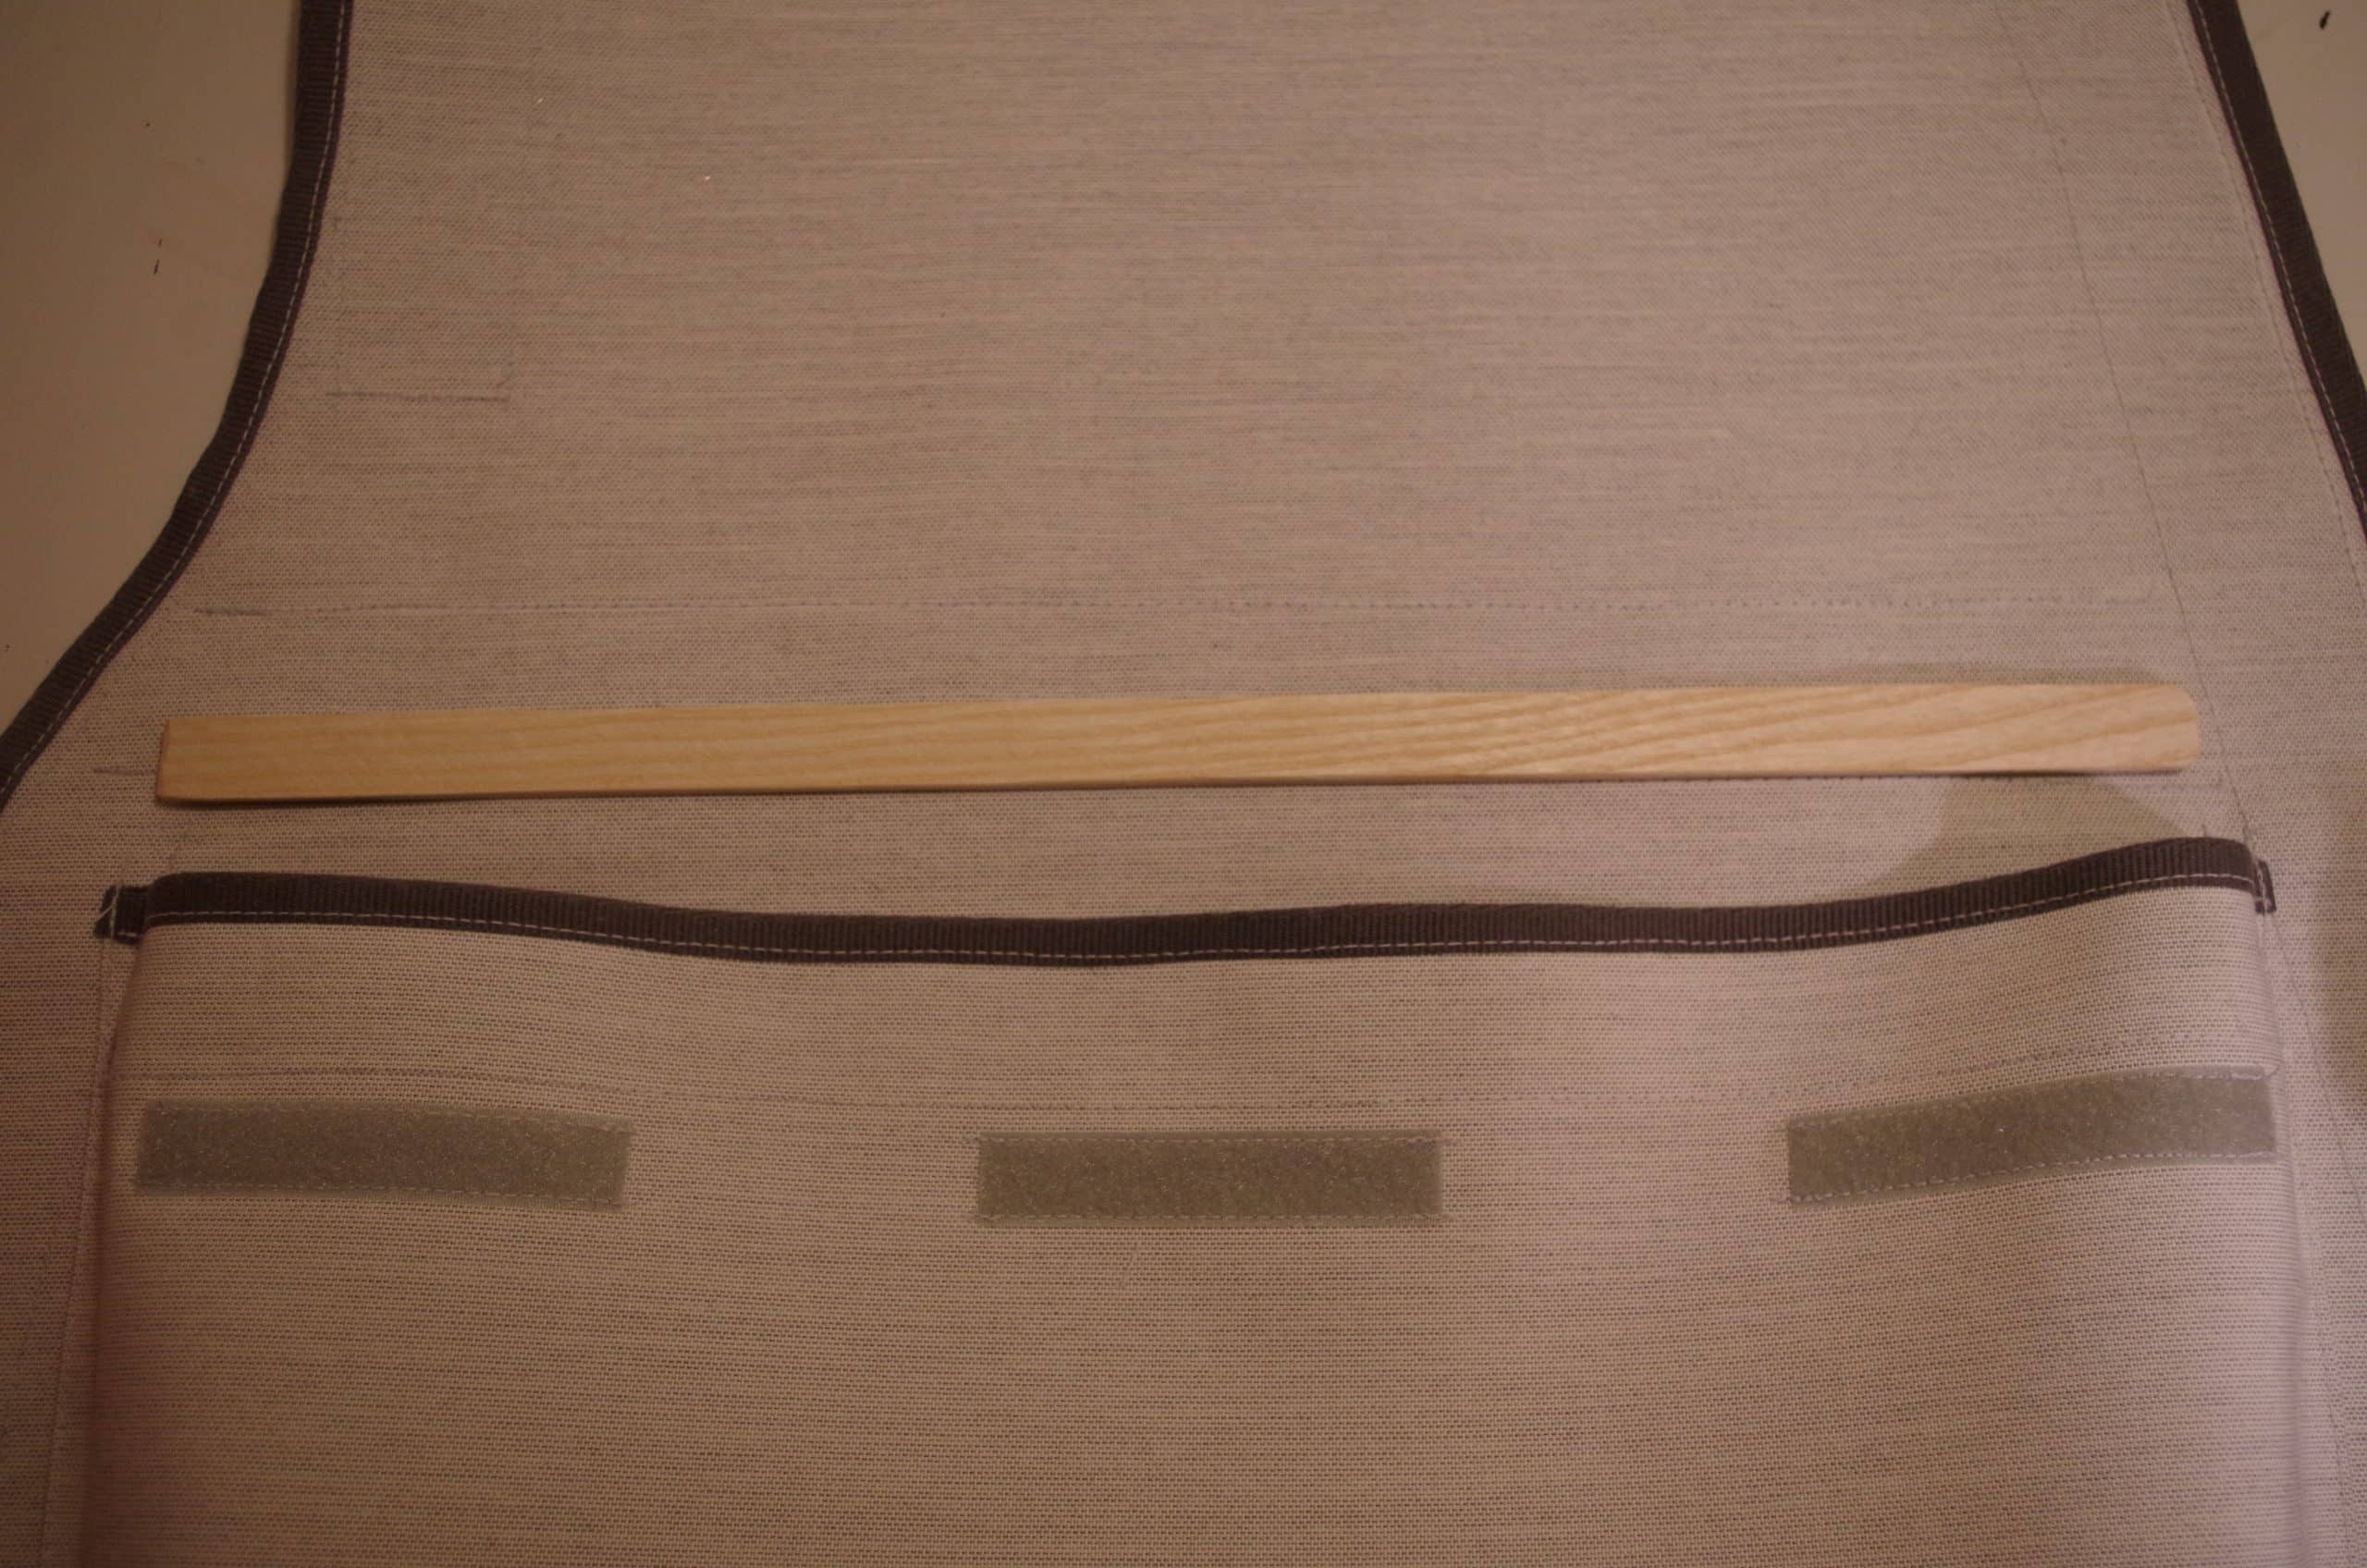
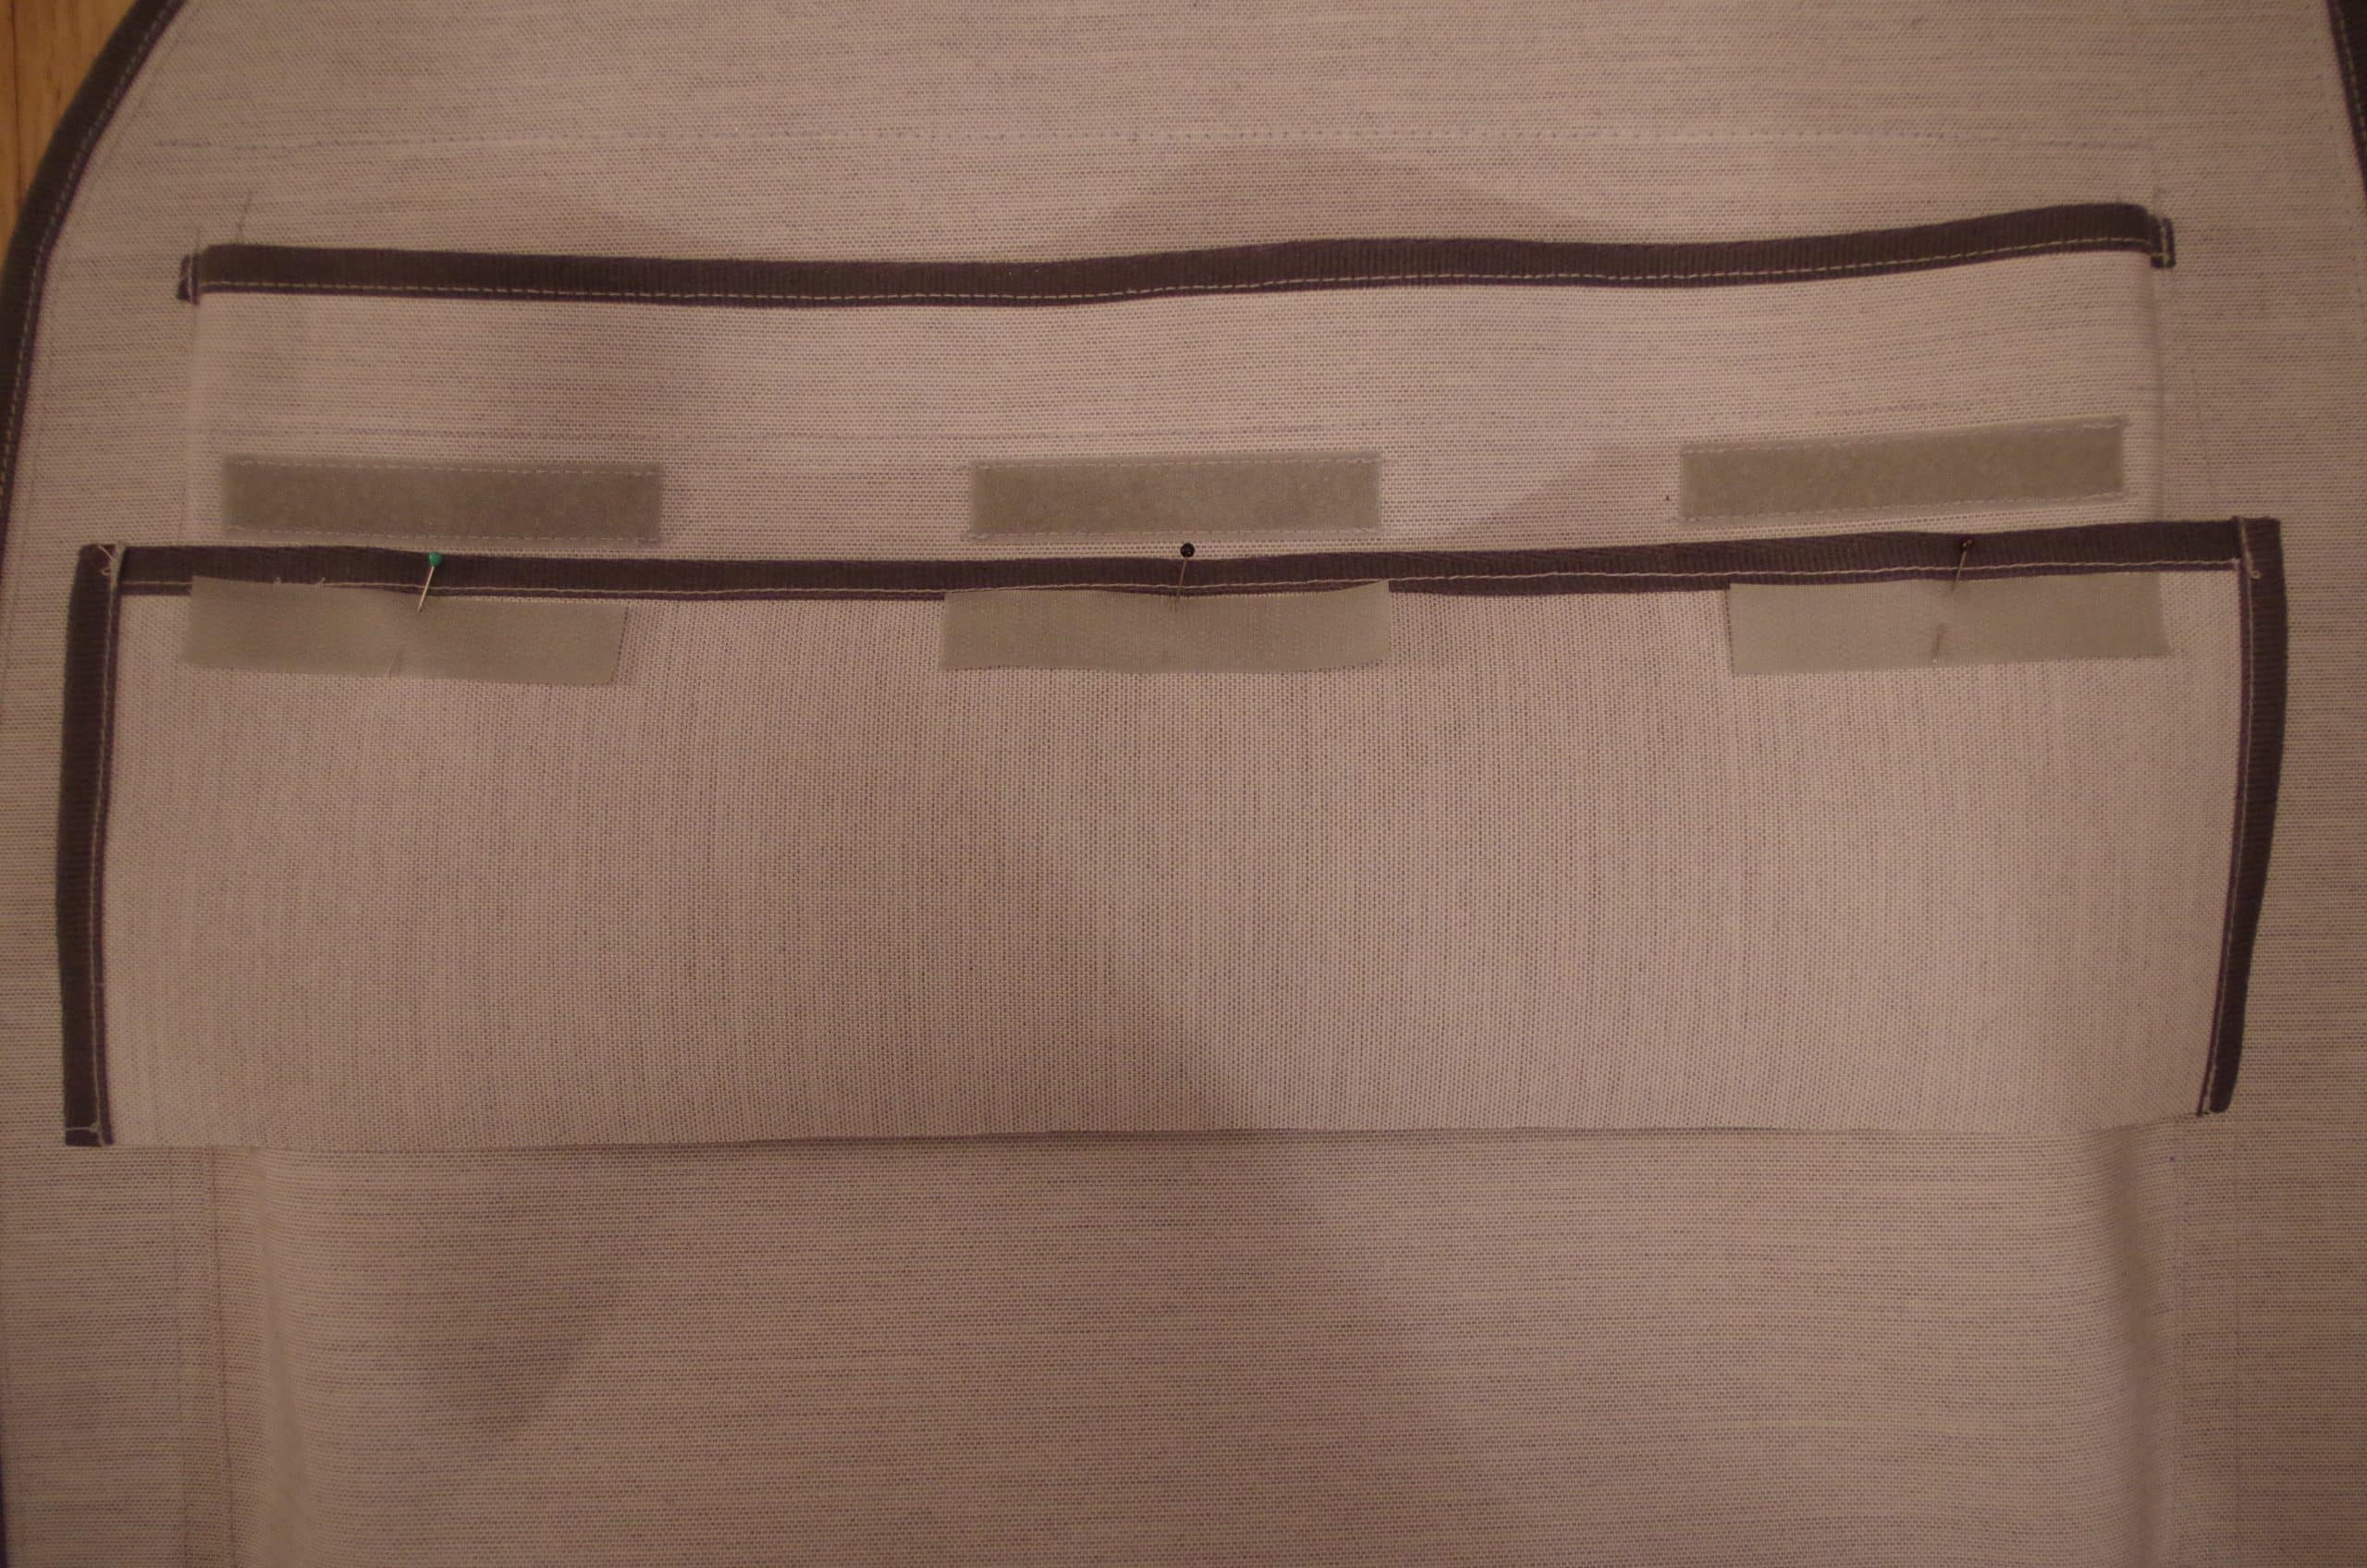
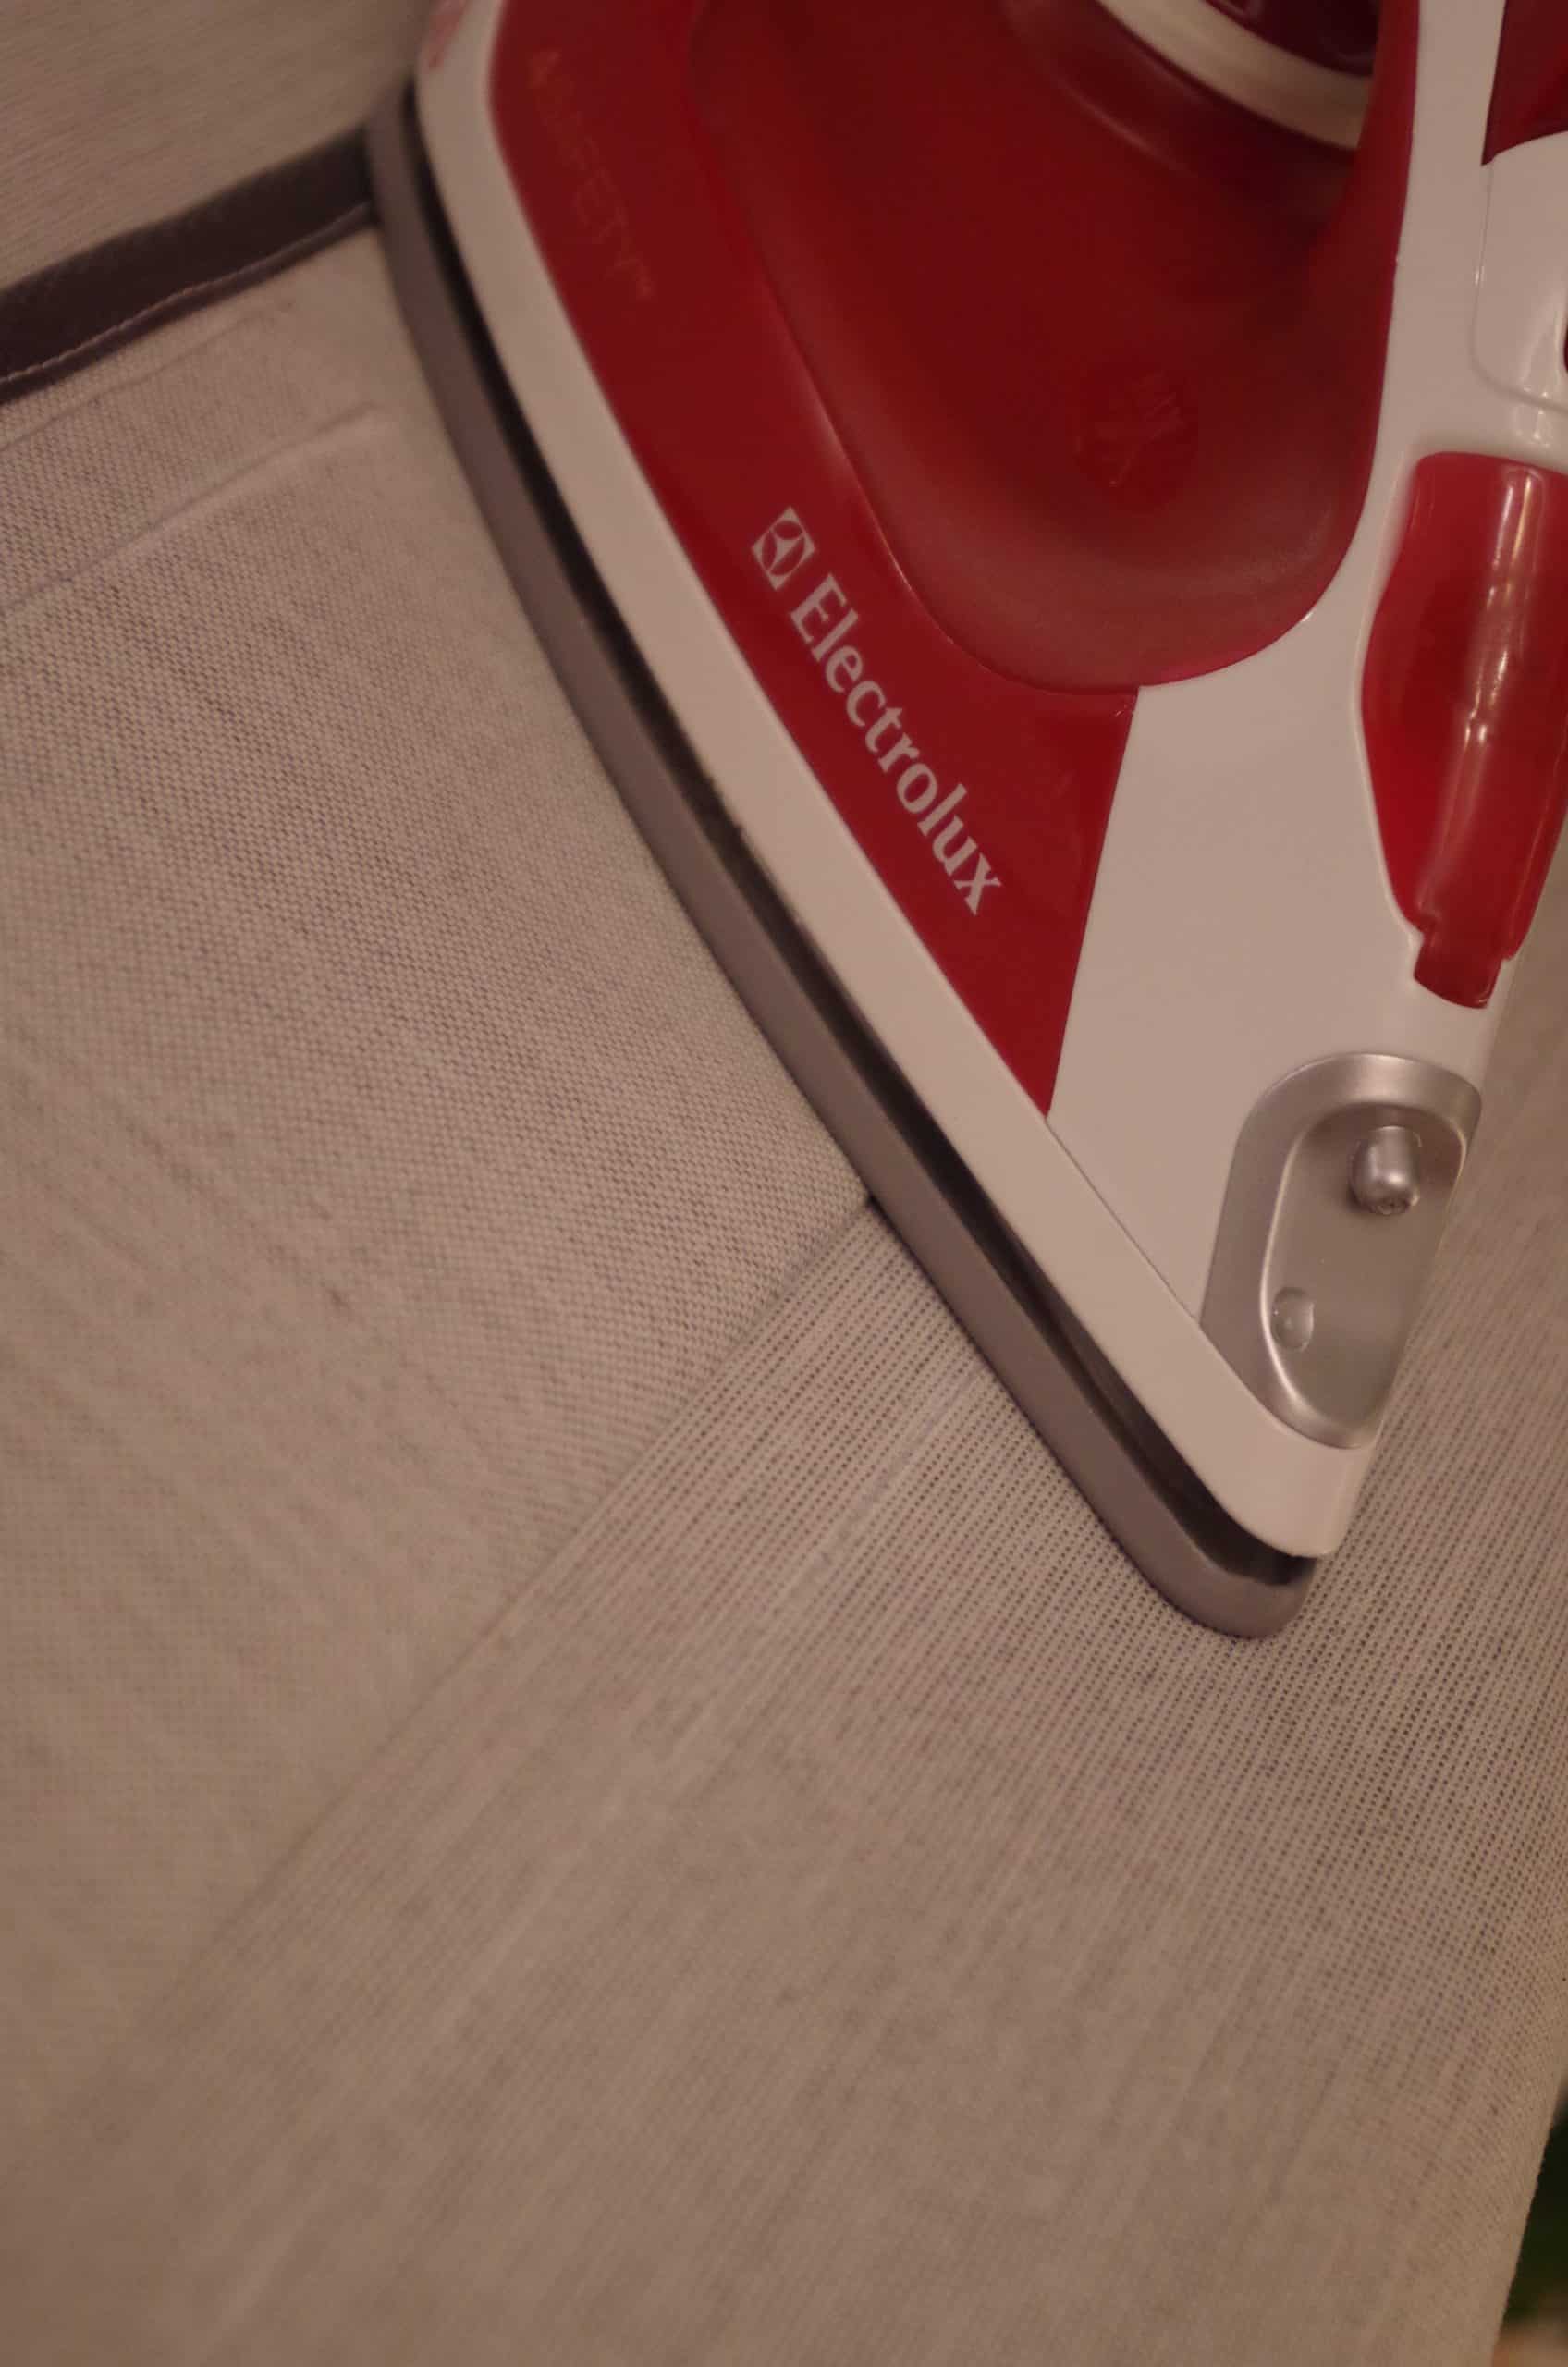
With the velcro securely attached it was time to sew the lid. Nothing special to say really. Measuring the width, adding seam allowance to the top, then sewing on edging around the bottom and sides.
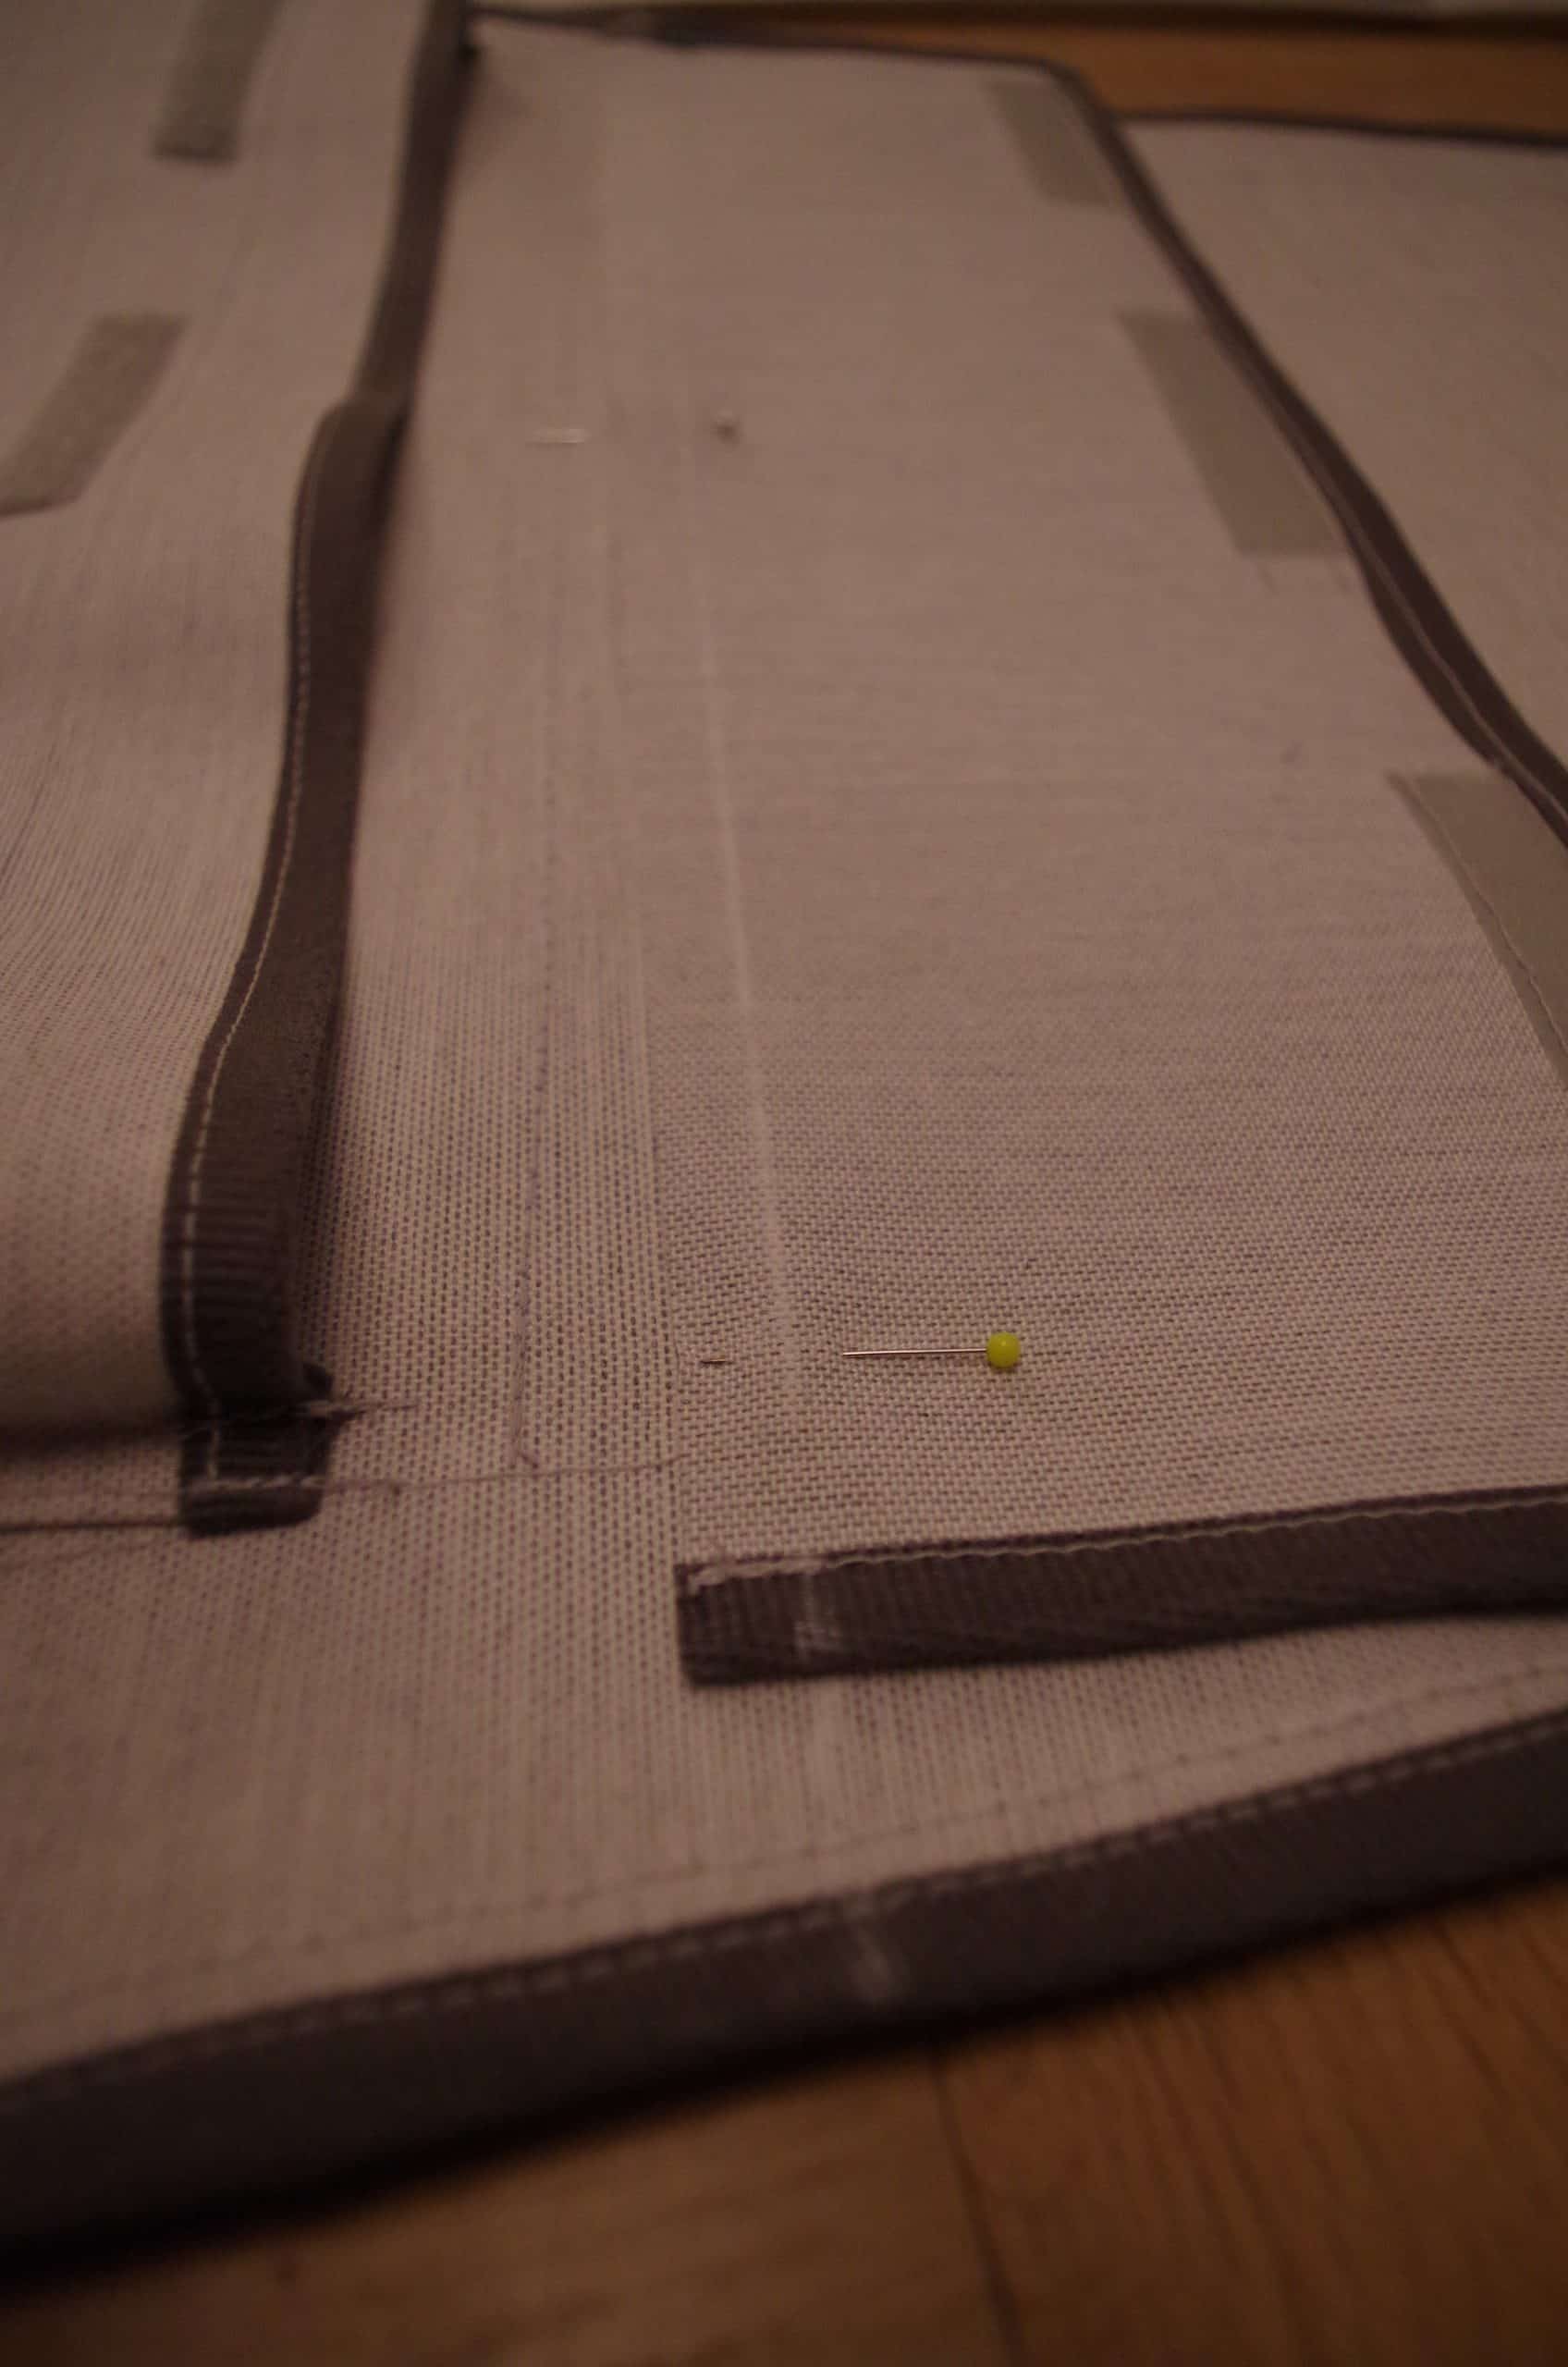
This time I measured out the proper place for the velcro and sewed it own before the lid was attached. When attaching the lid I started with measuring out the proper height to get the velcro to match when closing the pocket. I then drew a line on the panel and one line on the pocket. When these two lines matched I knew the lid was in the correct position.
Now it was a simple matter of sewing it. I started like the pocket, but since the lid is wide and needs to fold along a straight line I pressed it when folding it over so that it would be encouraged to be in the correct position.
Log pocket
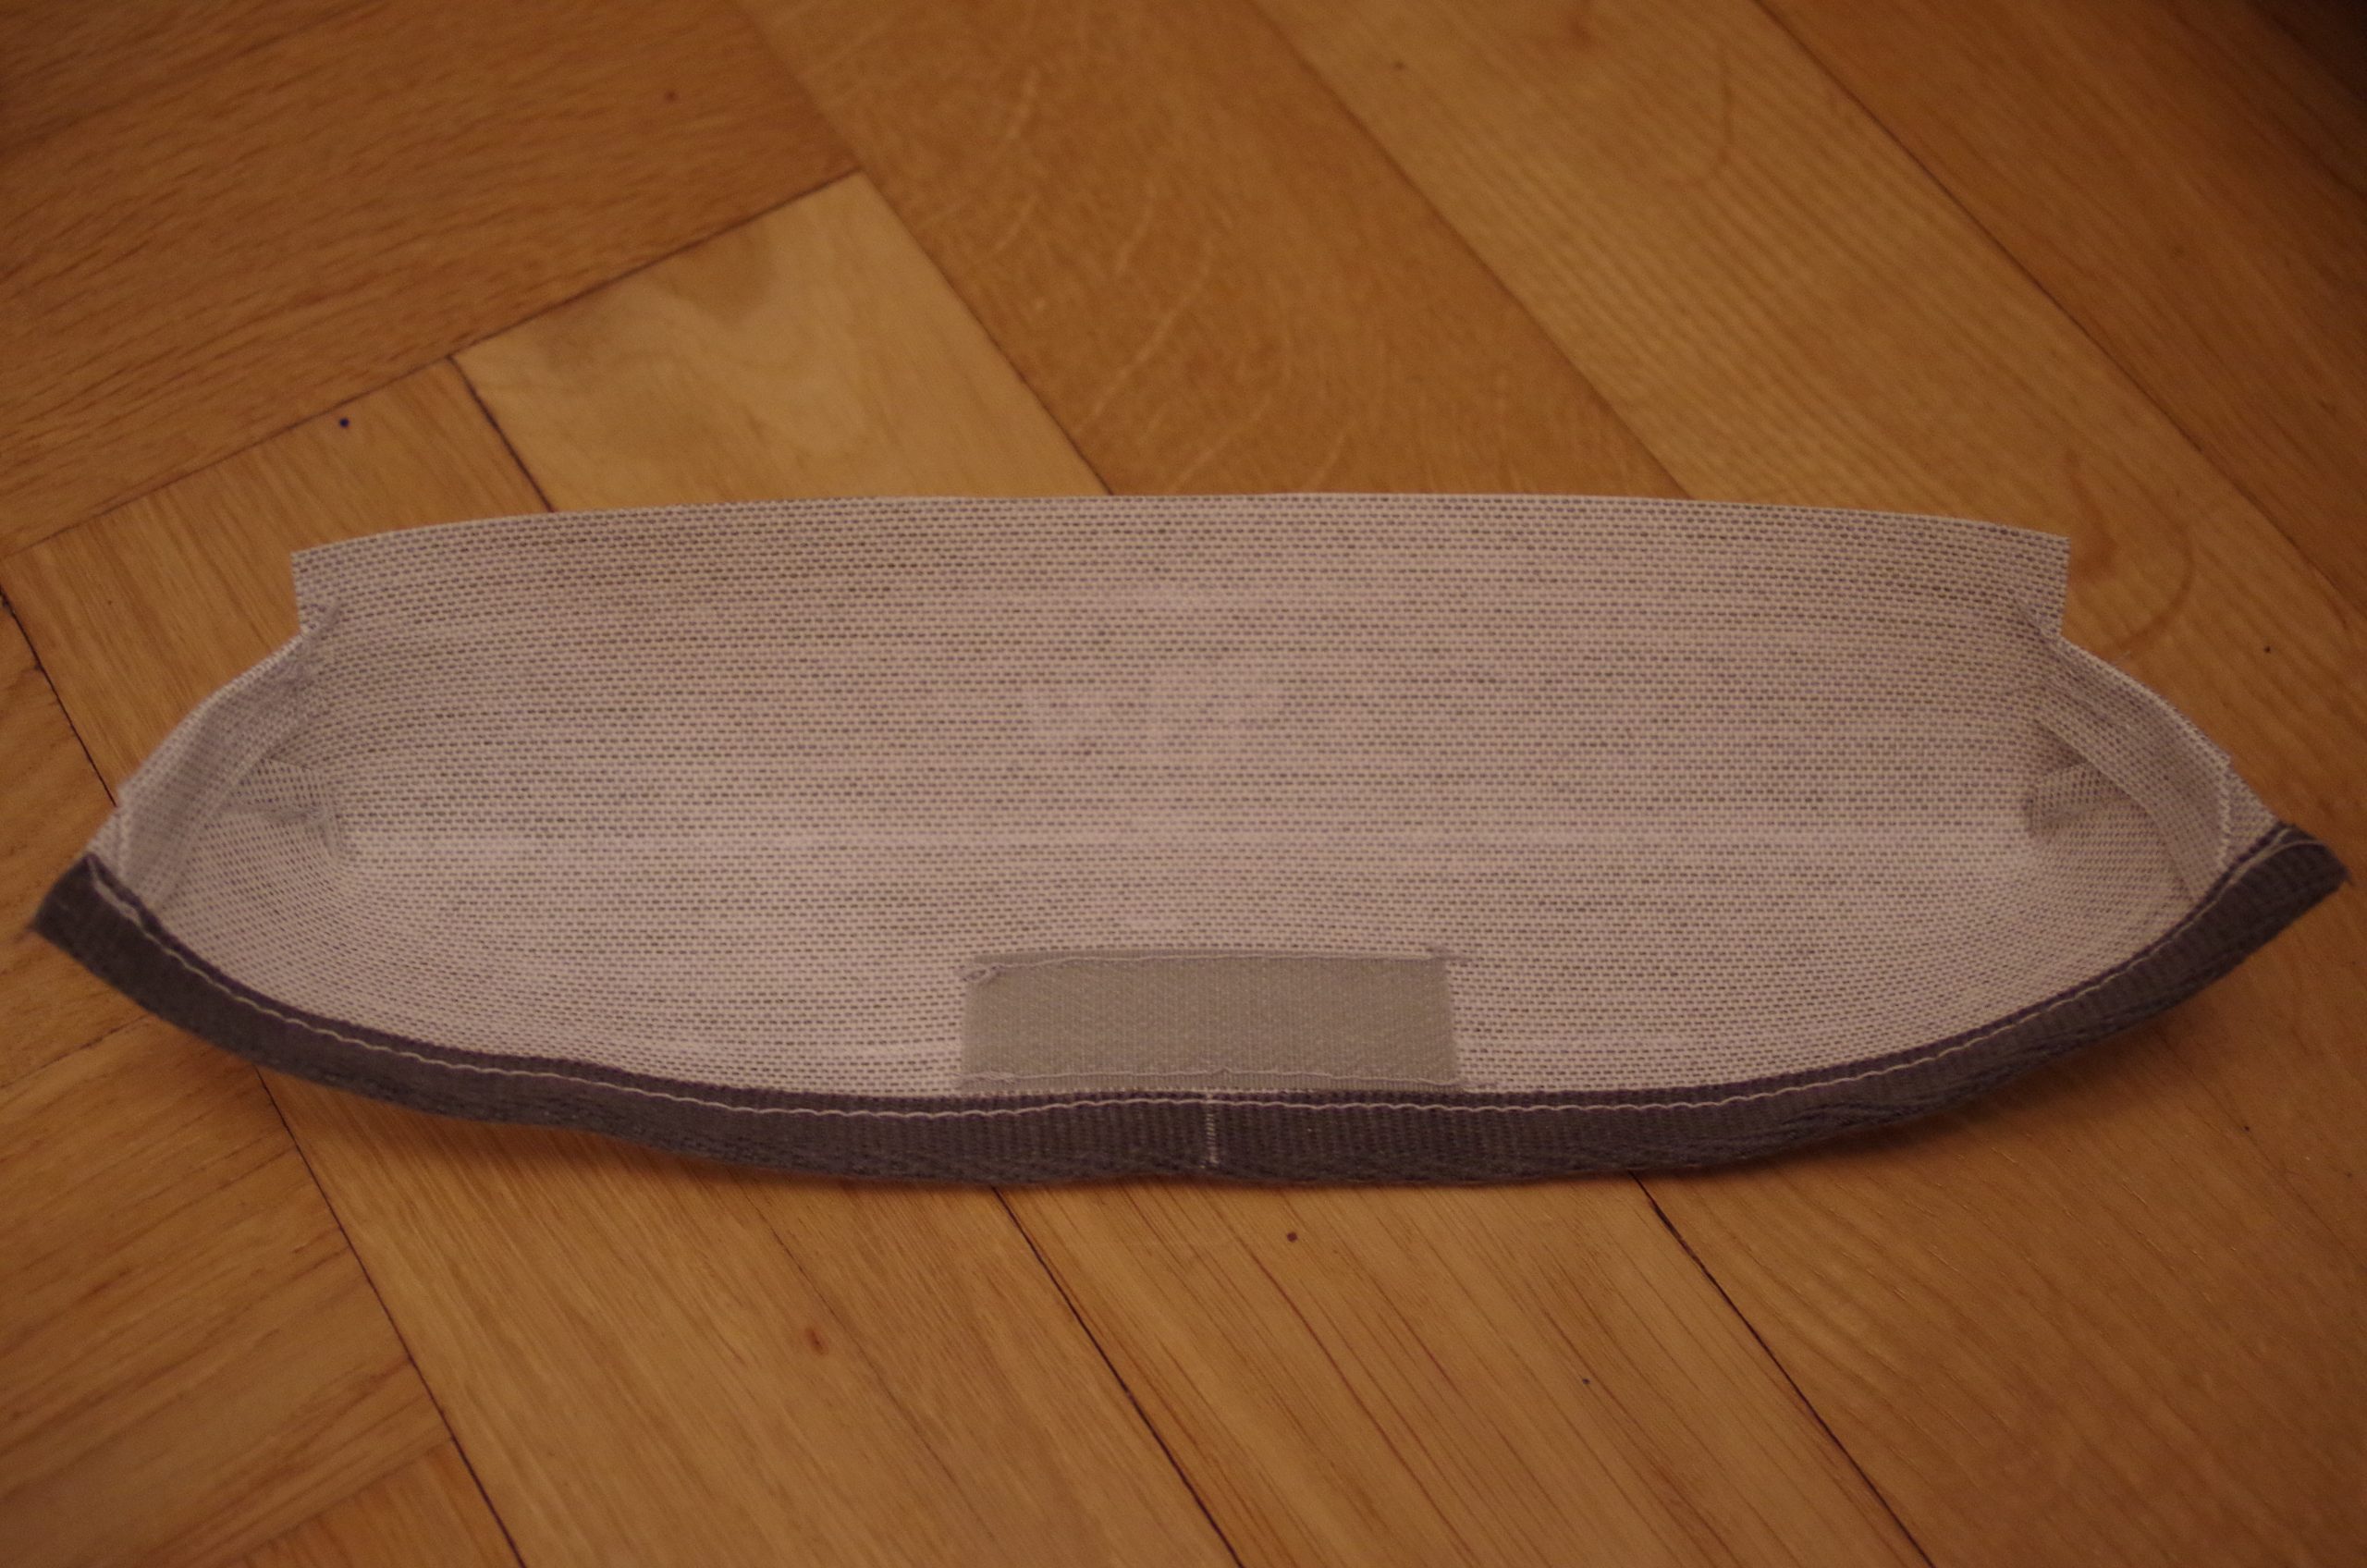
The log book pocket I did in much the same way as the chart pocket, but now calculating the piece of needed fabric correctly. The lid I did a little bit more elaborate though. To me the log book is both more sensitive to wet stuff and more precious, so I decided a more fitted lid would be better.
The lid was sewn as the bottom corners of the pockets, i.e. making some boxy corners in it. It is also a rather tight fit around the pocket. I think that it turned out quite nice.
Personal phone pockets
The phone or personal pockets required the most head scratching in this pockets, that’s why I did them last. I wanted them to be able to store other things than phones so I decided them to be a bit bulky with a big overlapping flexible position lid.
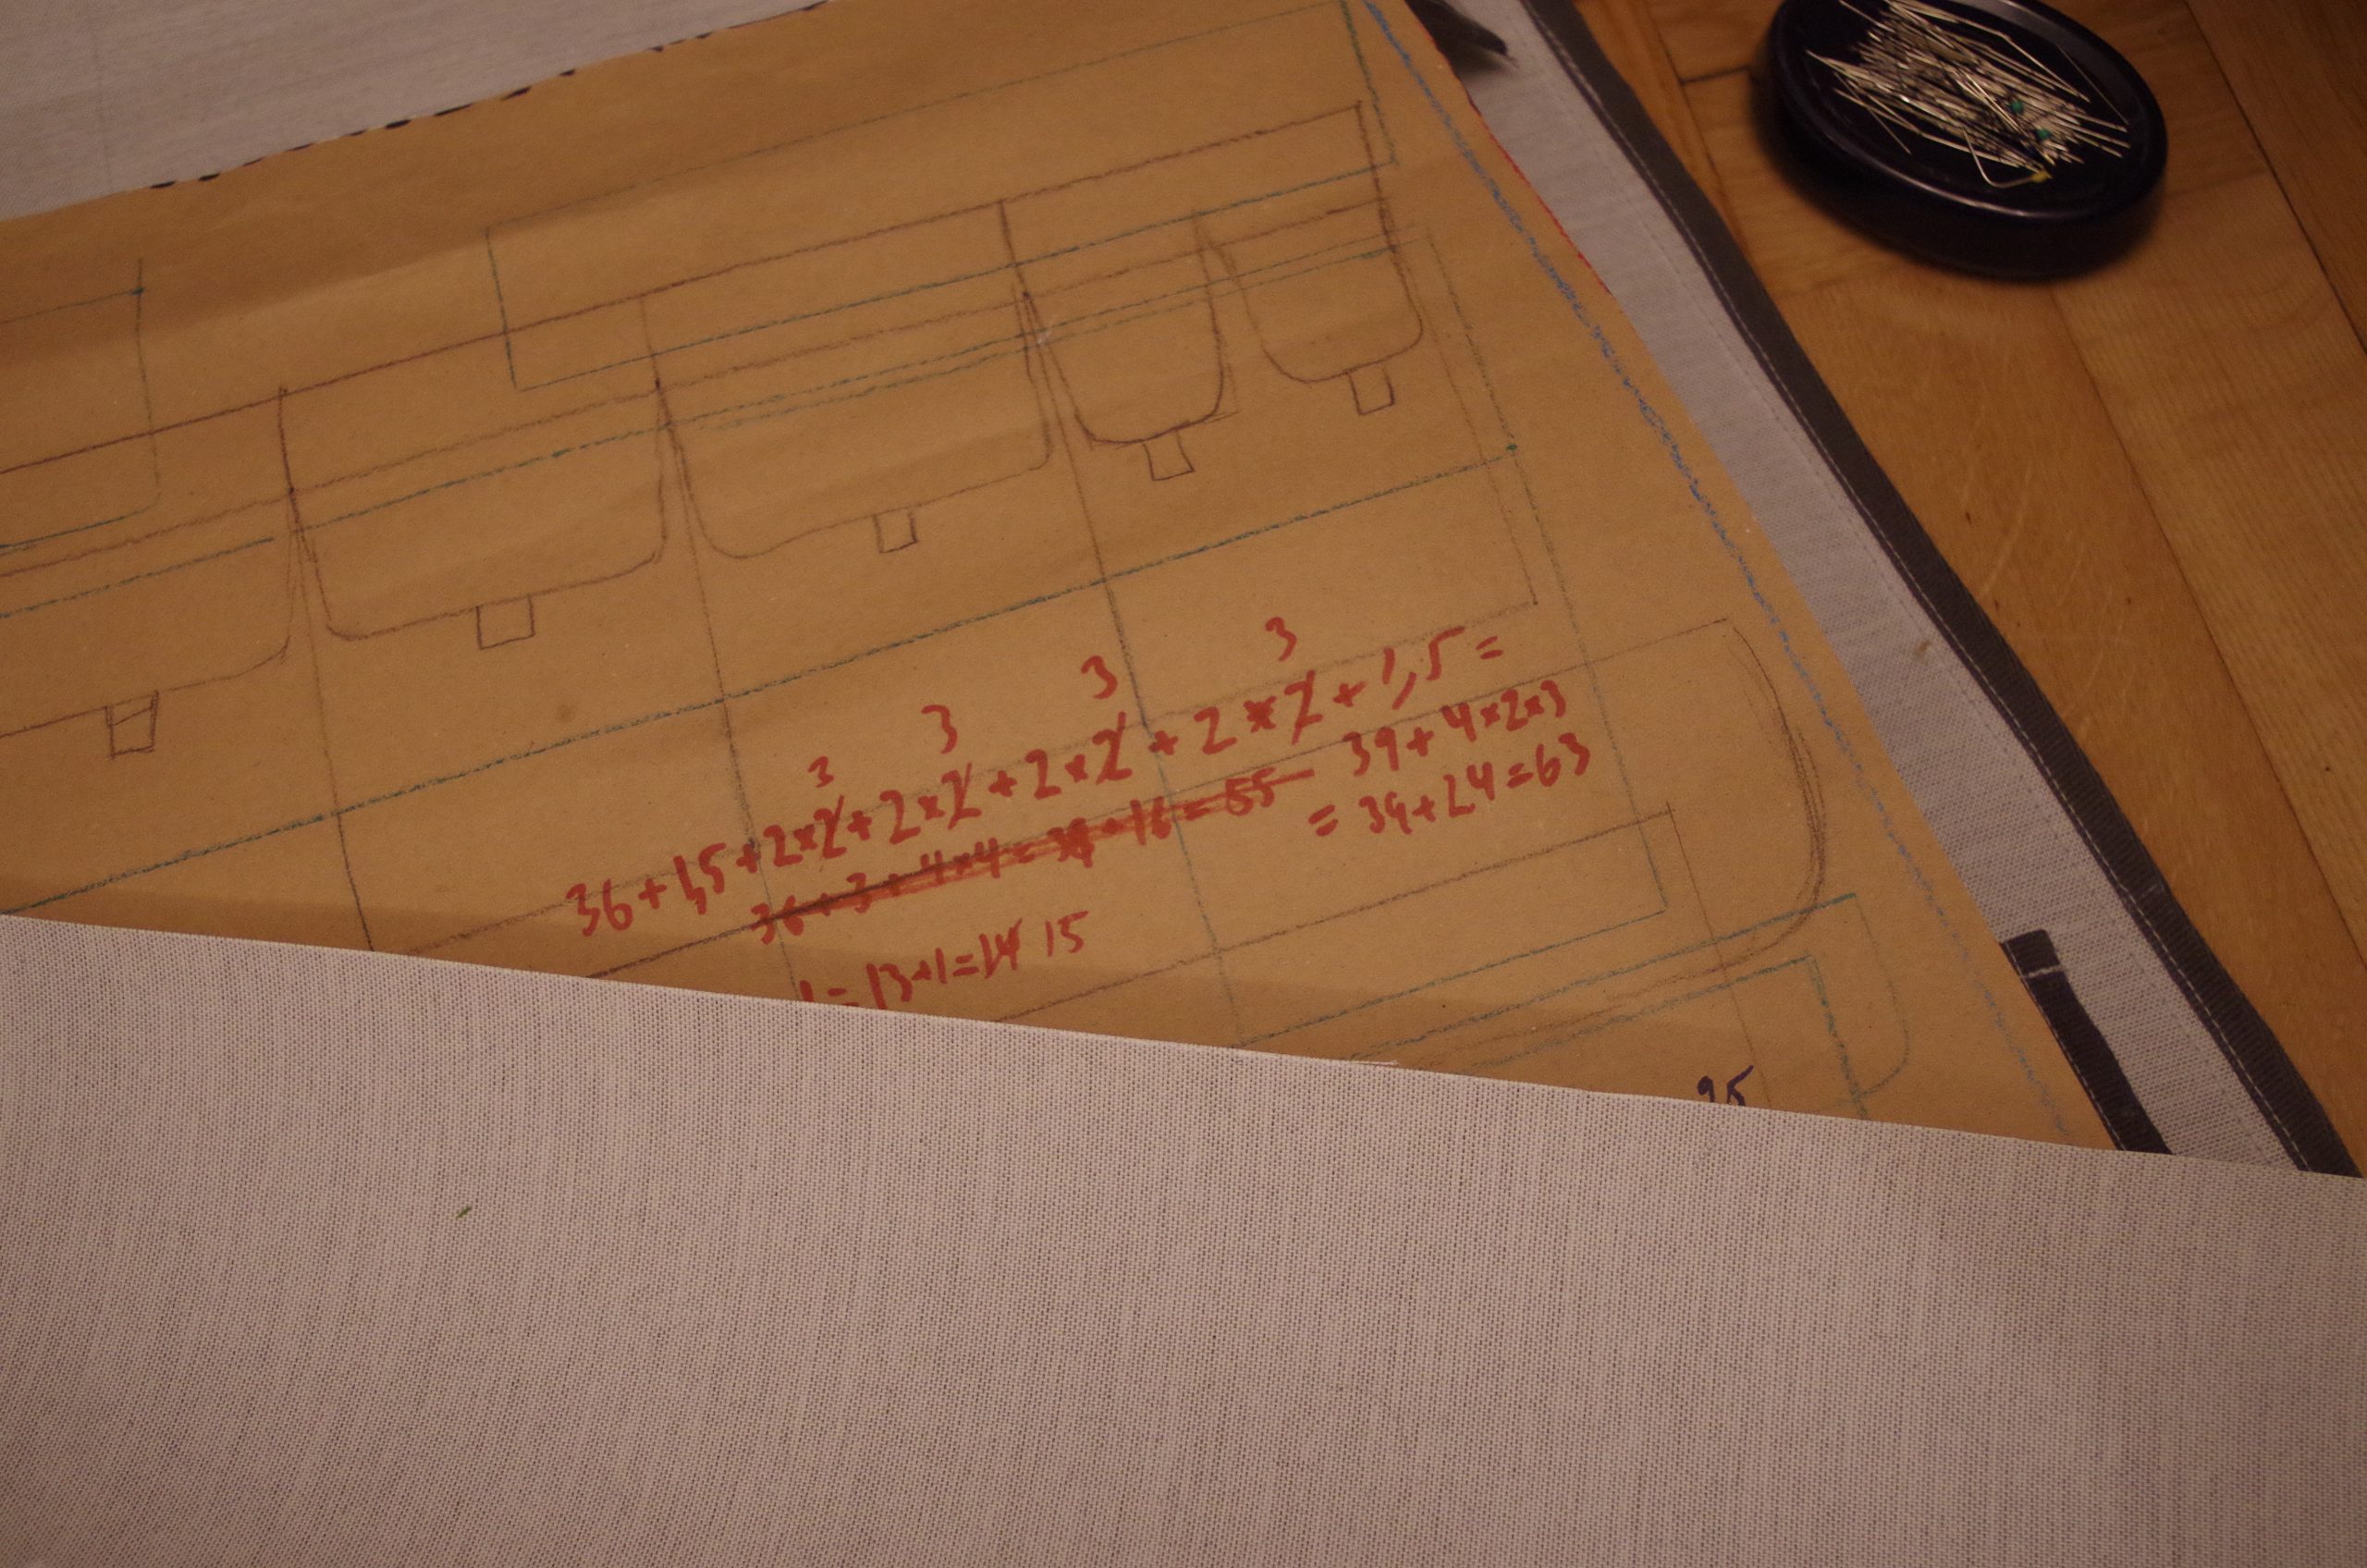
The pockets are 9 cm wide, they build 3 cm from the panel with 1,5 seam allowance on the sides and 1 cm at the bottom.
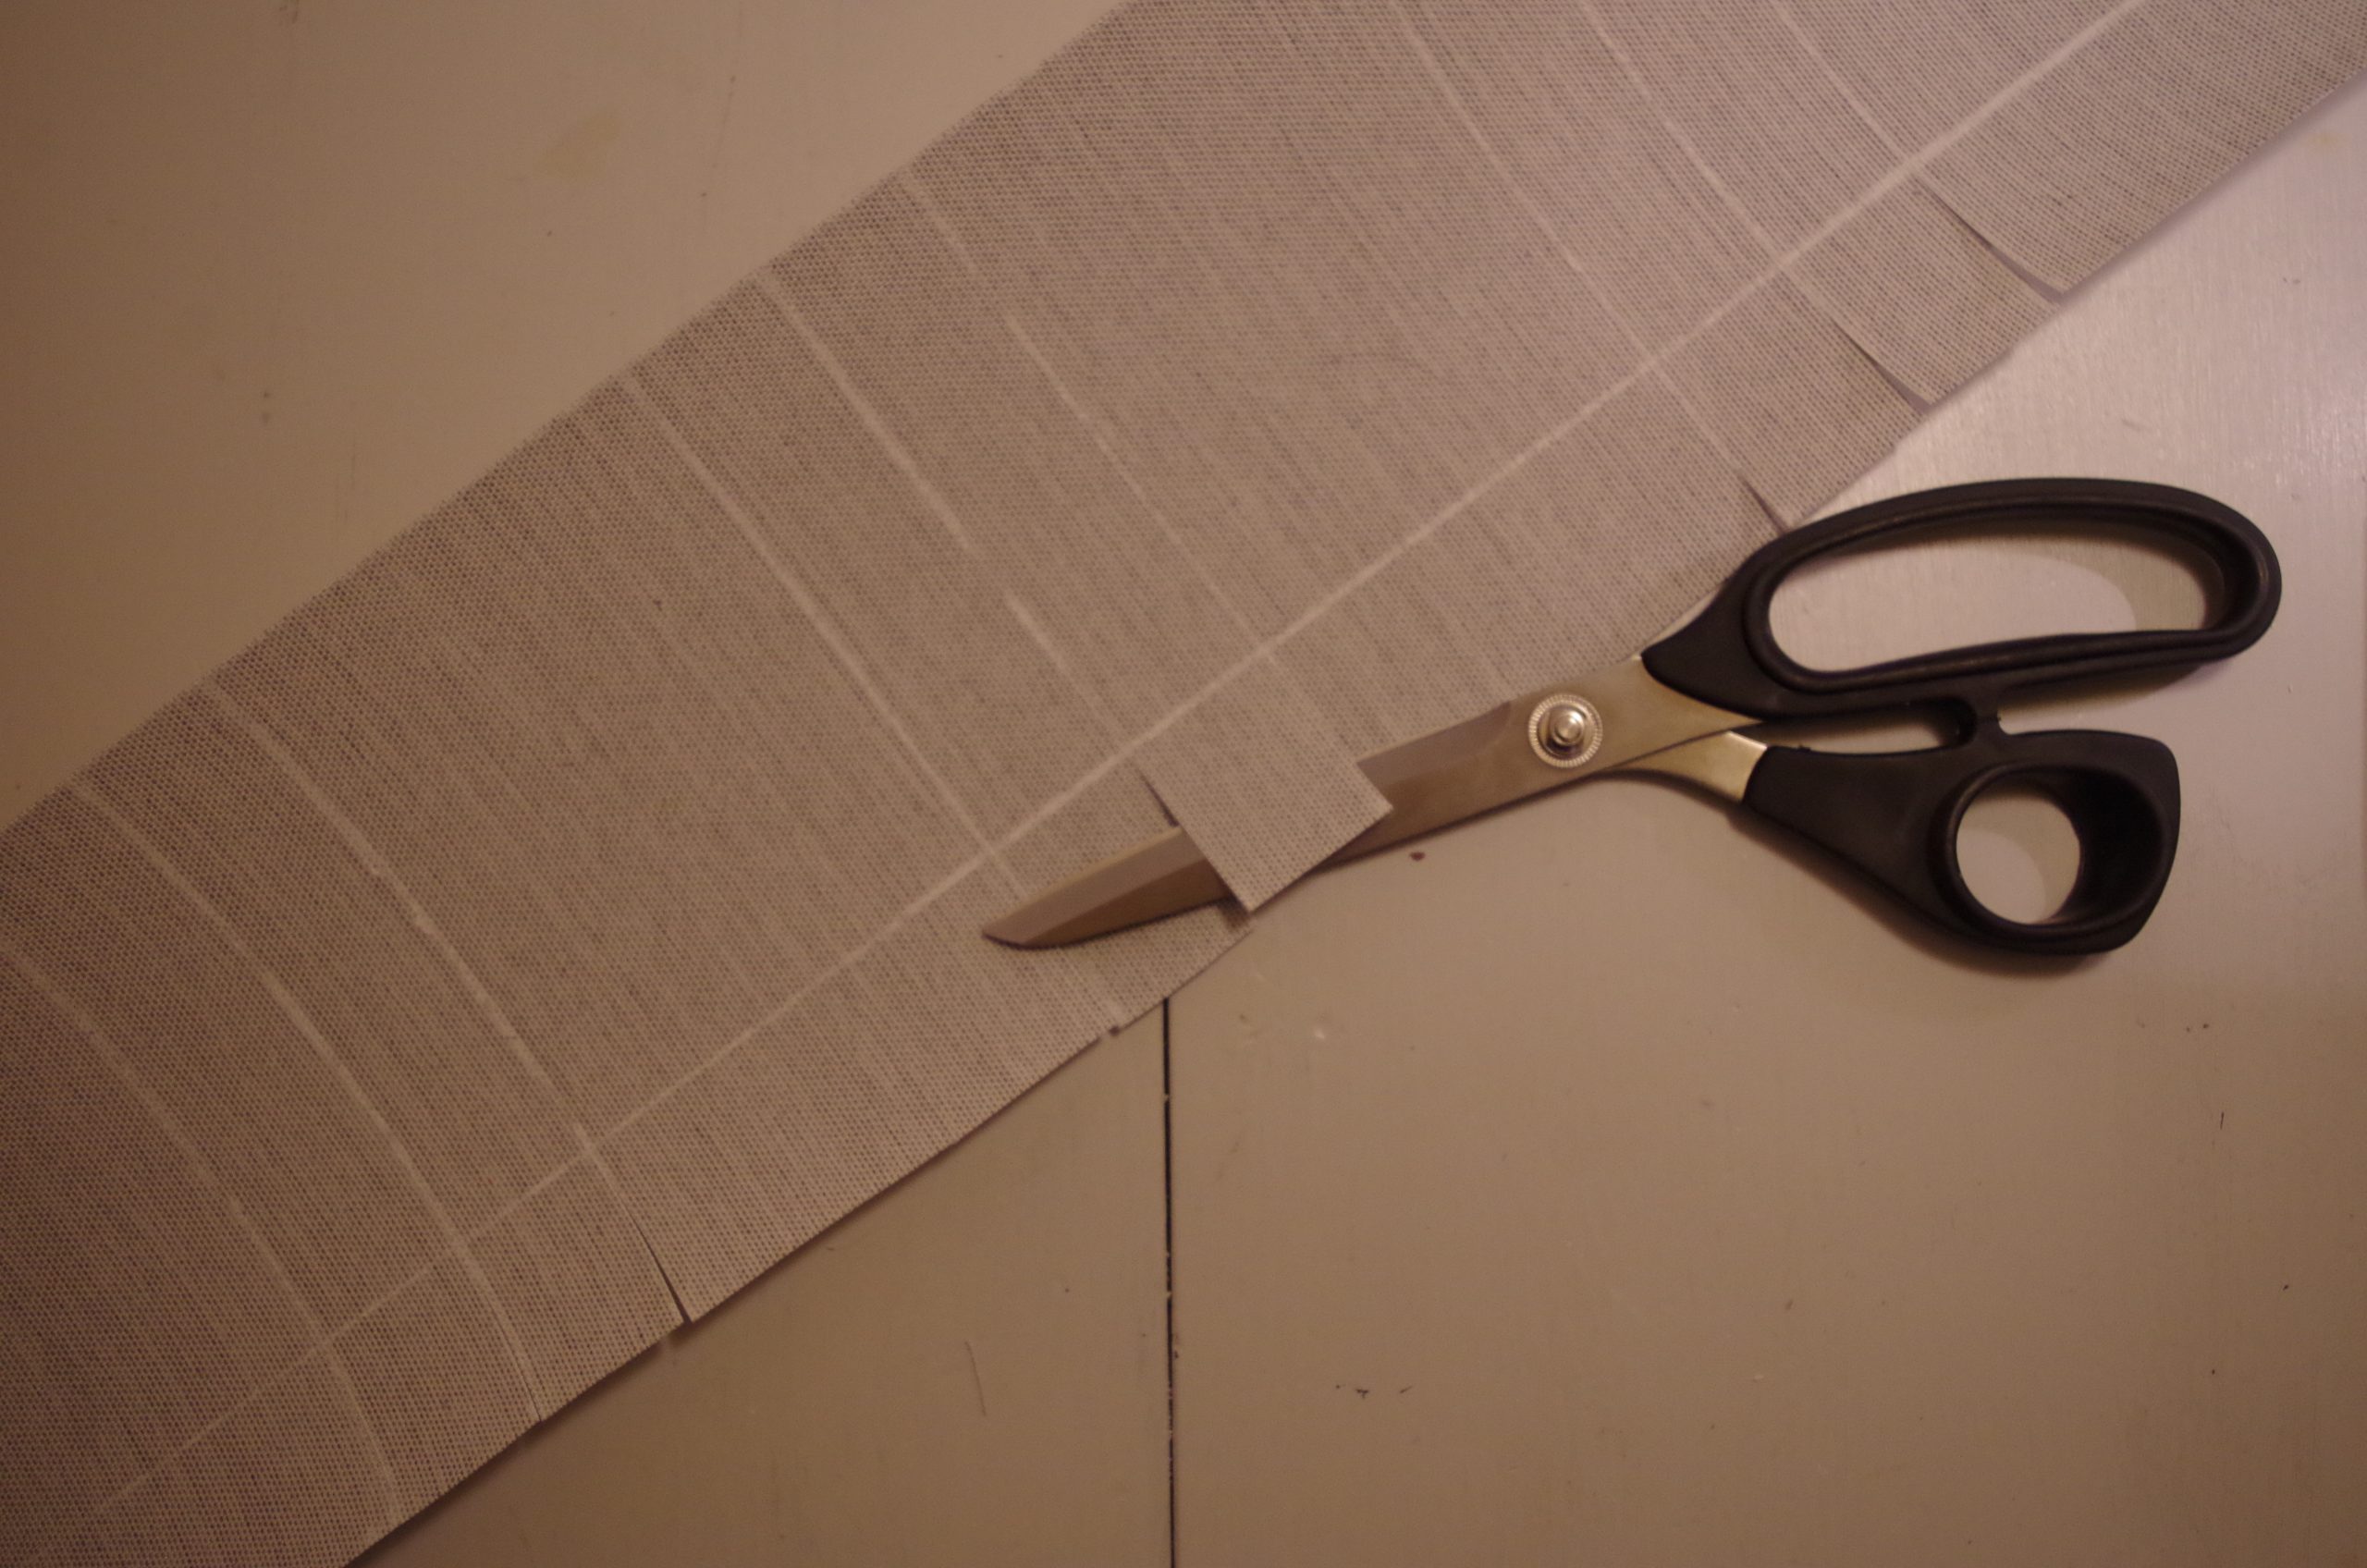
With the piece cut out I began marking out and cutting inserts in the bottom so that the bottom of the pockets could be constructed. In the end I did some errors here when sewing the pockets because the 1cm seam allowance somehow disappeared. I think I should have sewn the bottom from the outside rather than inside and then it would have worked.
After the pockets had gotten their shape I sewed on the velcro.
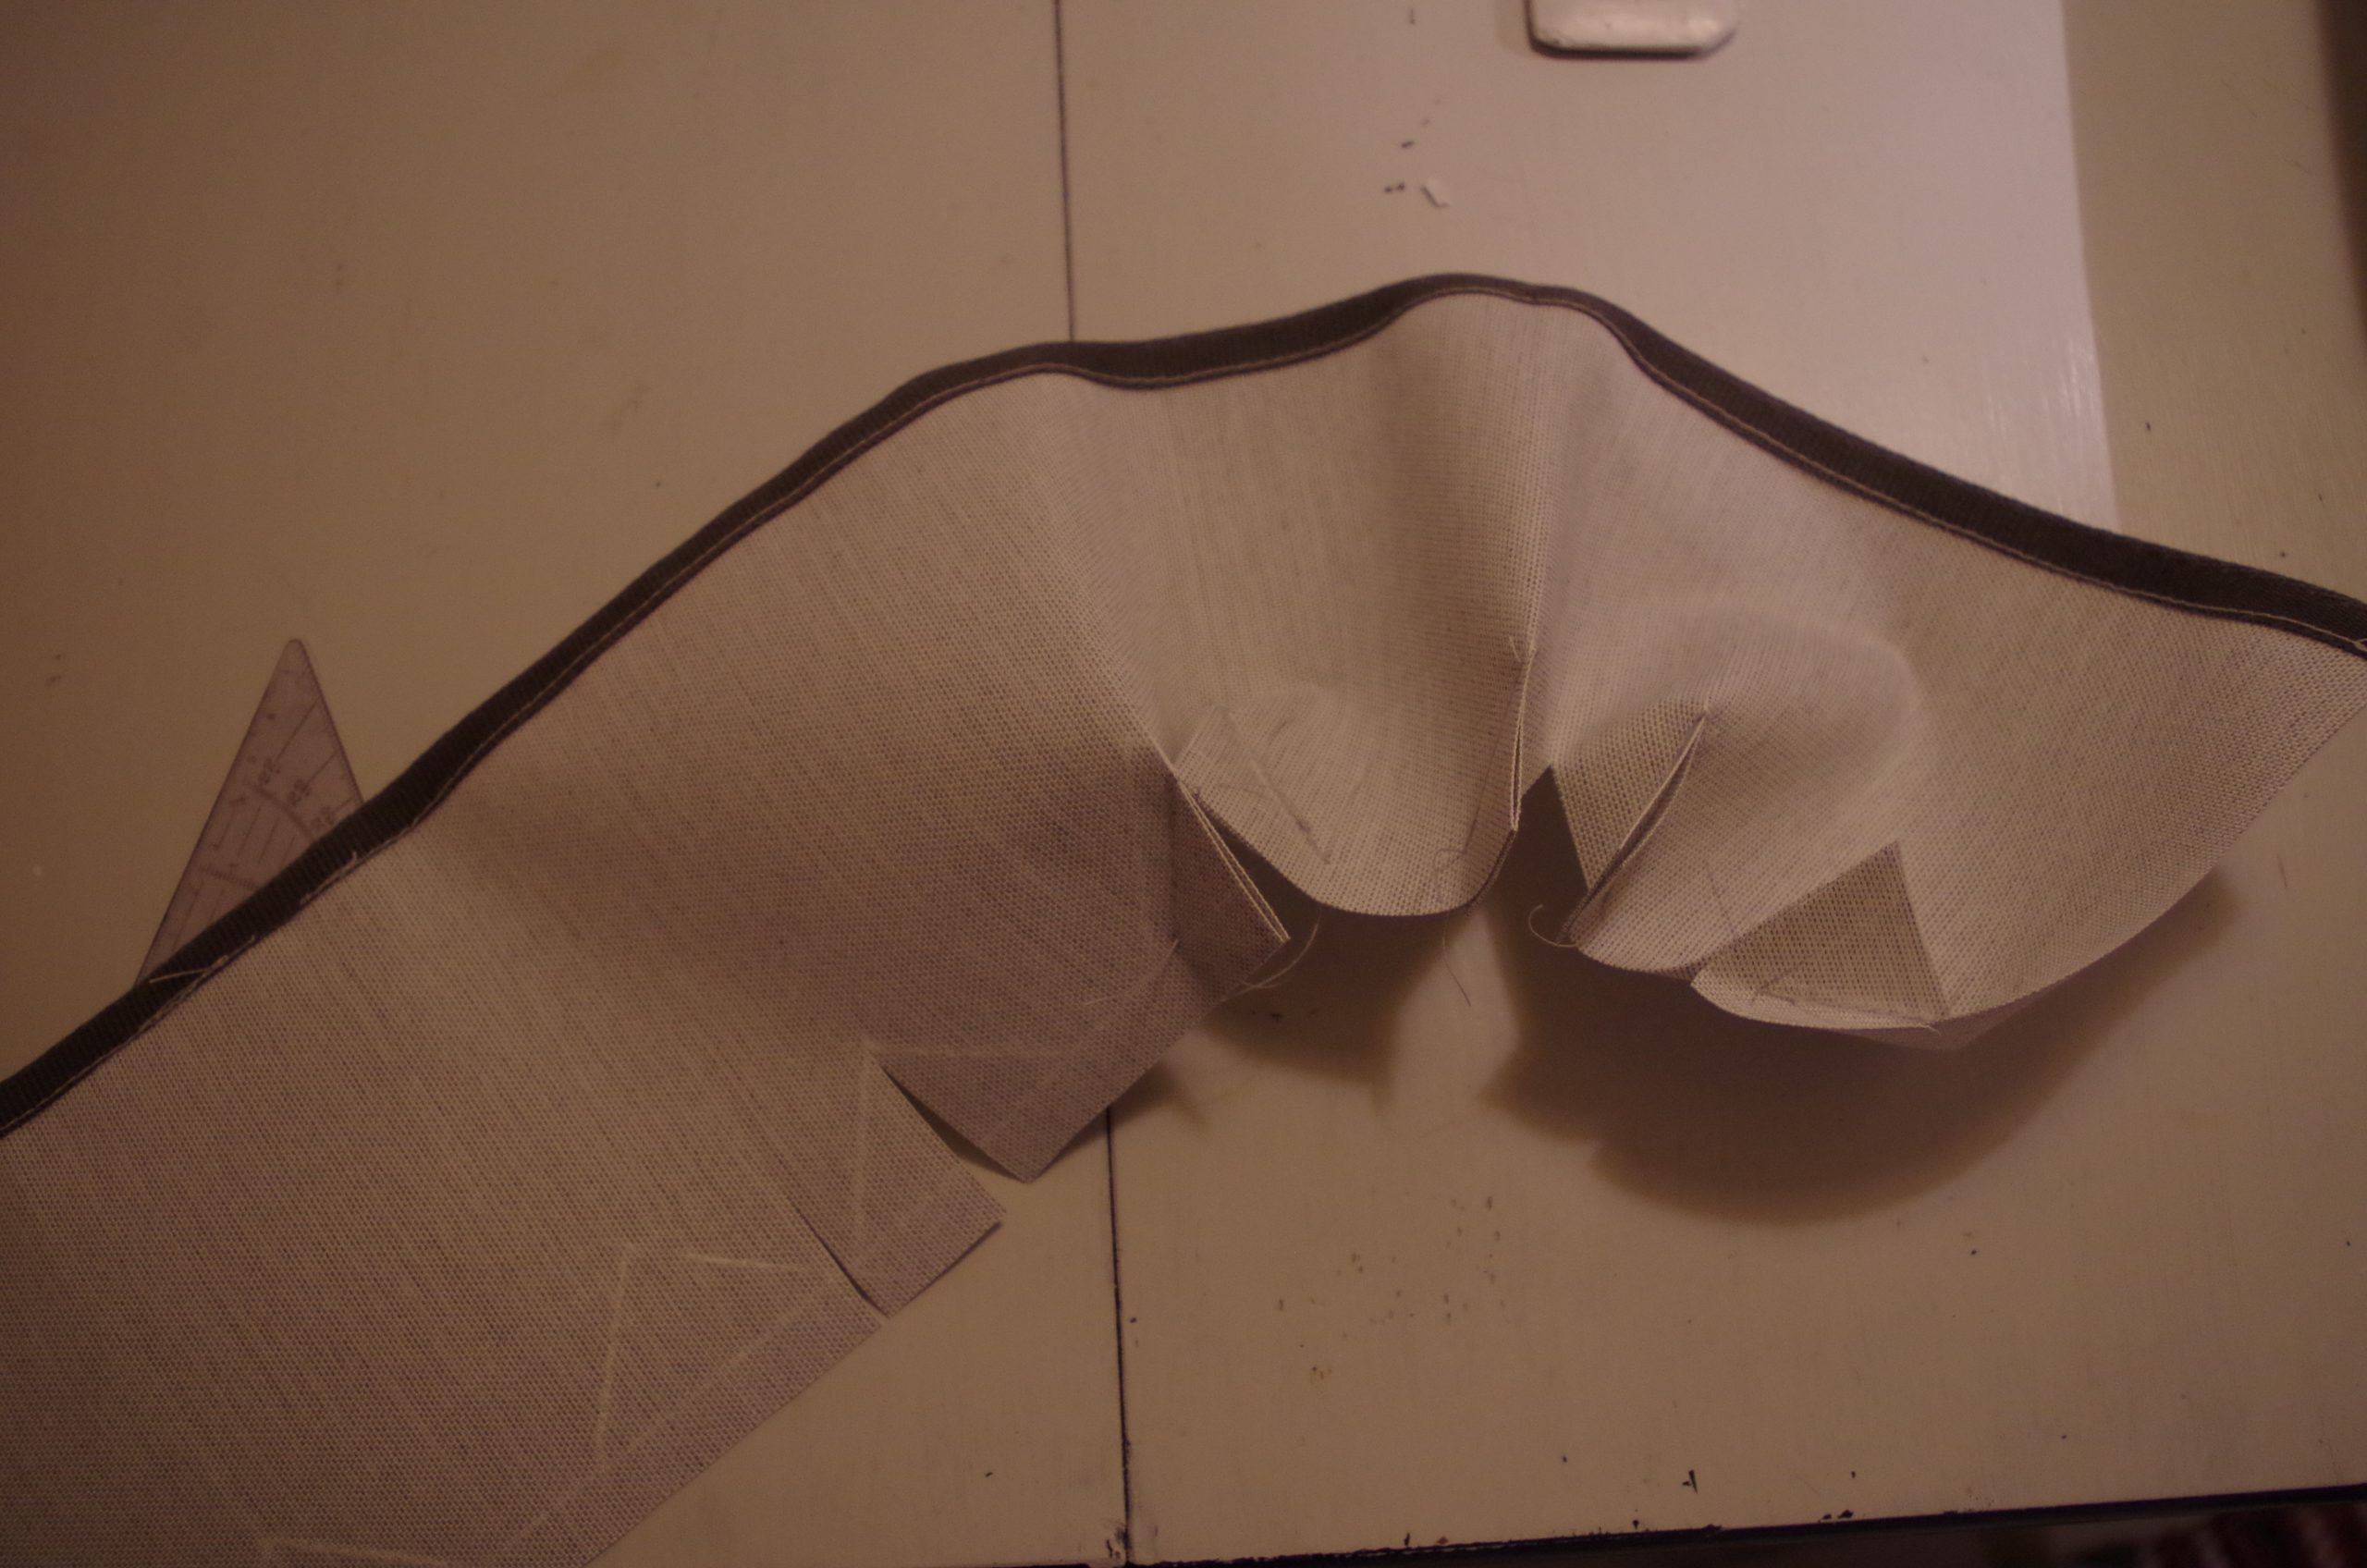
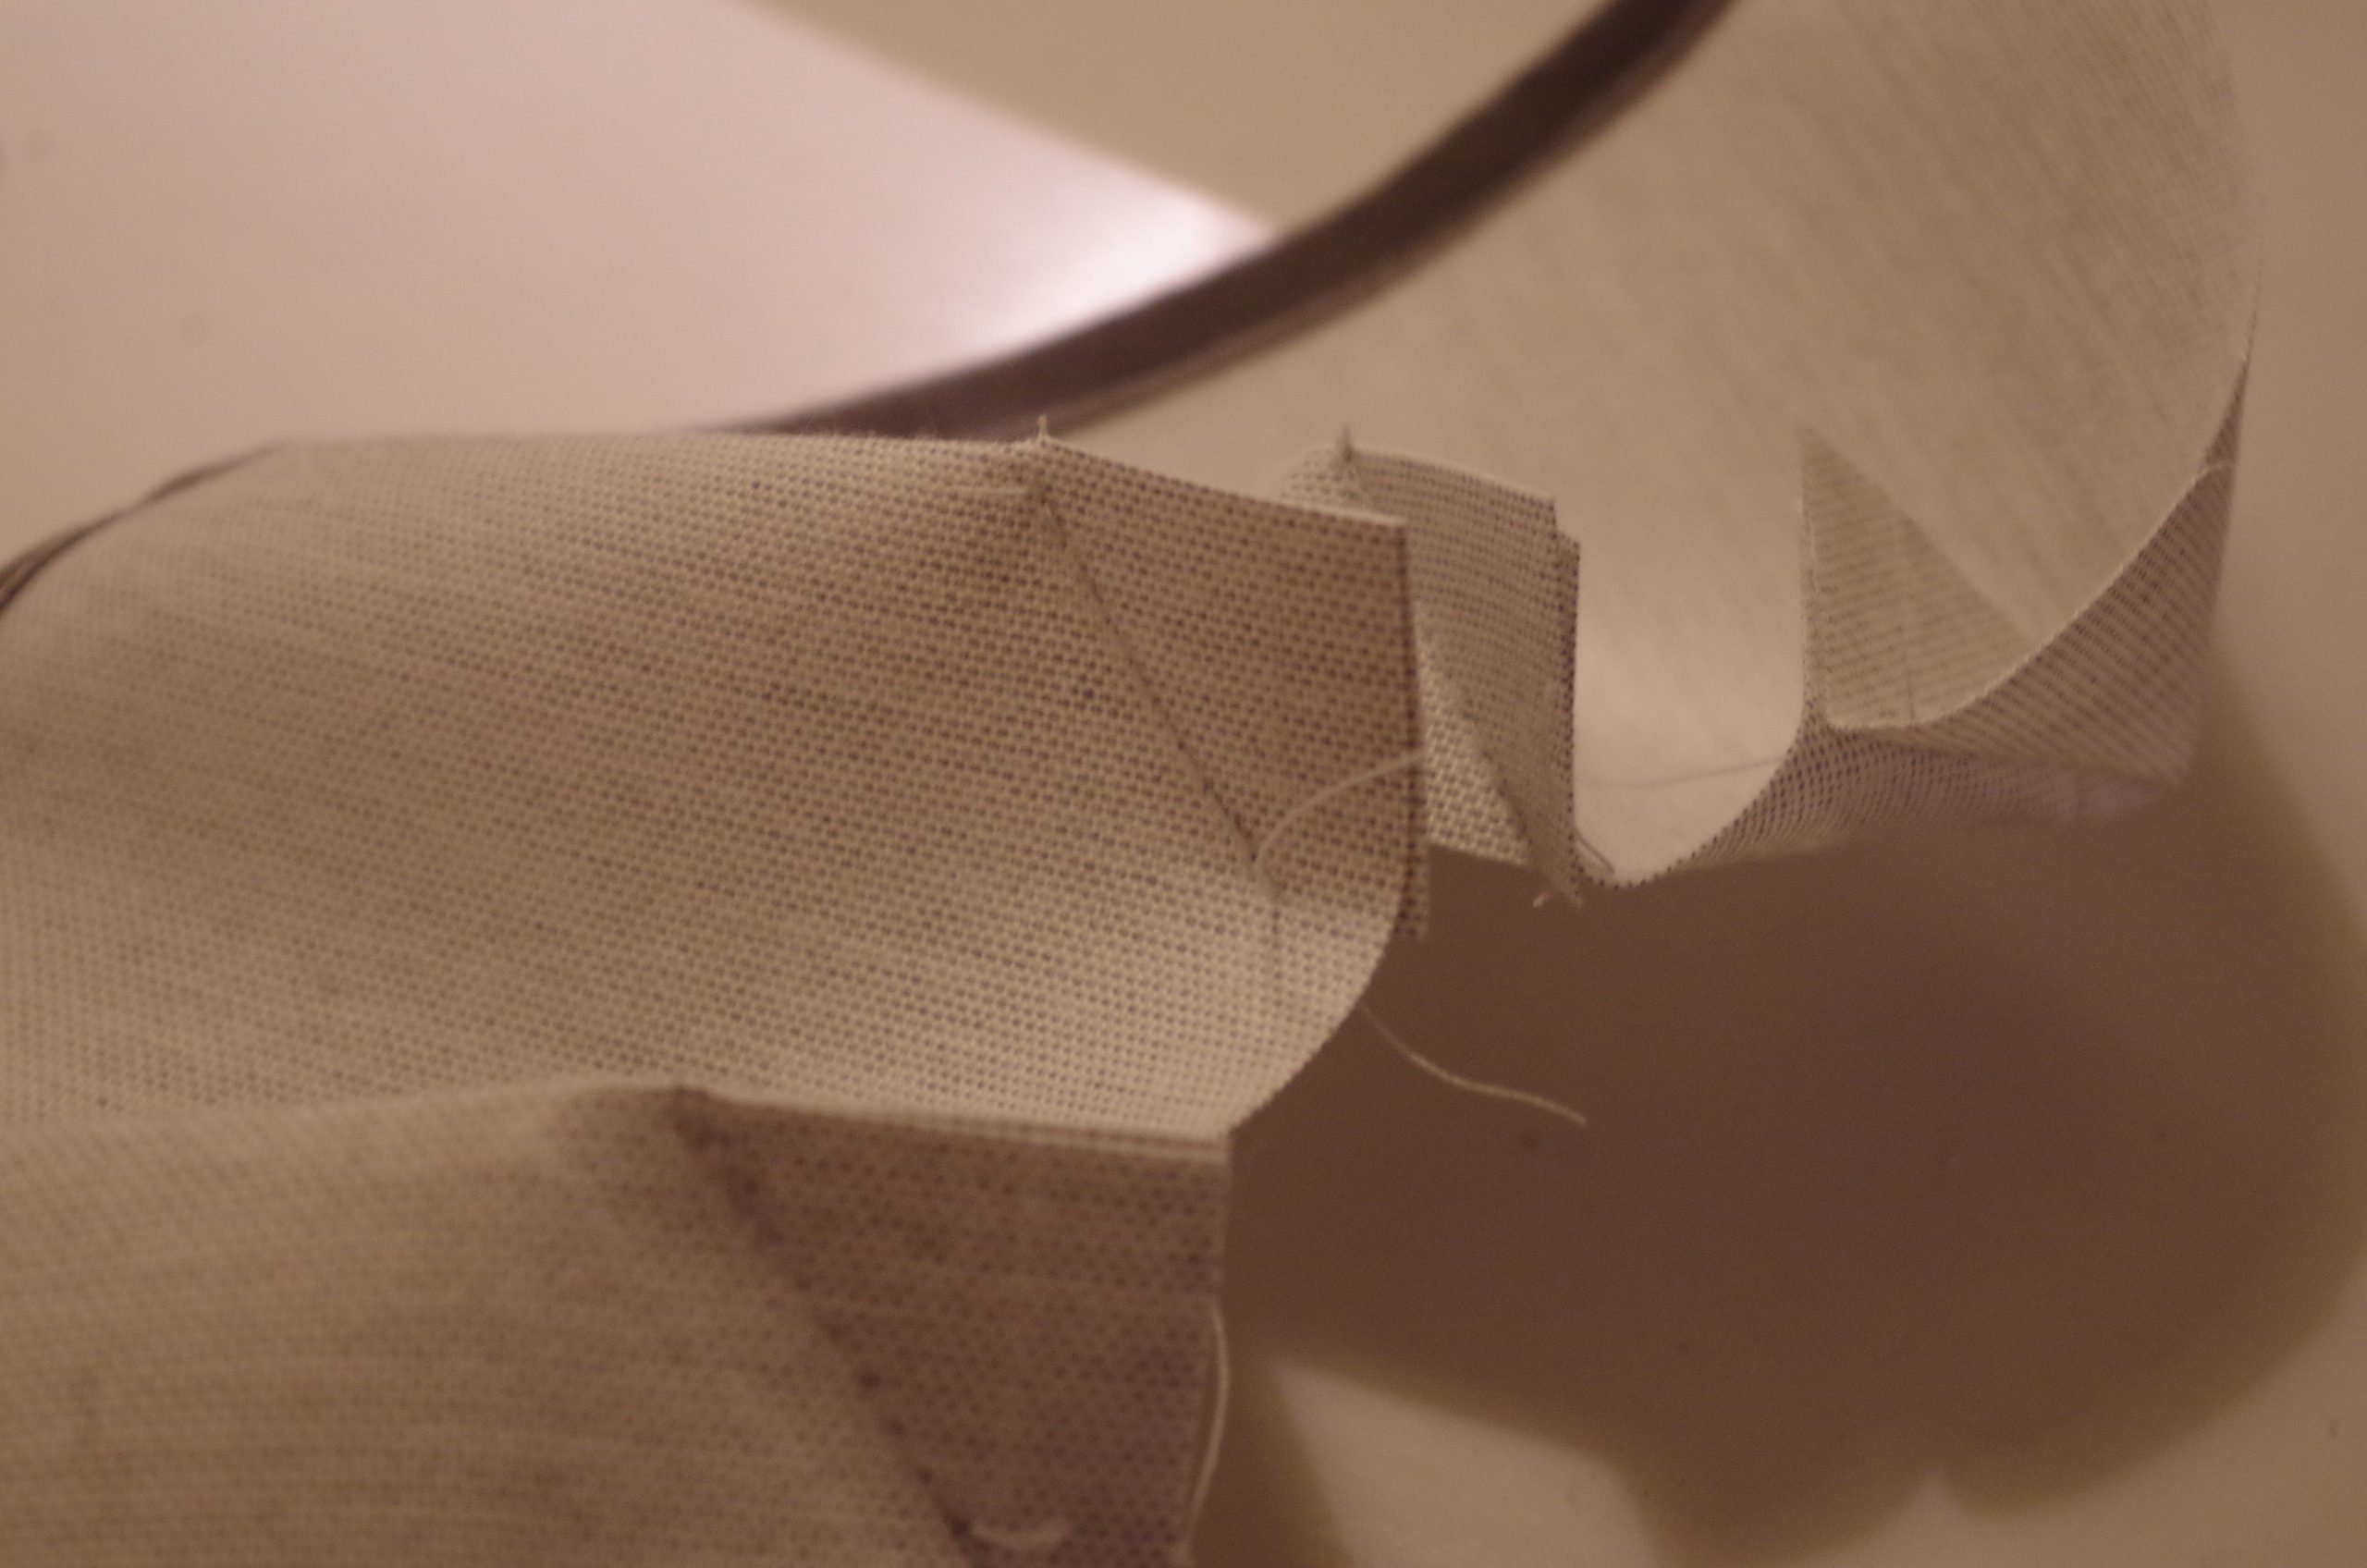
I tried for a while to get the pocket(s) to cooperate sewing in the machine, but because of the stiff fabric, the feeble pinning needles, and the shape combined with the space available under the arm of my sewing machine, I gave up. The non-existing seam allowance in some places didn’t help either.
In the end I basted the pockets in the correct place by hand with sail-sewing needles and thread. After this I directly sewed the pockets from the outside with the machine. The bottom edge is not really straight but nothing one really notices.
Since there are really four pockets that needs to be accessed individually, four lids where needed as well. I measured the length by putting the case for my sunglasses in one pocket then taking som fabric and measuring how long the lid would need to be to fit them, added some seam allowance, 17 cm long was the number that got produced.
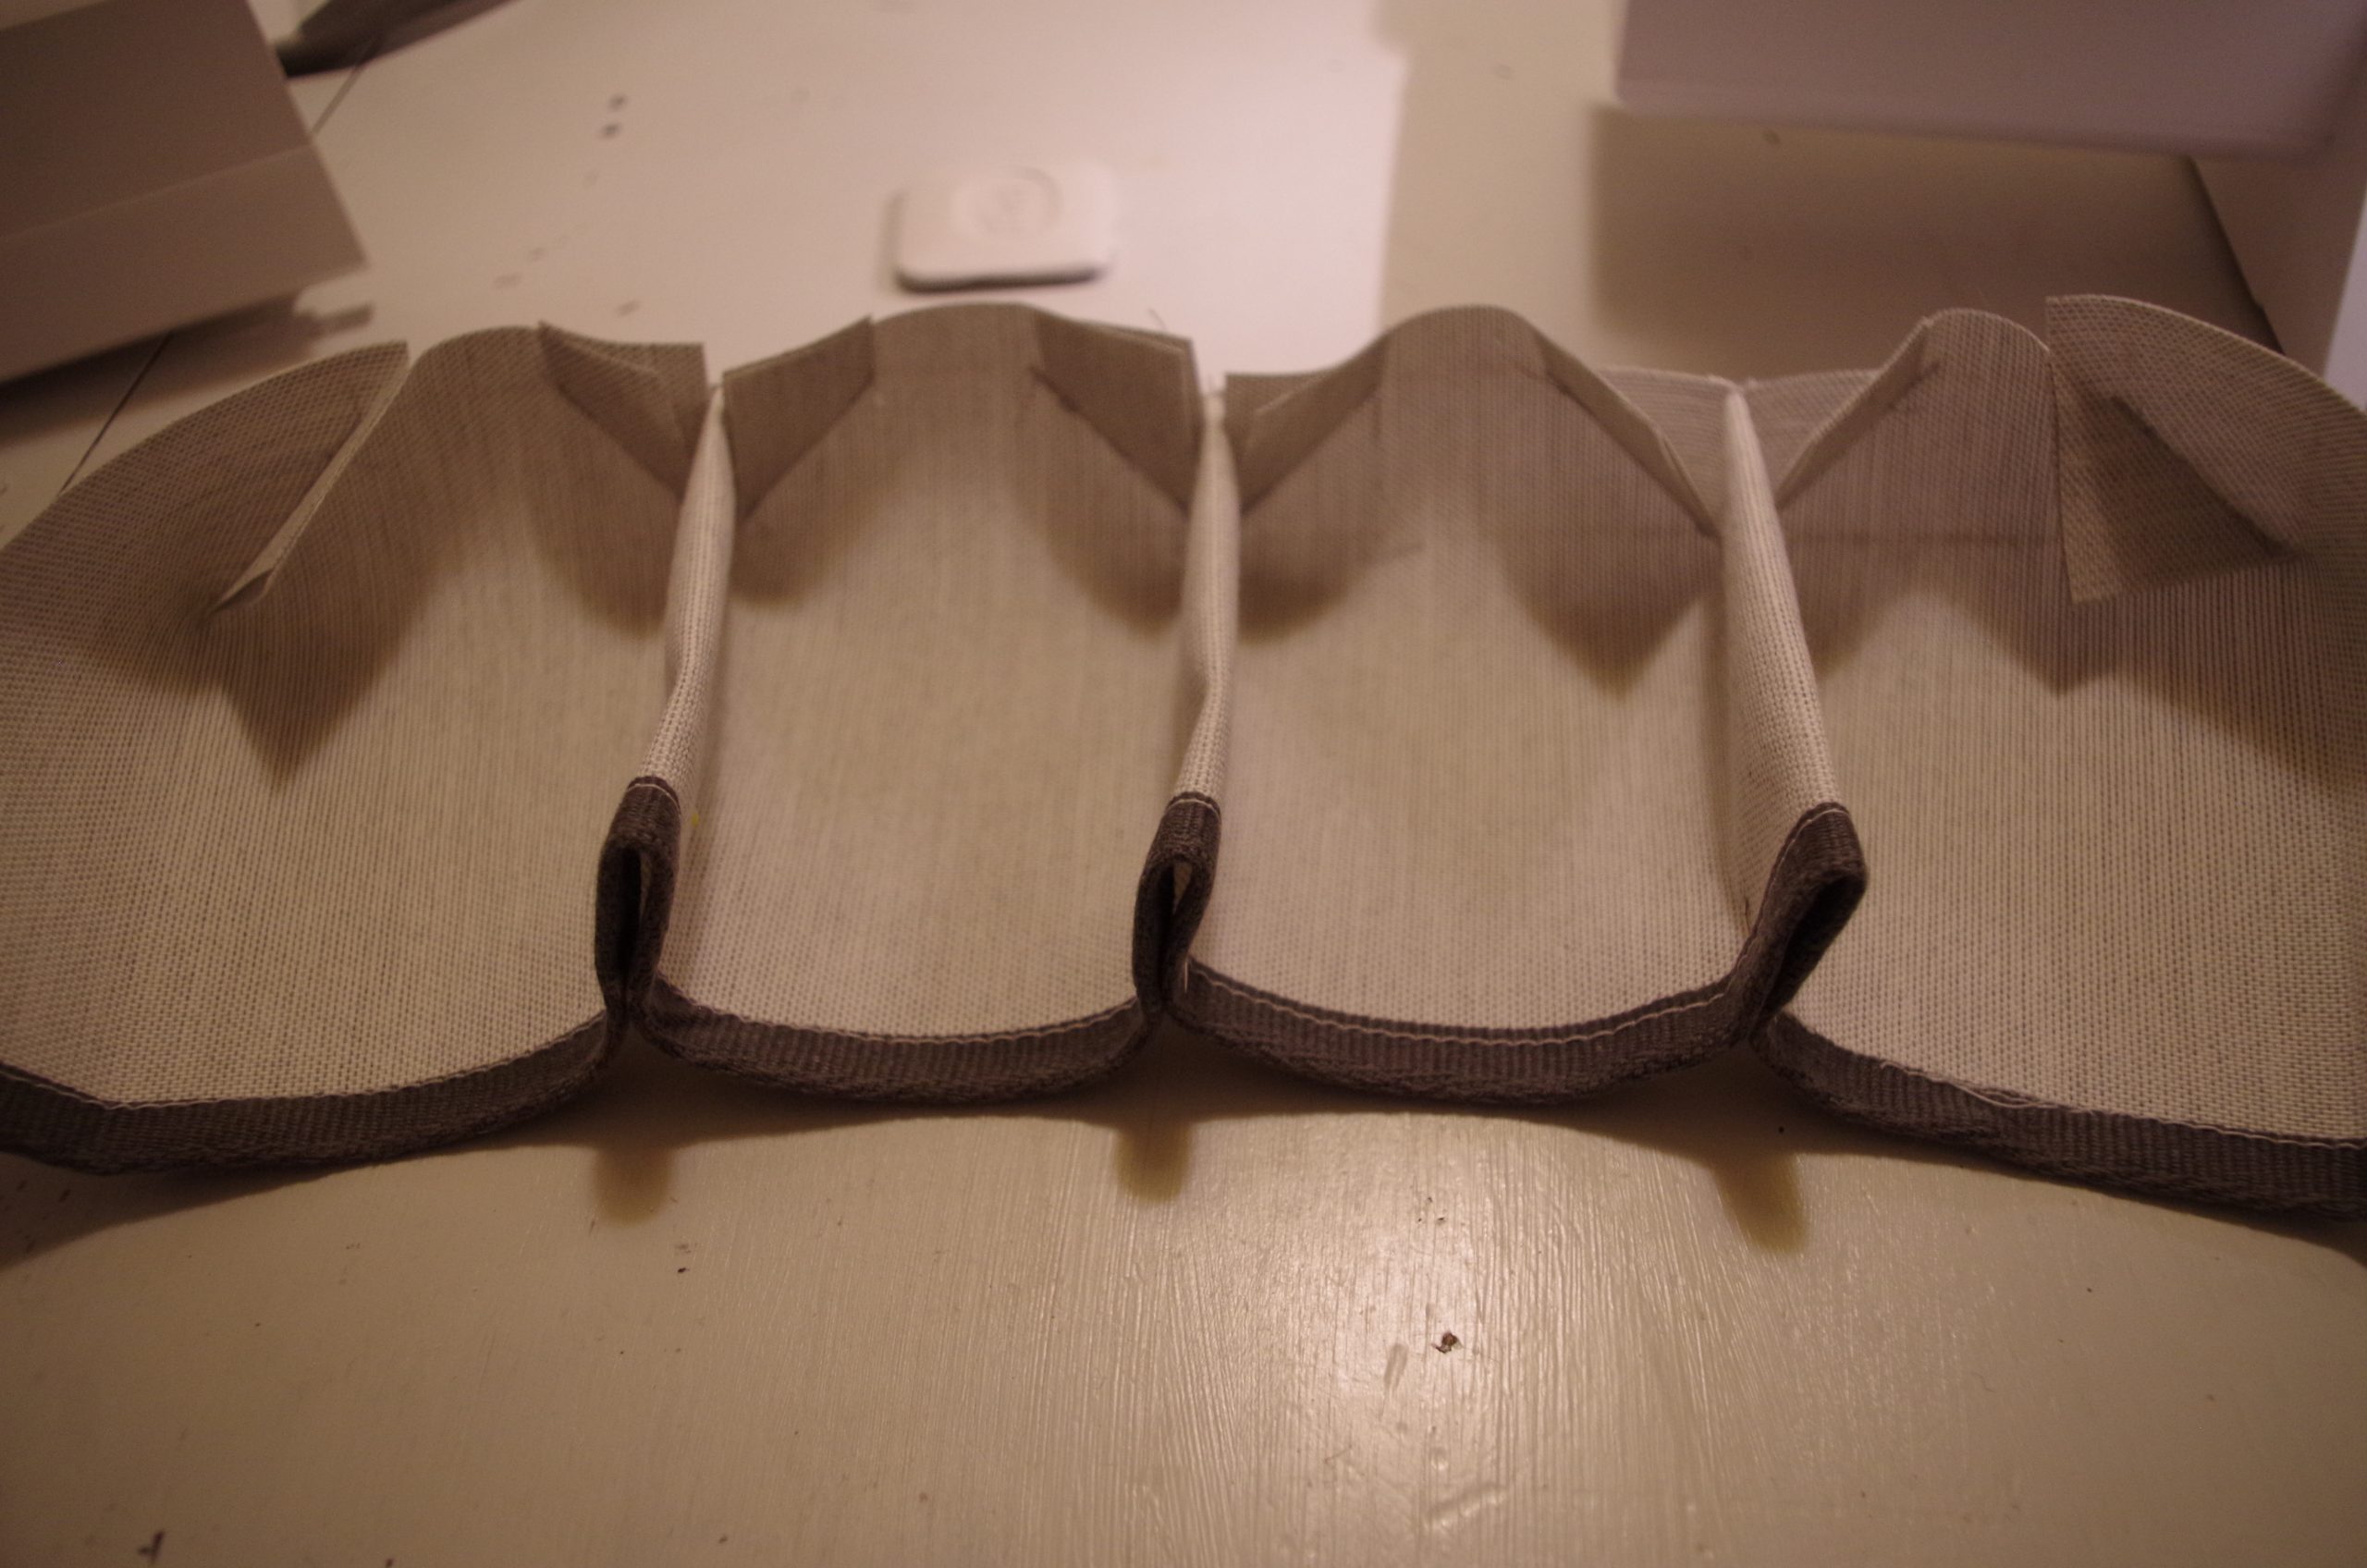
Because the edging didn’t really wanted to cooperate with me and that I kind of wanted to keep the look that was established by the already sewn pockets I decided that edging was only going to be applied to the outline of the entire lid-row. The inner edges where hemmed instead.
Then the velcro was applied in two strips 90 degrees to what the pocket velcro is. This enables the lid to be effectively as long as it needs to be.
A line was draw on the pockets like the chart pocket lid to get the downwards edge to line up perfectly, then sewn own one by one in one go, having lines on the panel drawn to match.
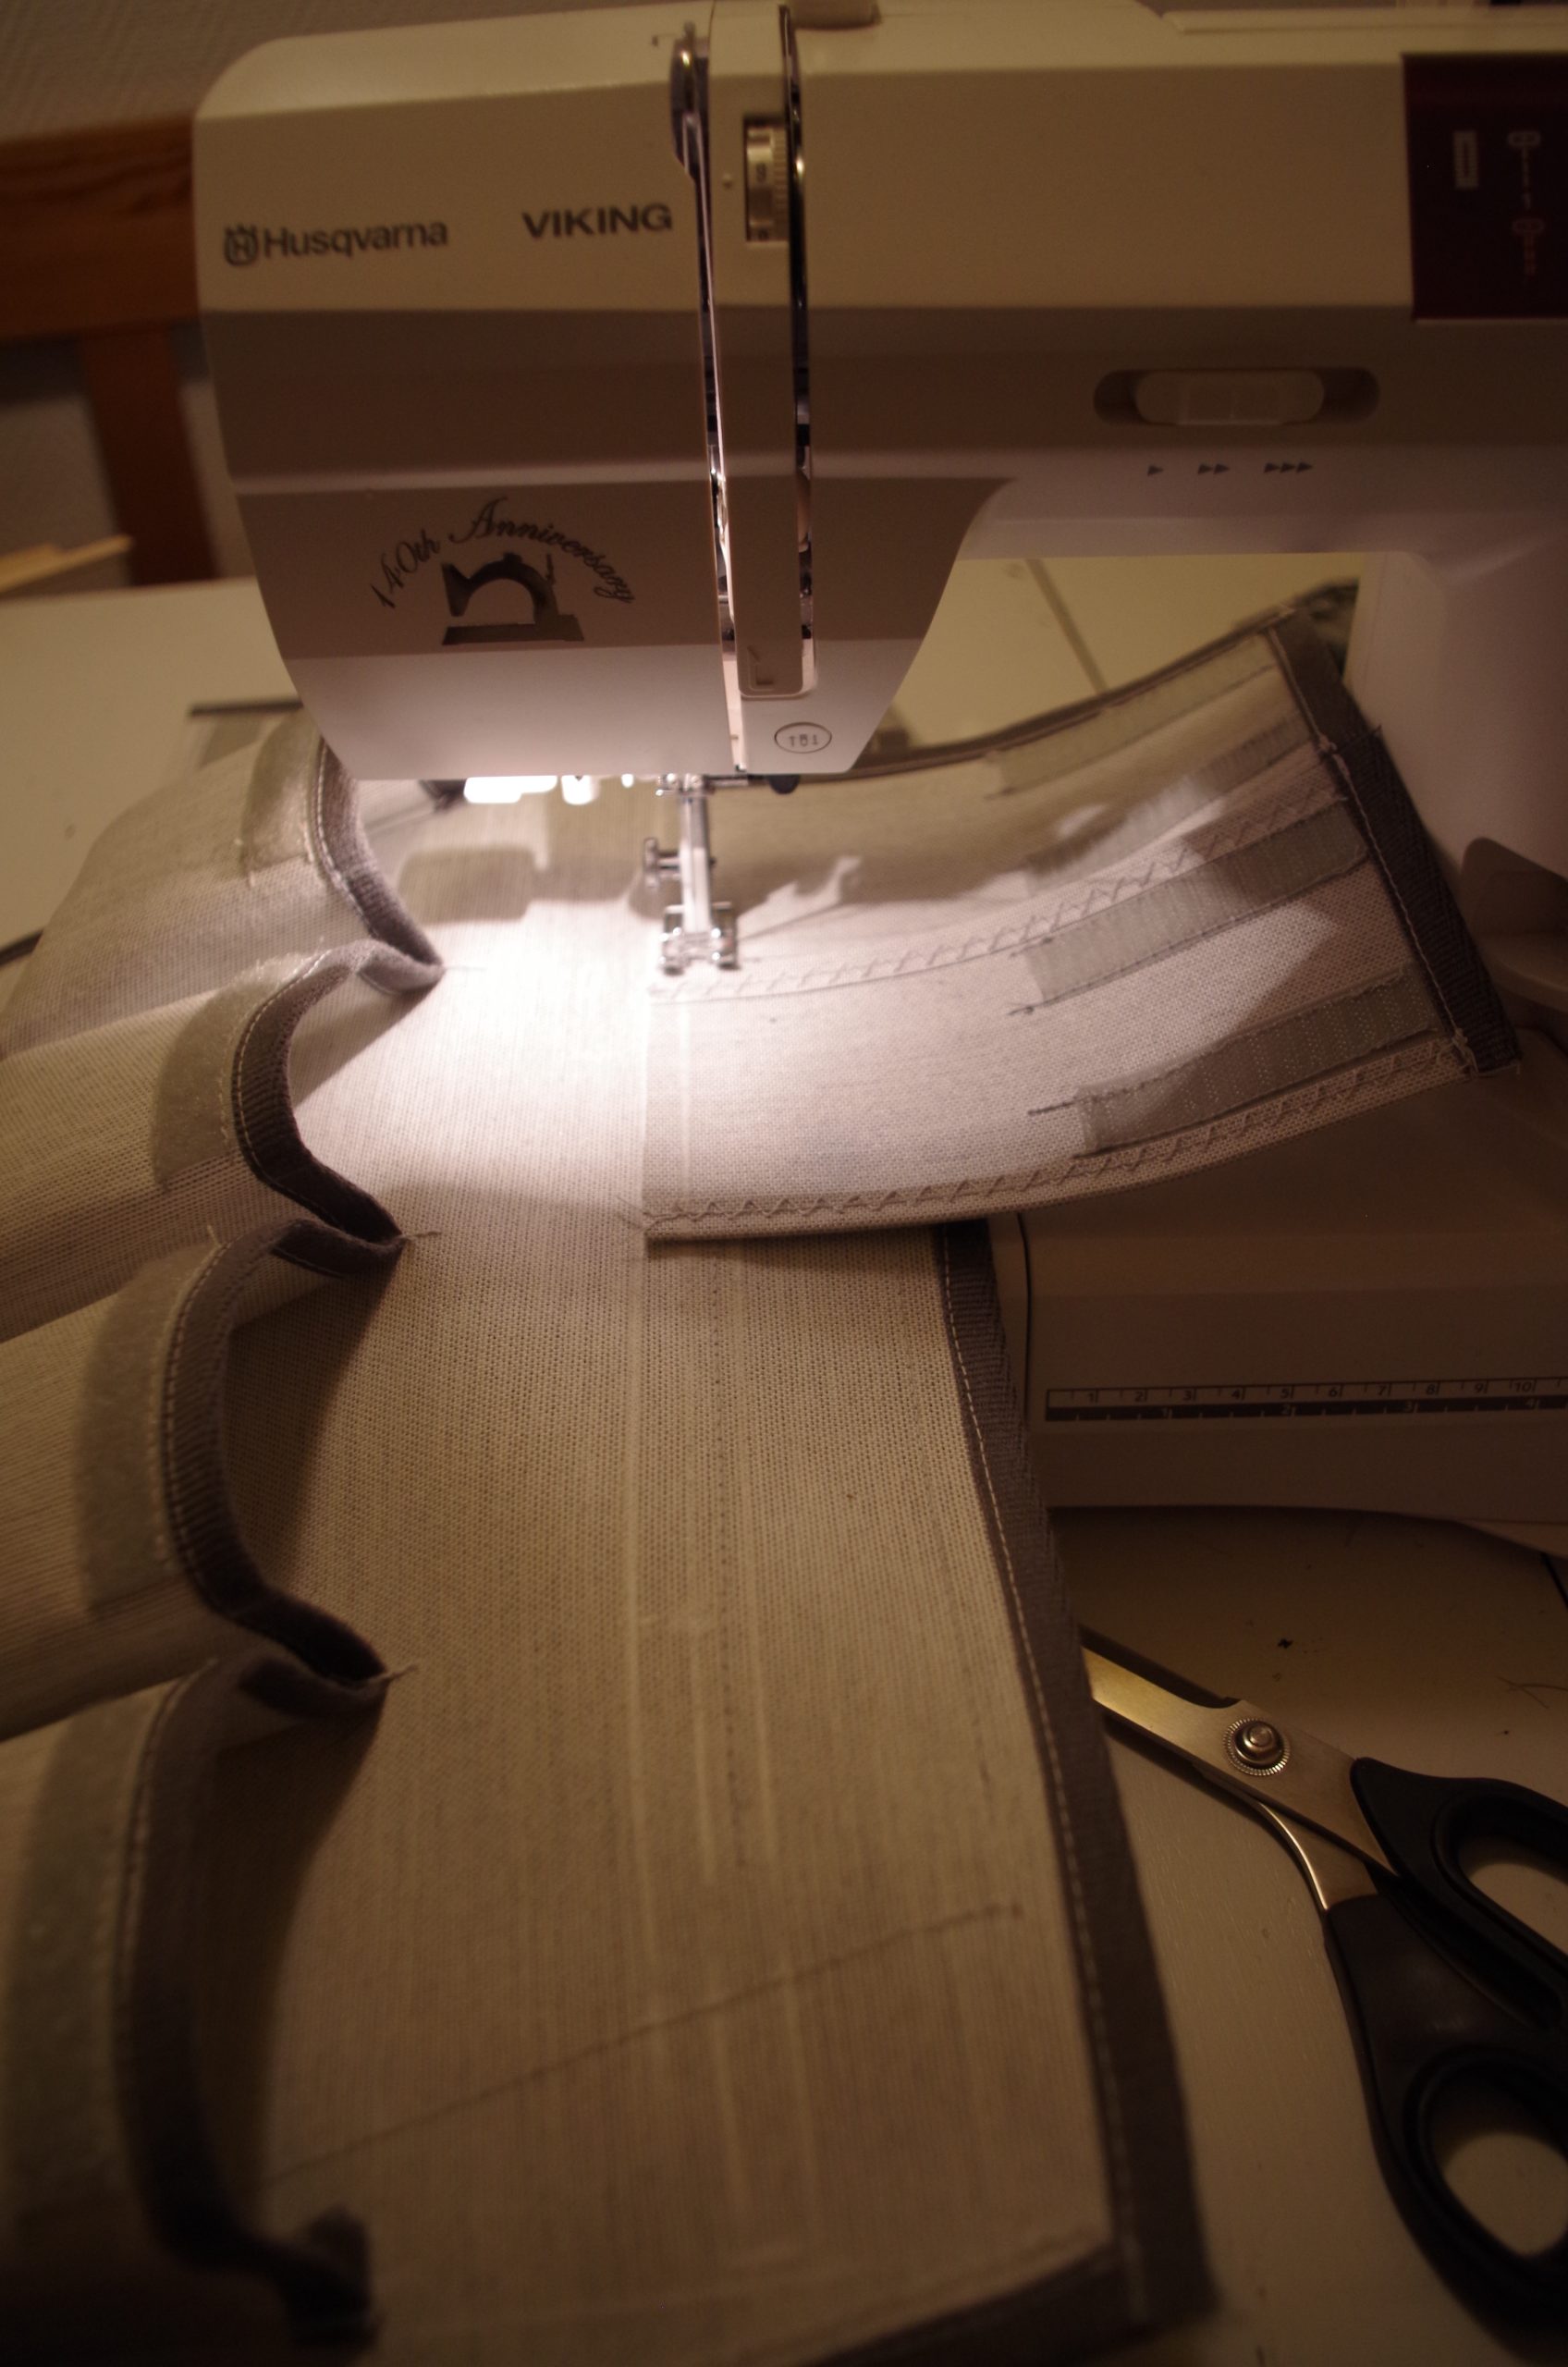
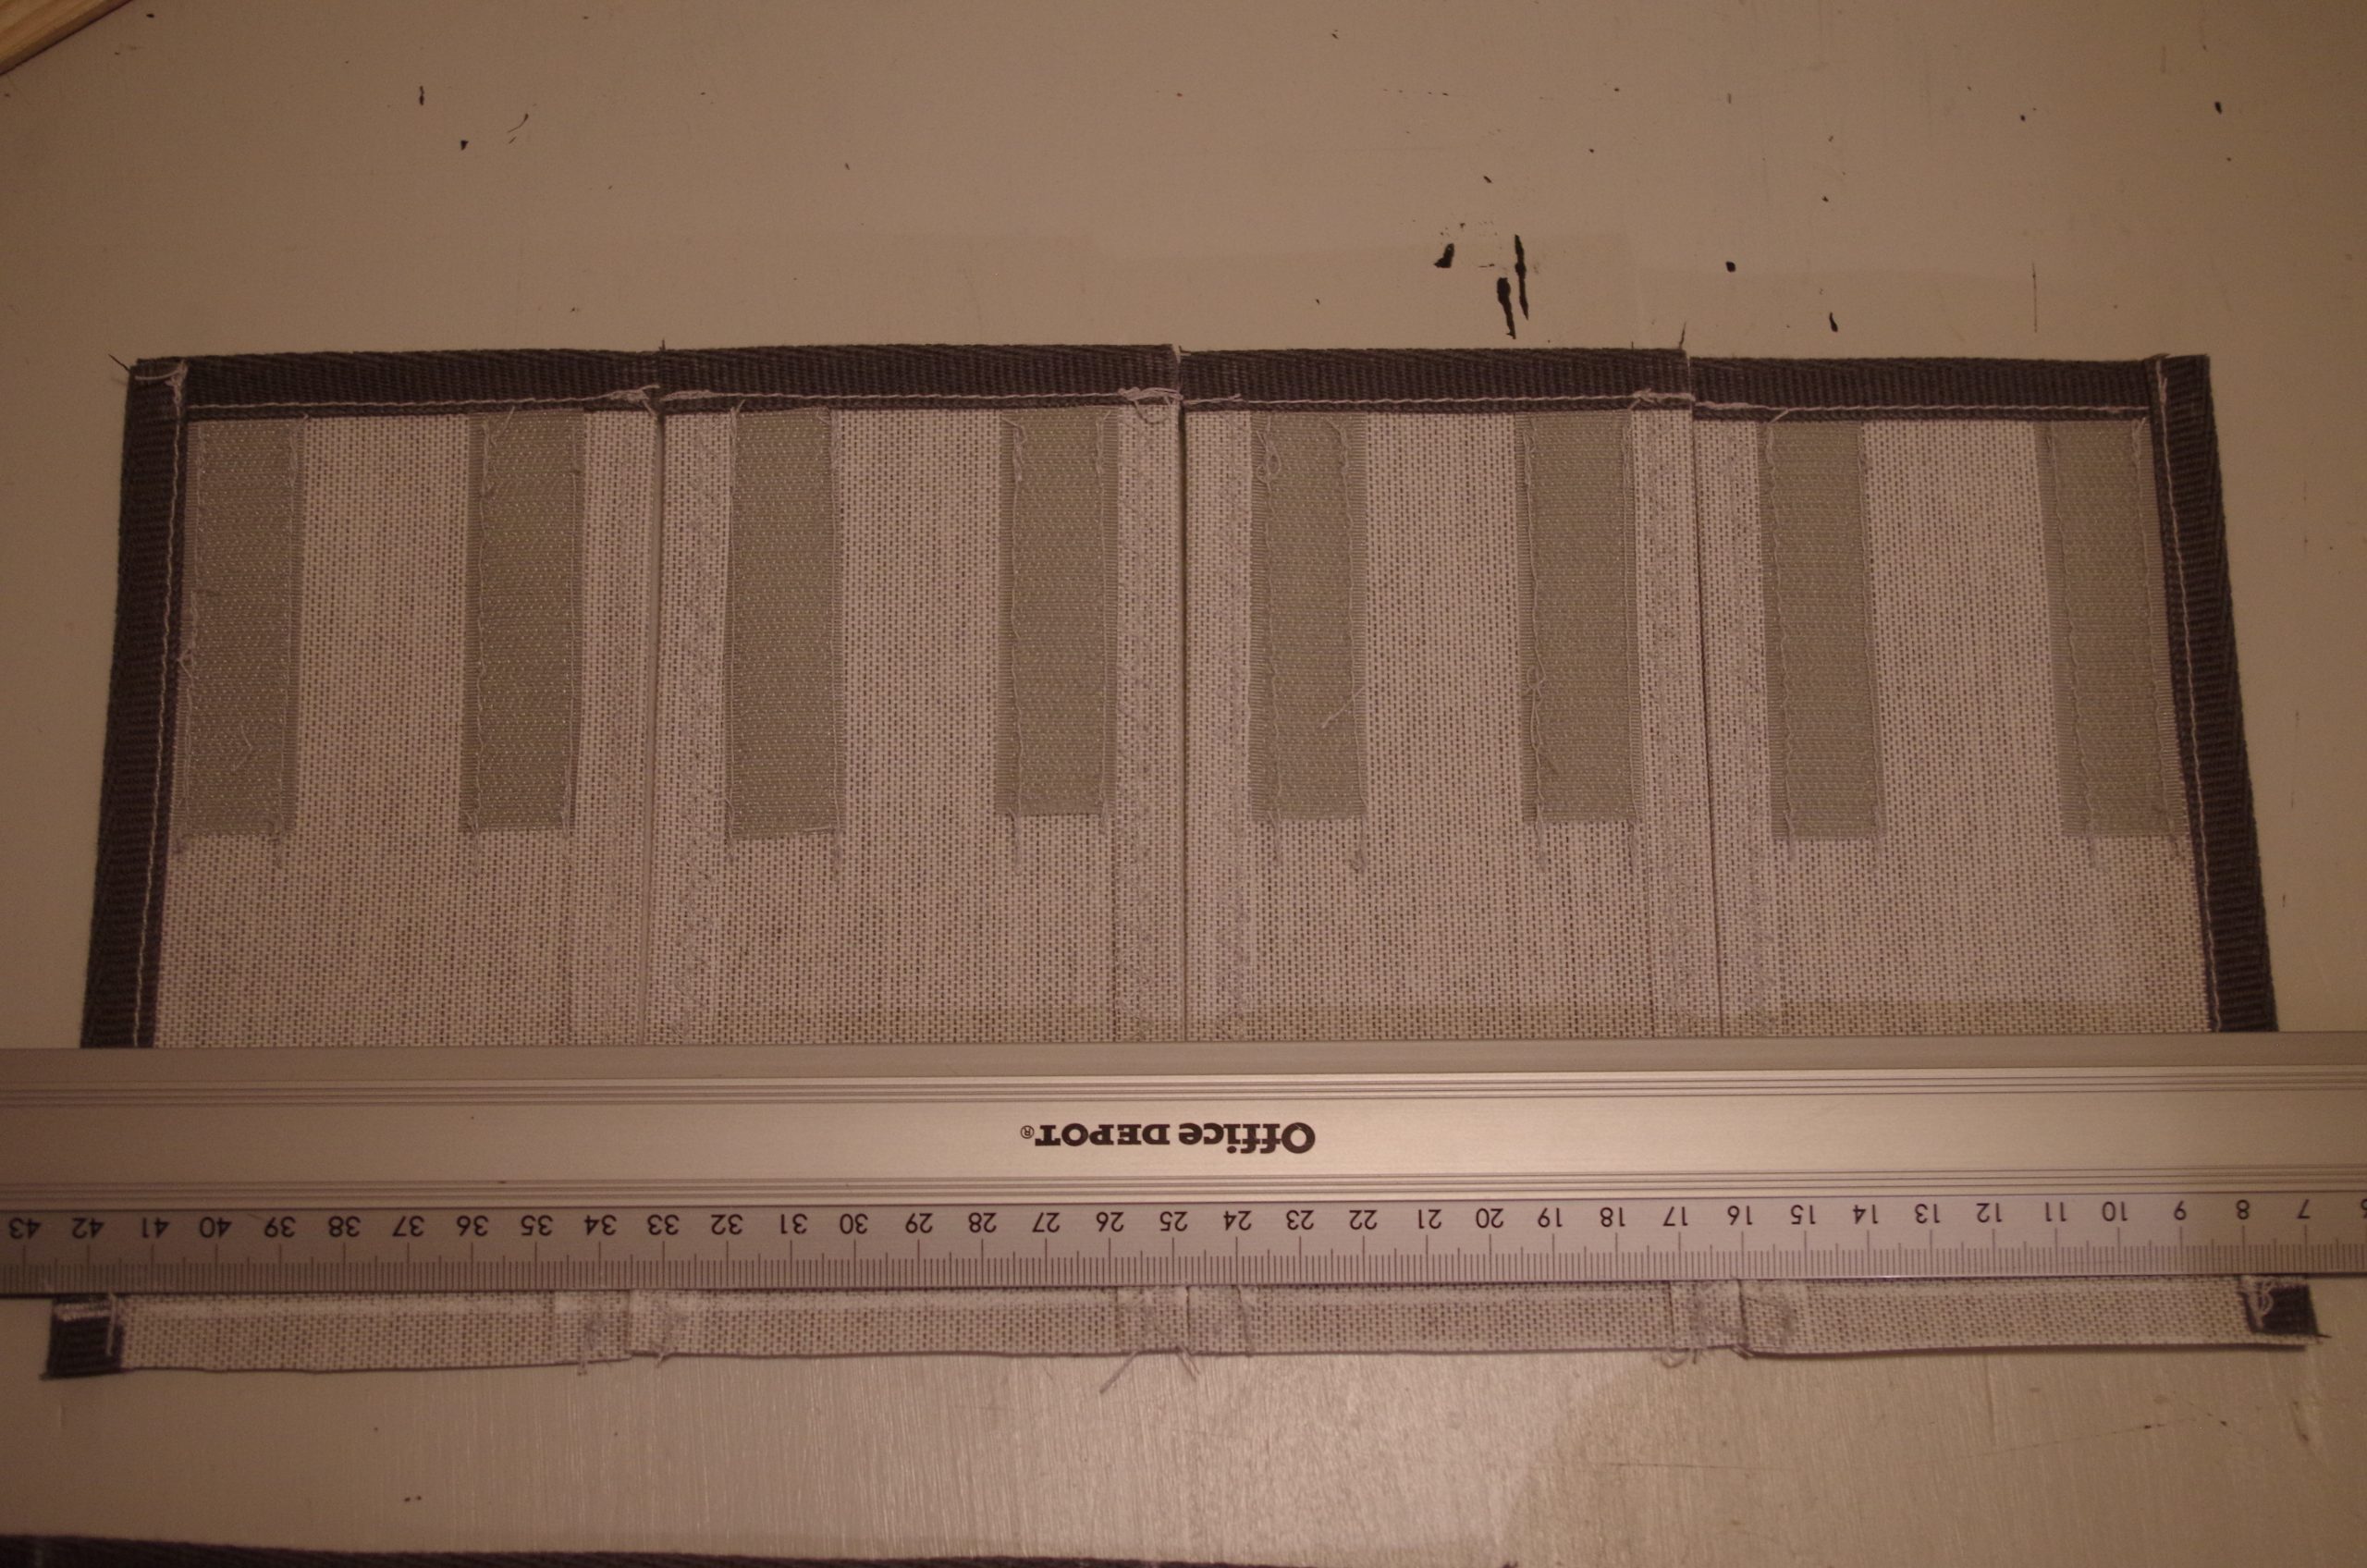
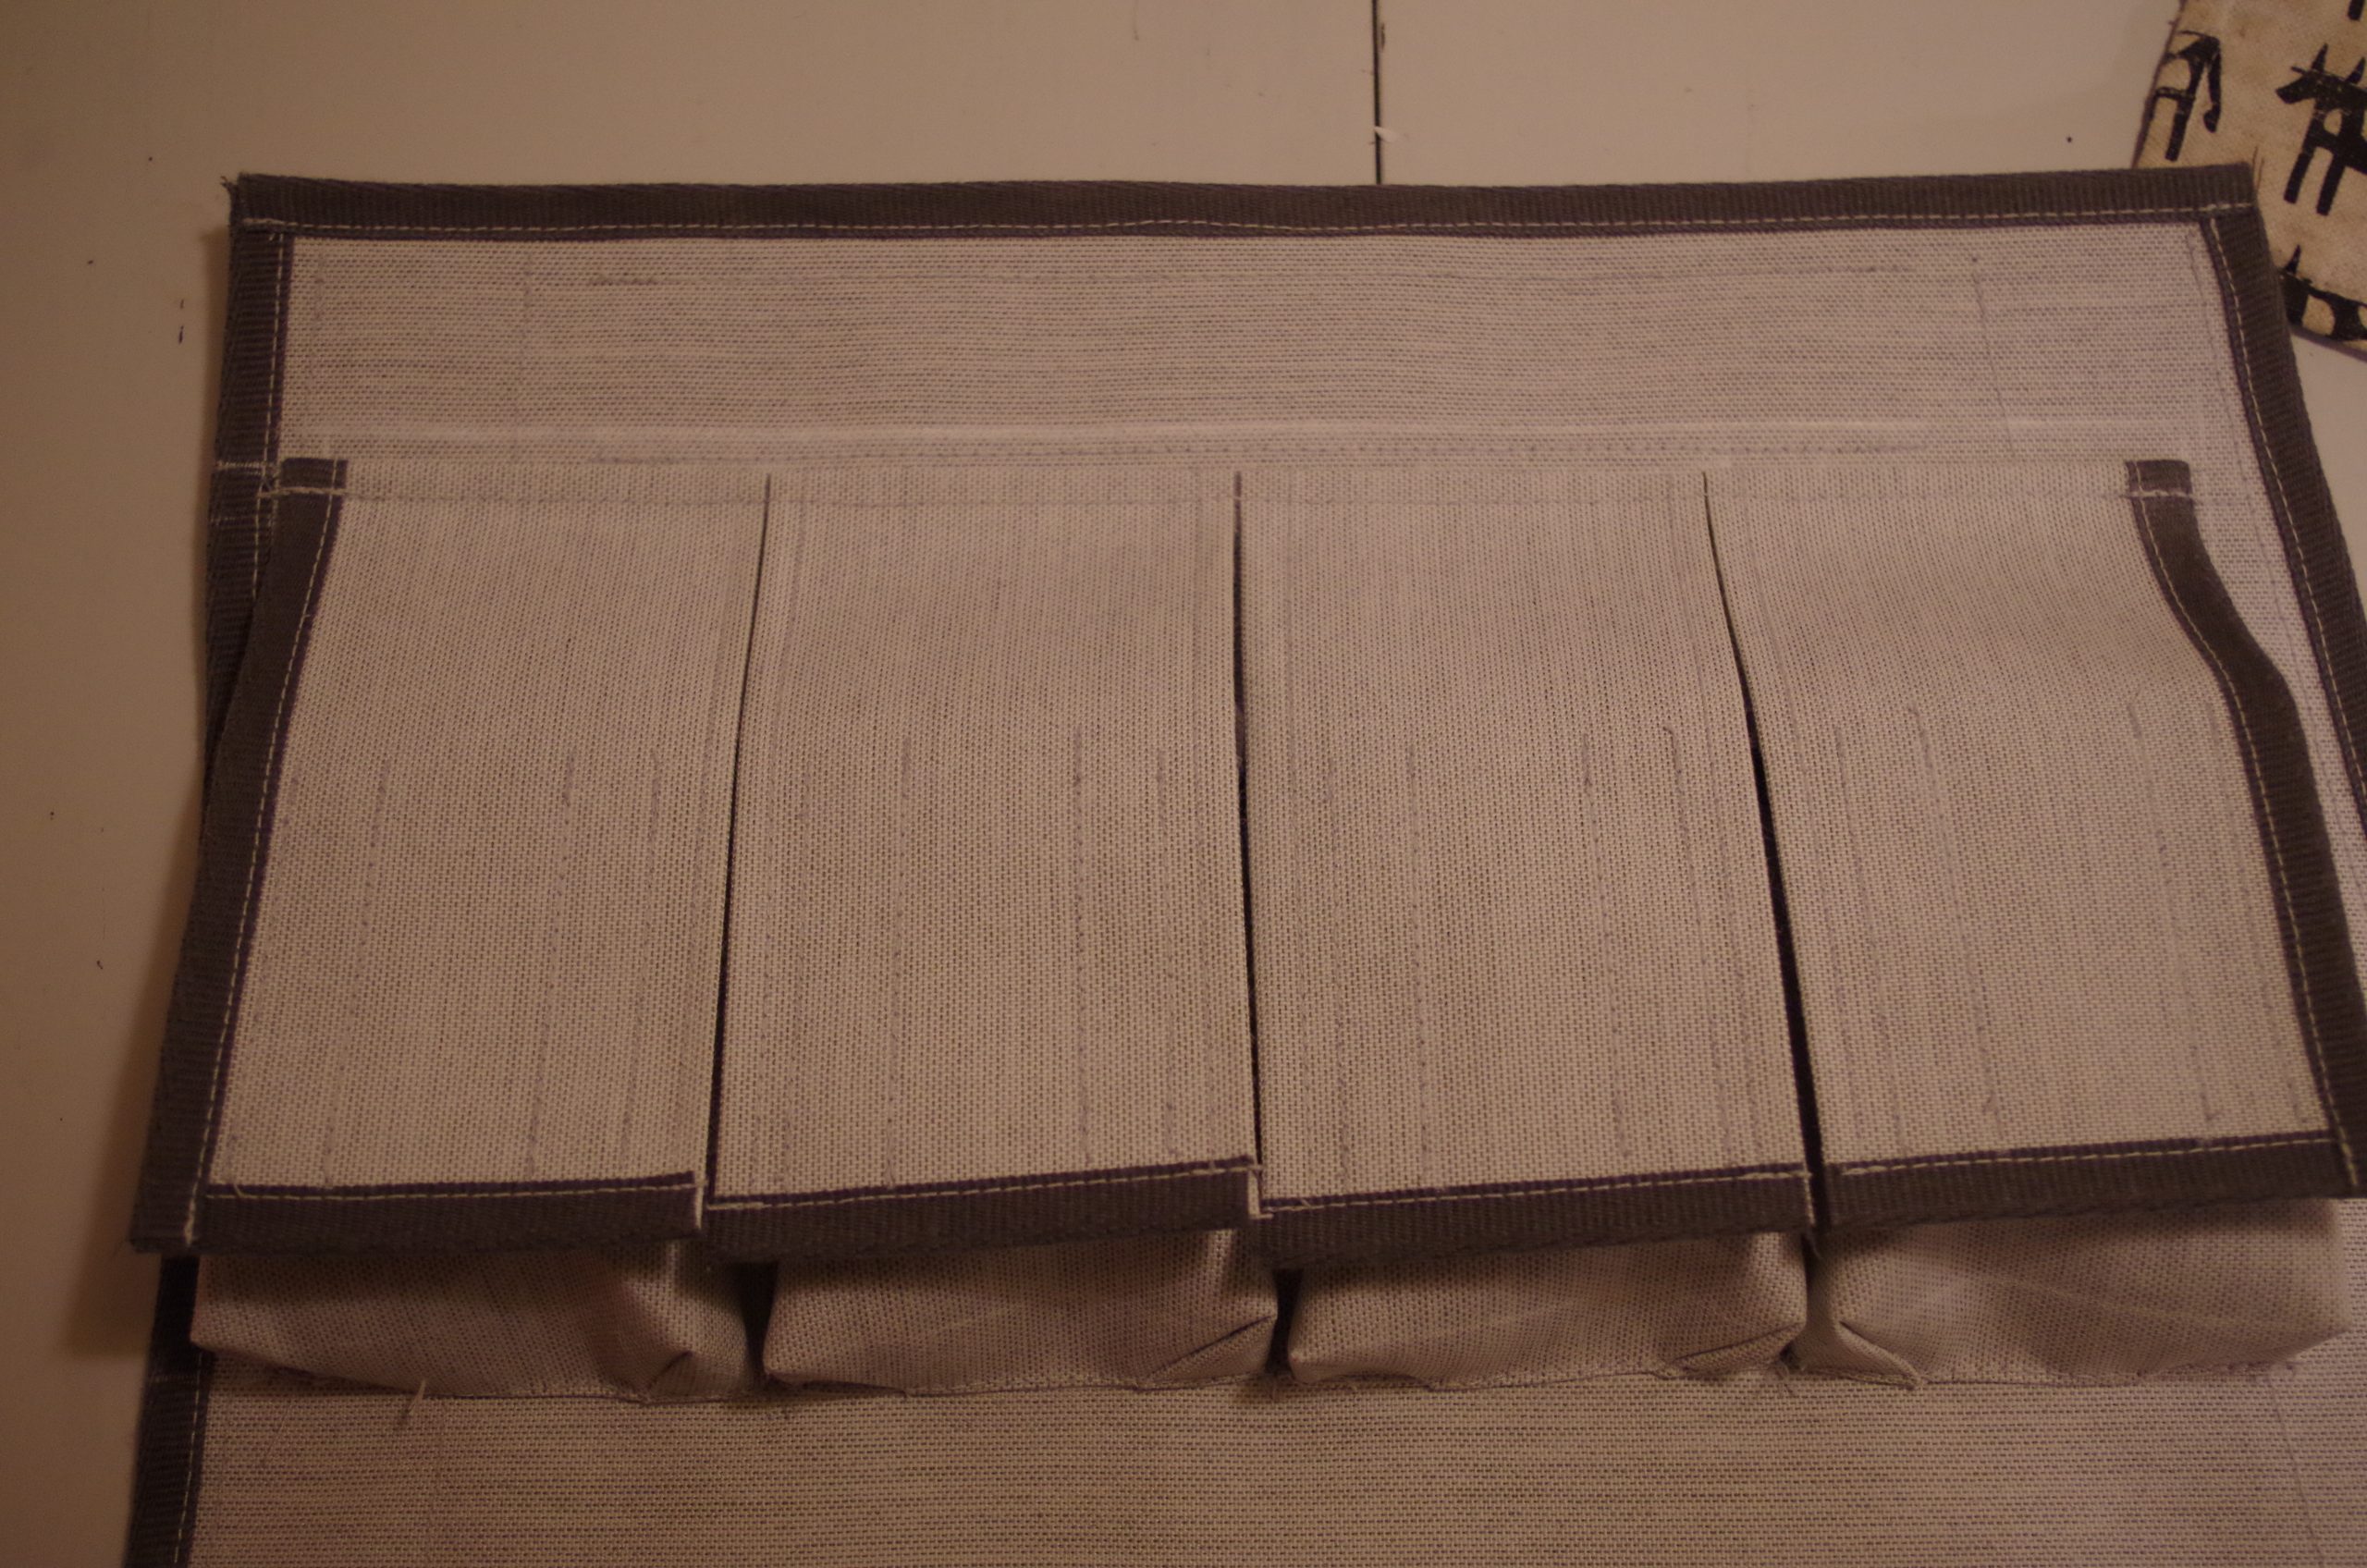
Finish!

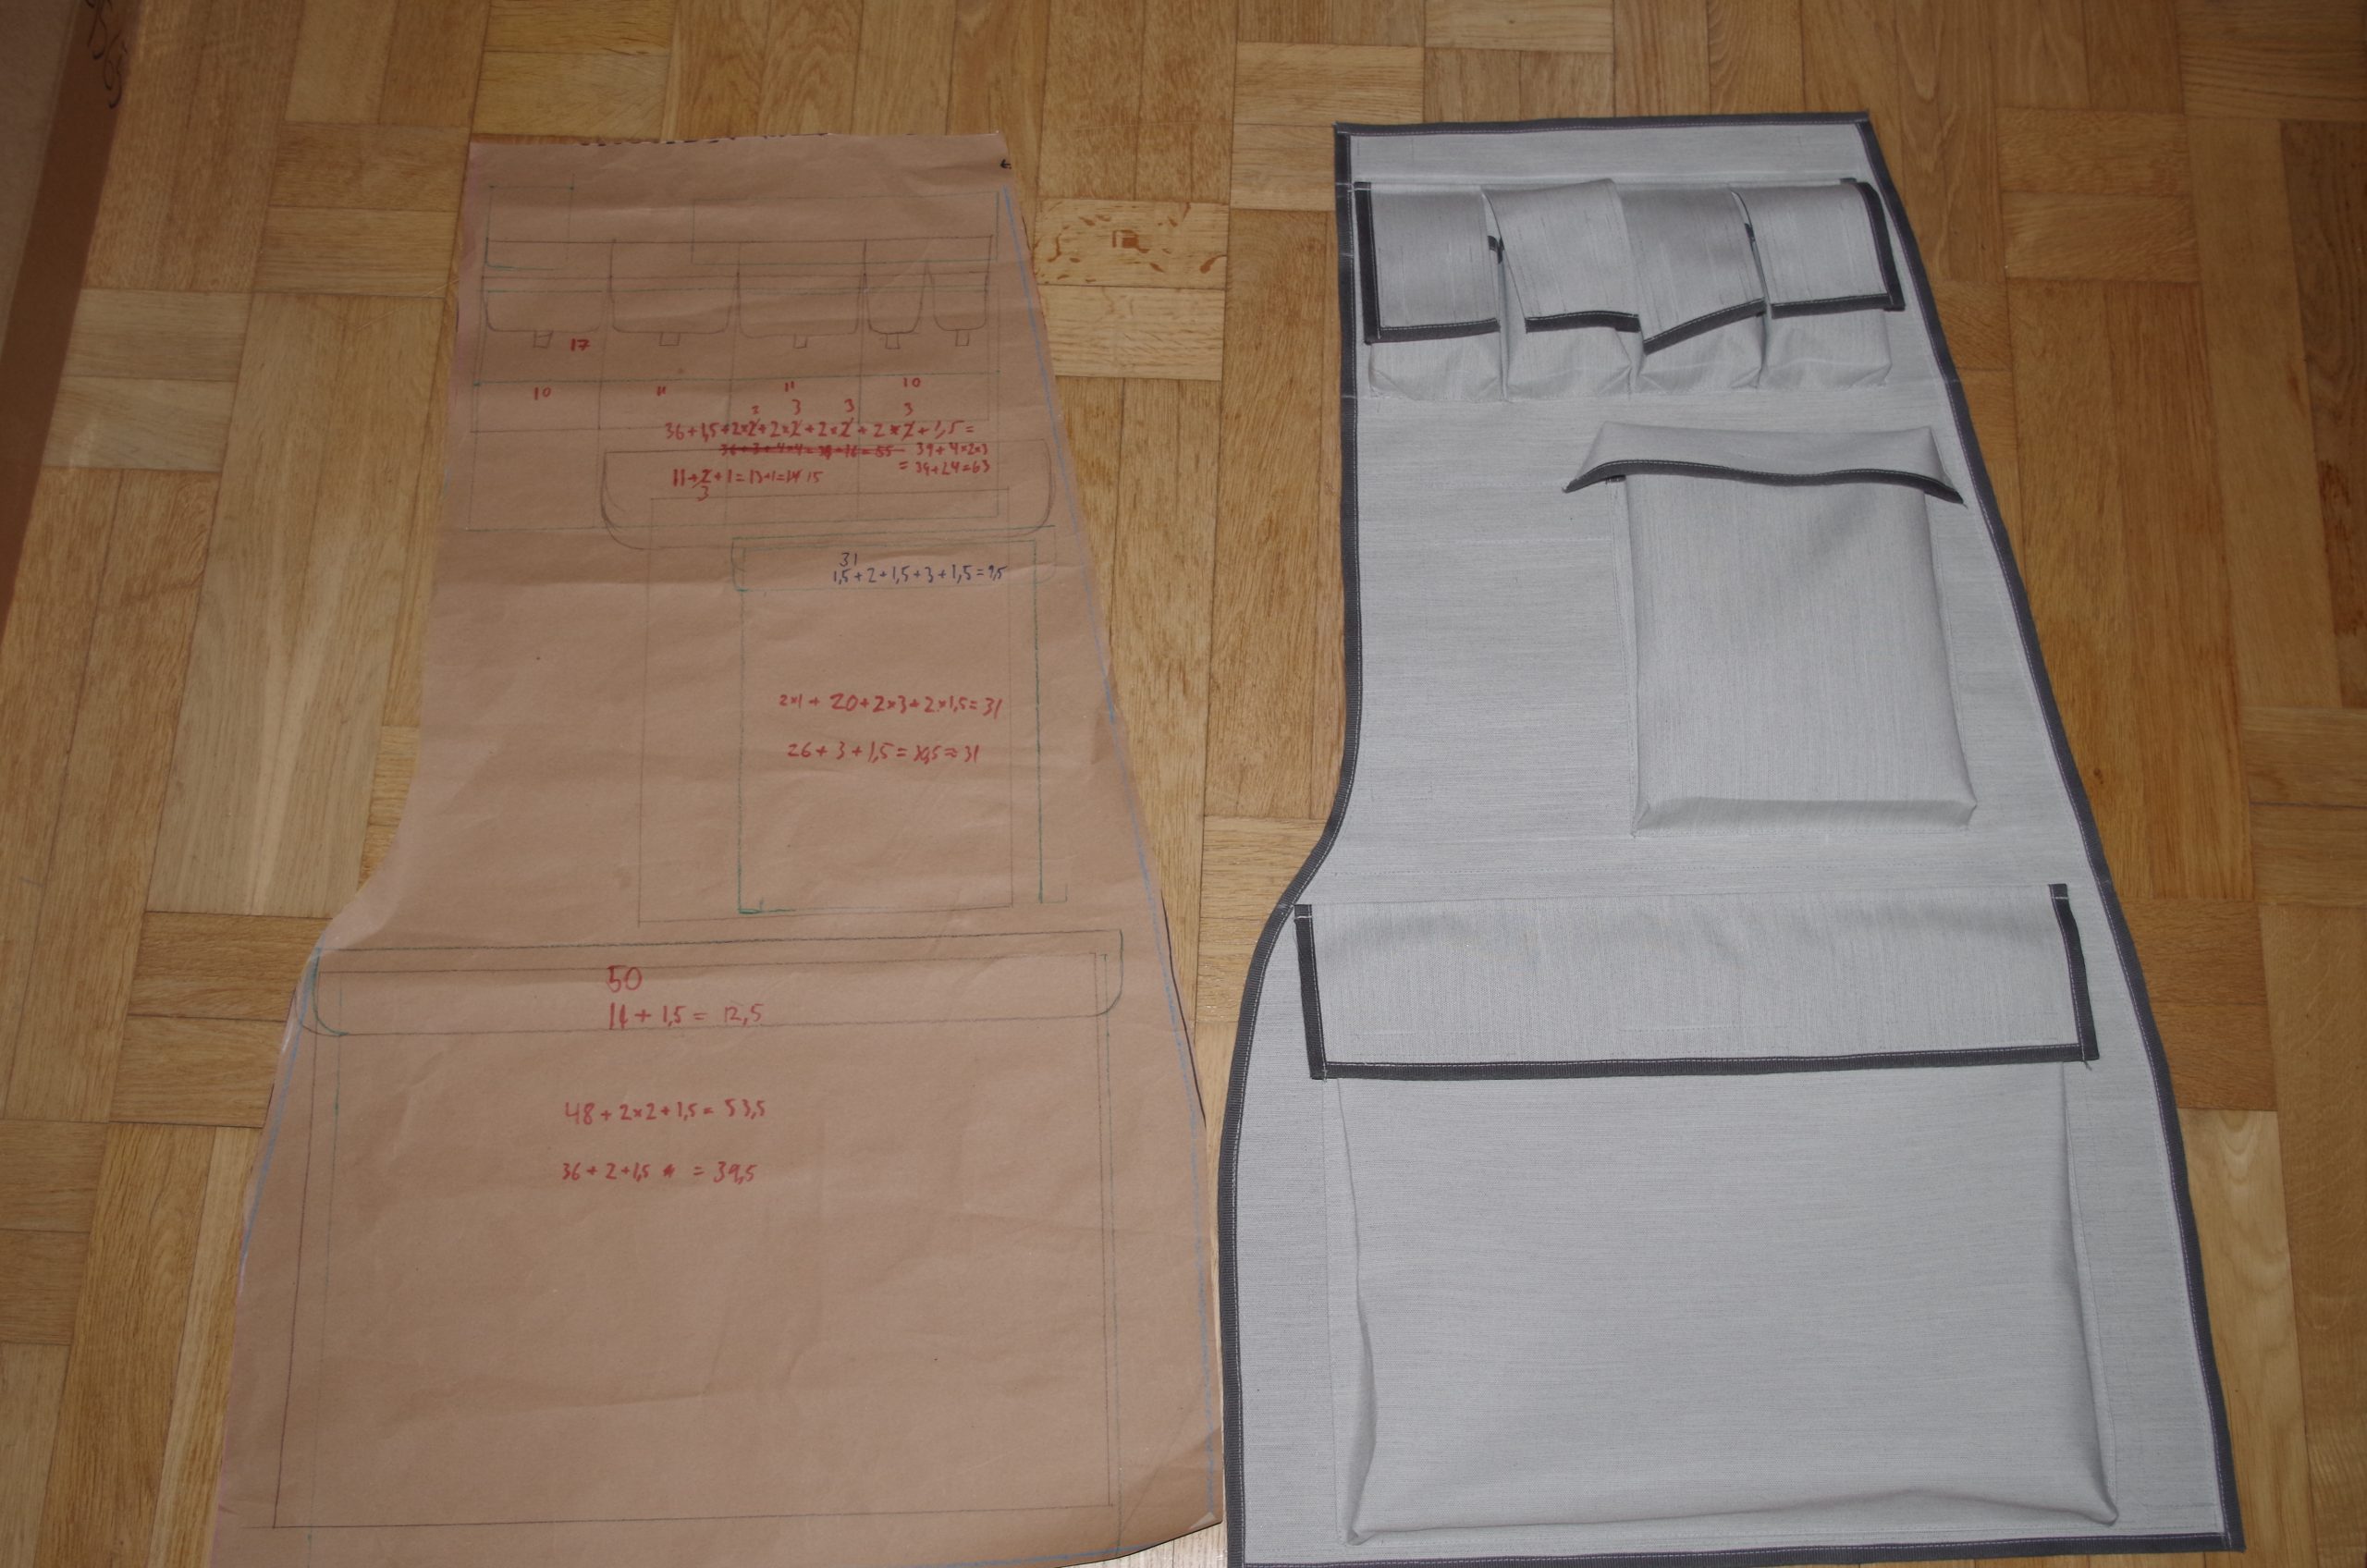
Well, as you can see it didn’t really turn out the exact way it was planned do to some extra margins here and there. I also haven’t decided on what to do left of the log book pocket. One option could be pens and access cards, another could be two more personal pockets crammed in, another could be to have some other larger pocket for bits and bobs. We’ll see in the future what the needs will be.
Only thing left is to mount it in the boat, but that will have to wait.