Redesign
As mentioned on other pages the previous owner of Aquabelle had begun a partial rebuild of the interior. The navigation table was one of these areas. Because of the different usage case that I had in mind with the boat I did agree with how it was designed. The existing and partly already built design consisted of a outboard facing standing navigation table with a lid for charts and some small drawers underneath and a big drawer at the bottom. Outboards of this as a panel the main breaker panels along with some other electronics where mounted. Somewhere in the pit behind all of this the solar panel controllers were mounted.
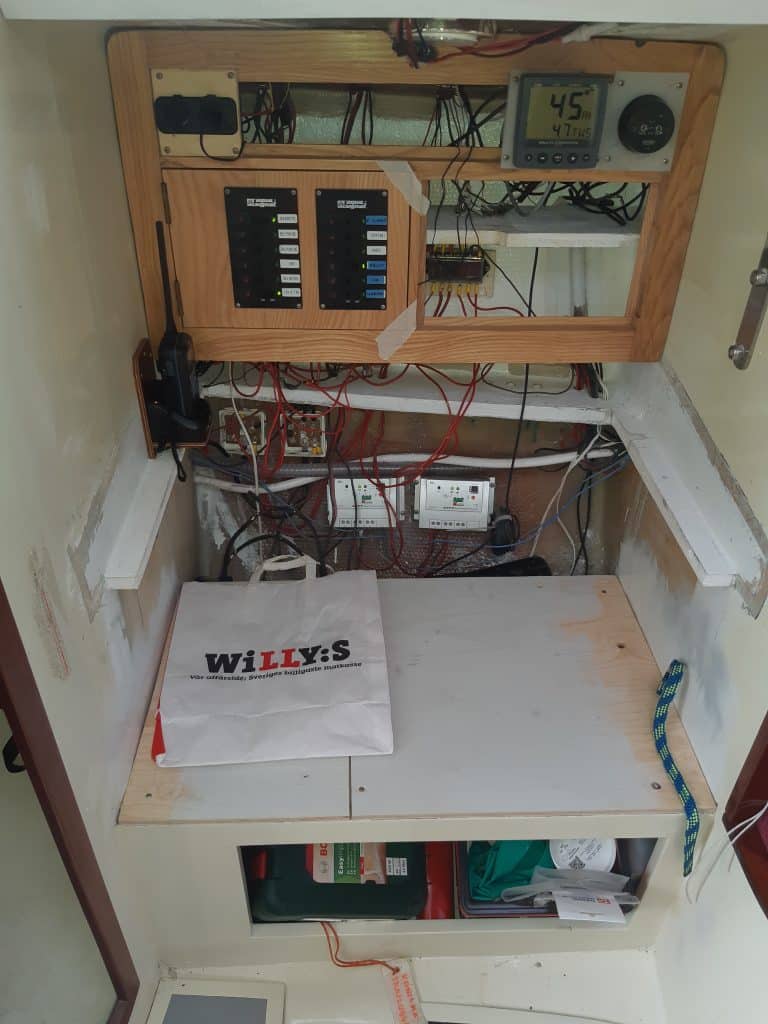
As you can see the first summer with the boat I did minimum amount of work just to get it into the water. I added an existing handheld VHF, 12-volt outlets for charging it, and some tape to keep things together.
But the plan was to see how the space was to be utilised best. When sailing we often have three buckets for doing dishes since the sink is quite small for 4-6 adults and it does not really allow for sharing the work. As was discovered, with how the boat is used under my ownership, the temporary seat was very neat to sit on when doing the dishes for example, so I decided to keep that feature. Then I had some more specifications. I wanted to have a library somewhere in the boat and it seemed like there was a lot of useless space with the existing design. I also wanted to move the 240-volt outlet that was in the head area to here where charging electronic equipment is more accessible.
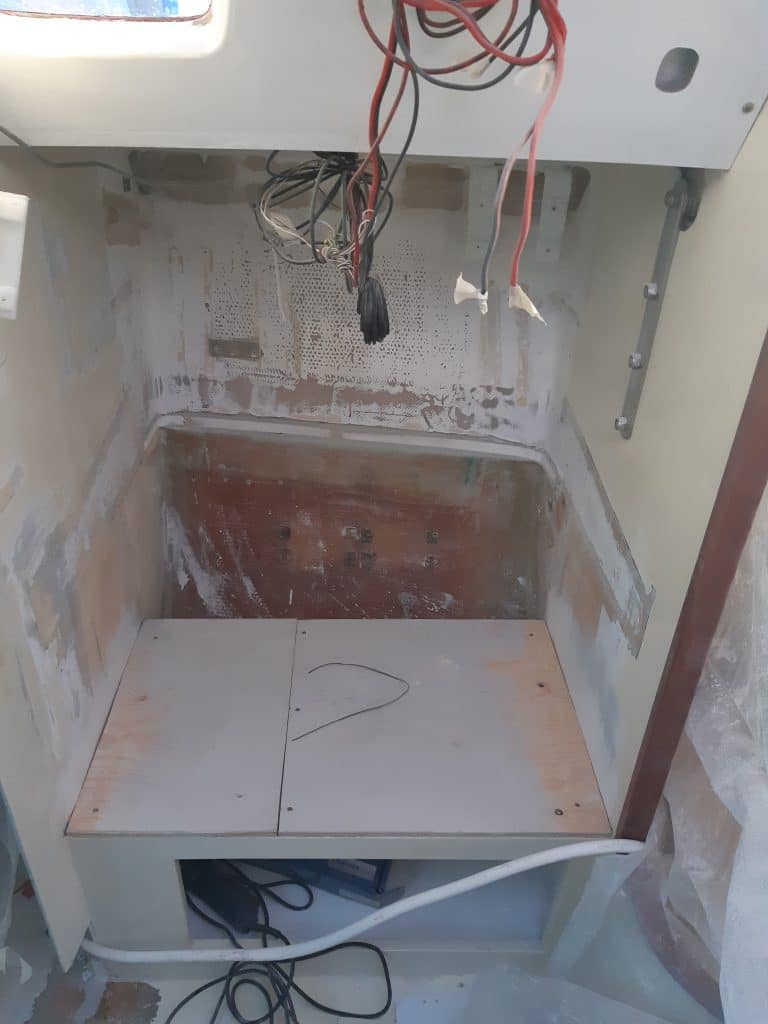
When autumn came I put my oscillating multitool to work. In my ferver to rebuild I cut away a bit more than than I should have, realising to late that the shelf I cut away probably was structural, stiffening the hull, so I had to rebuild it. I think it should be about the same strength now as it was before with the amount of fibre-glass and the wooden edge that I put back in. When the shelf was built It was time to do a mock-up of how I wanted to build. I had an idea of how I wanted the main breaker panel to be so that the full width of the hull could be utilised for library, while keeping the cost down for switches.
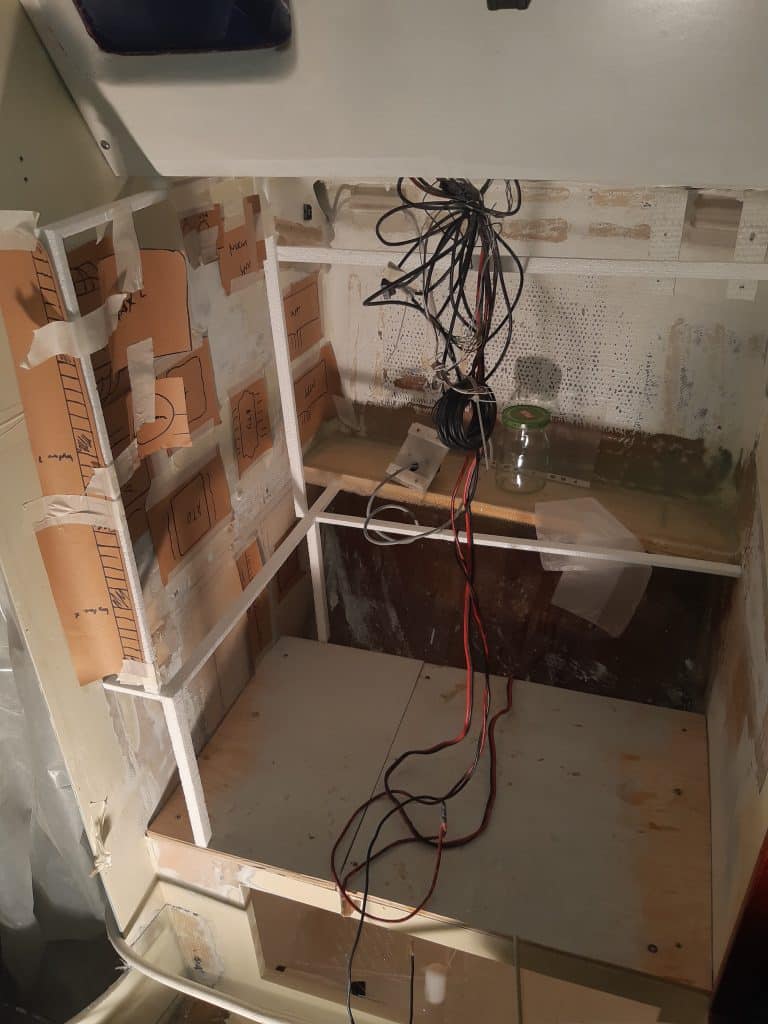
I started cutting out pieces of cardboard for the different components and brought out the hot glue gun and some styrofoam to build a mock-up. The plan was to keep everything above the table height for the navigational table that I planned to
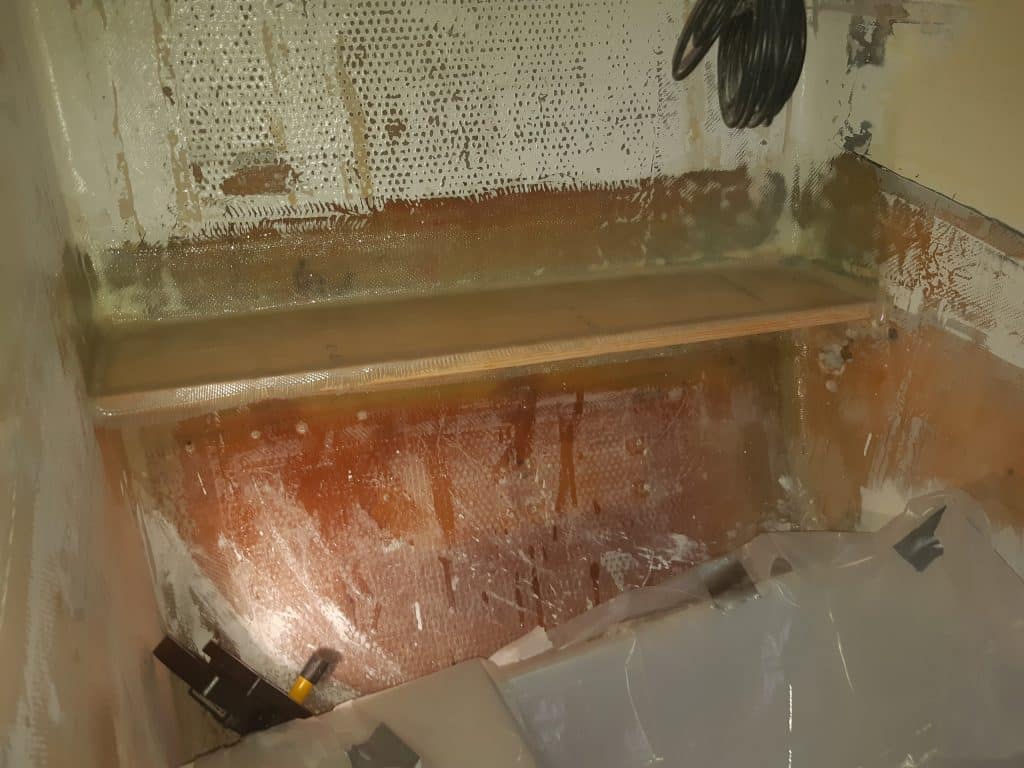
keep the lid of. Then under the table have some room for a small shelf for pens and nick nacks, as well as a small area designated for the 240-volt outlet and negative busbar. I figured it would be nice to keep them a bit apart from the rest of the electrical stuff. Aft (left) of the library behind a panel would be room for some solar panel regulators, and on top of the library some shelf.
Actual build
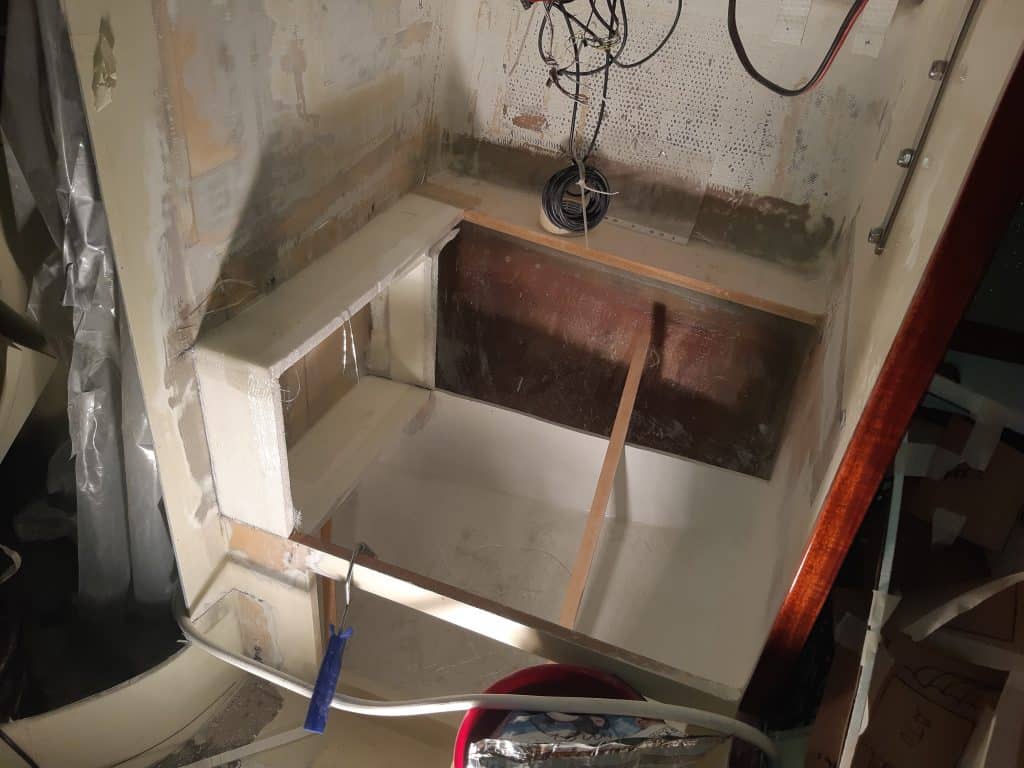
Since I had torn out most of the electrical system I had to rely on battery and cord work lights this entire winter. Therefore the pictures are not the best quality.
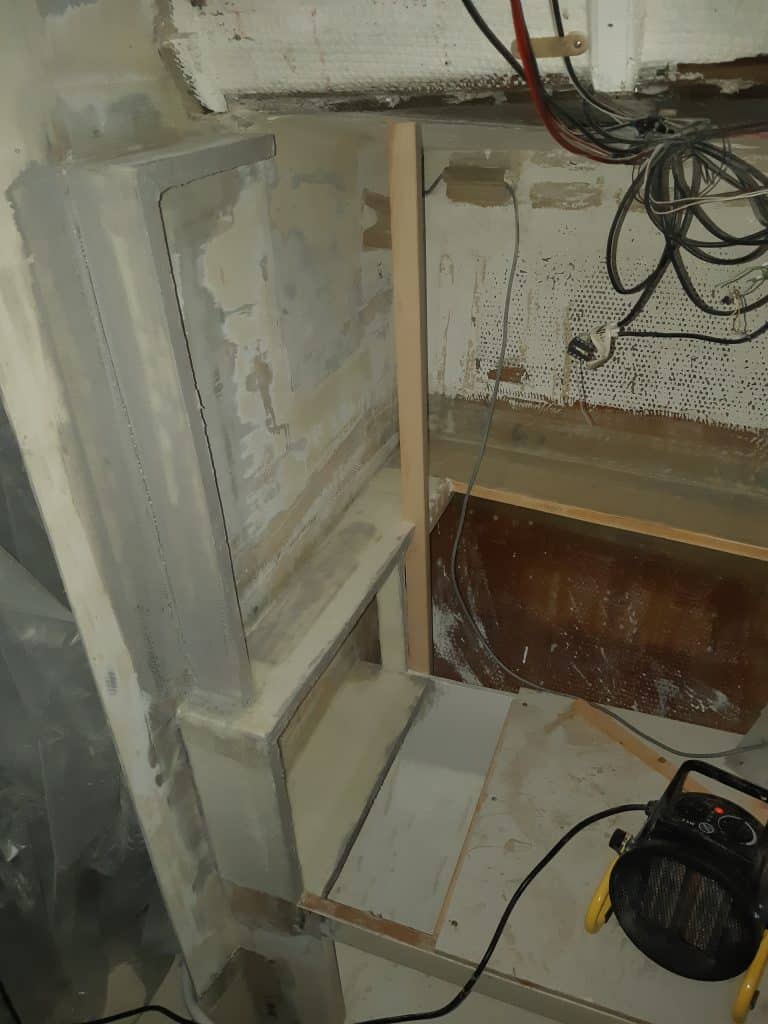
I simply started building from the bottom. First bridging the gap where the seat would be and then adding the support for the navigational table
when it is deployed. Since the rest of the interior is build epoxy and glassfibre on styrofoam that is what I went with. In hindsight I probably should have gone with an actual construction foam, but the loads here are not that big so it seems to hold up so far. There are liberal amounts of glass in some places.
I added a solid wooden stave as a proper anchor place for the library and fram to hold the books in proper when healed. As you might also notice the outboard support for the table shelf it sawn of and made only one third as big as in the beginning to accommodate the stave and subsequent cabling.
I doubled the width of the stave above the table shelf by adding a thinner piece of solid wood so that the big panel into the electric stuff would nicely fit.
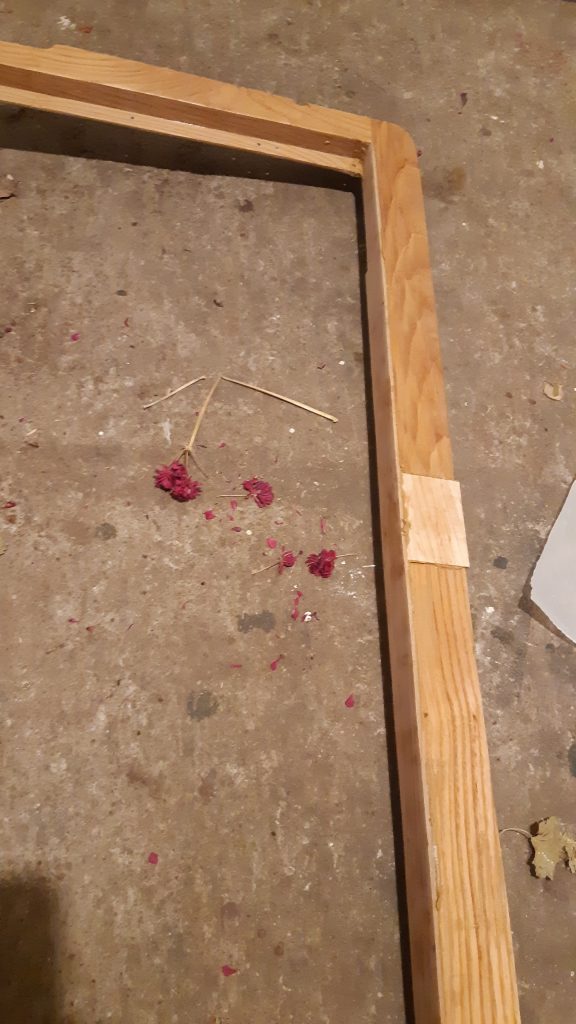
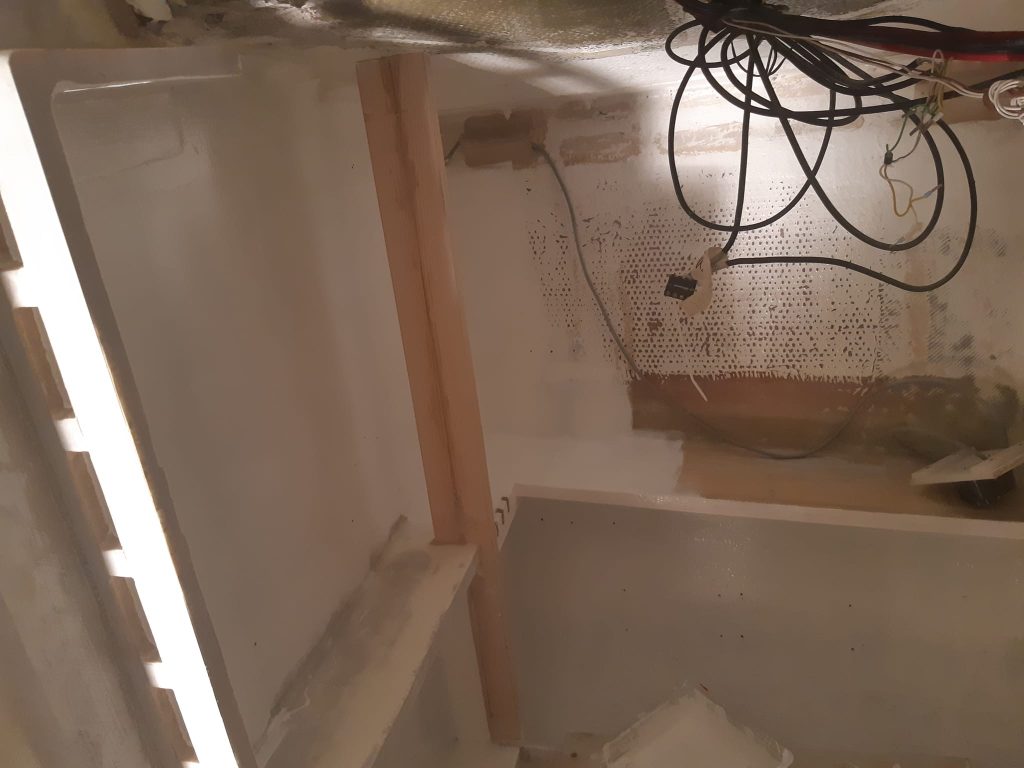
To create the frame around the library and the shelf above the library I went Frankenstein on the old frame and scarfed the two sides together into a longer forward edge since it now needed to reach all the way down to seating height, and I already had the aft end sorted with the stave. I also sanded the insides of everything after fairing a little bit and cutting out holes in the inboard panel for breakers. Then I painted the interior of the space white.
Somewhere here it seems like I have not taken any pictures so we’ll have to jump a small bit in time.
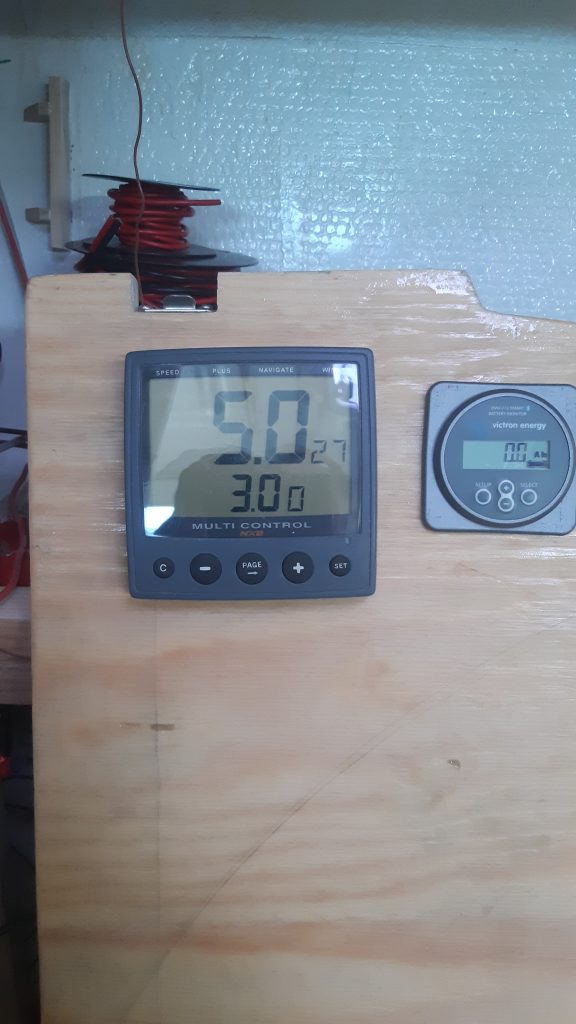
For the big openable panel covering the electronics I decided to make this in plywood wince it is a lot quicker than to do it in fibreglass and It might need to be redone in case I want to switch out some instruments or the like. The hinge is made at an angle to facilitate the opening of this panel more easily and it is kept up by a latch on the inboard end and a brass deadbolt on the outboard end. Even with the angle it almost touches the frame when installed.
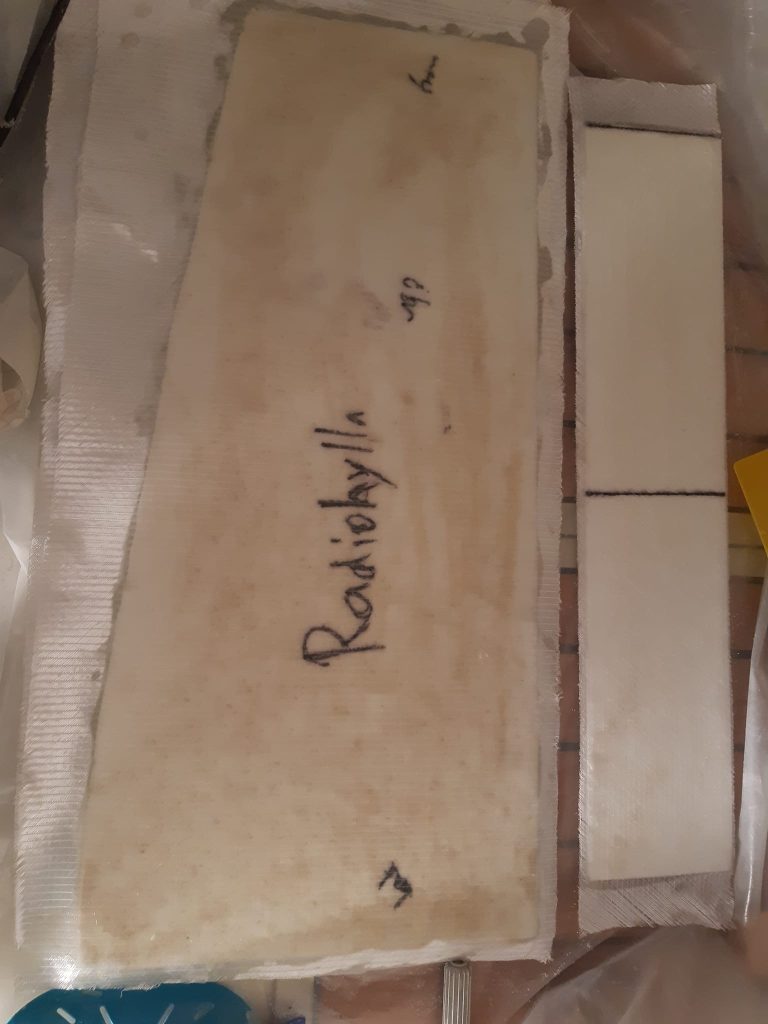

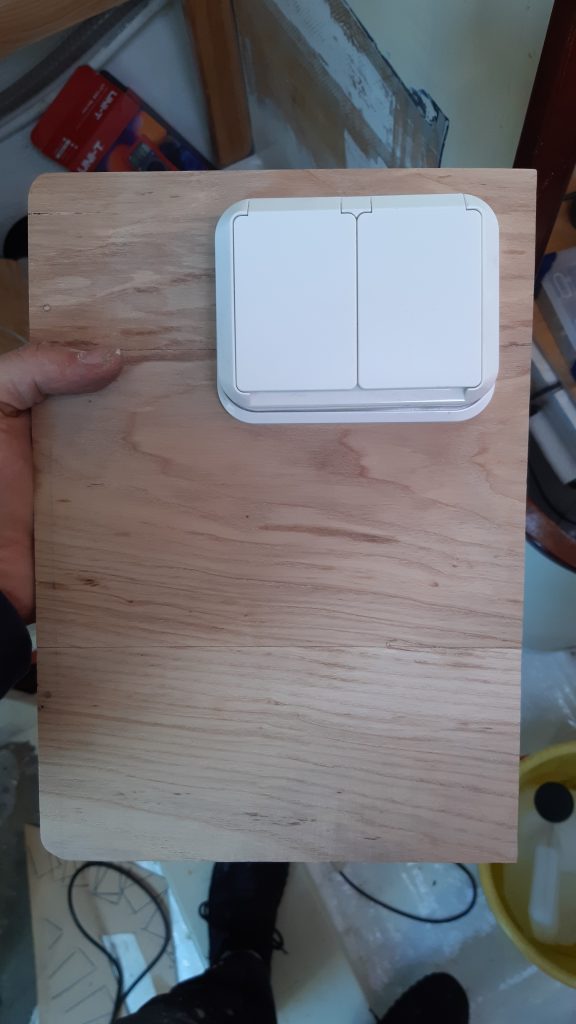
For the 240-volt outlet I took the door that was not installed in the original design and made into the panel, since this was veneer on sandwich since this is lighter than plywood and I don’t expect this to have to be rebuilt. Since one of the plans for this space is to be able to come down with wet clothes and sit down to change I bought an electrical outlet that is meant to sit outside.
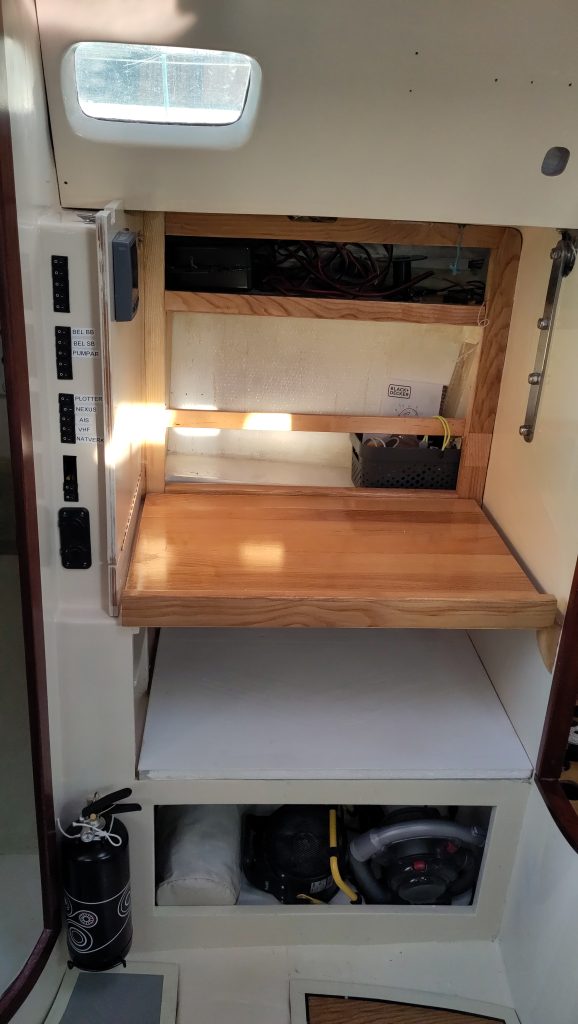
Everything was then either varnished or painted according to the materials. I have not gotten the absolute latest state on picture but there are still some wooden trim required to make it really nice. Overall I am happy with the functionality even though Aquabelle develops a slight list to port when the library is fully loaded (the tools and fuel is also to port so not entirely the library’s fault, it gets better with a full pantry on starboard).
