Christmas sailmaking
How is Christmas associated with northern summer you might ask, and the answer is not. It did want to sneak this project in somewhere. In the days around christmas where we in Sweden have some vacation days I put together a headsail for the boat.
I went by the instructions in The Sailmaker’s Apprentice regarding lofting and design. But since I didn’t want to put the time into actually sewing a prototype headsail I bought some good gaff tape and taped the sail together. I used some 4 mm line for the luff, foot and leach to help hold the sail as one piece. I used the sailcloth from some old sails I have laying around and that’s where I also got the piston hanks from.
It’s good that I did it the way I did because I don’t think the shape ended up super good, so I probably have to remake it at some point.

Center board box and hiking benches
This year I continued the build for a week, but I was pretty knackered after 3 weeks of continuous sailing, some of it around the clock, and My uncle didn’t have vacation so not too much progress was made.
I focused my attention on making the centreboard box. Due to my inexperience as a yacht designer and some ambiguous wisdom on how to calculate the center of effort when it comes to mizzen sails, this is generally more of an art than science when no advanced computer programs are available, I) hade to kind of guesstimate the placement of the centreboard. To compensate for this and to make it a little bit flexible the centreboard box was made twice the length of the designed centreboard. This also allows some kind of swingback mechanism on the centreboard when hitting something under the surface of the water.
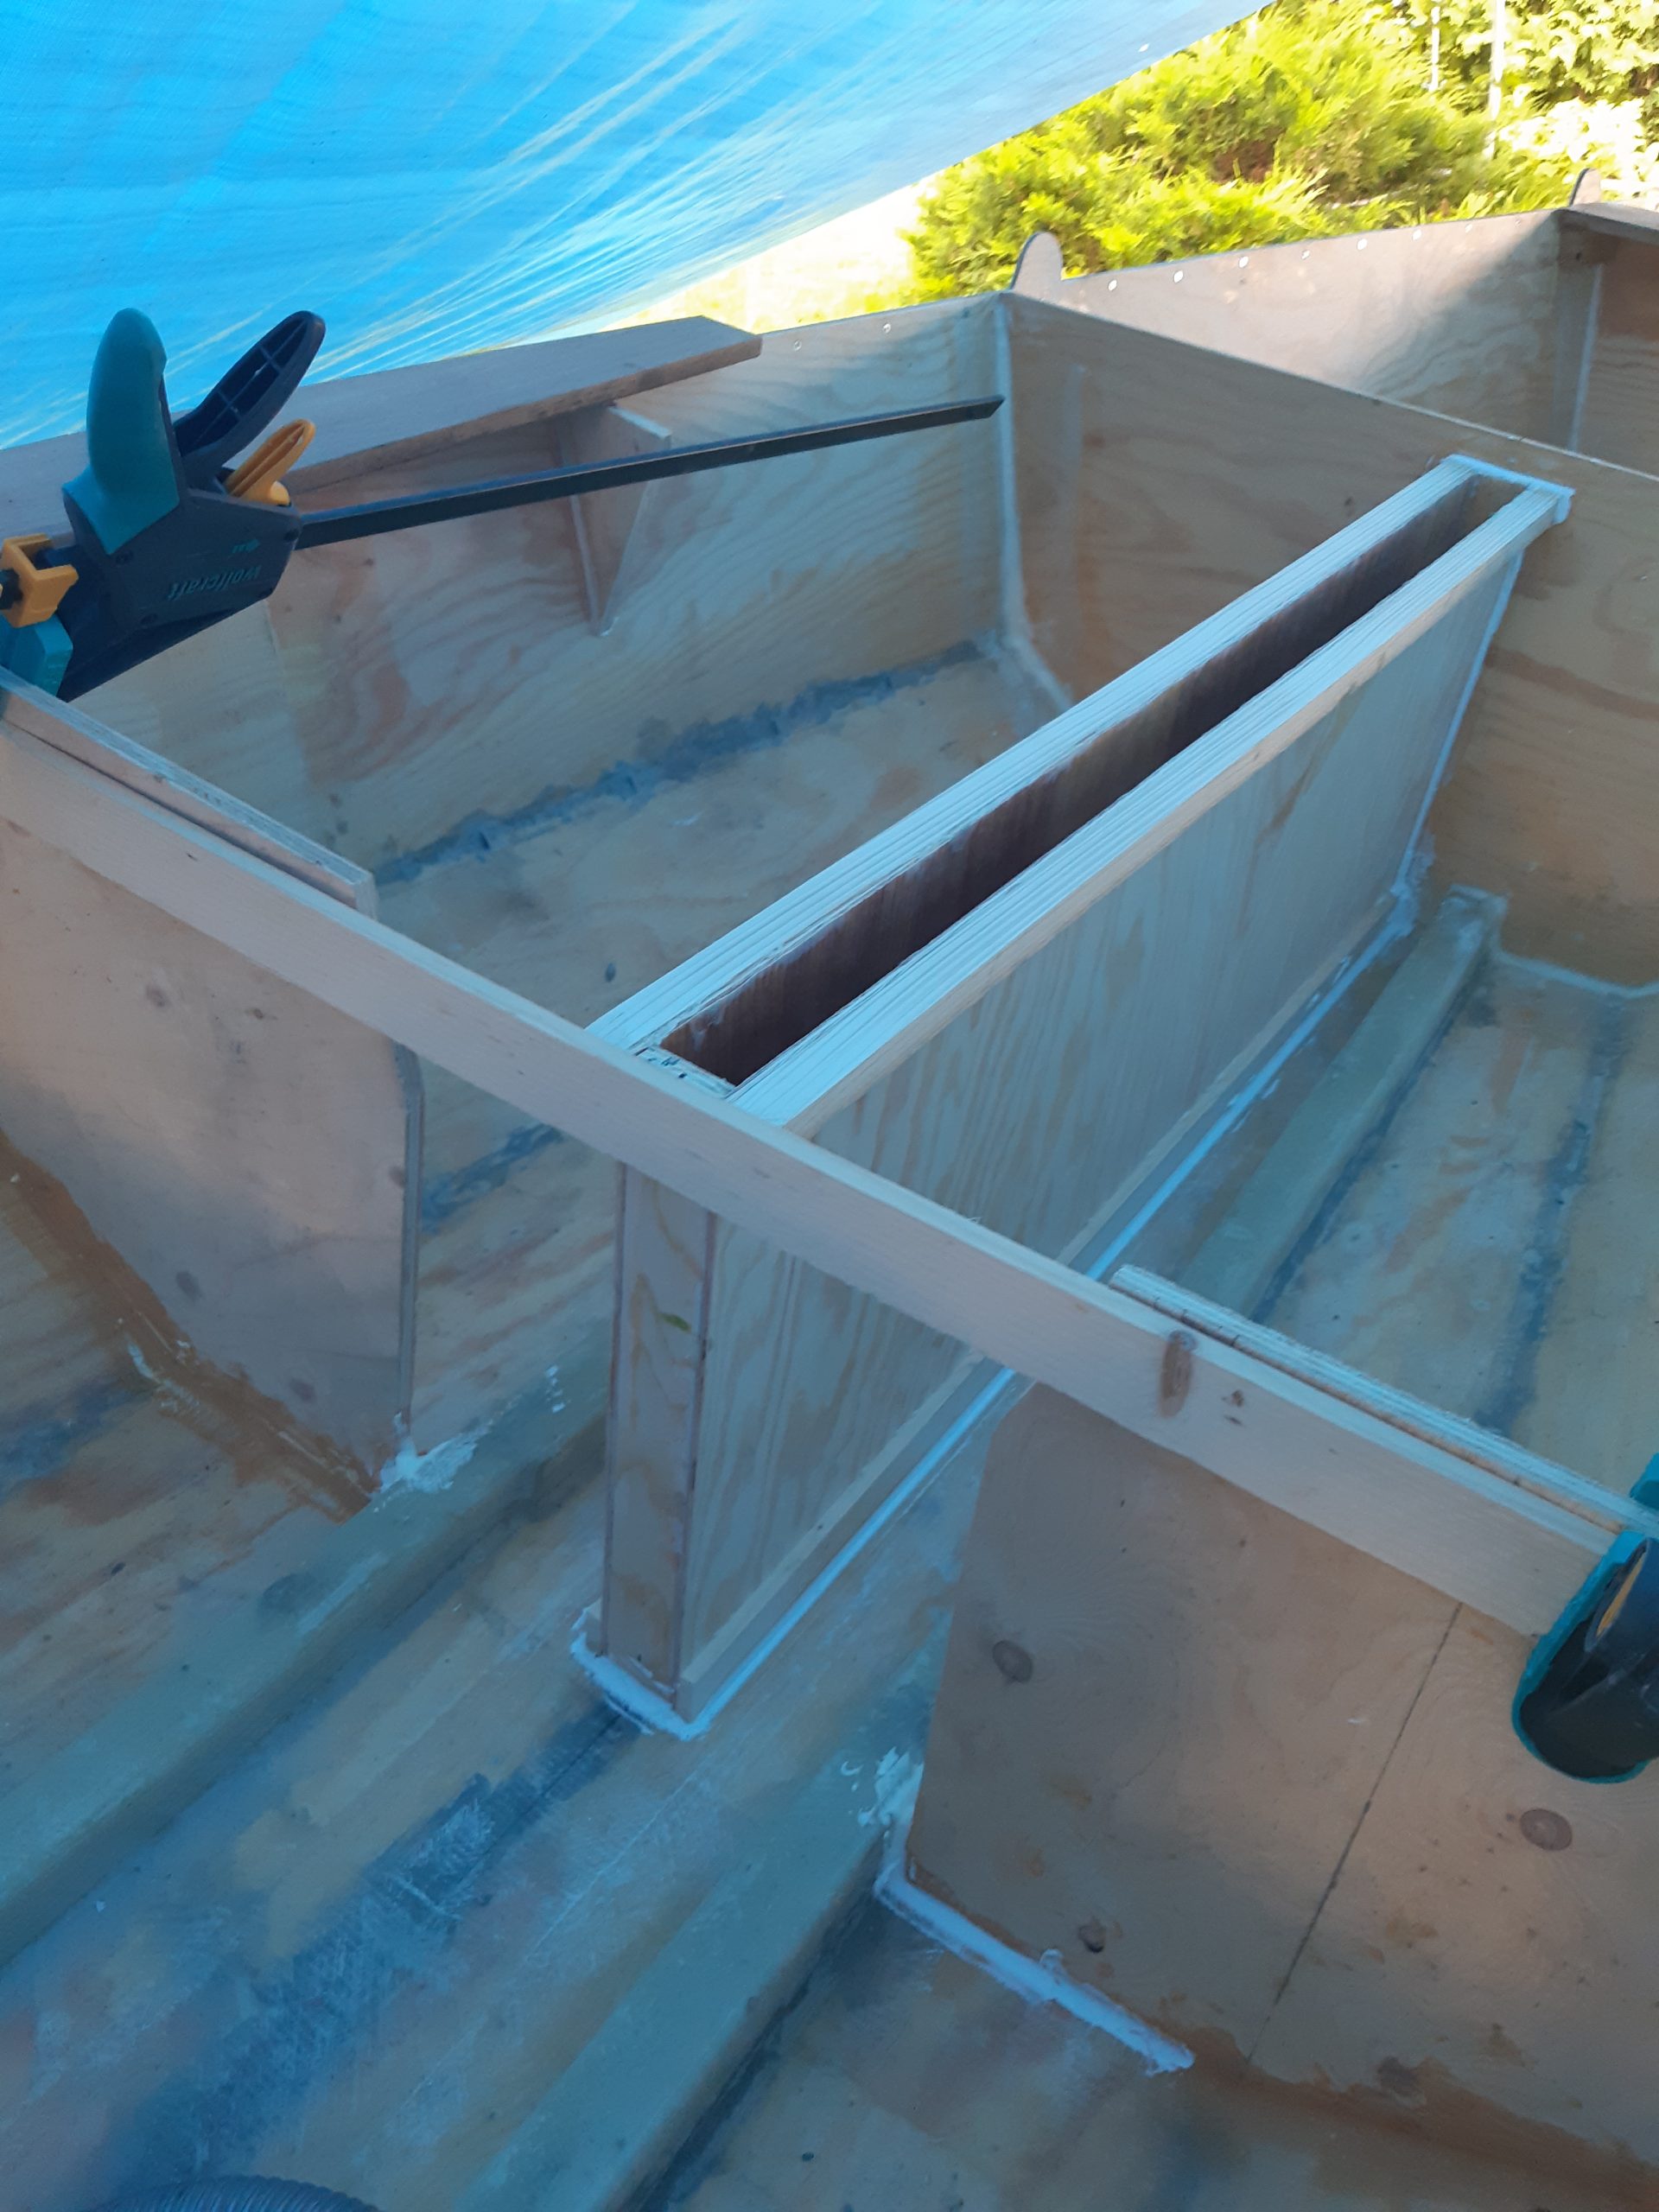
I didn’t, as you can see, take many pictures during this build, but it is quite simple. I started by making support for the two remaining mahogany planks that where going to support the bum and things when sailing this as a more capable sailor. The planks are supported by the mizzen support plank, and thereby the mizzen bulkhead, then a smaller thing that goes down to the sole but is cut flush with the edge of the plank. The next support is the one you see in the image, a half-bulkhead that is also supporting the centreboard box and will be the attachment point for the mainsail sheet. The last one is the small small one that you see, I wouldn’t expect a grown person to be able to sit on that though.
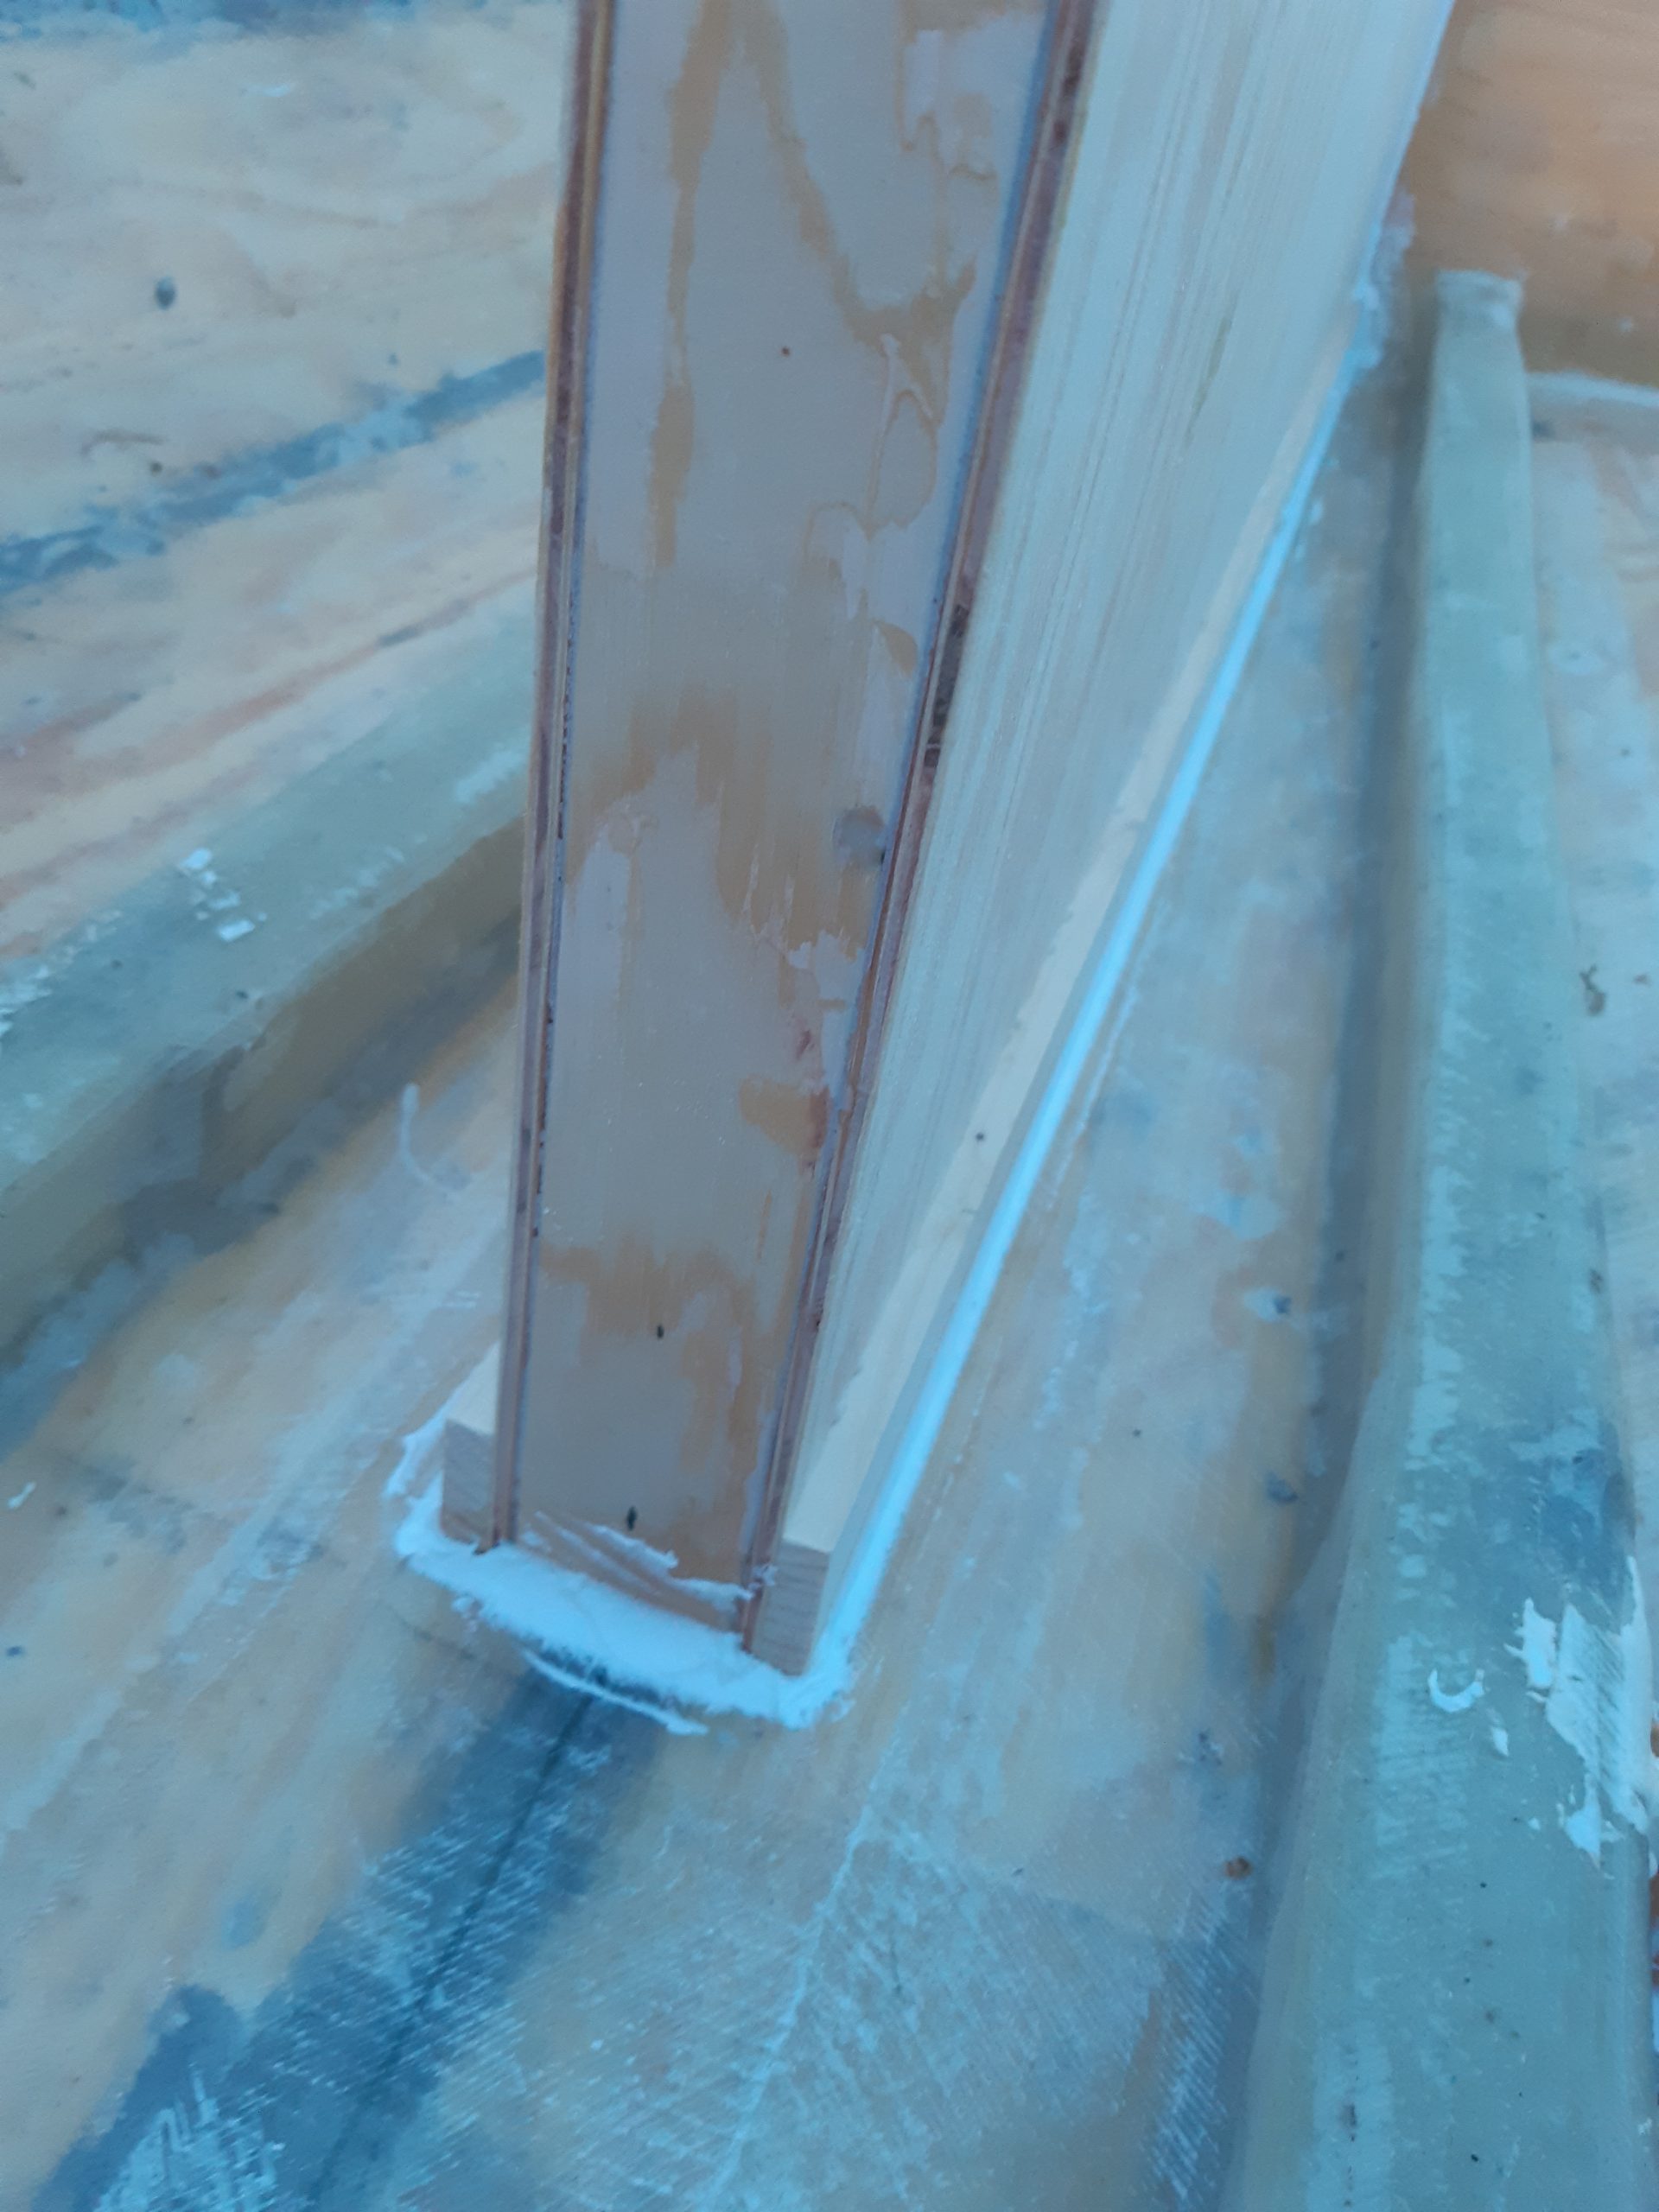
The centreboard box itself is build from 4mm plywood that is laminated with glass fibre on the inside faces to help with abrasion resistance, to keep the plywood watertight over time. It was reinforced and the bottom with some left over spruce from the mast making, to get a bigger surface to the hull when glueing. It was reinforced at the top to be able to support the centreboard, which is planned to become weighty.
When the box was made I aligned it in the hull at the correct location and angle, then marked it so that it could be reset it quickly at the correct position. For the glue I used thickened epoxy, applied it thickly to the box and put it in place. I cleaned up the squeezed thickened epoxy and made the inner corner rounder to better accept glass fibre lamination. Now it was a waiting game until the epoxy had cured so I did some of the other projects in the meantime.
After the curing time it was time to put the very scary, very large, hole in the boat. I started by carefully measuring the whole on the outside and drillen in some safe spots. From then I used a jigsaw lying on the ground sawing up, needless to say I used safety glasses and respiratory protection equipment. When the sawn-out hole was sufficiently close to where it should be I used a file to get them to the line. I then used a disc sander to round the resulting corners.
To put the box securely in place I laminated from the outside in to the hole. This was a bit tricky since it is upside down, so I used a trick where the surface is prepared with a layer of epoxy. When this first layer is beginning to gel, when it is on the verge of being sticky, a pre-wetted glassfibre is applied. The stickiness of the preparation layer means it is a much easier thing to do. The centreboard box was also laminated to the boat on the inside of the hull.
Centreboard and rudder making
To make an initial centreboard I cut out several sheets of 4 mm plywood made to match the wing profile of the centreboard. Each sheet from the center out is a little bit shorter to make things easier later on with the planer.
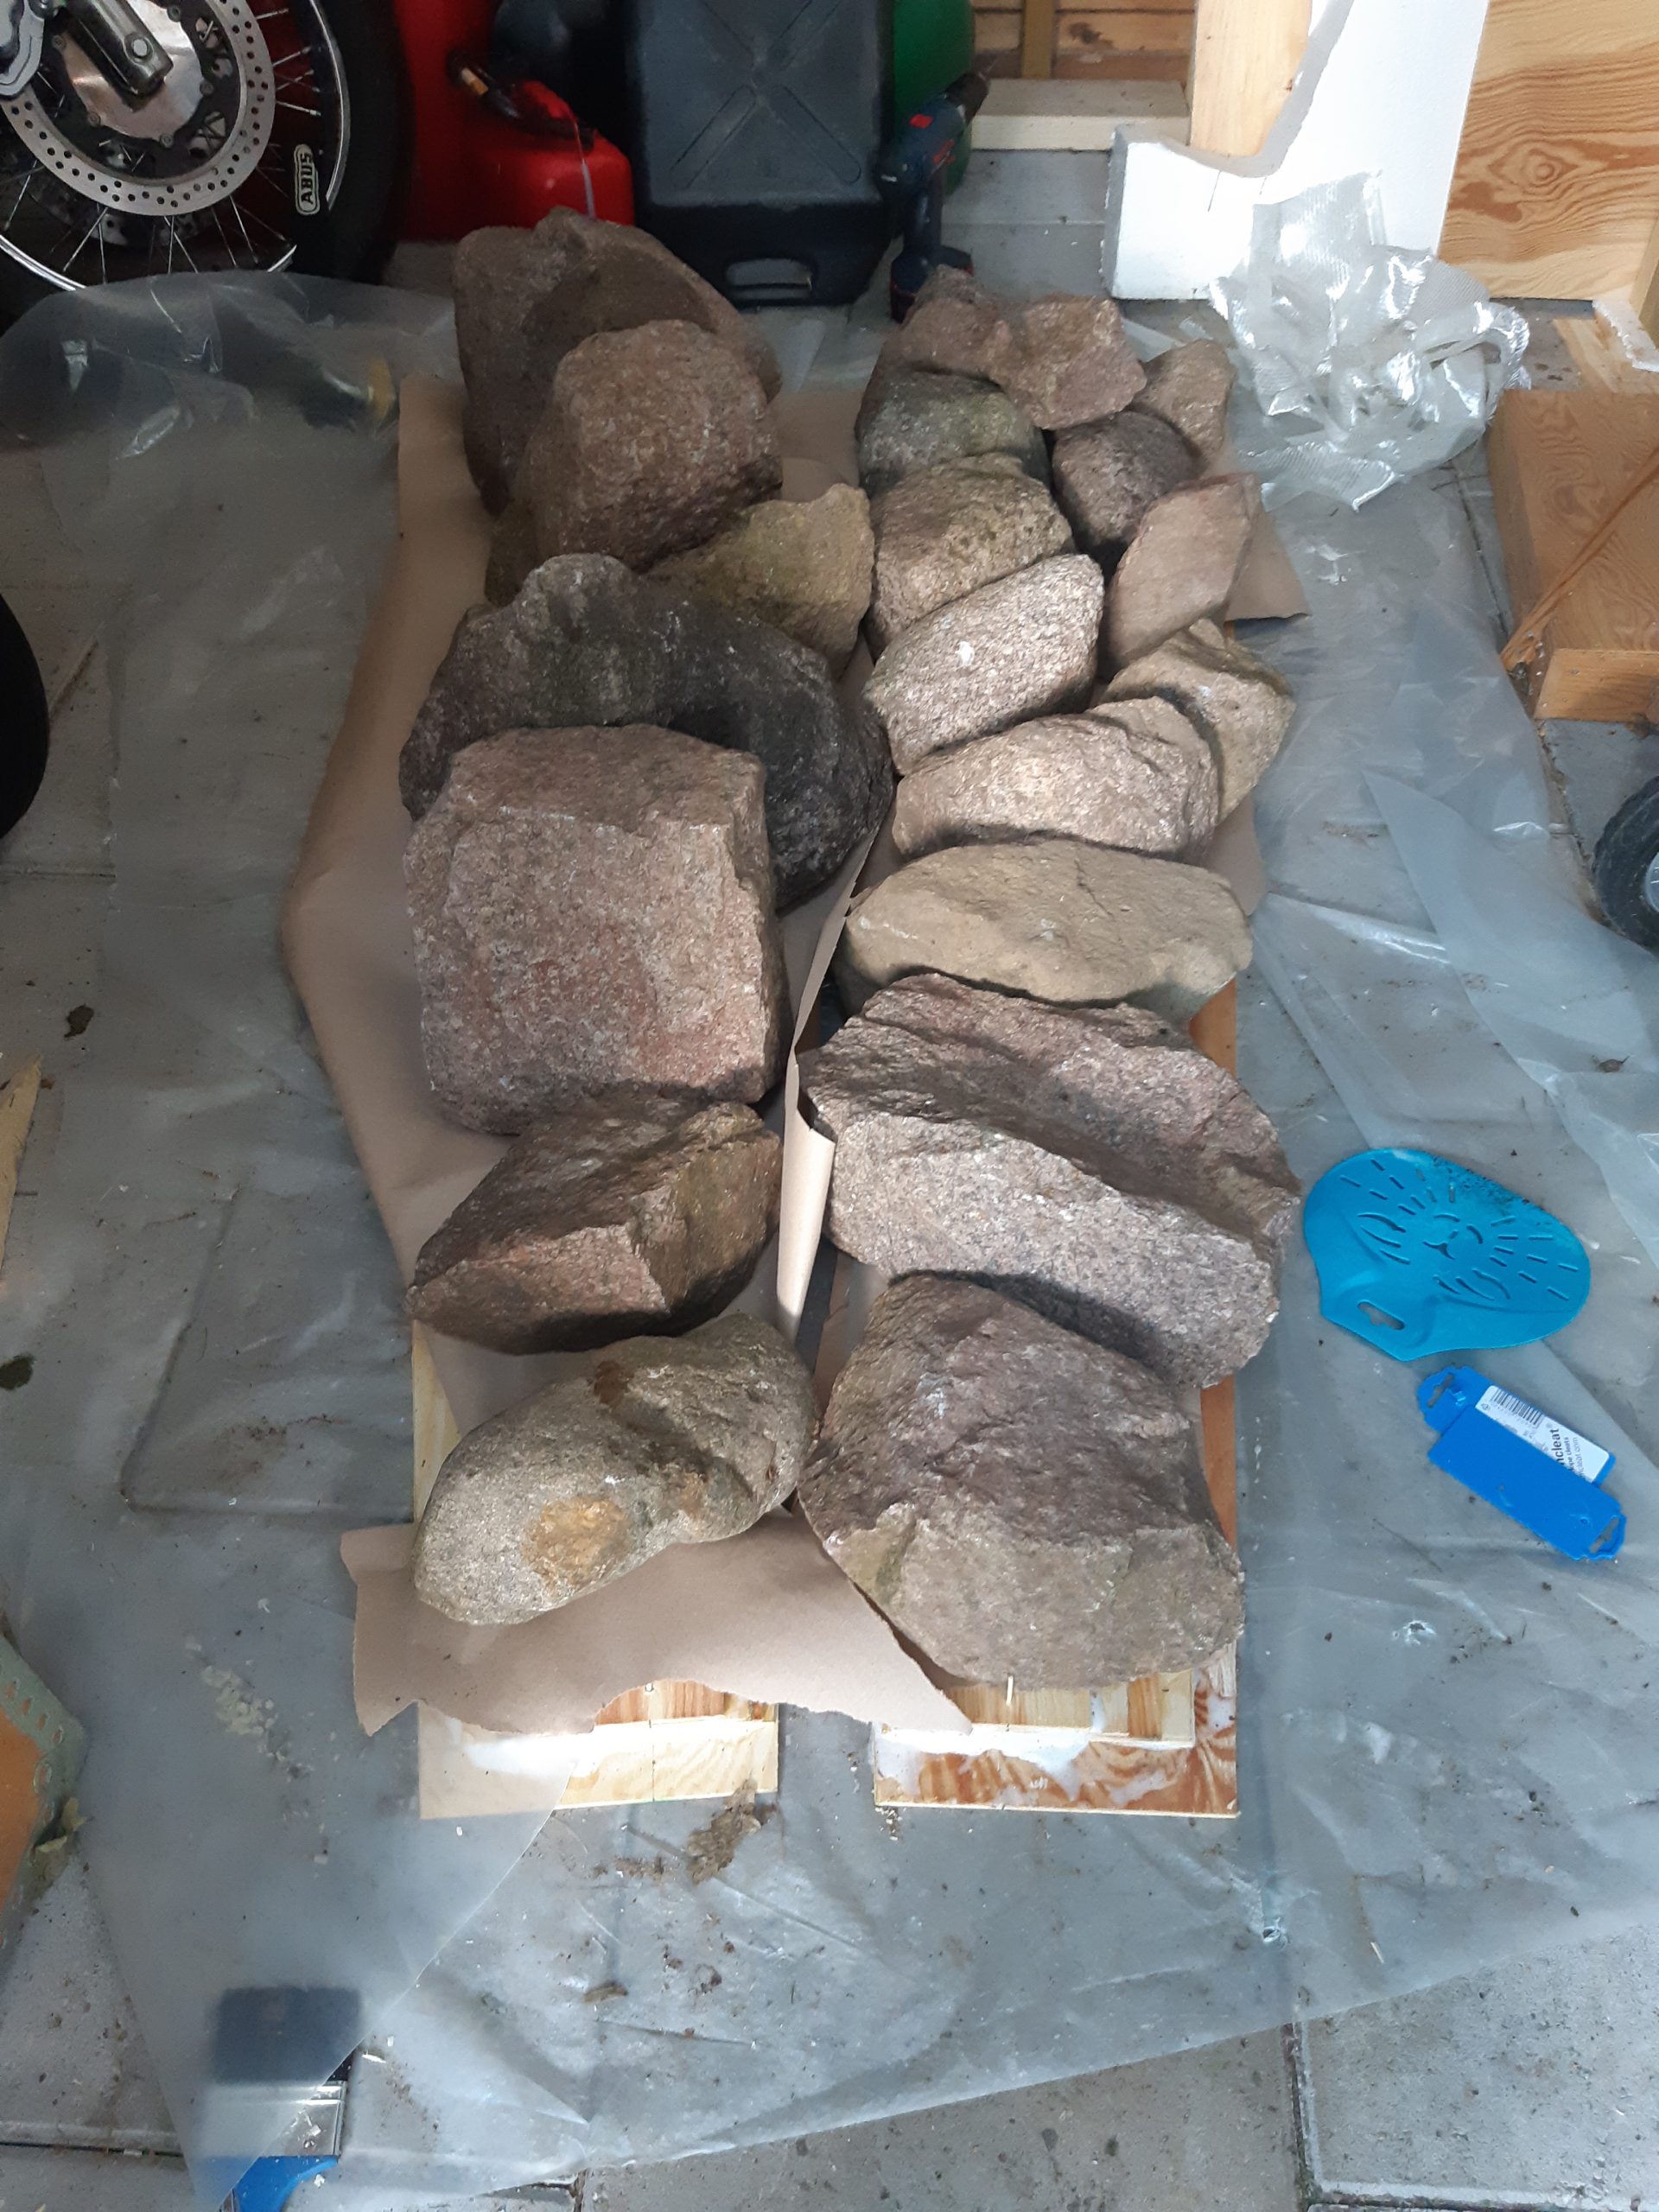
To get the sheets to match up when glueing I drilled some wholes at the top and bottom that are supposed to match, then put a match through them when laying up the glue stack. This went quite smooth and is a method that I would recommend. I also recommend to glue the stack on a perfectly smooth surface. I didn’t and when glueing the two halfs together I ended up with voids and excessive plaining in places. I plan on making a better one later on.
The rudder was made from an already thick piece of plywood since it is much smaller.

The Hounds and Jaws
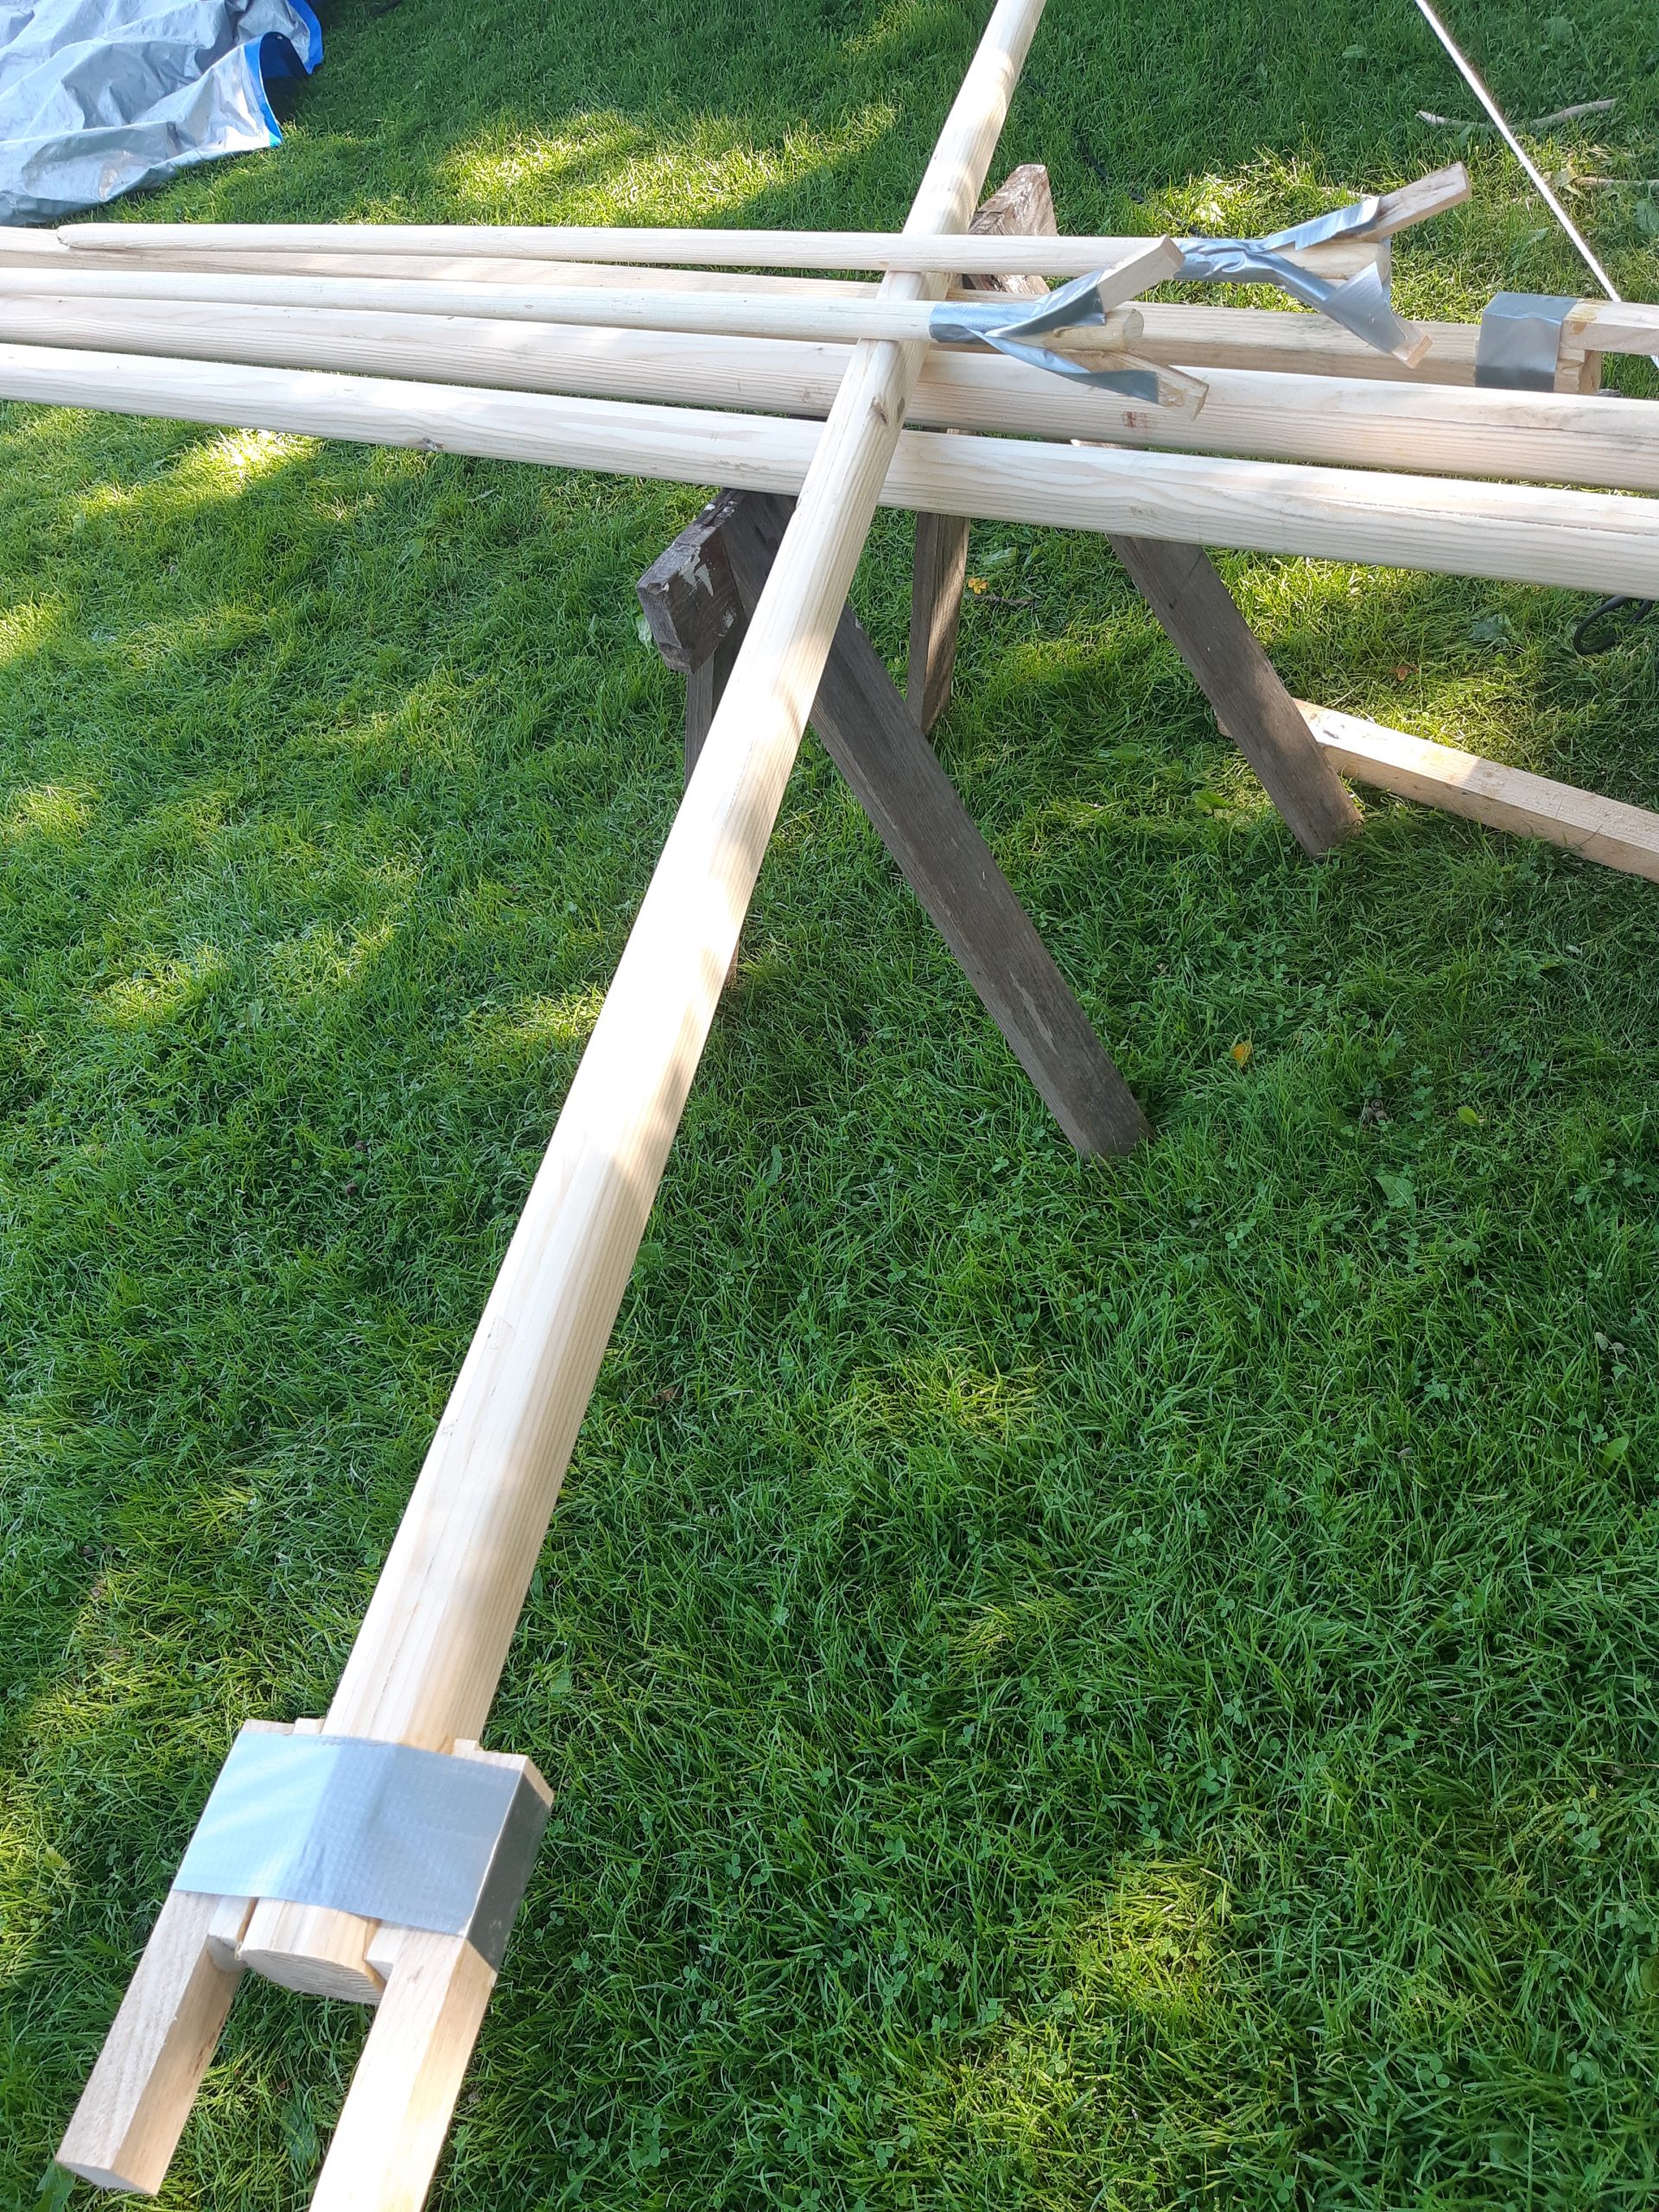
The completion of the spars continued intermittently throughout the week. For the booms some jaws where needed that would make the boom be attached to the mast. The masts are going to have backstays to help support the main headstay and maybe a mizzen staysail later on. The easiest and the classic thing to make or hounds, small blocks that will support loops going around the mast which the stays then attach to. A common thing is to splice a loop on the stay itself.
Not on pictures are the stays I made from some 3mm dyneema. Funny thing how new materials brings back old techniques.
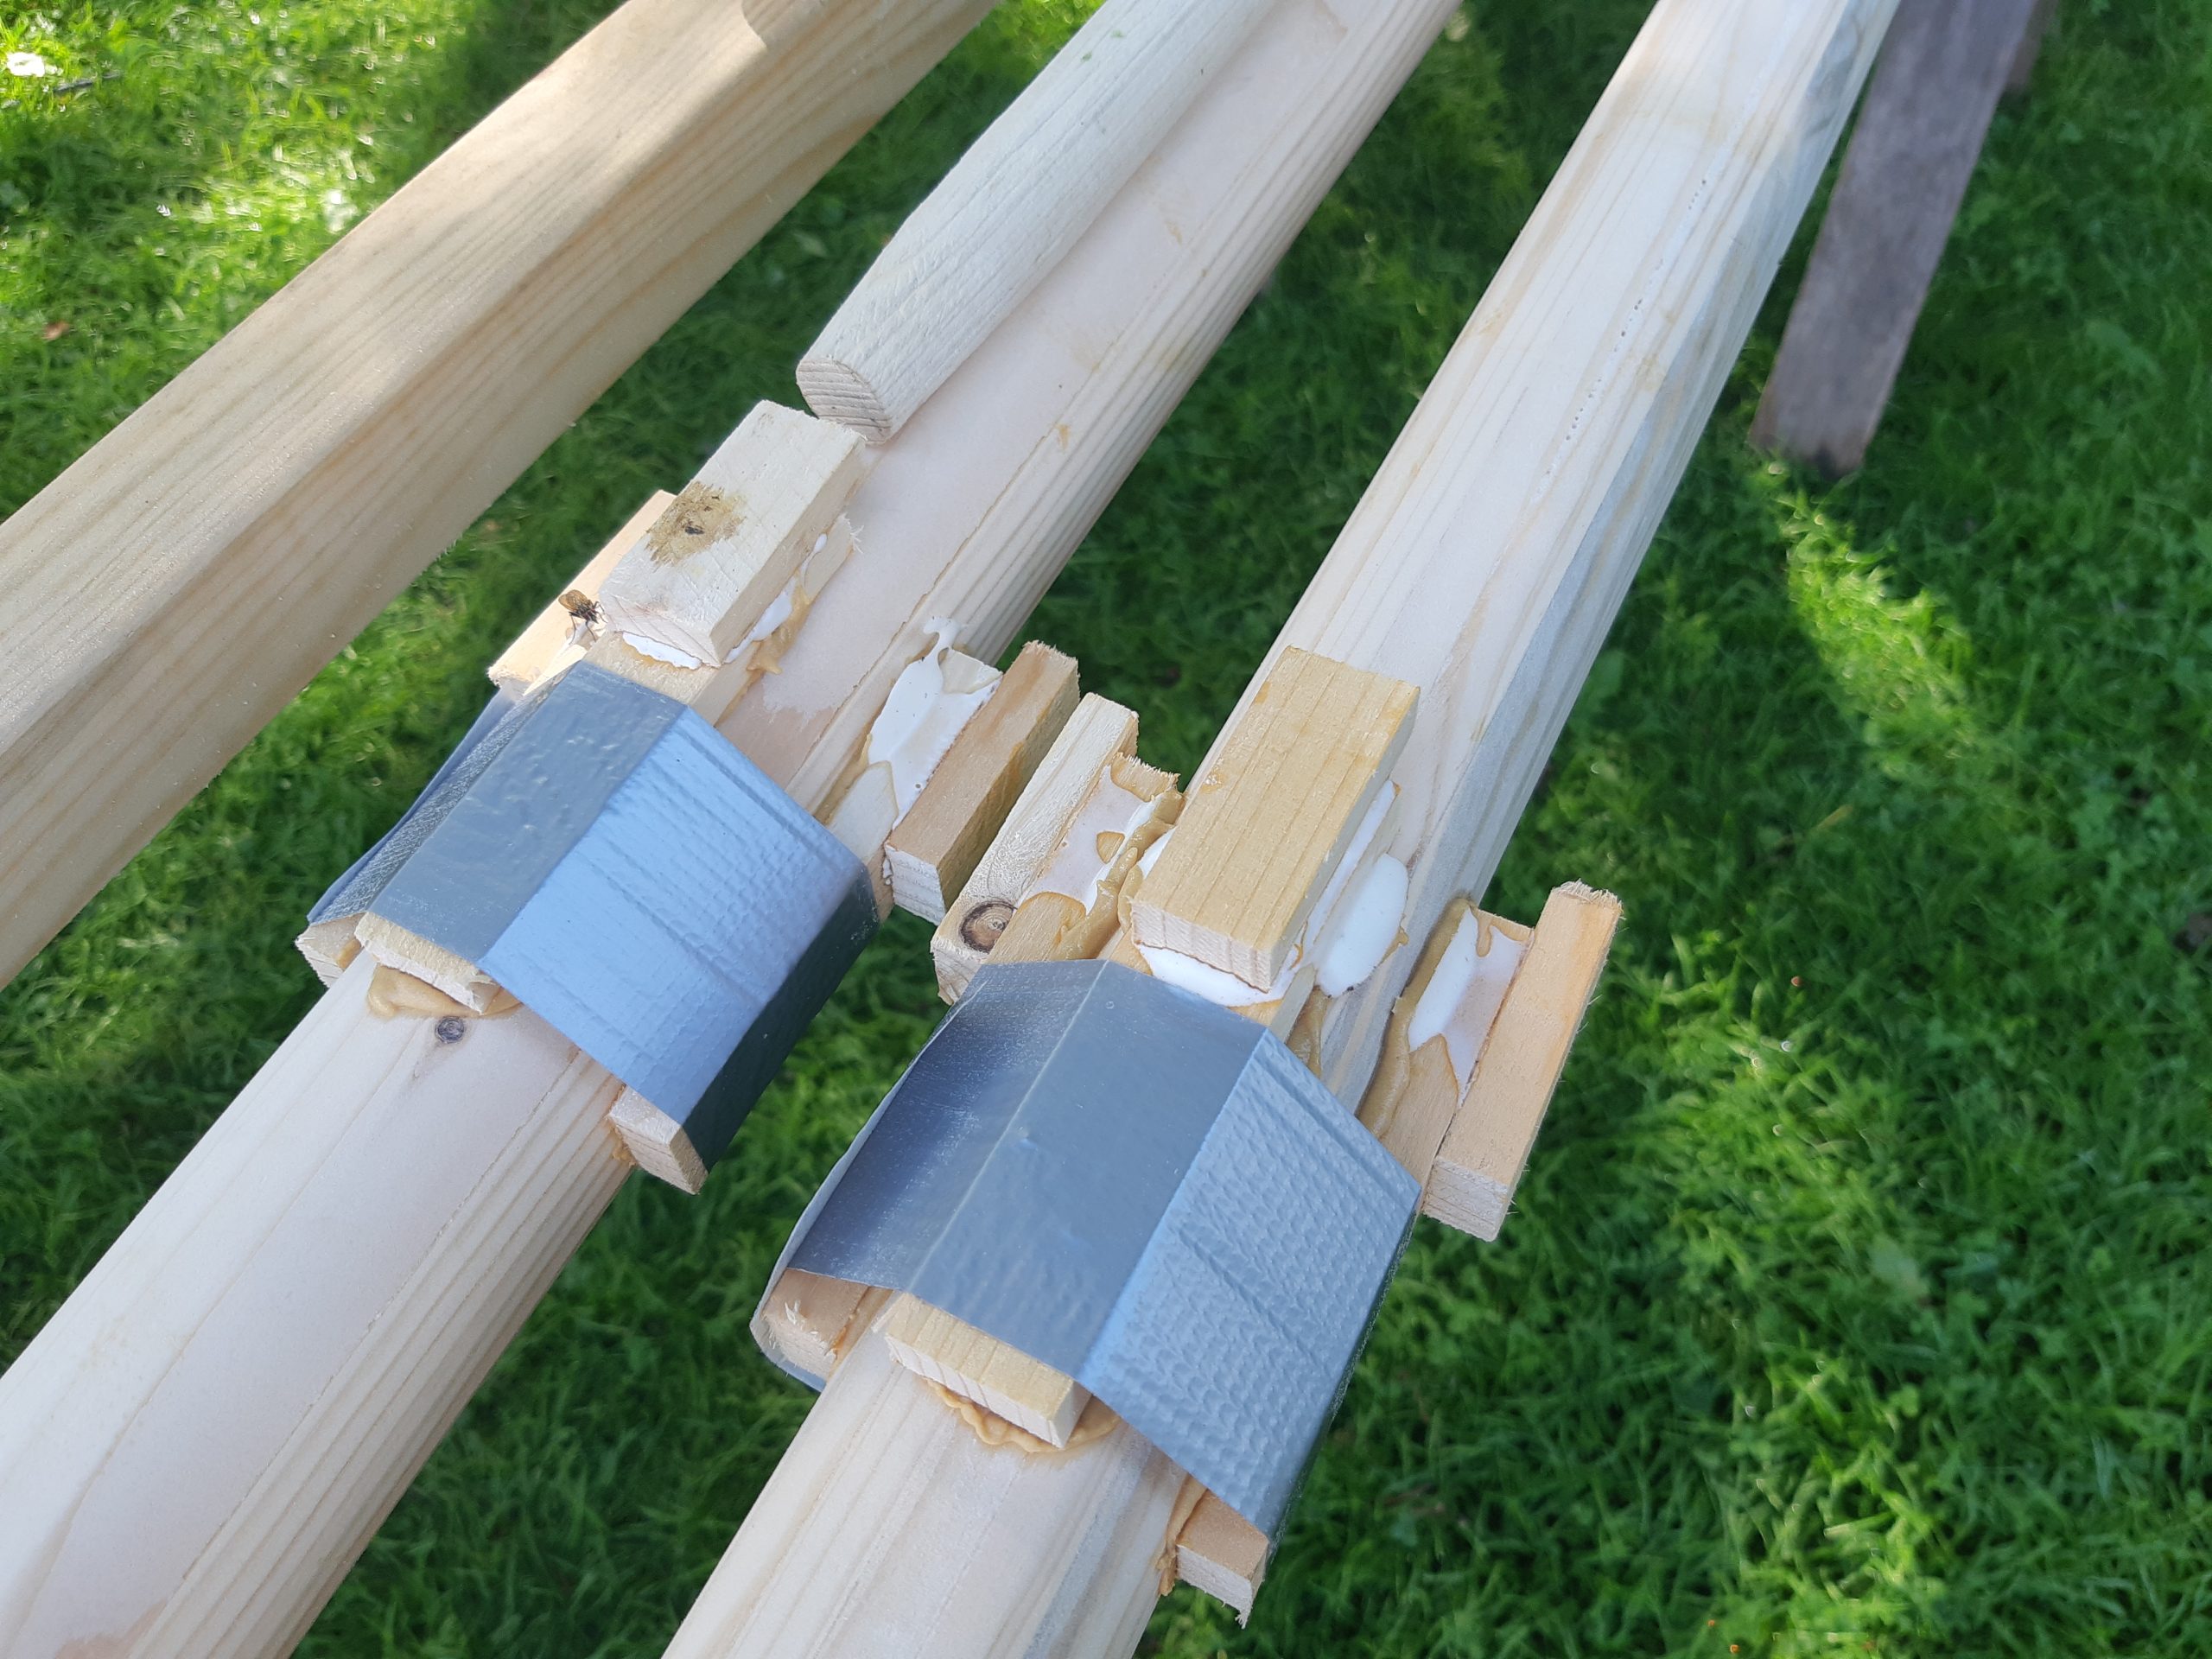
The small bits of wood was glued using thickened epoxy to get a good strength since failure could be quite bad while sailing. They will also get secured with lashings and seizings later on. Possibly these will be made with glass fibre or small diameter dyneema or fishing line, the epoxied over to create really good strength. To keep the bits in place while glueing gaff tape was used as you can see.
