It is important not to have holes
During the summer of 2016 I found myself having a week to spare, so I decided I was going to build a boat. I have been inspired the summer before when on a canoeing trip with the scouts where we tied together two canoes and “hoisted” a small tarp held up with paddles. We made quite the speed downwind.
The plan now was to build something that could easily be put on a car-roof by one person and sailed on lakes with uncertain depths, together with some personal day-pack. All in all a small convenient toy. The goal was for each pontoon to only weigh 20 kgs and to keep costs down.

The materials I choose was a couple of 2″x2″ fir some smaller softwood sticks and two sheets of 4mm fir plywood, and some other thicker fir plywood for bulkheads.
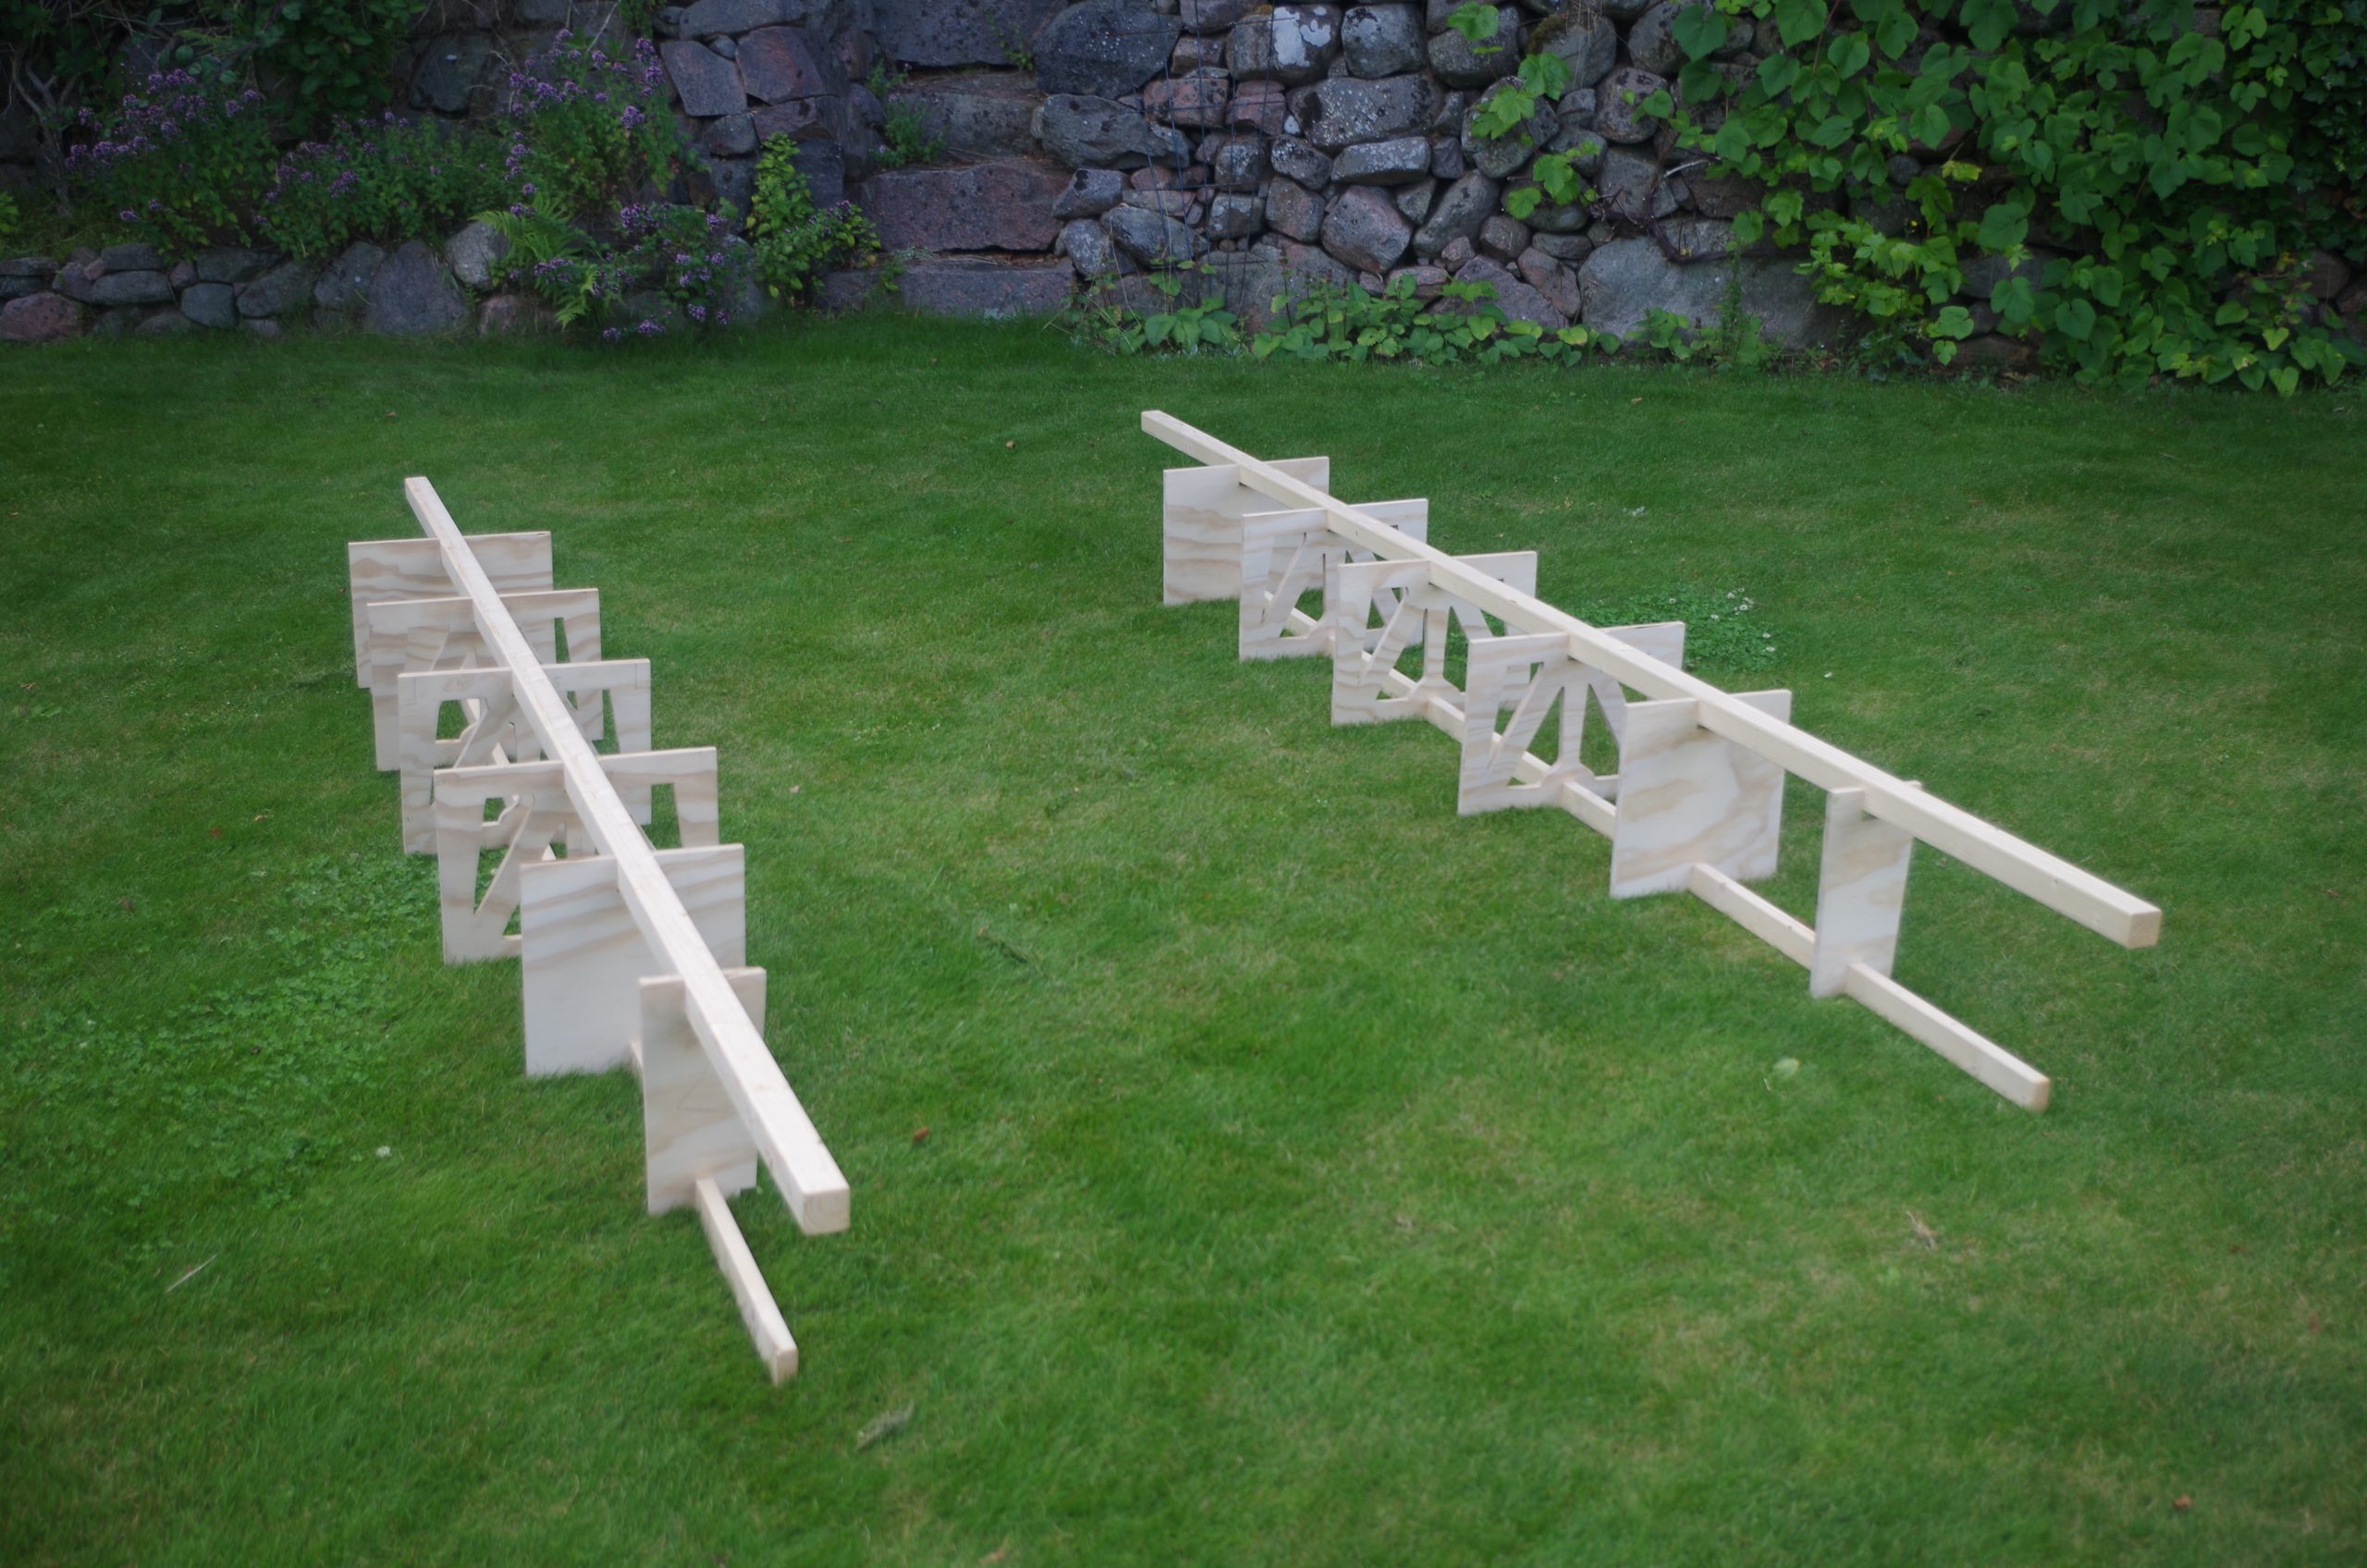
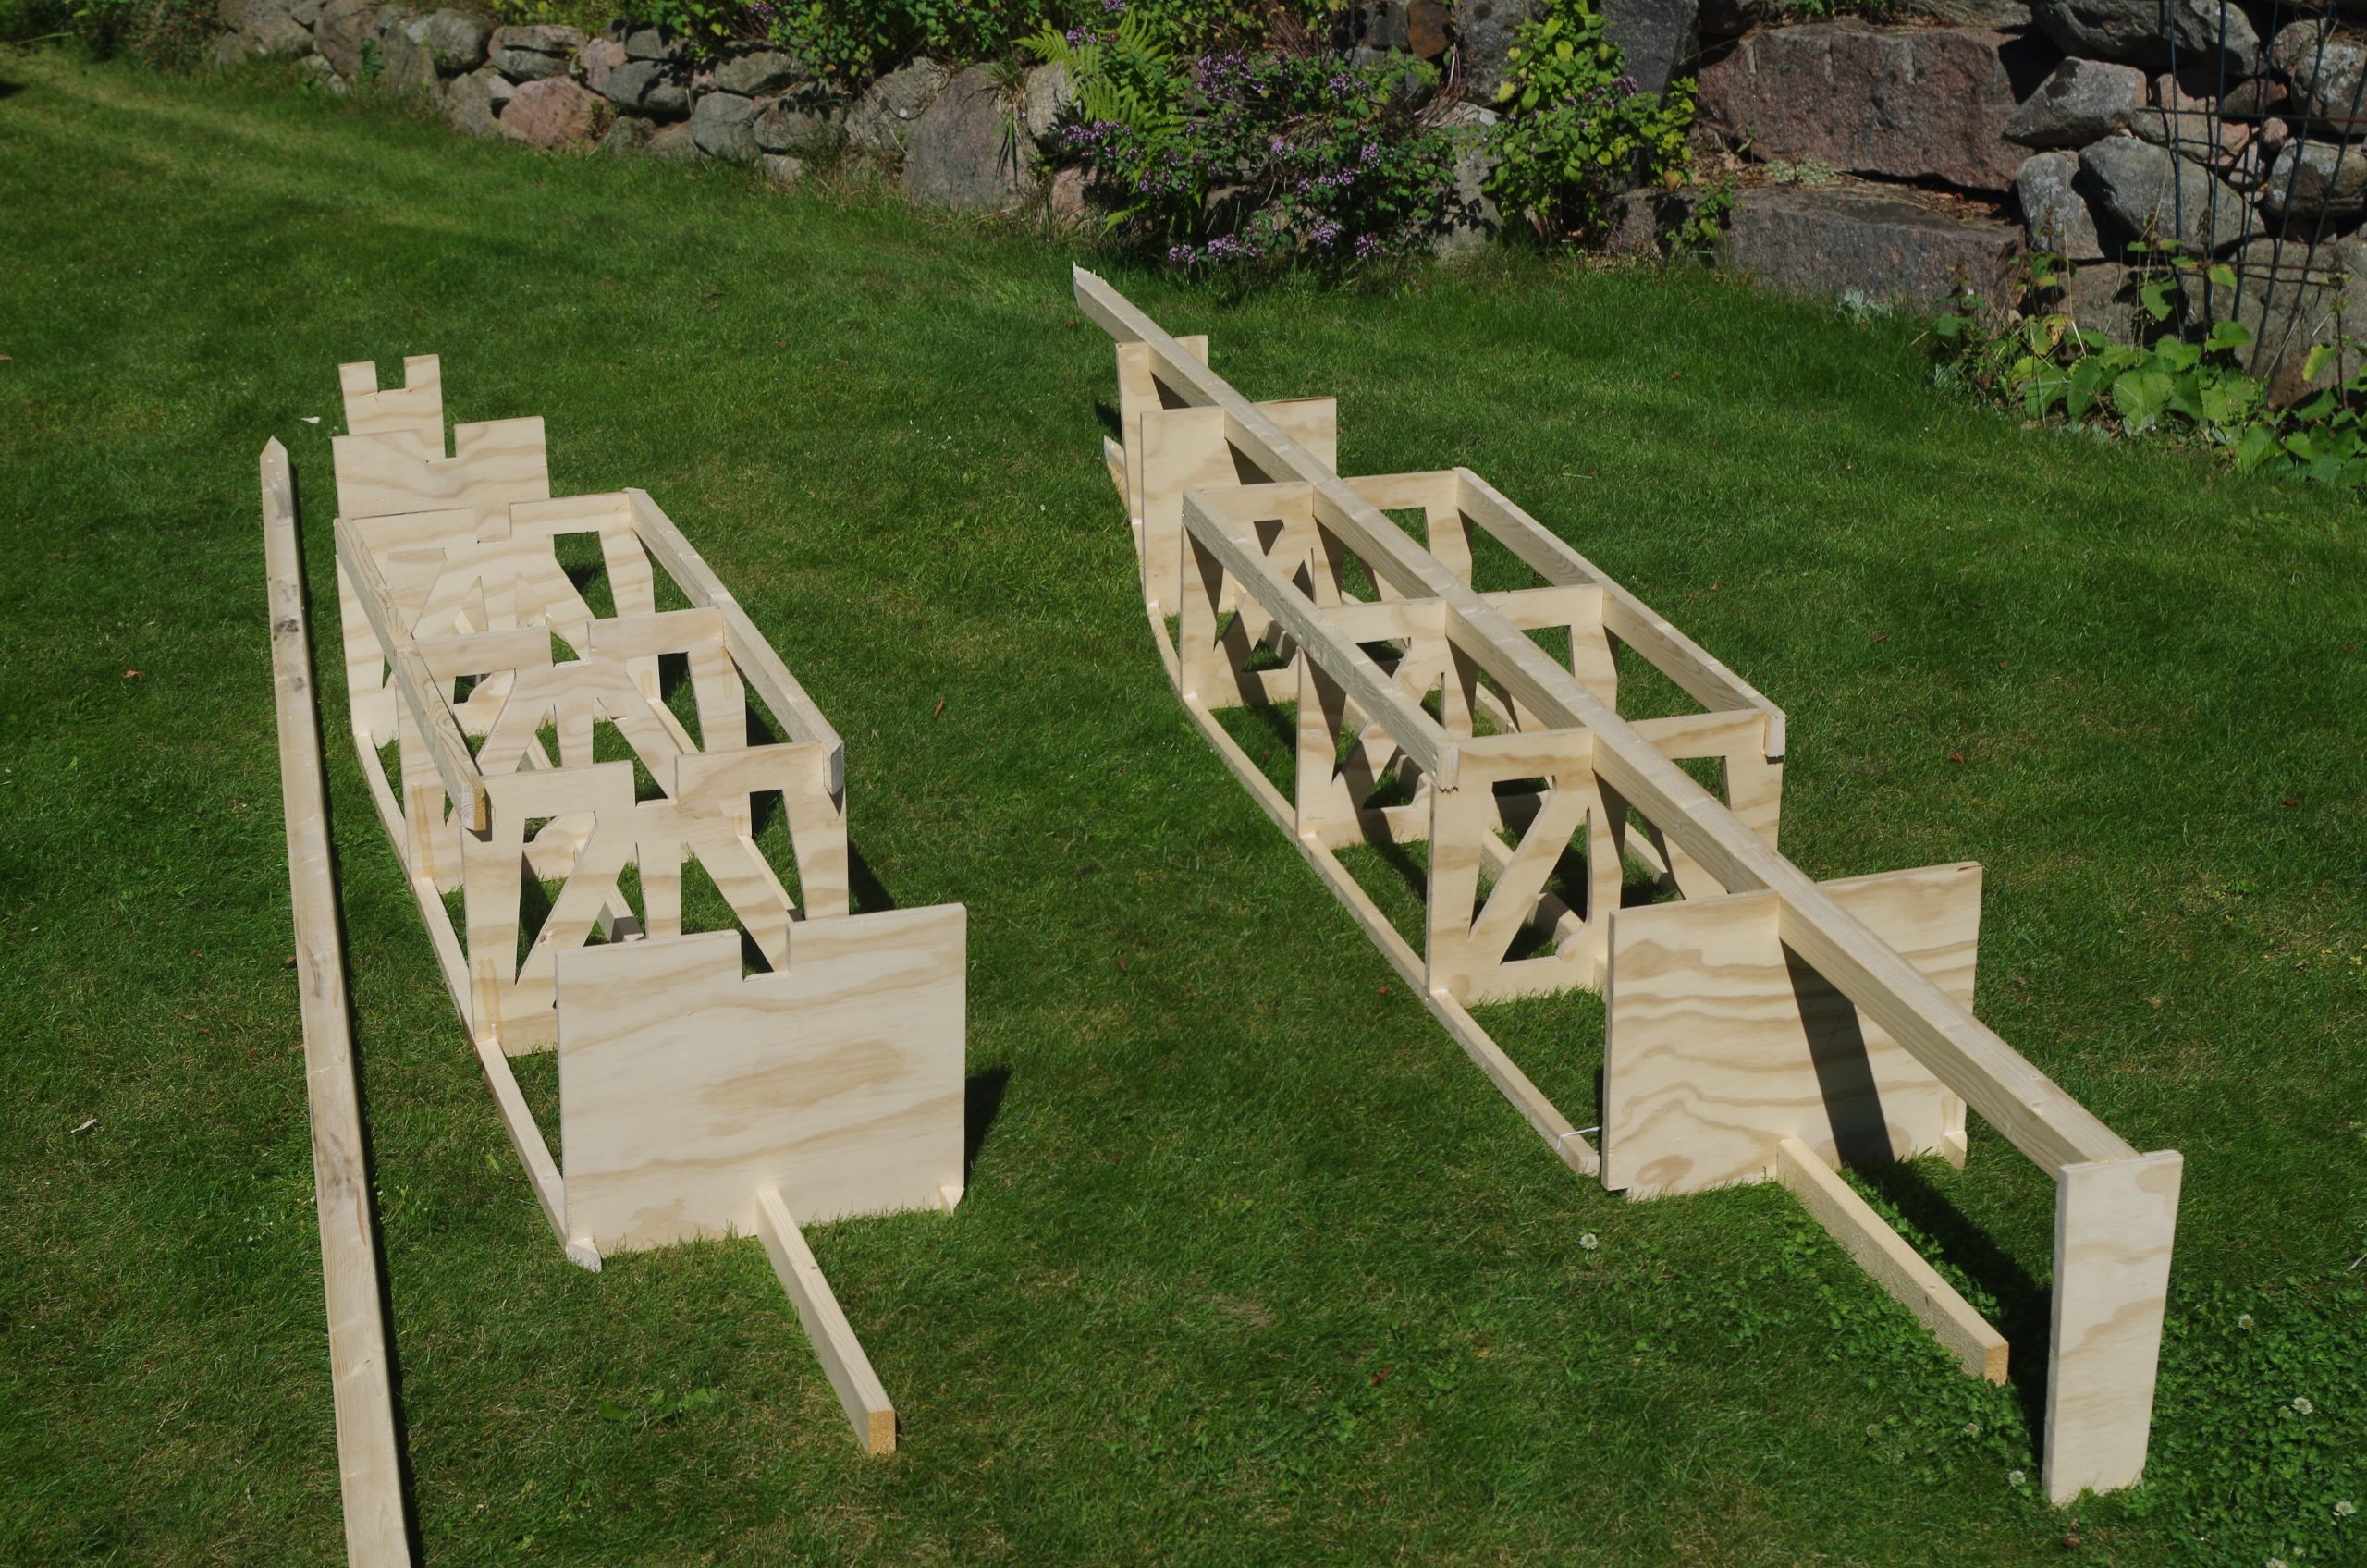
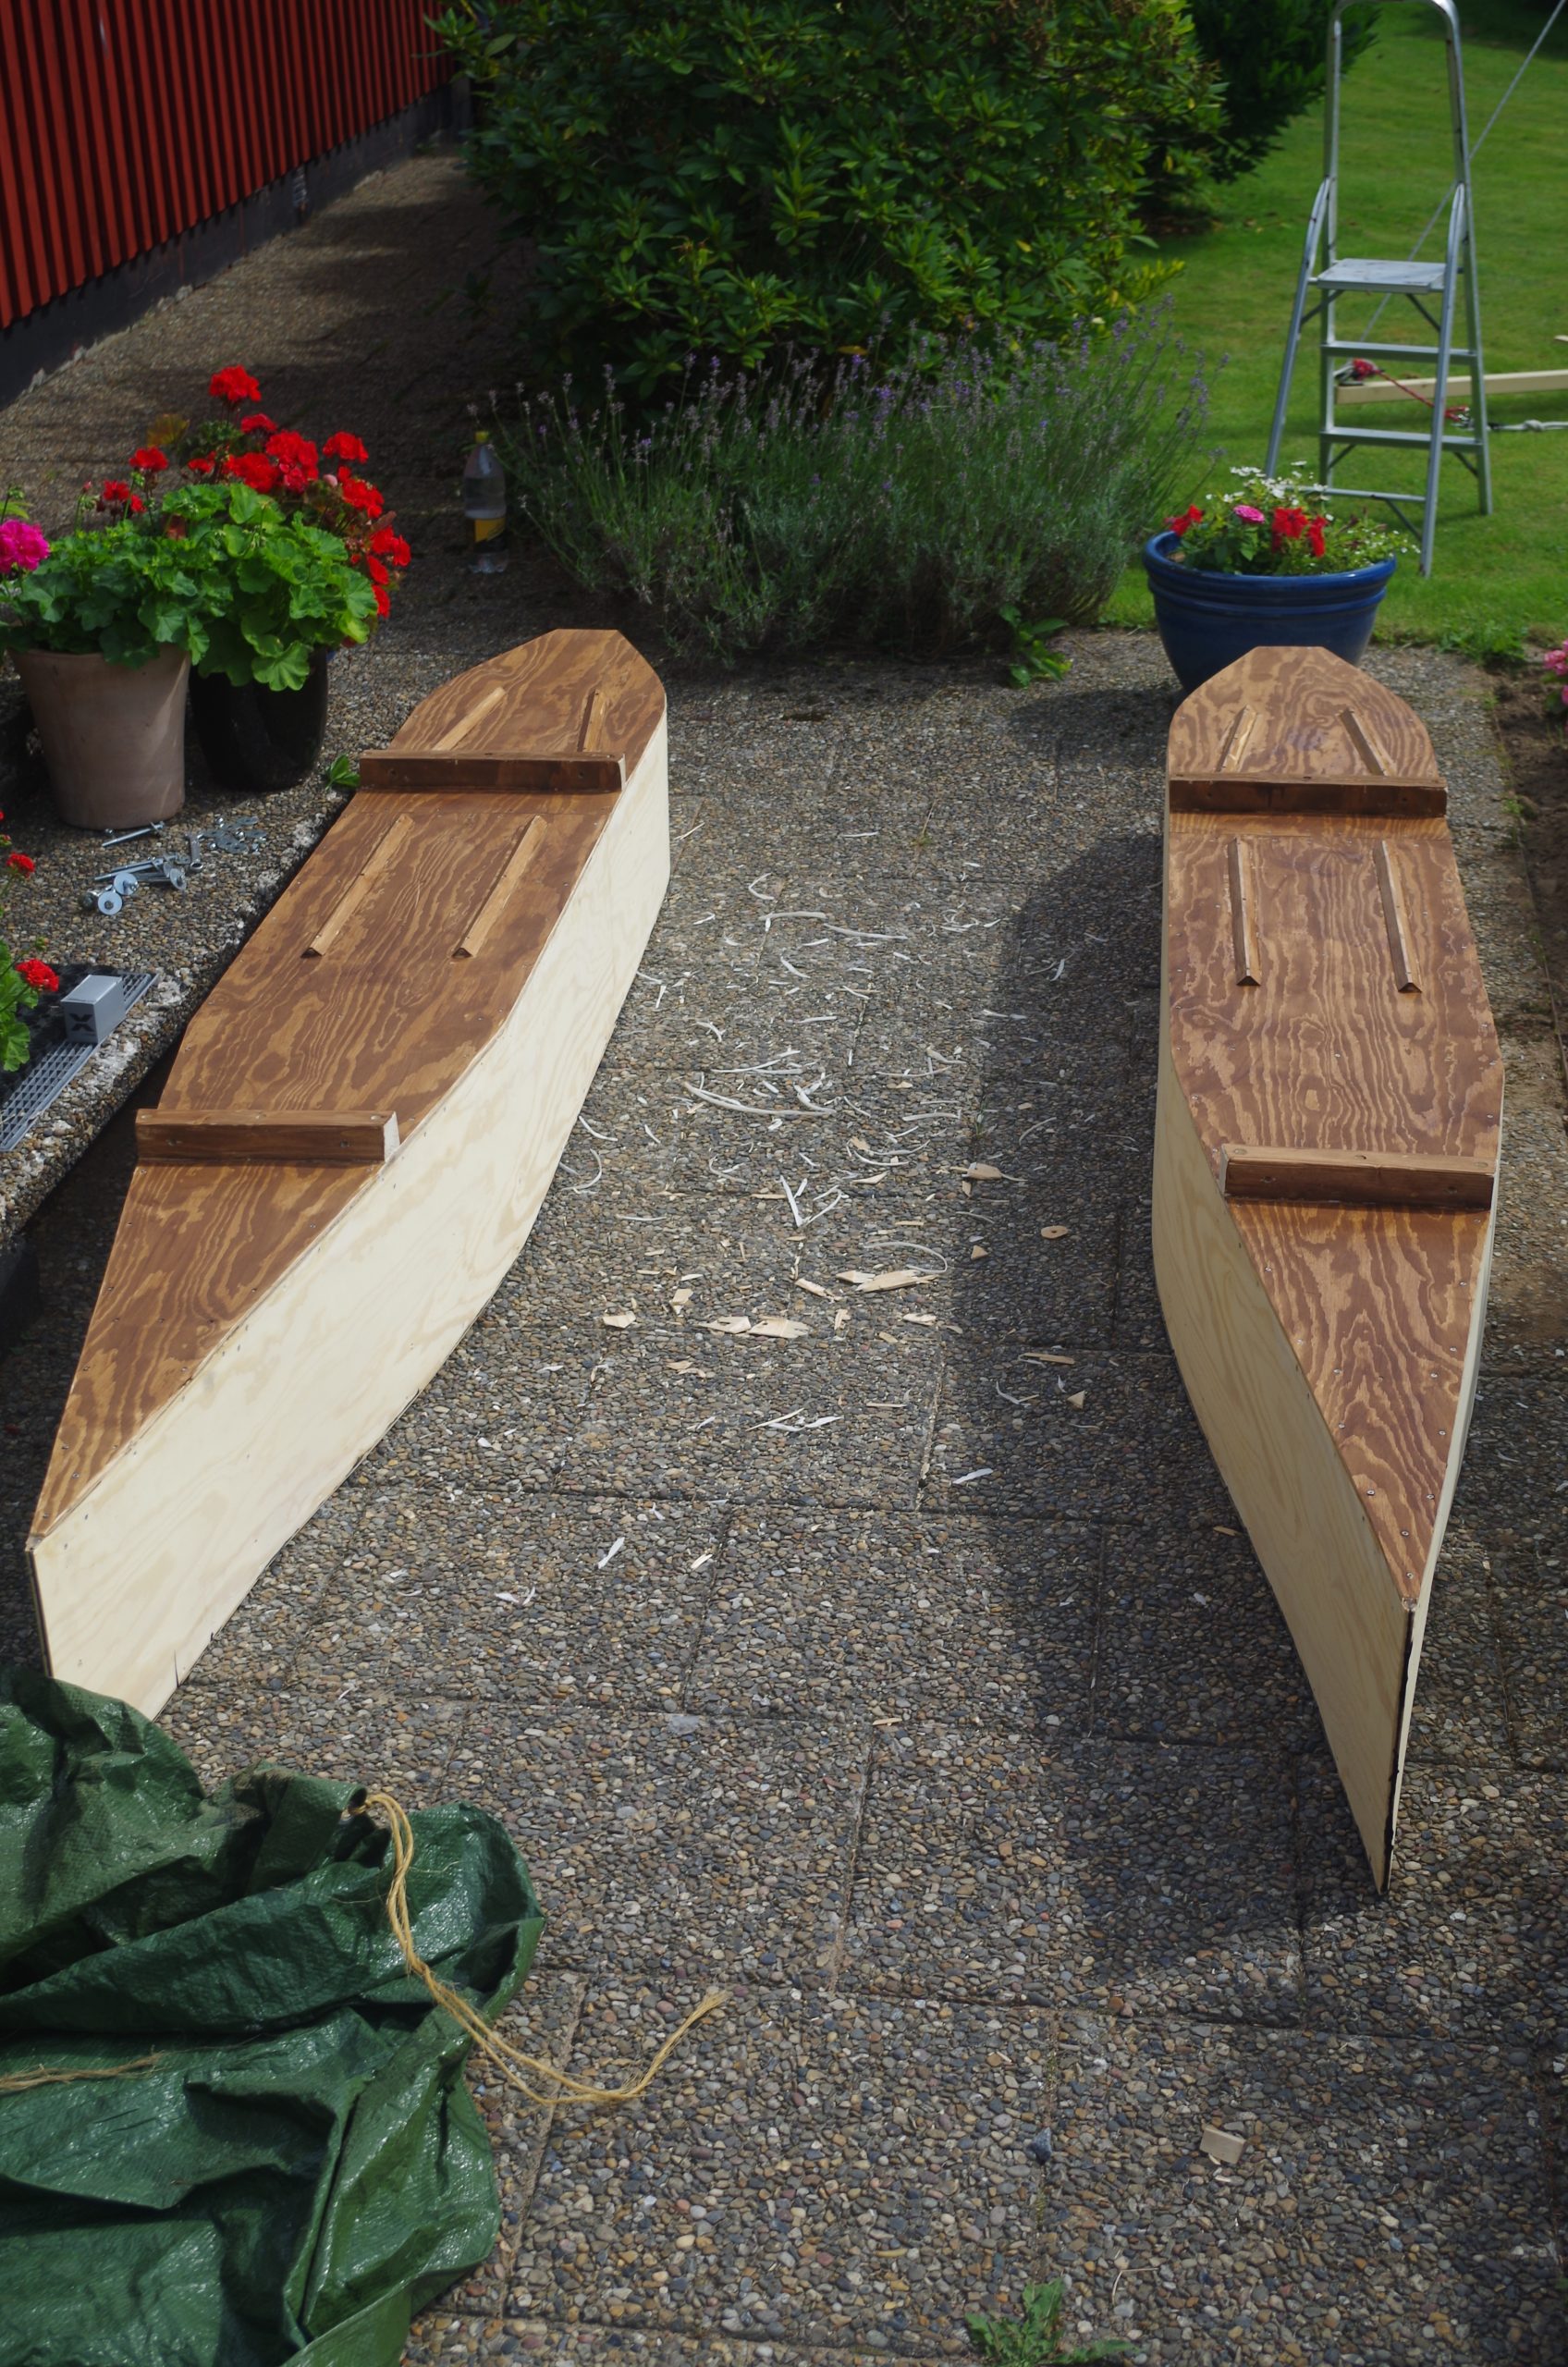
The construction was quite simple forced by time and budget constraints. A simple wedge shape with some rounded aft ends. This was before I had gained much more knowledge in boat design. notice though the slight V-shape of the front part of the pontoons. My speed optimism was high!
I started with laying the keel timber if you can call it that, then putting on the bulkheads, sawn out for weight-saving. The pontoons where divided in four “watertight” compartments. This was not going down like the Titanic!
When the bulkheads where in place the corners of the box where filled in with some edging so that the plywood had something to attach to.
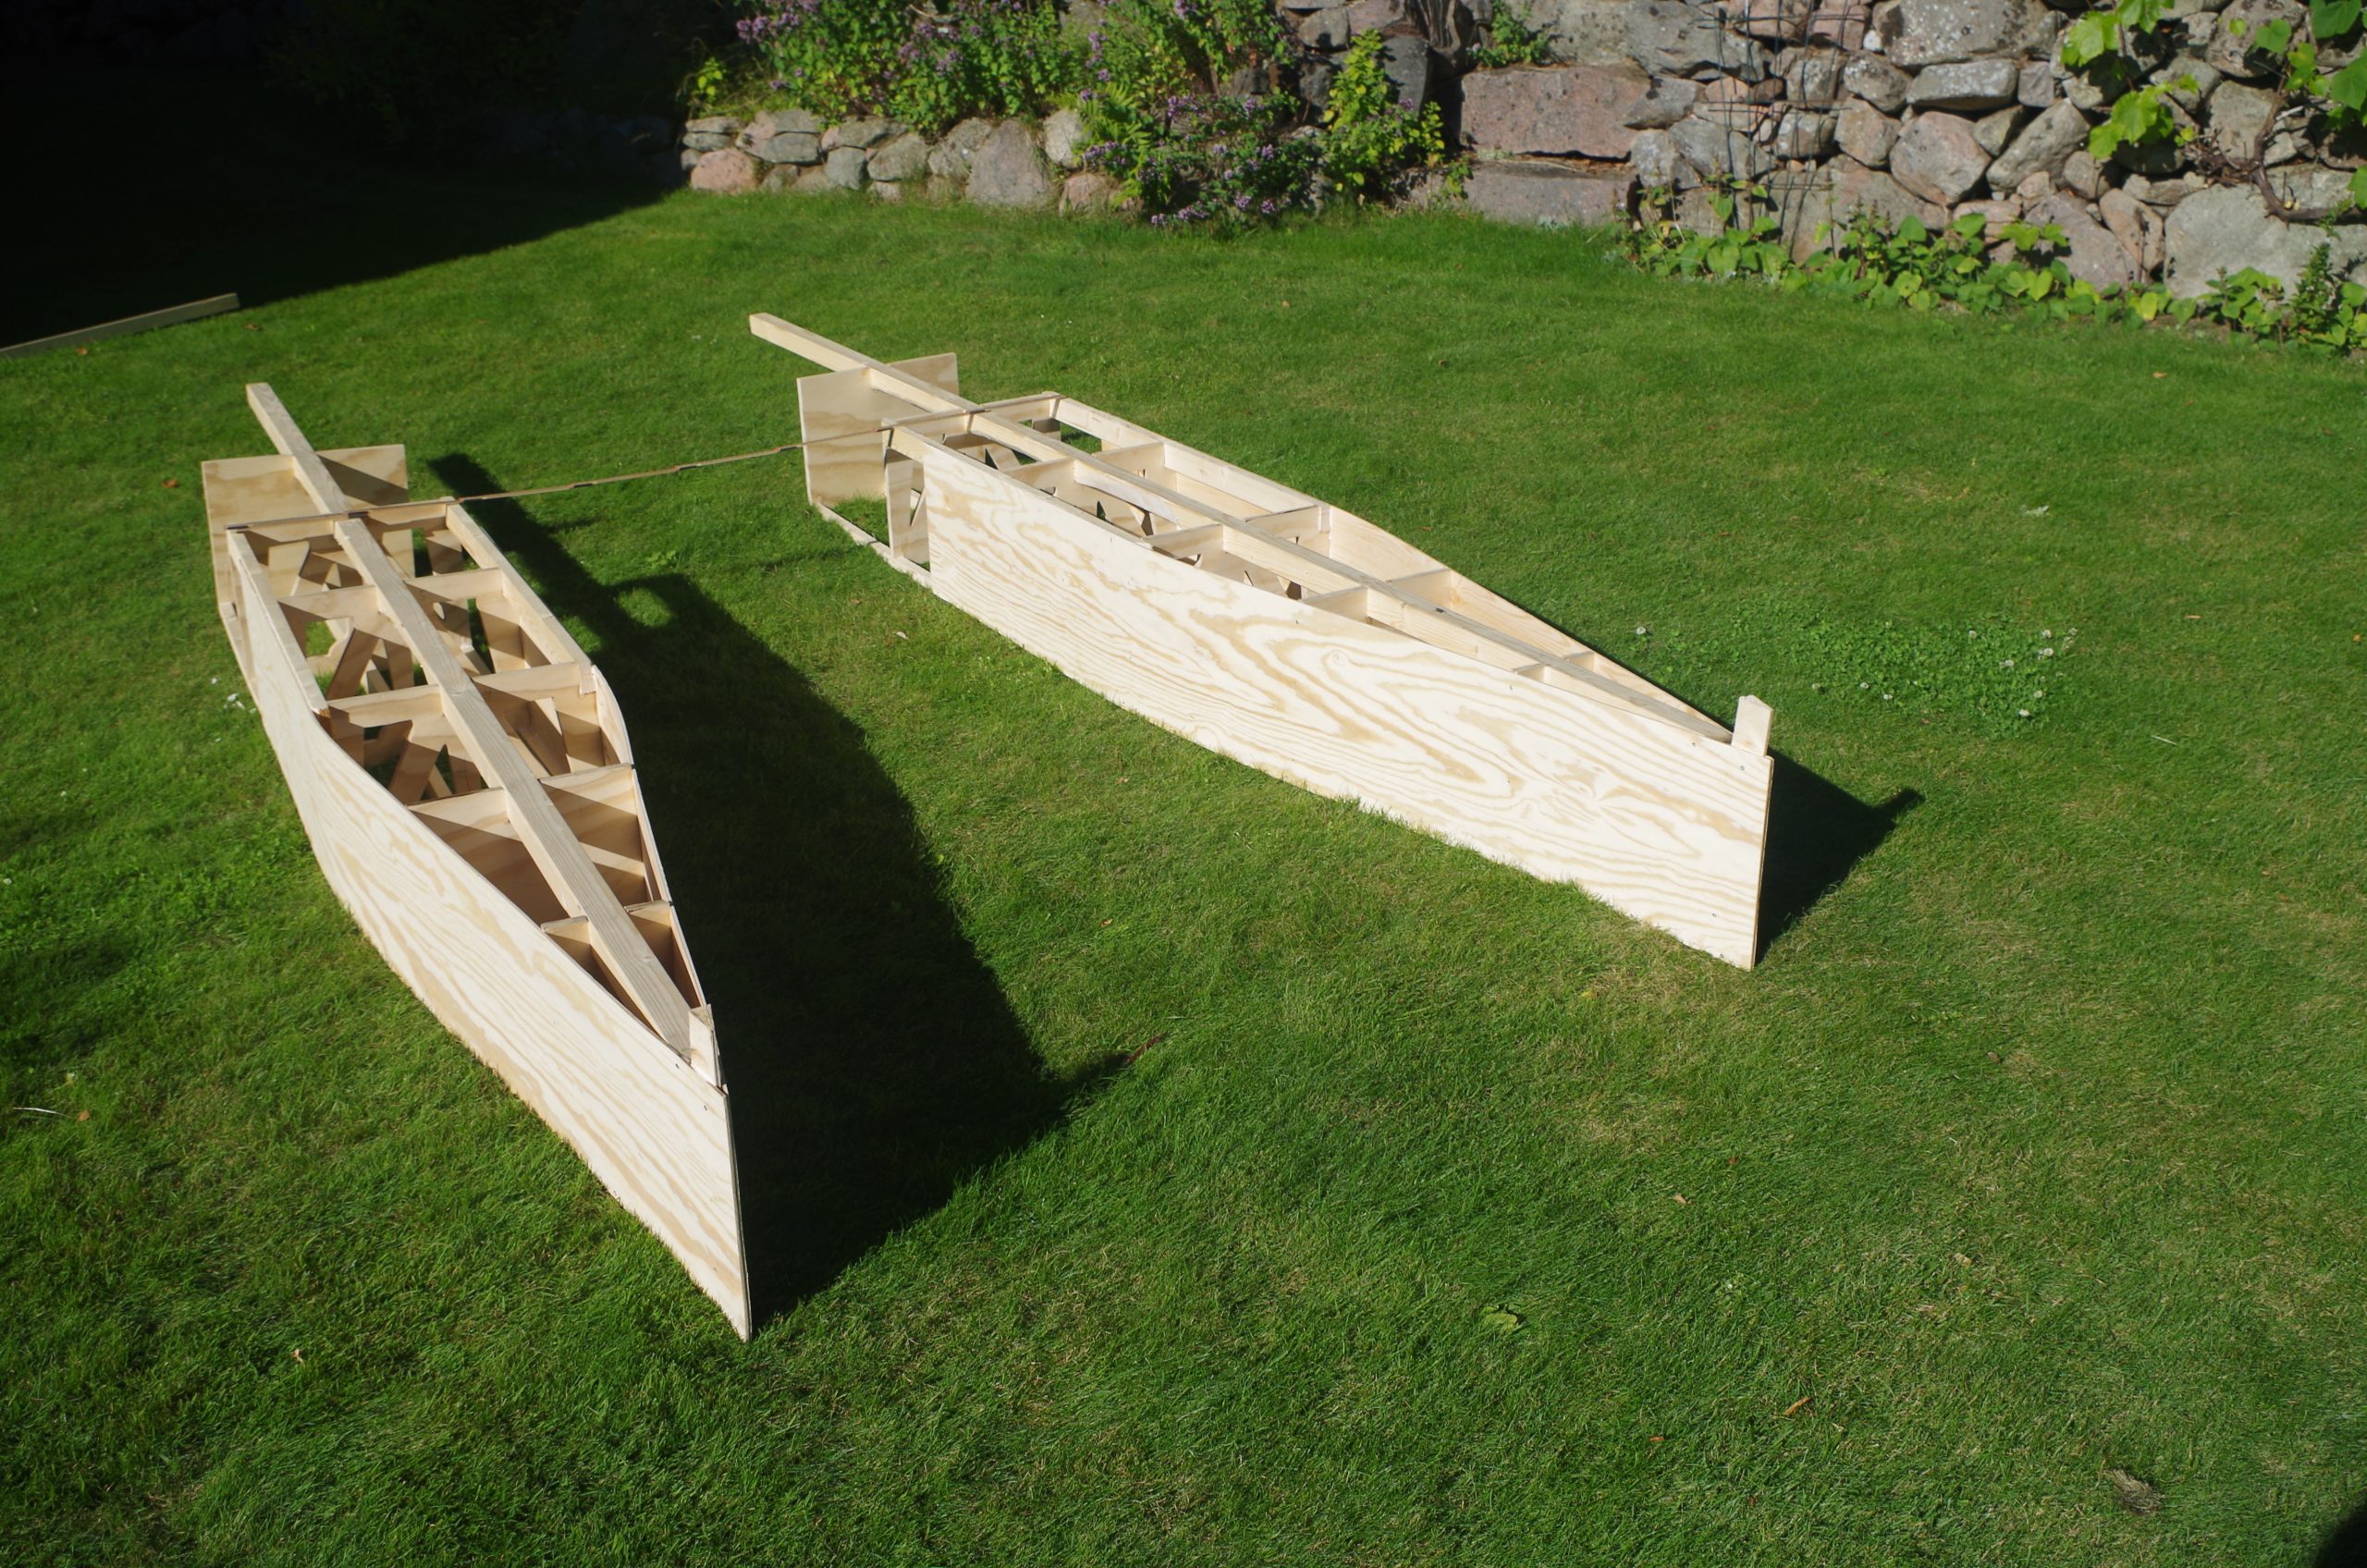
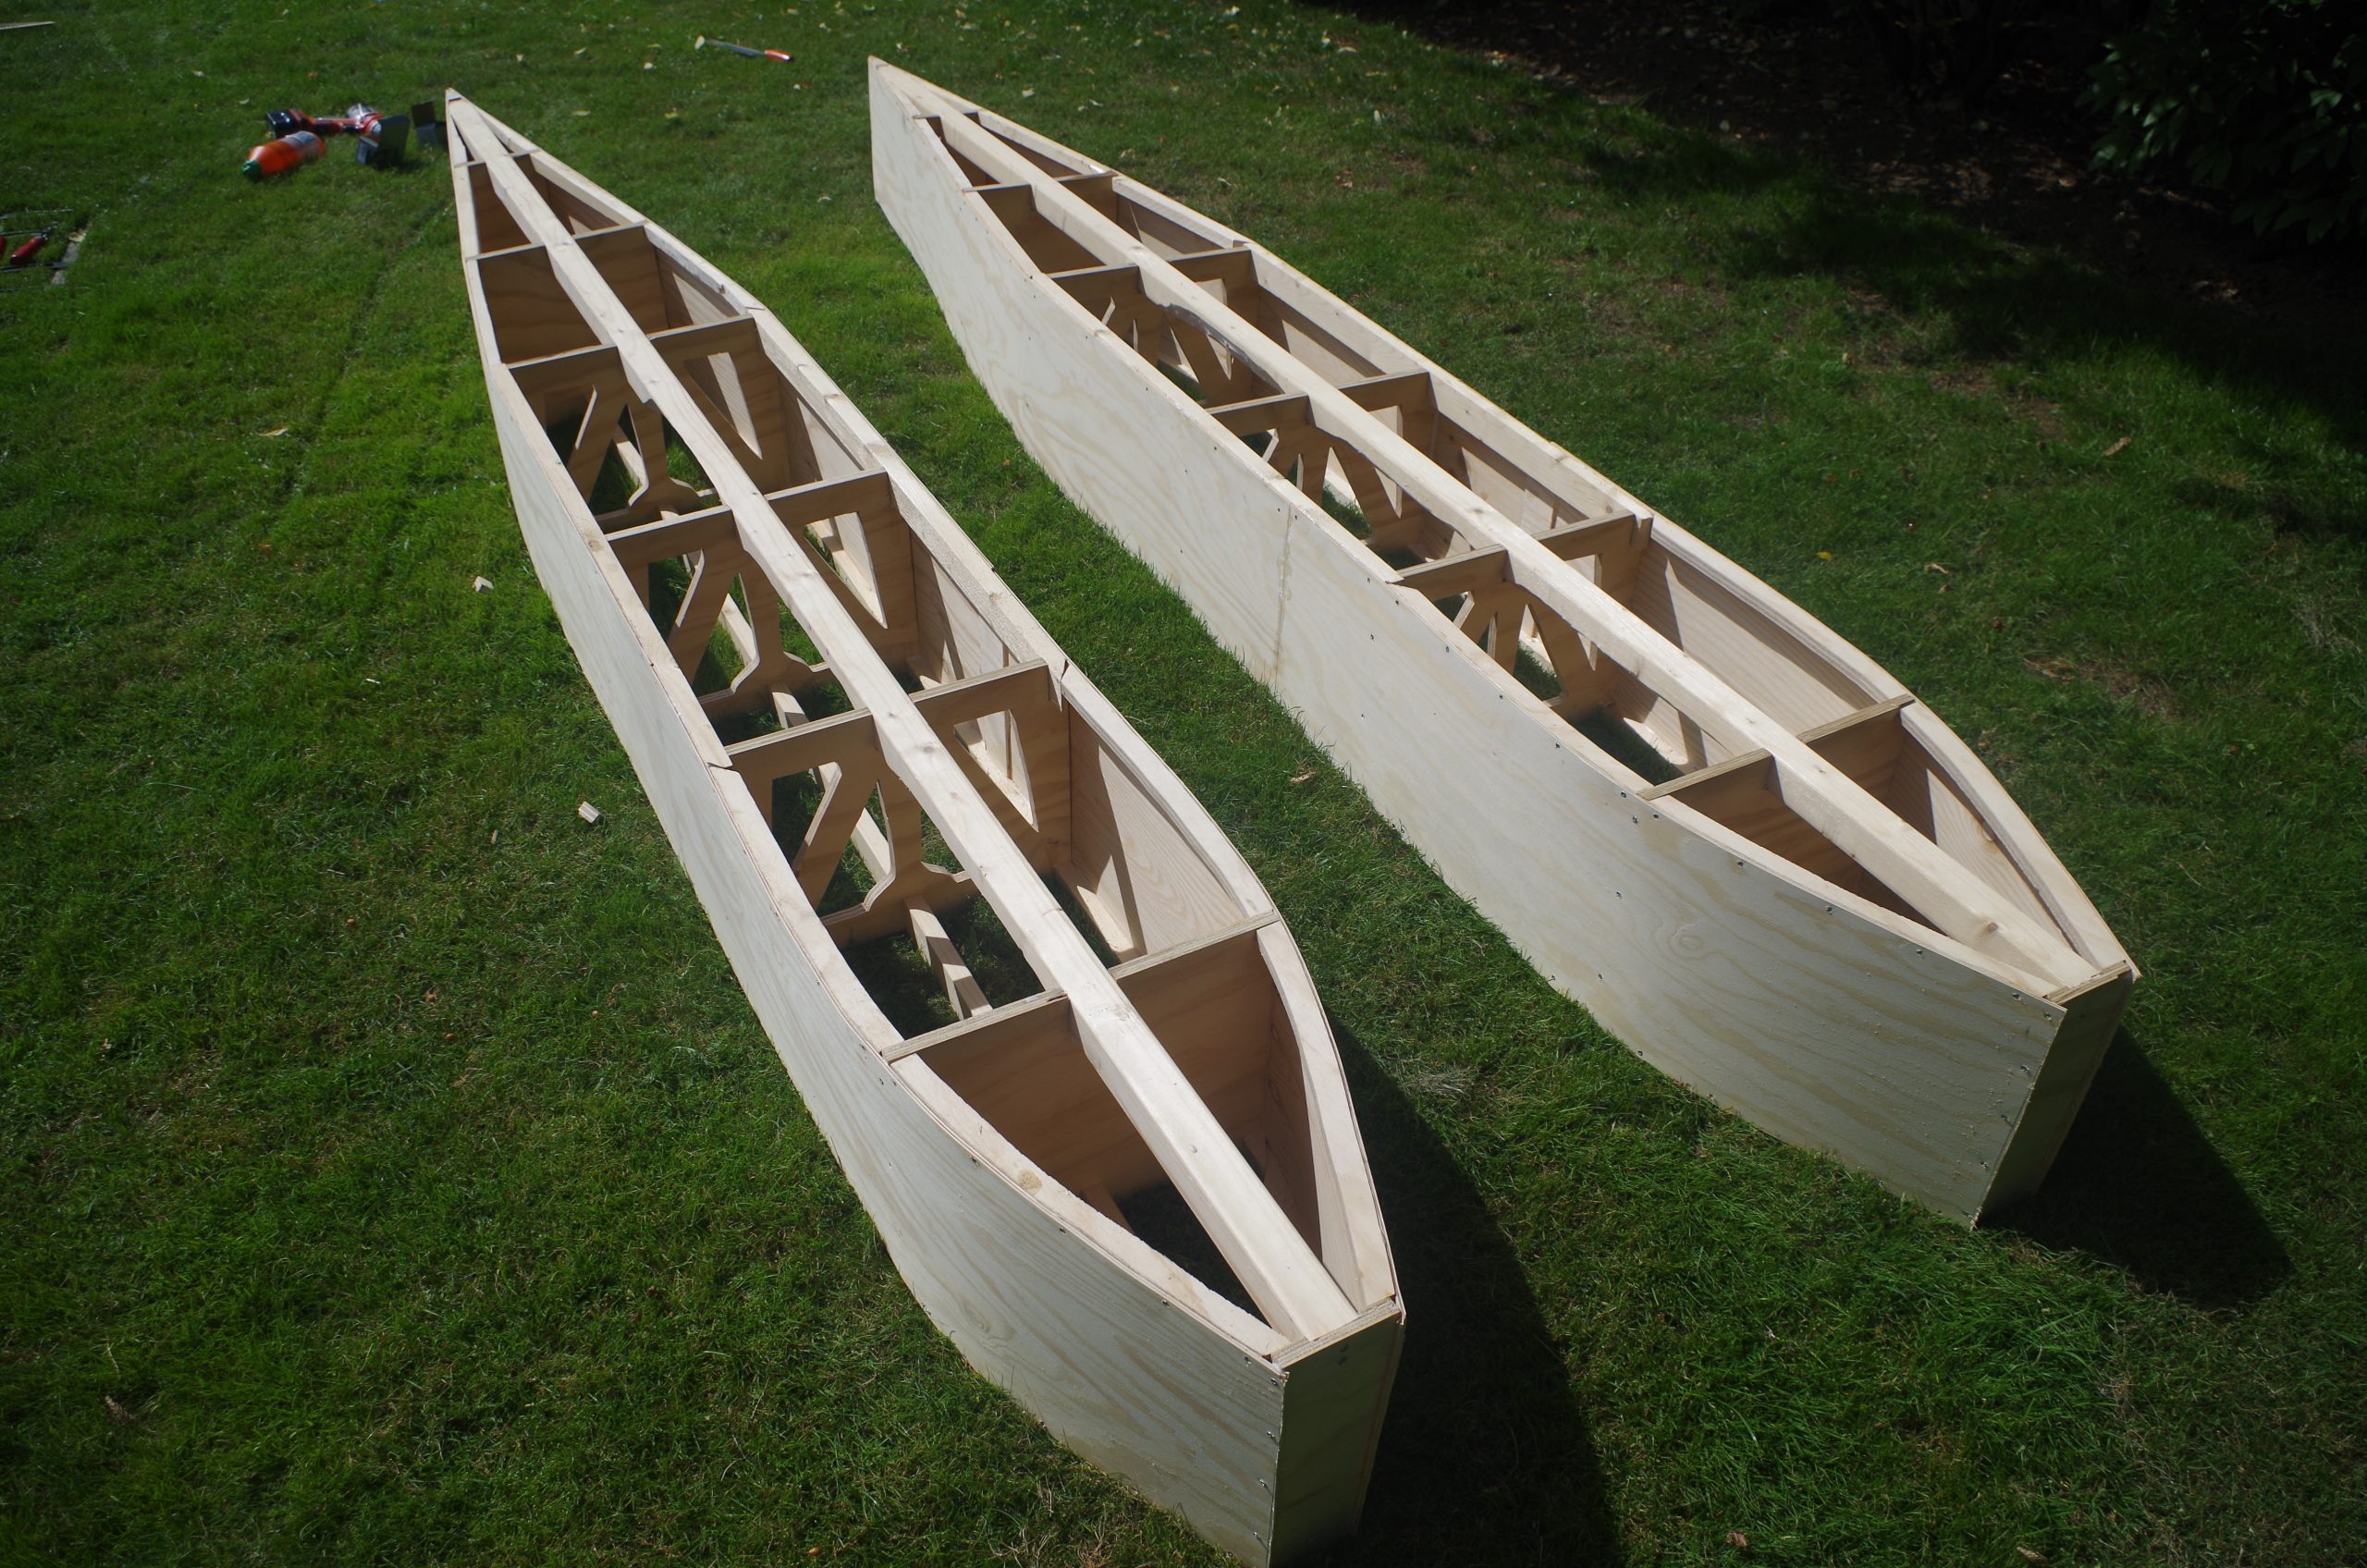
I then proceeded to attach the plywood to this with a lot of screws, with marine sealant between the plywood and the edging. To support some bodyweight on the pontoons I added some reinforcements to the top, which in my head would also aid the sailor to stay on. For finishing I decided to first stain the top on the pontoons with the same wood-stain as I had used to stain the mahogany skateboard. For waterproofness of the pontoons I chose varnish as finish and ended up putting 3-4 layers of cheep polyurethane varnish on them.
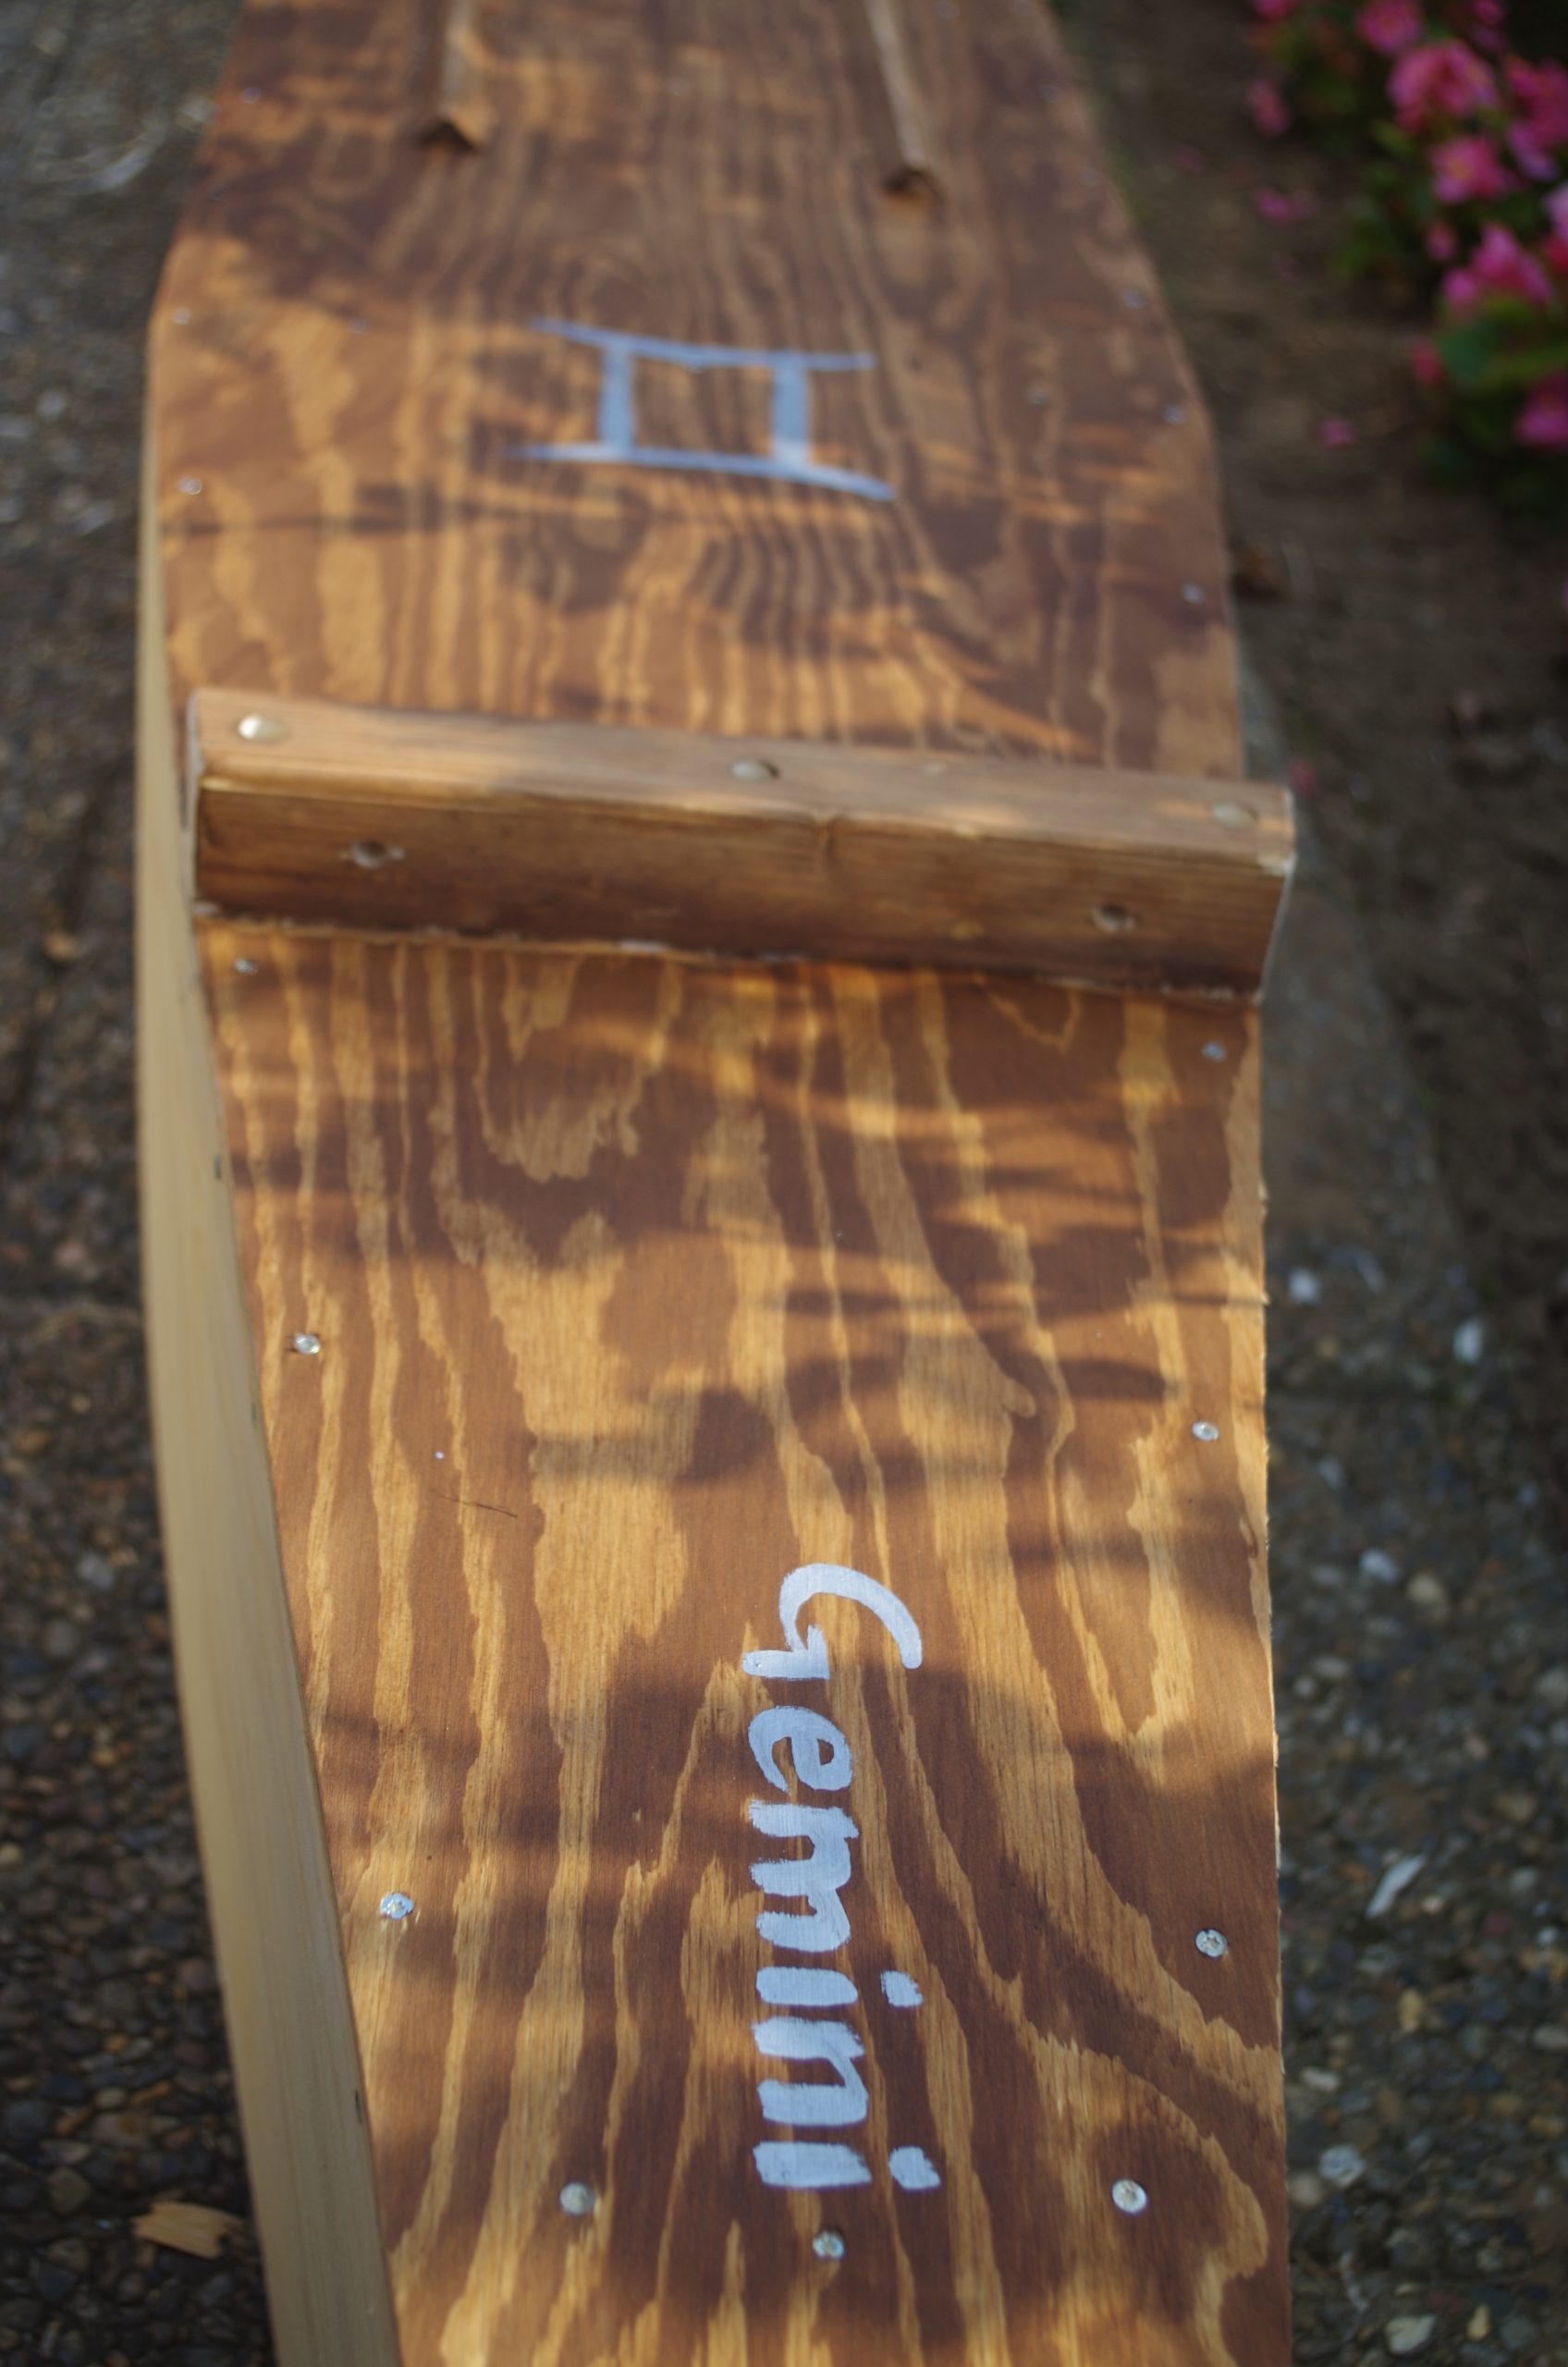
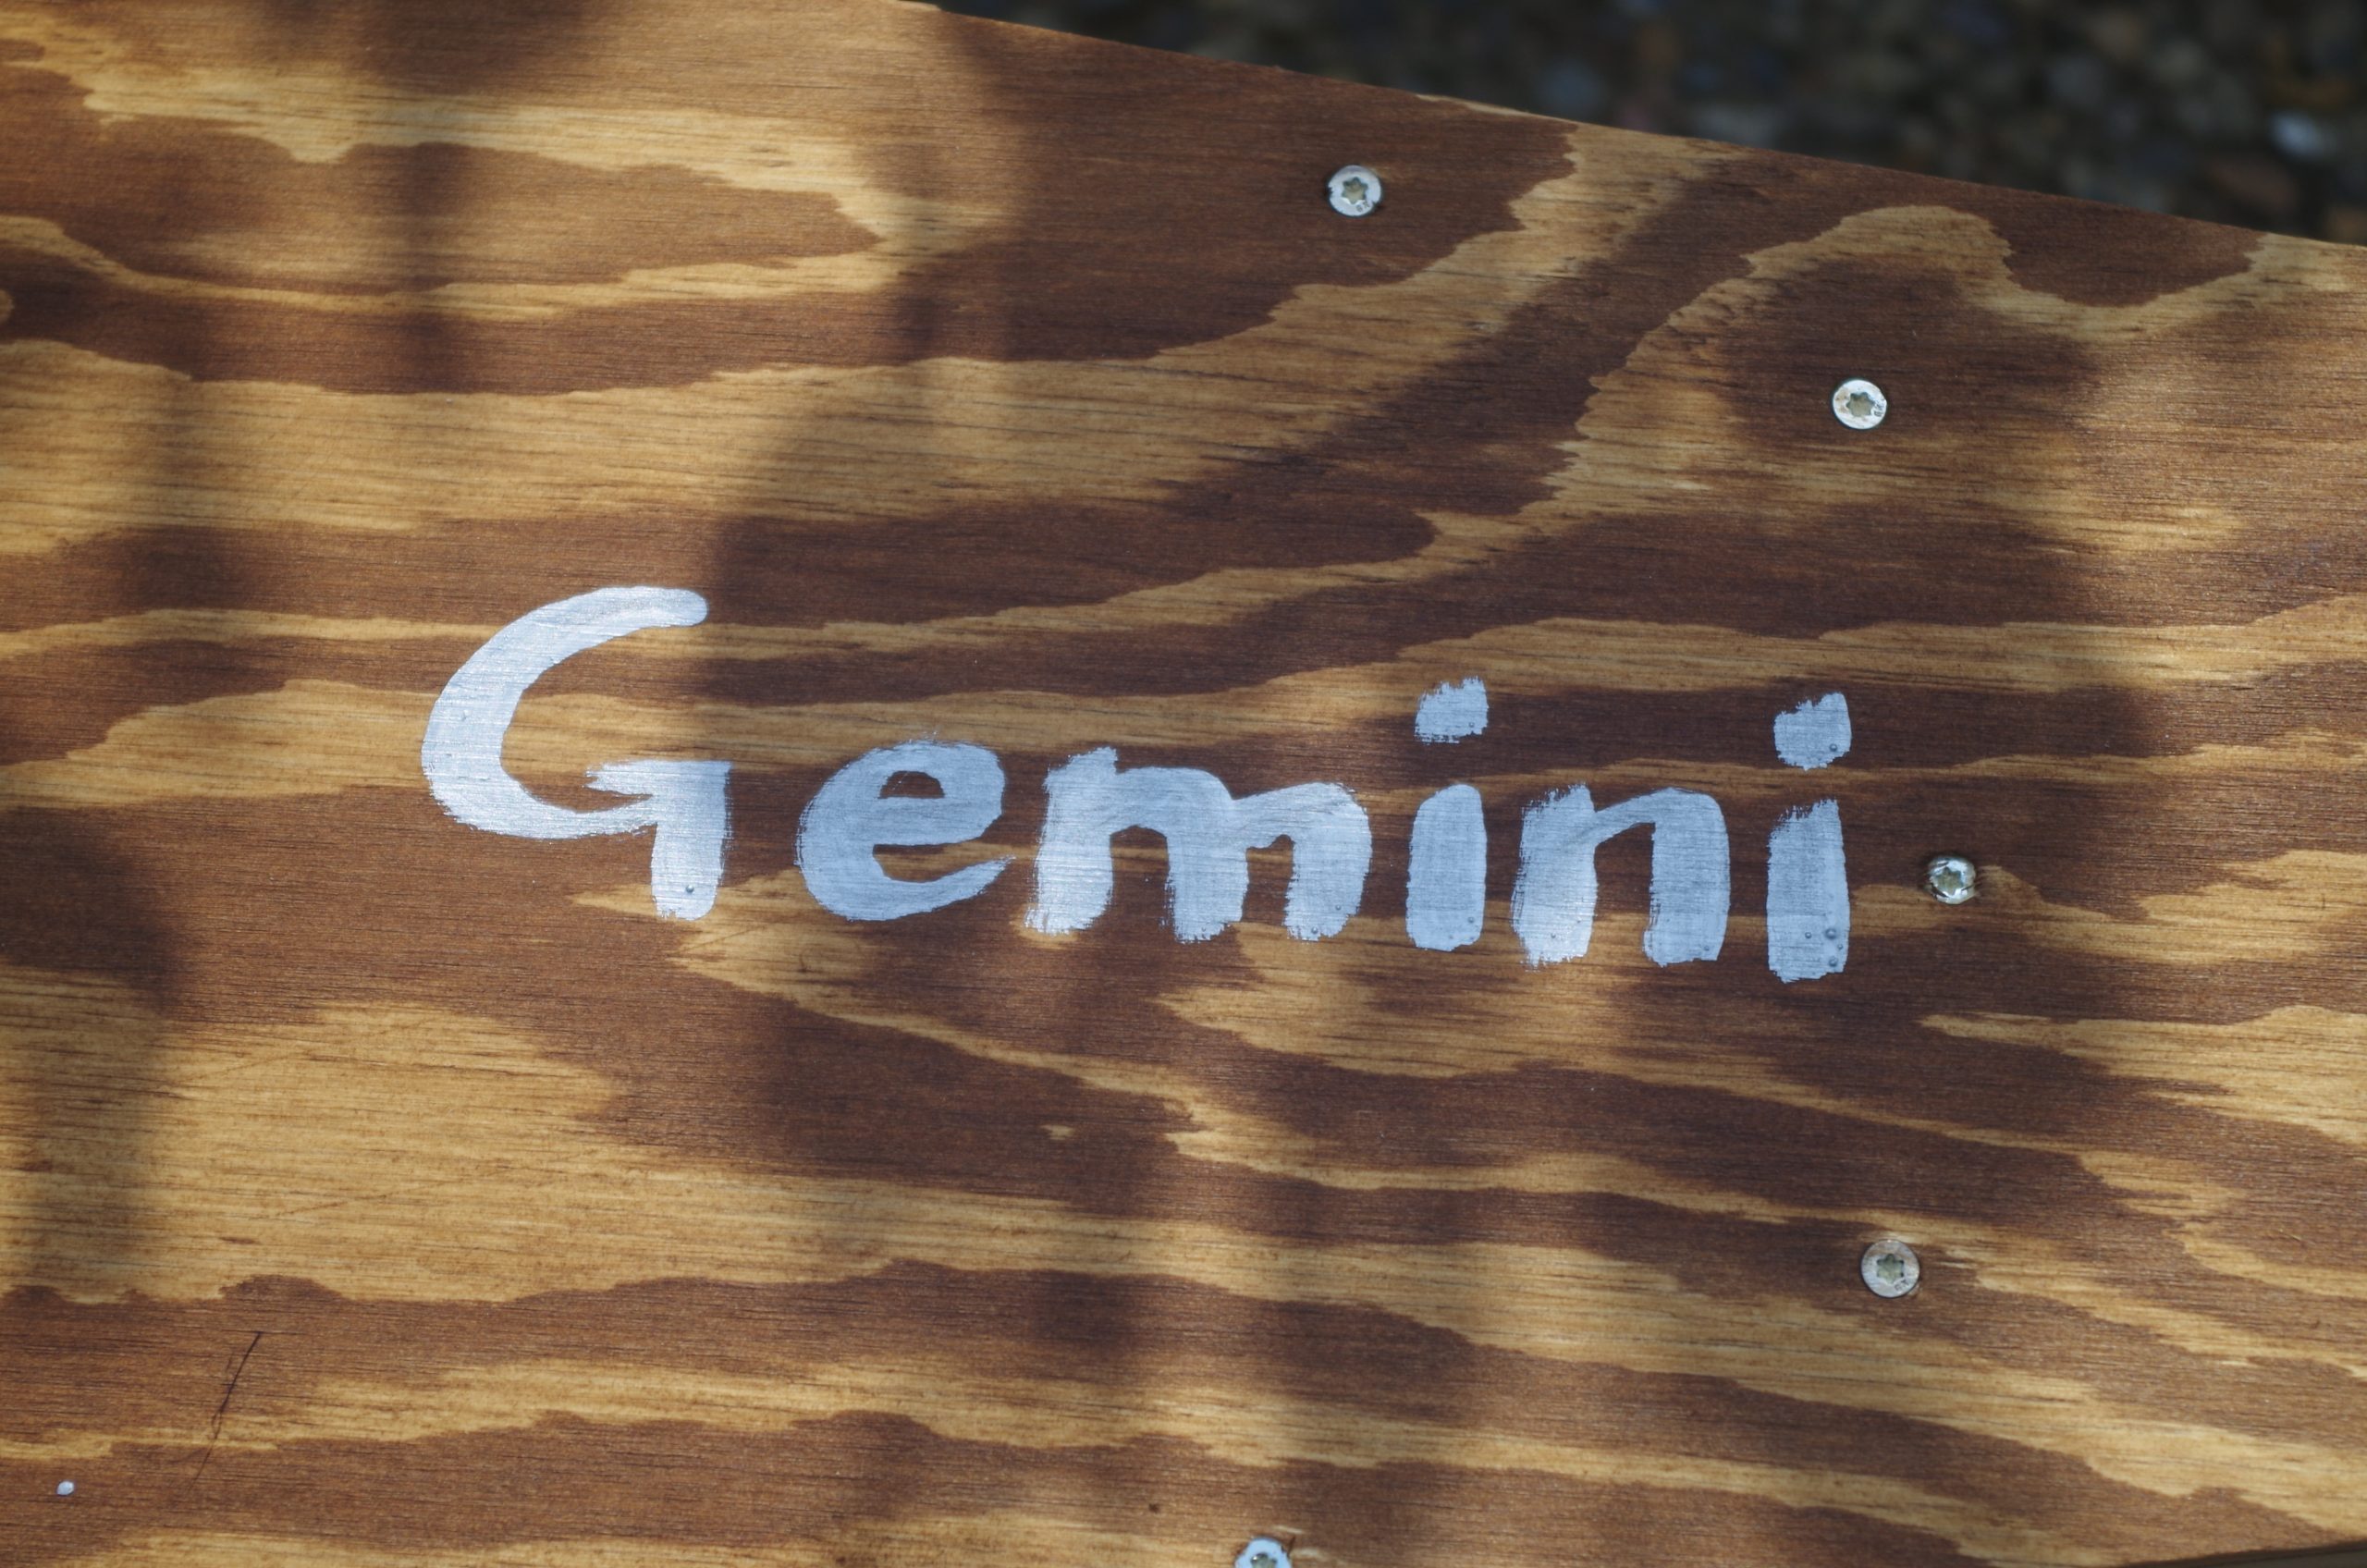
As decoration I used enamel model paint to name the catamaran. I had forgotten how good the silver looked against the stained wood, but looking back now I think it was a really good choice . Of course I had to name it Gemini with the pontoons being Castor and Pollux.
To connect the pontoons and to have something to put the mast on I hade to build some kind of rigging, but also had to be able to rigg it by myself and assemble and disassemble the entire thing. I built this thing where two 2″x2″s would connect the hulls. They where attached with bolts through the bulky things on top of the hulls.
On top of the cross-beams I layed a 4 meter – something 2″x2″ longitudinally on which the mast would stand an be held upright by some rope standing rigging. The rigging was attached with the jury rigging knot to the mast and to cleats at the sides and aft end.
The mast was an old leftover wind-surfing mast and the sail was also saved in some hid-away in my parents house. The boom however, long gone. In hindsight I should have used a broom handle or something as a boom so that the foot of the sail would get stretched more.
The whole construction was made torsionally strengthened with plywood that also enabled it to being disassembled with bolts.
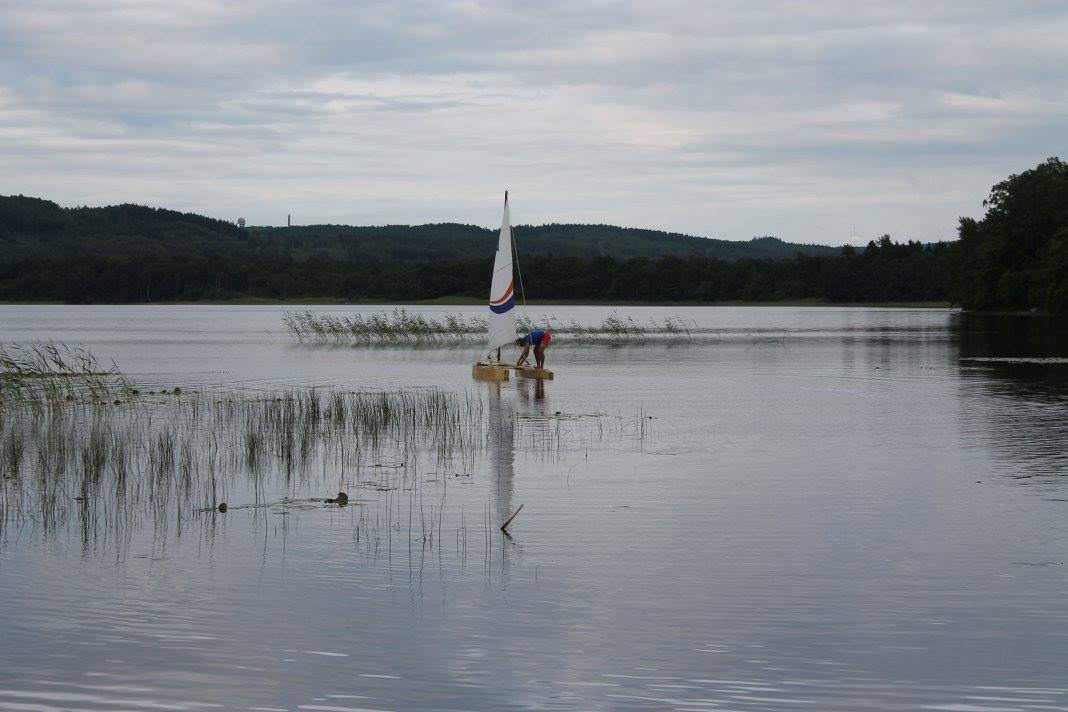
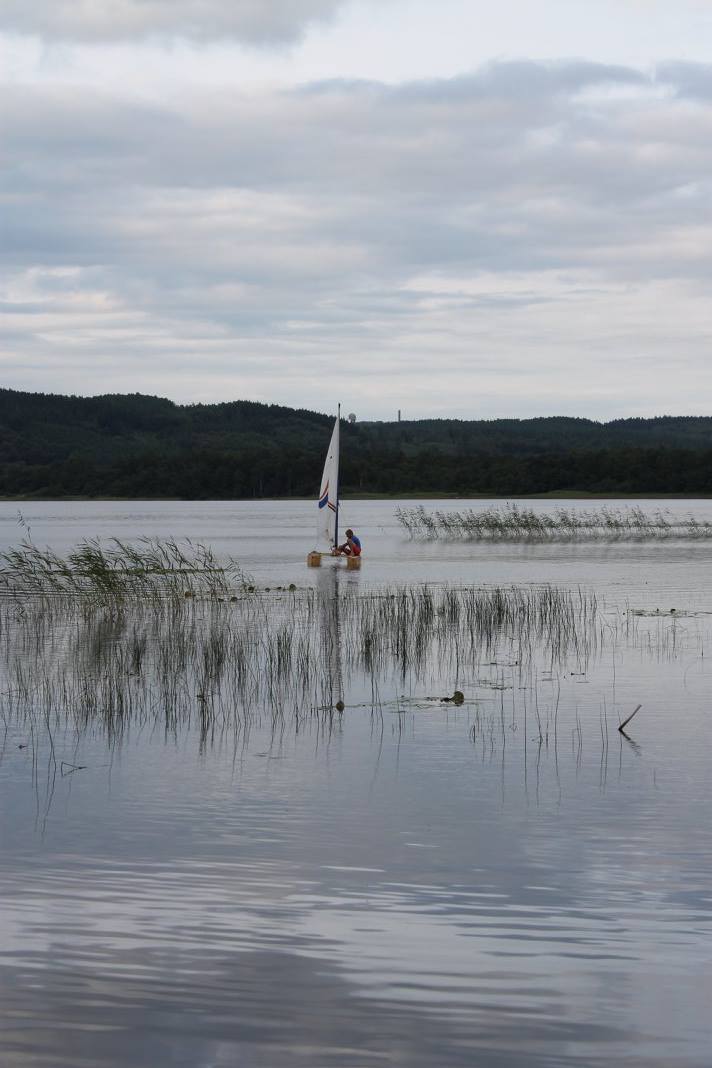
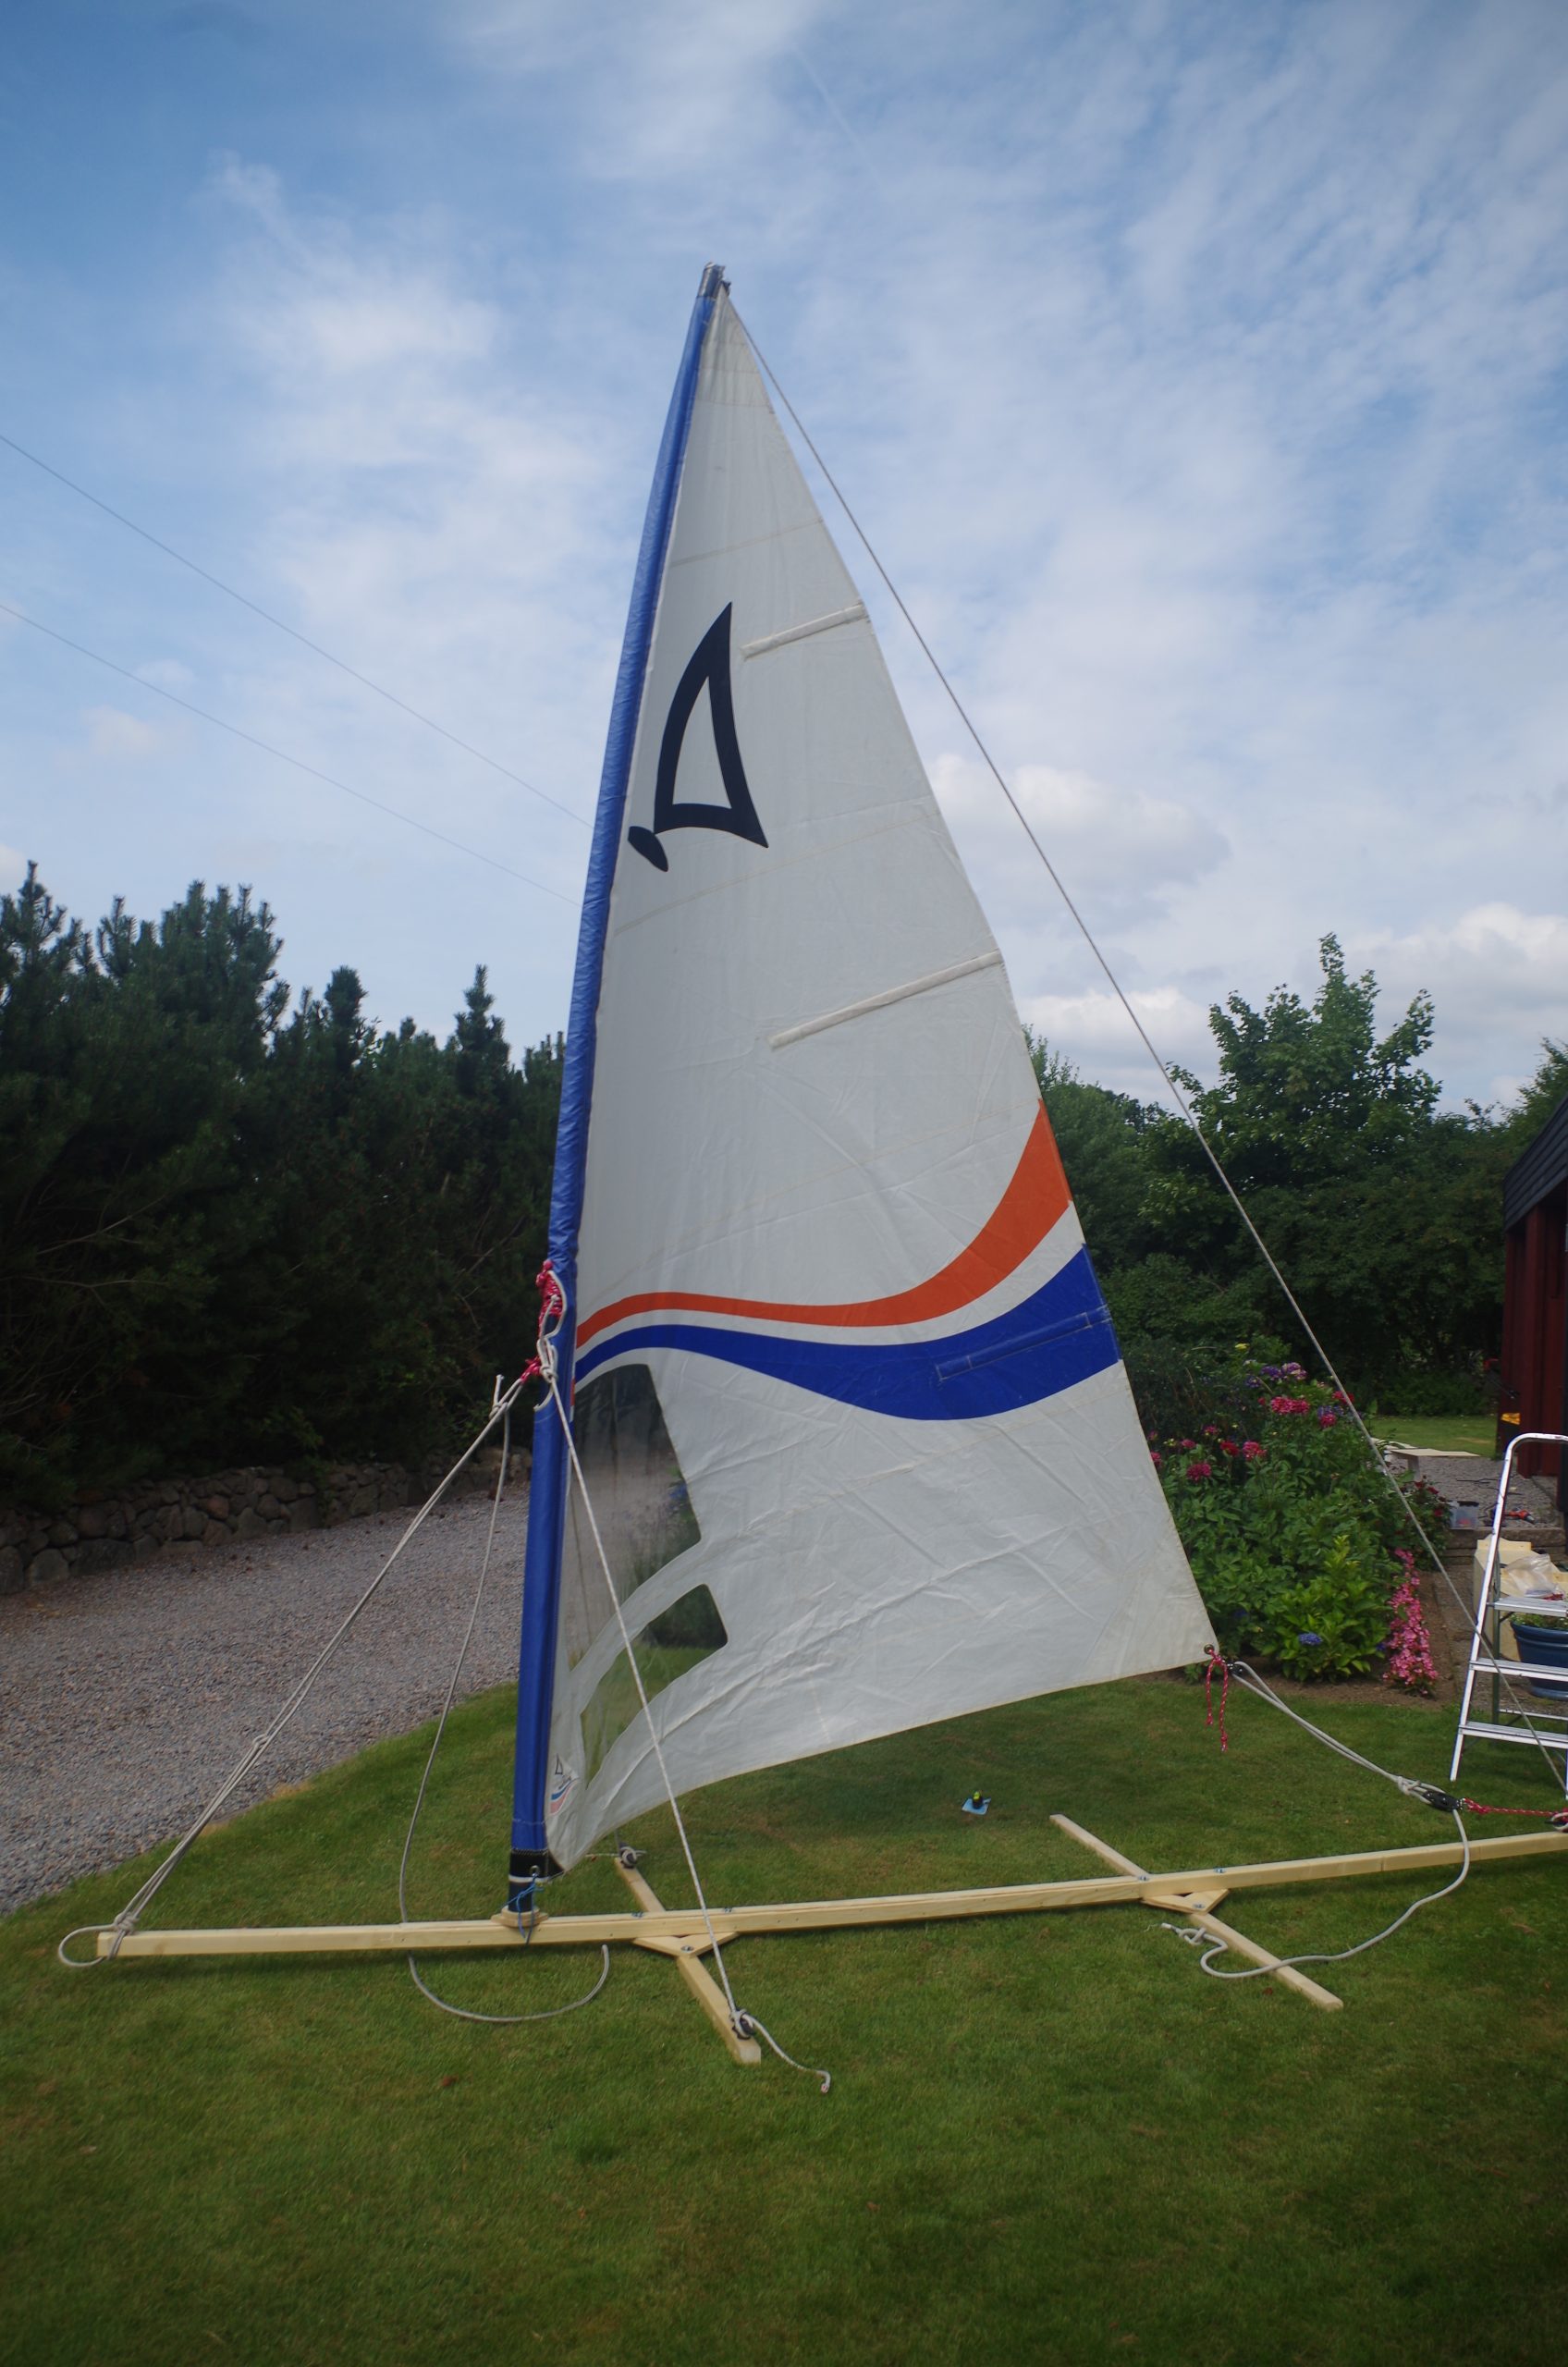
The test sail? Well the rudders where too small and without centreboards it made no headwind, I almost didn’t make it back to shore! The breeze wasn’t strong though so I could paddle upwind the little bit I needed.
Back to the shore the real disappointment was felt though. The pontoons where significantly heavier that before…..
I suspect some of the screw, which I had removed for lightness, had left some holes which i didn’t seal properly. Water poured out slowly from the pontoons when put on the trolley for the trip back to the house. Because of budget ad time constraints not attempt at trying to fix the boat with glass-fibre, larger rudders and leeboards, where ever attempted and the thing got a less-than-honourable death at the recycling center some years back.