Ancestral inspiration
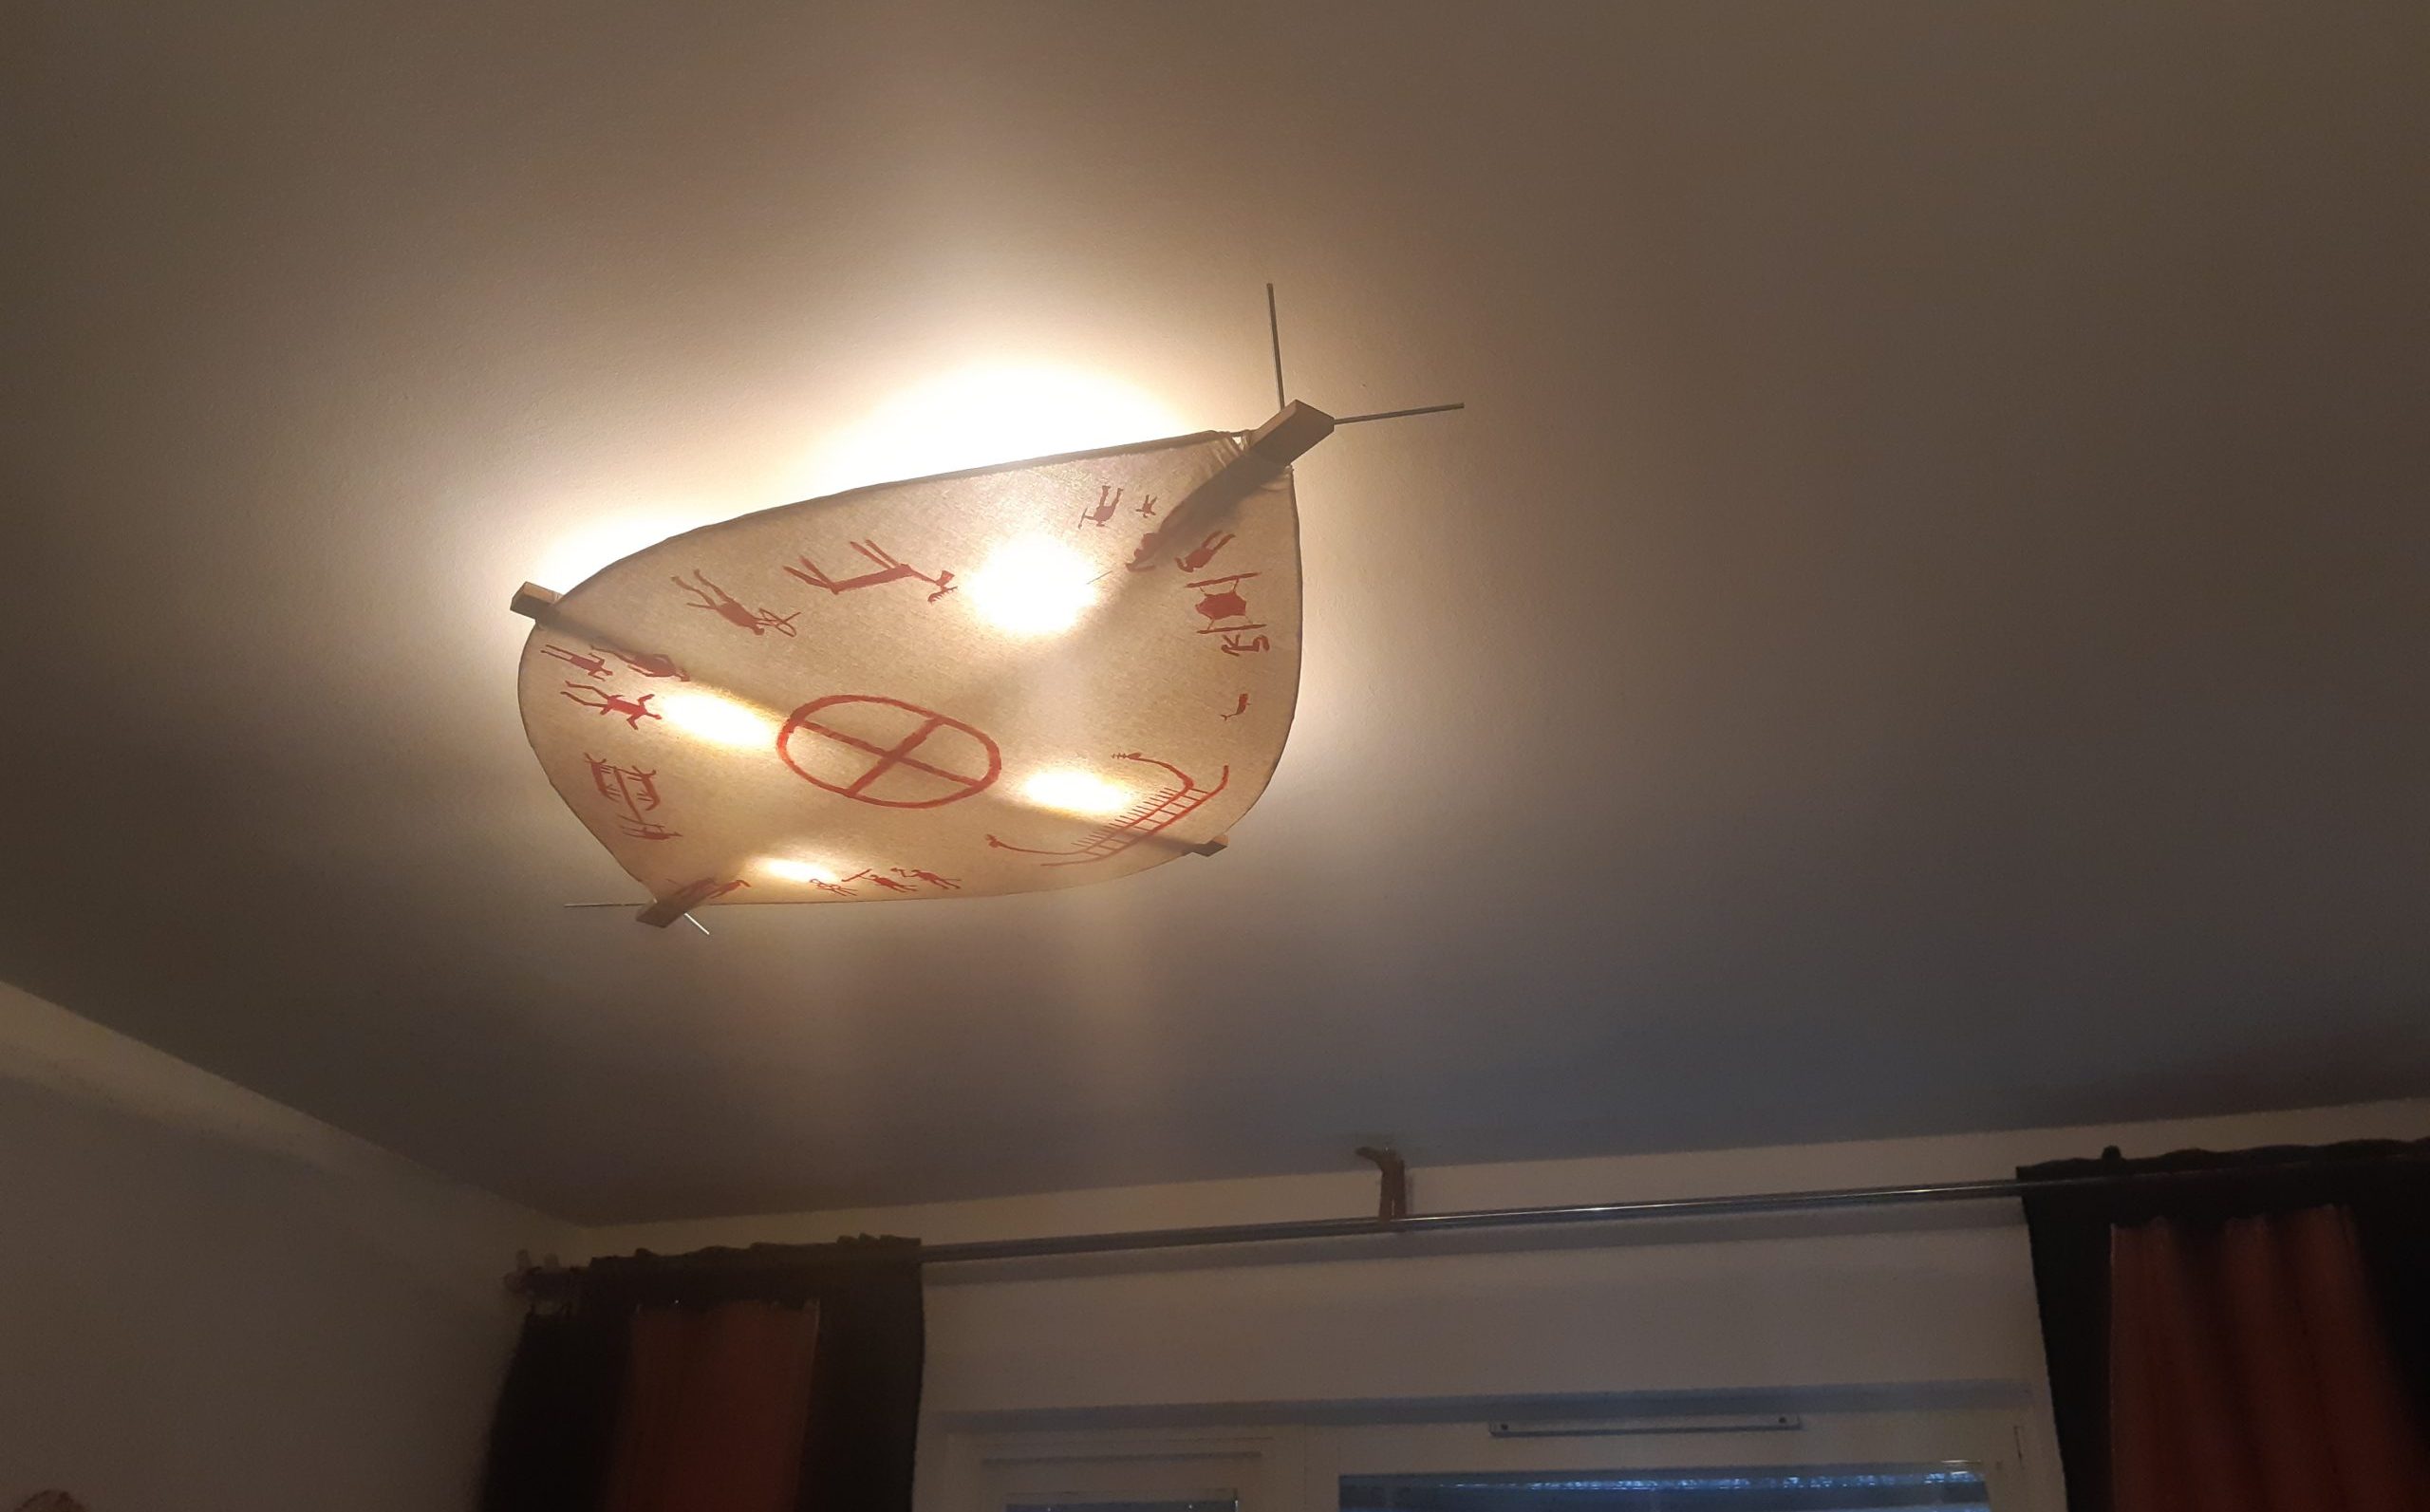
In December 2019 I bought my very first apartment (the previous had been rental ones) but I didn’t have that much things to fill it with, which isn’t really a problem – it tends to sort itself out. By May I was kind of tired at the naked light bulb in my living room (the bulb subsequently lives in my bedroom, future project/investment) so I wanted to do something about that. I looked around for ready-made lamps but they where either ugly or very expensive, I thought I could do something more me.
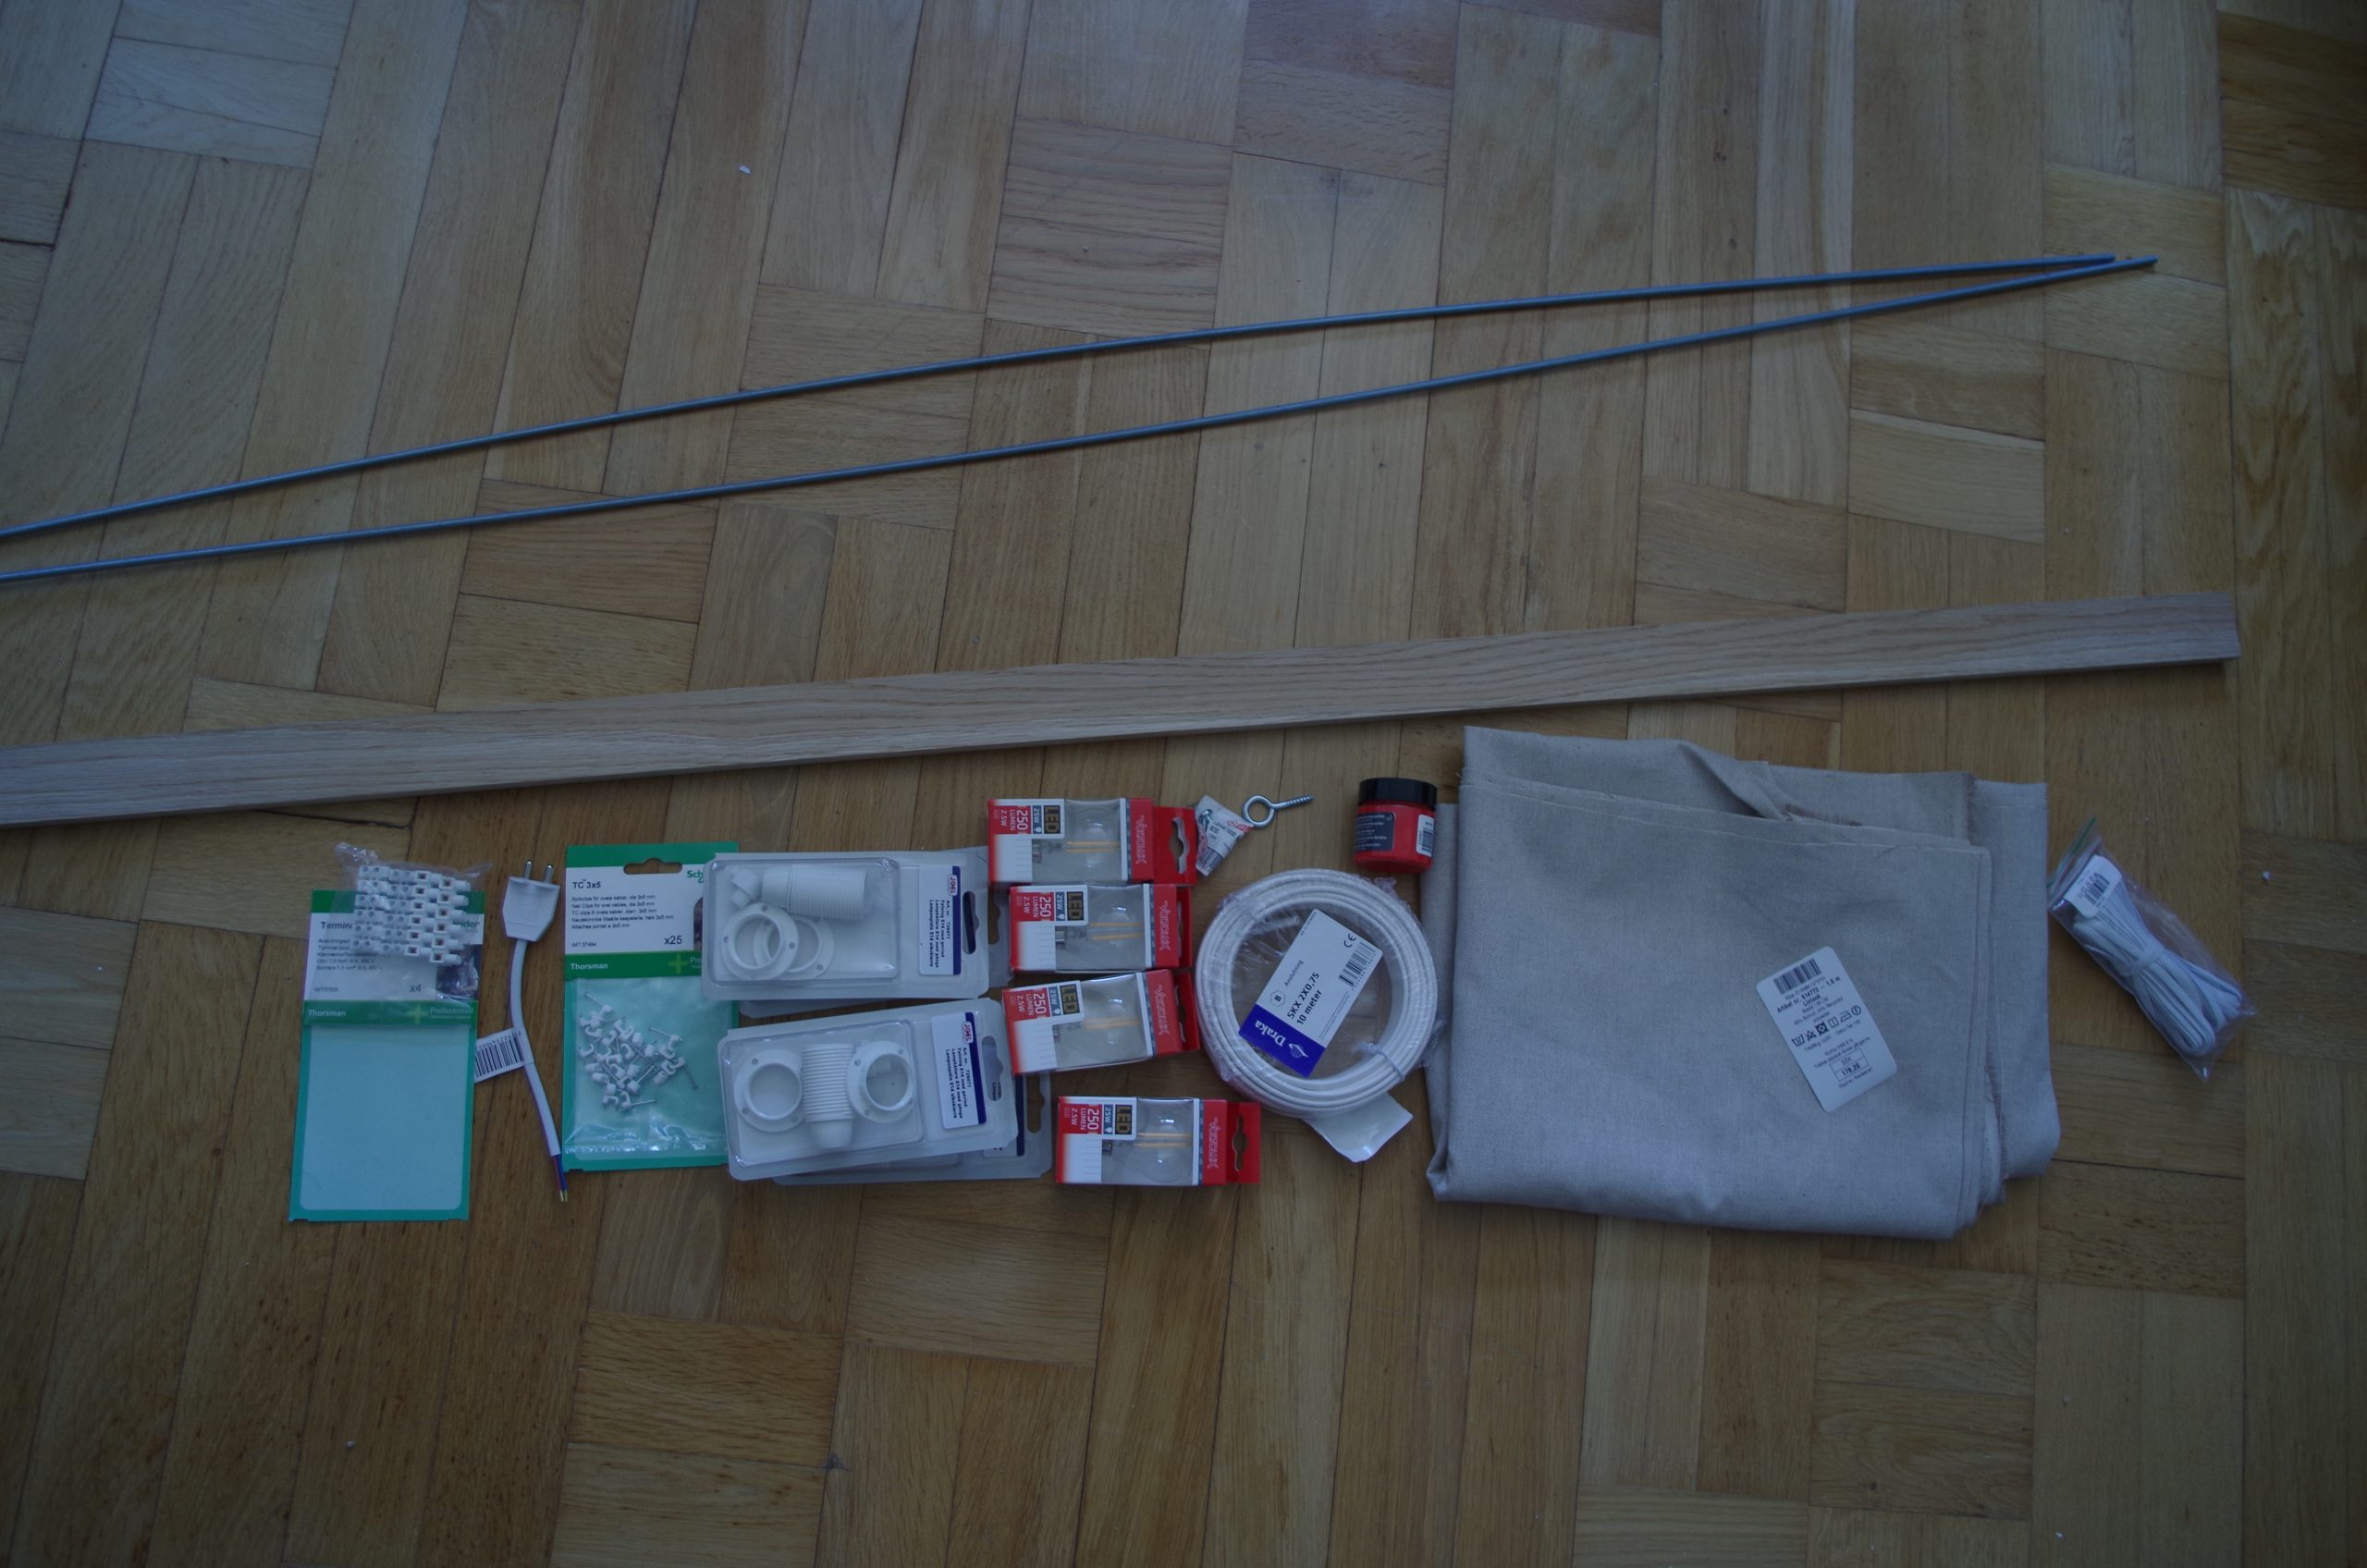
I went on a shopping run and I think spent something in the vicinity of 1200 SEK or something much of it spent on the oak board and fabric. So much for cheap. Anyway, here’s what I bought:
- 2 threaded rods 2 meters long each
- an Oak board, I think 2 meters long, 5 cm broad, 1,5 cm thick
- 4 light fixtures and led bulbs
- some canvas-linnen-like fabric, not to thick or thin, it has to let light through
- elastic band
- red fabric colour
- a hook to hang the lamp in
- other electrical stuff: cord, connections, cable-organisers etc
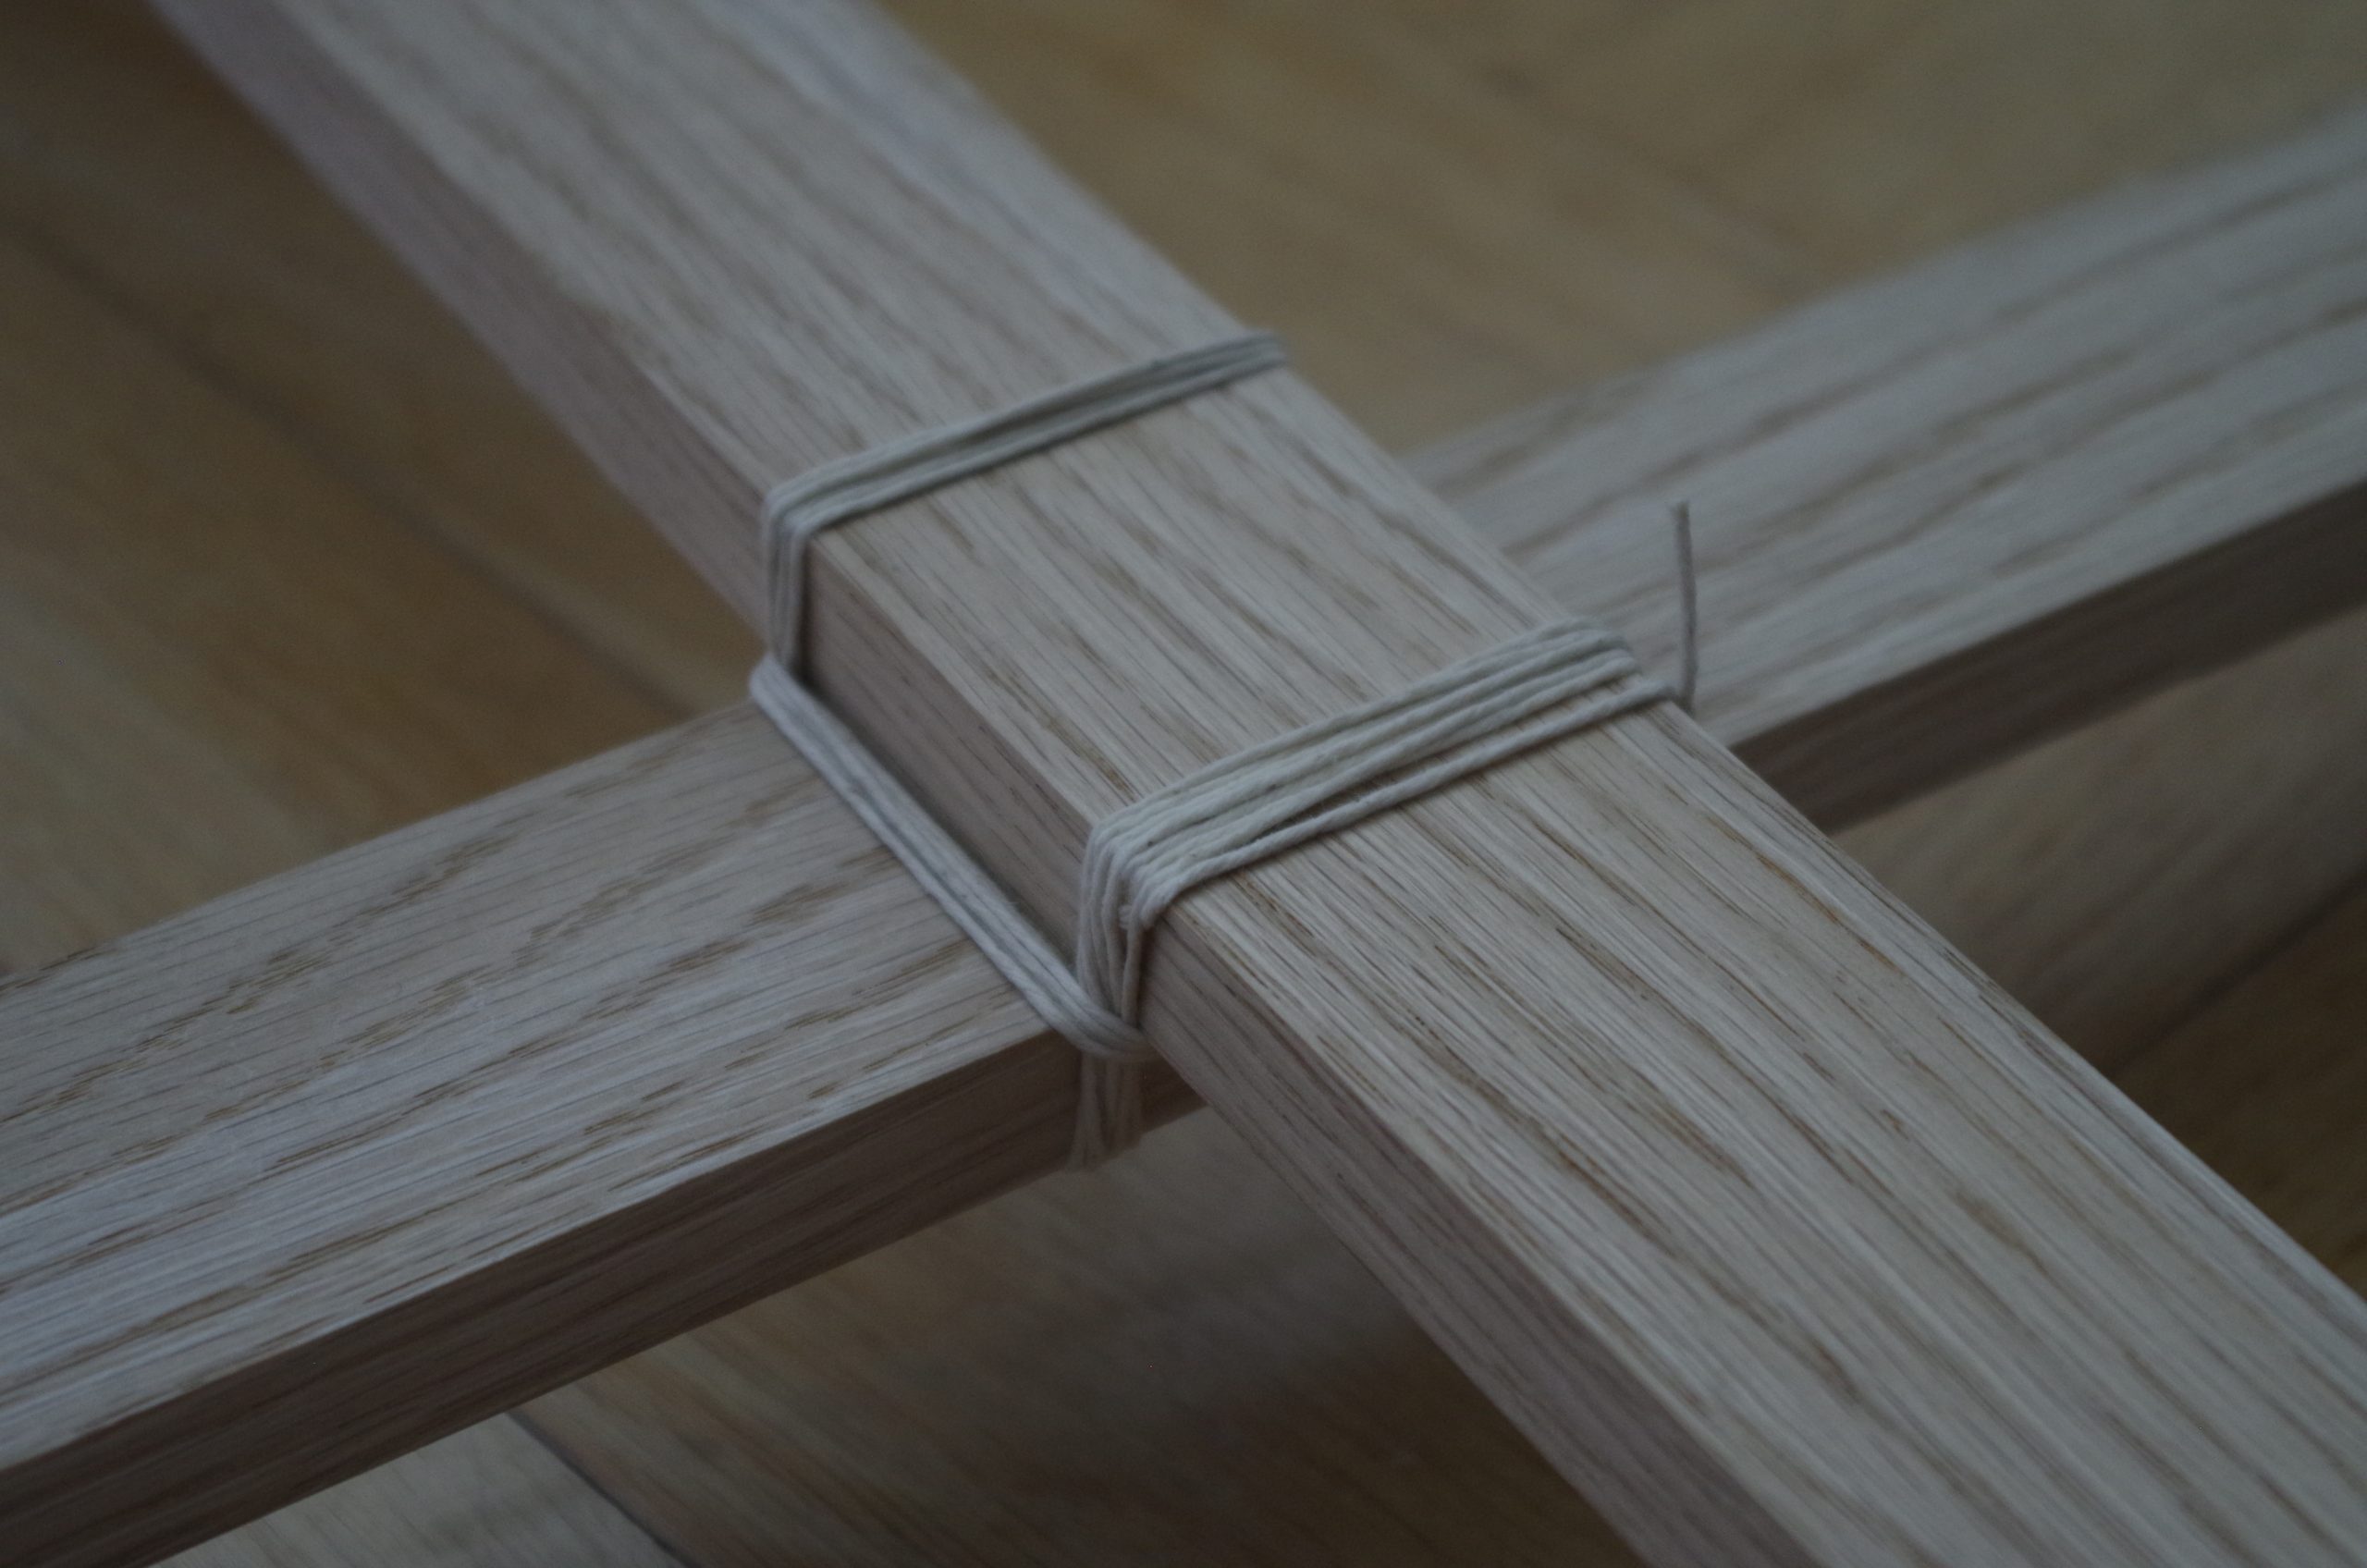
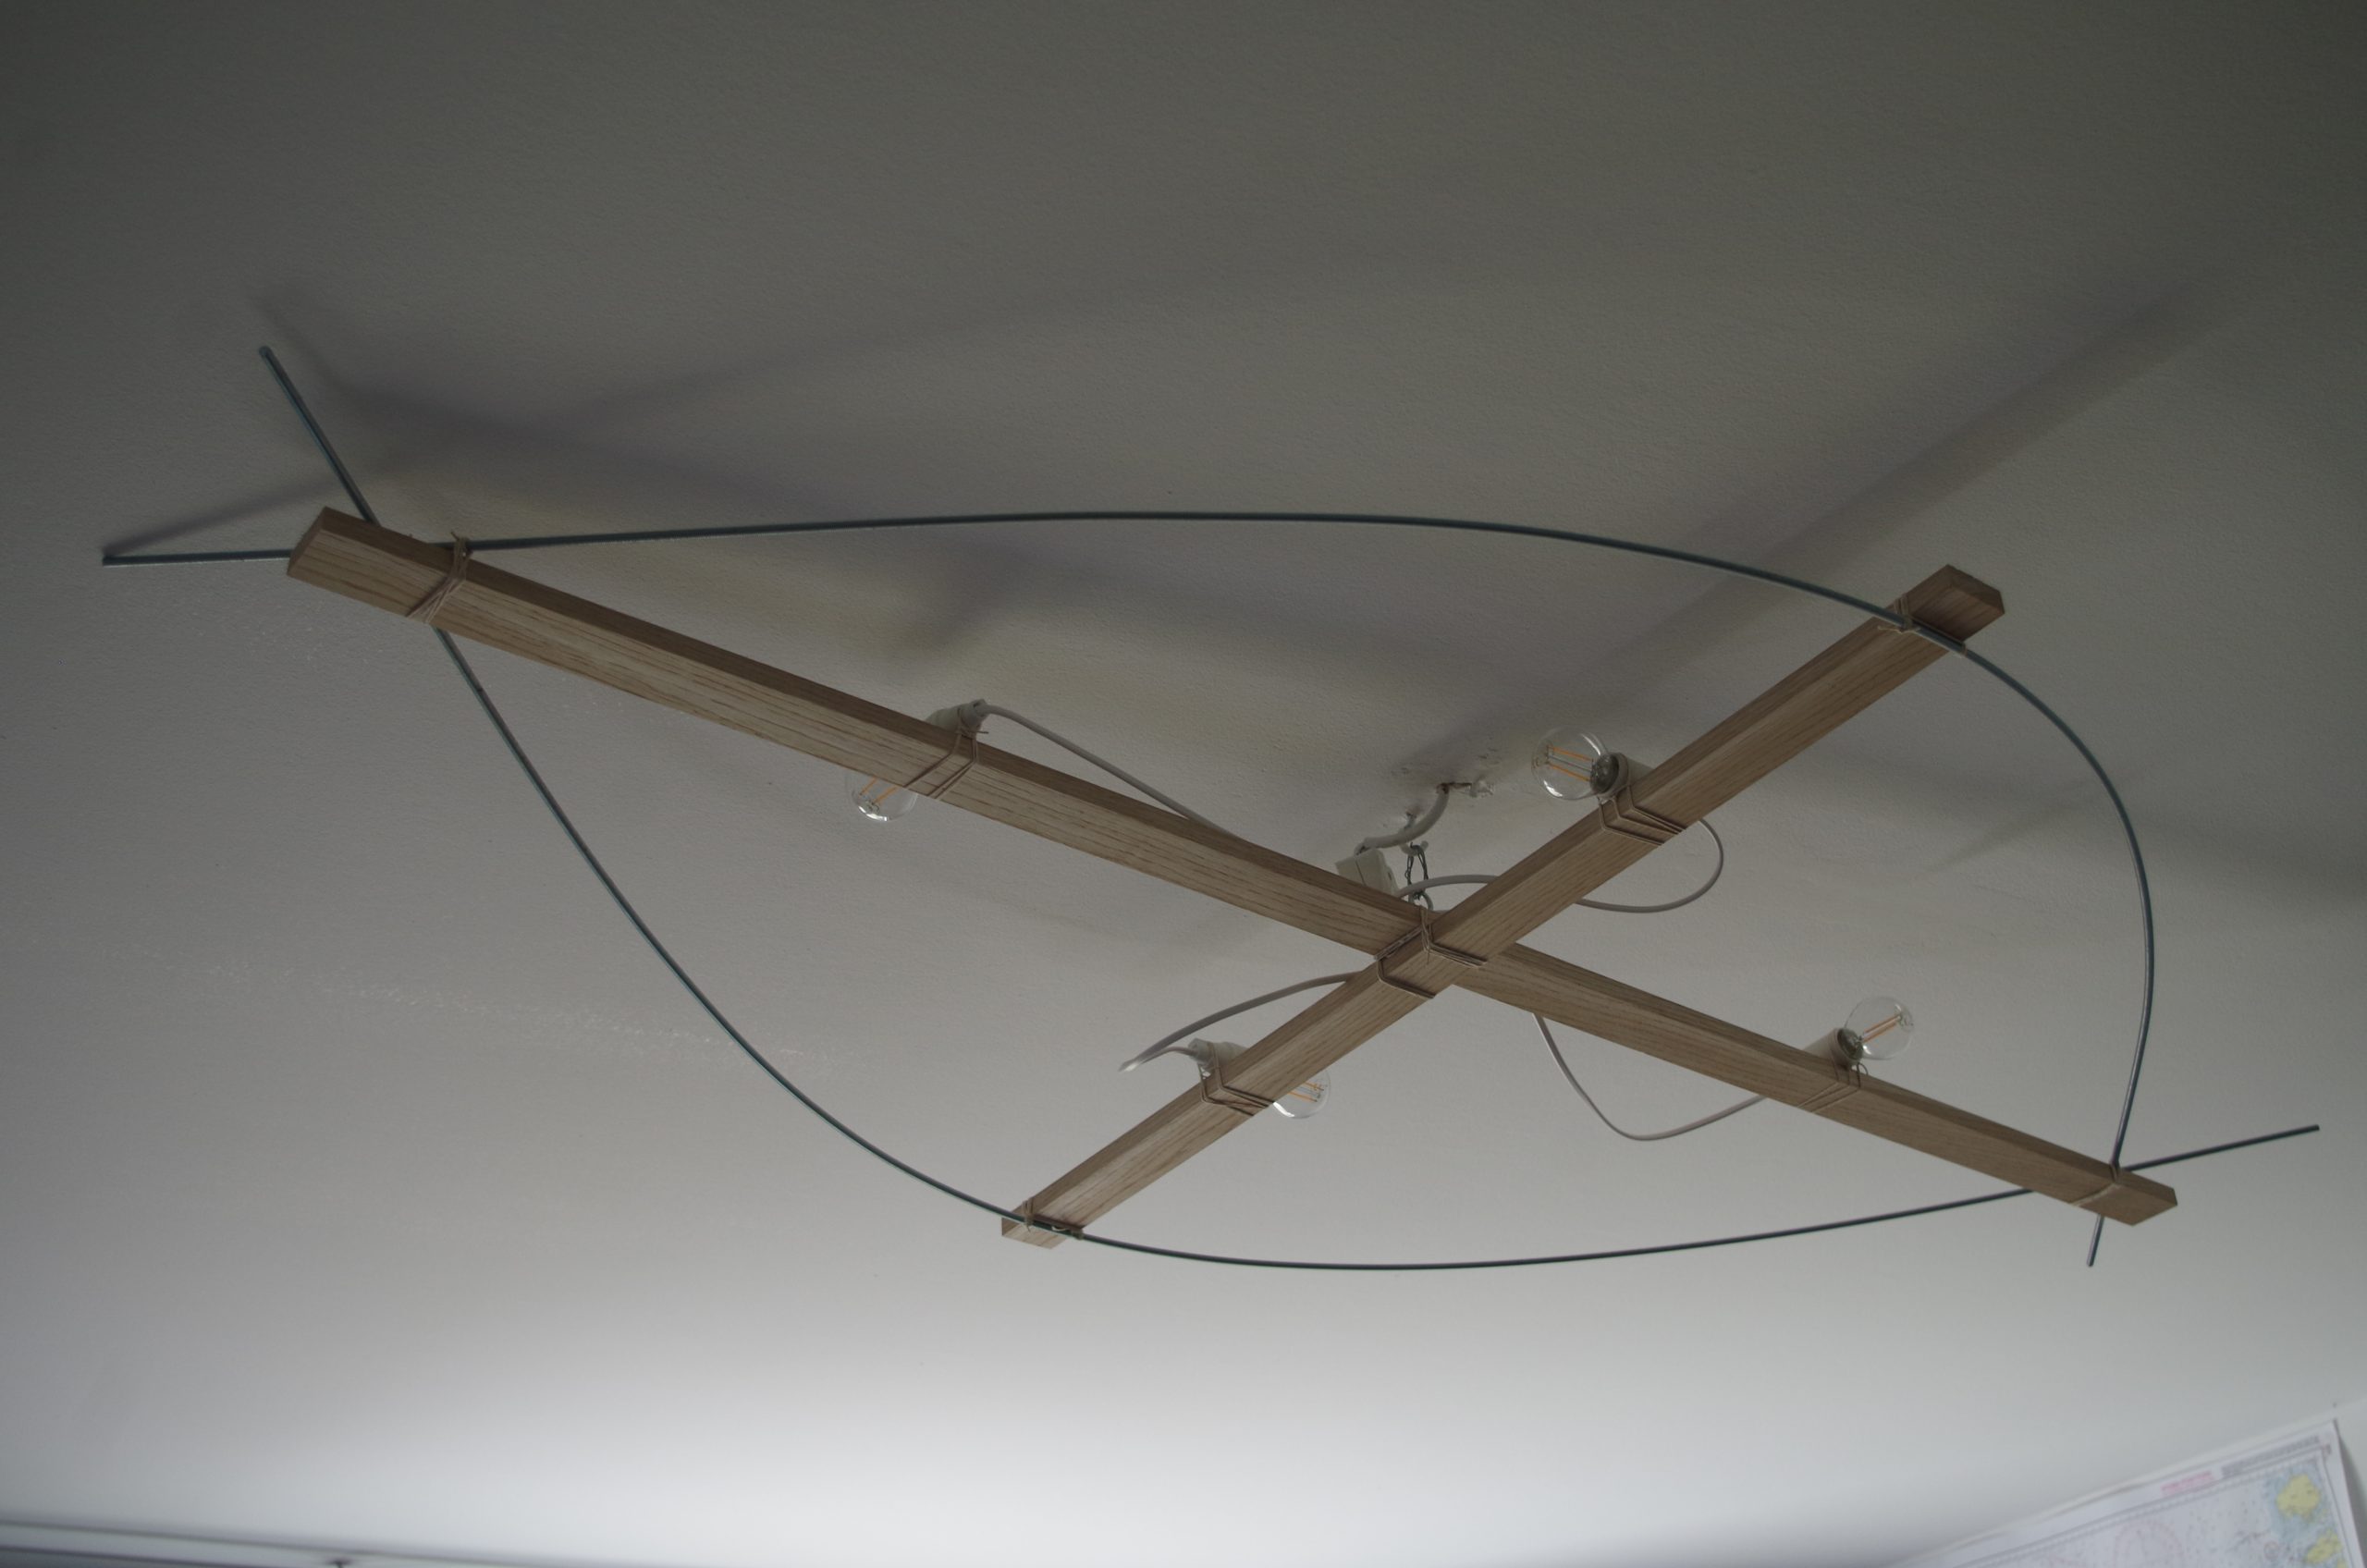
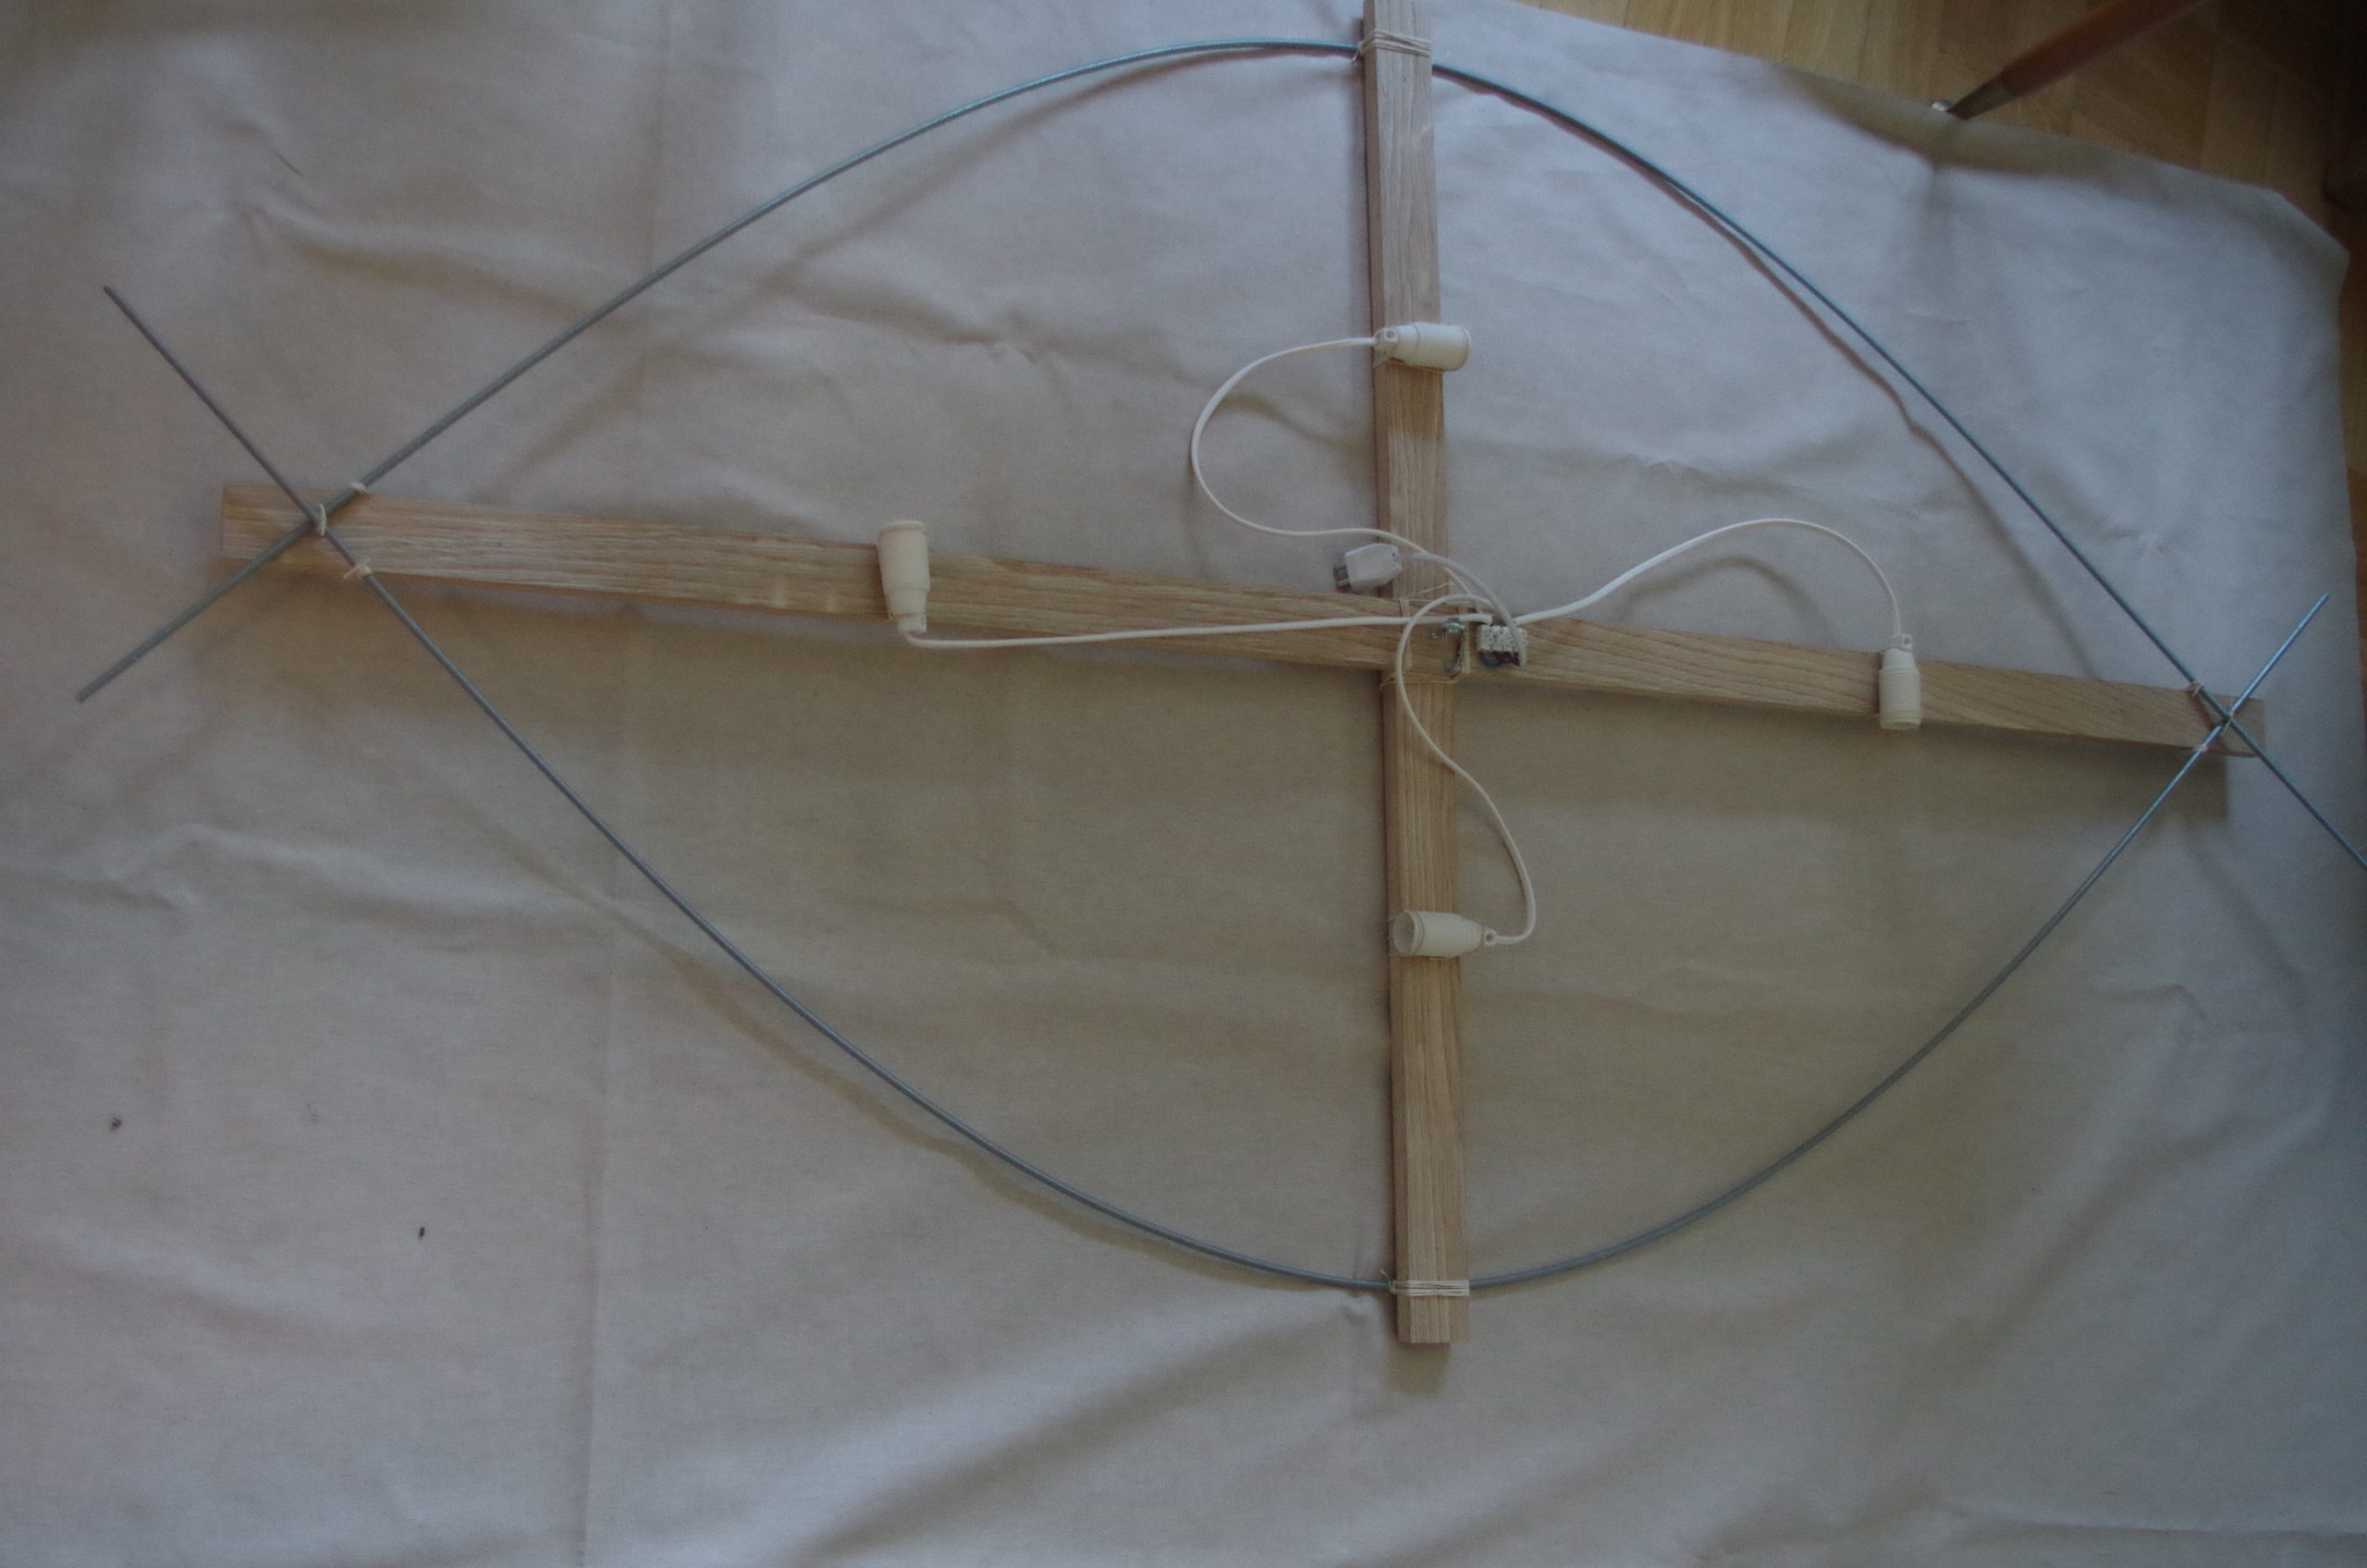
I started with trying out different proportions with a folding ruler and in the end settled on some proportions. I remember the golden ratio being involved somewhere. I cut the oak board and started to lash the boards together with some household string. It is just the common square lashing frequently used in pioneering projects by scouts. It is used in may places throughout this lamp project. The beauty of using lashings it that if you screw up, the only thing forfeit is the string, not the expensive board.
I then continued with the threaded rods, beginning in the middle of both before moving to the ends. The tricky thing is to get a nice curvature of the rods so some temporary seizings might have to be employed to keep things nice.
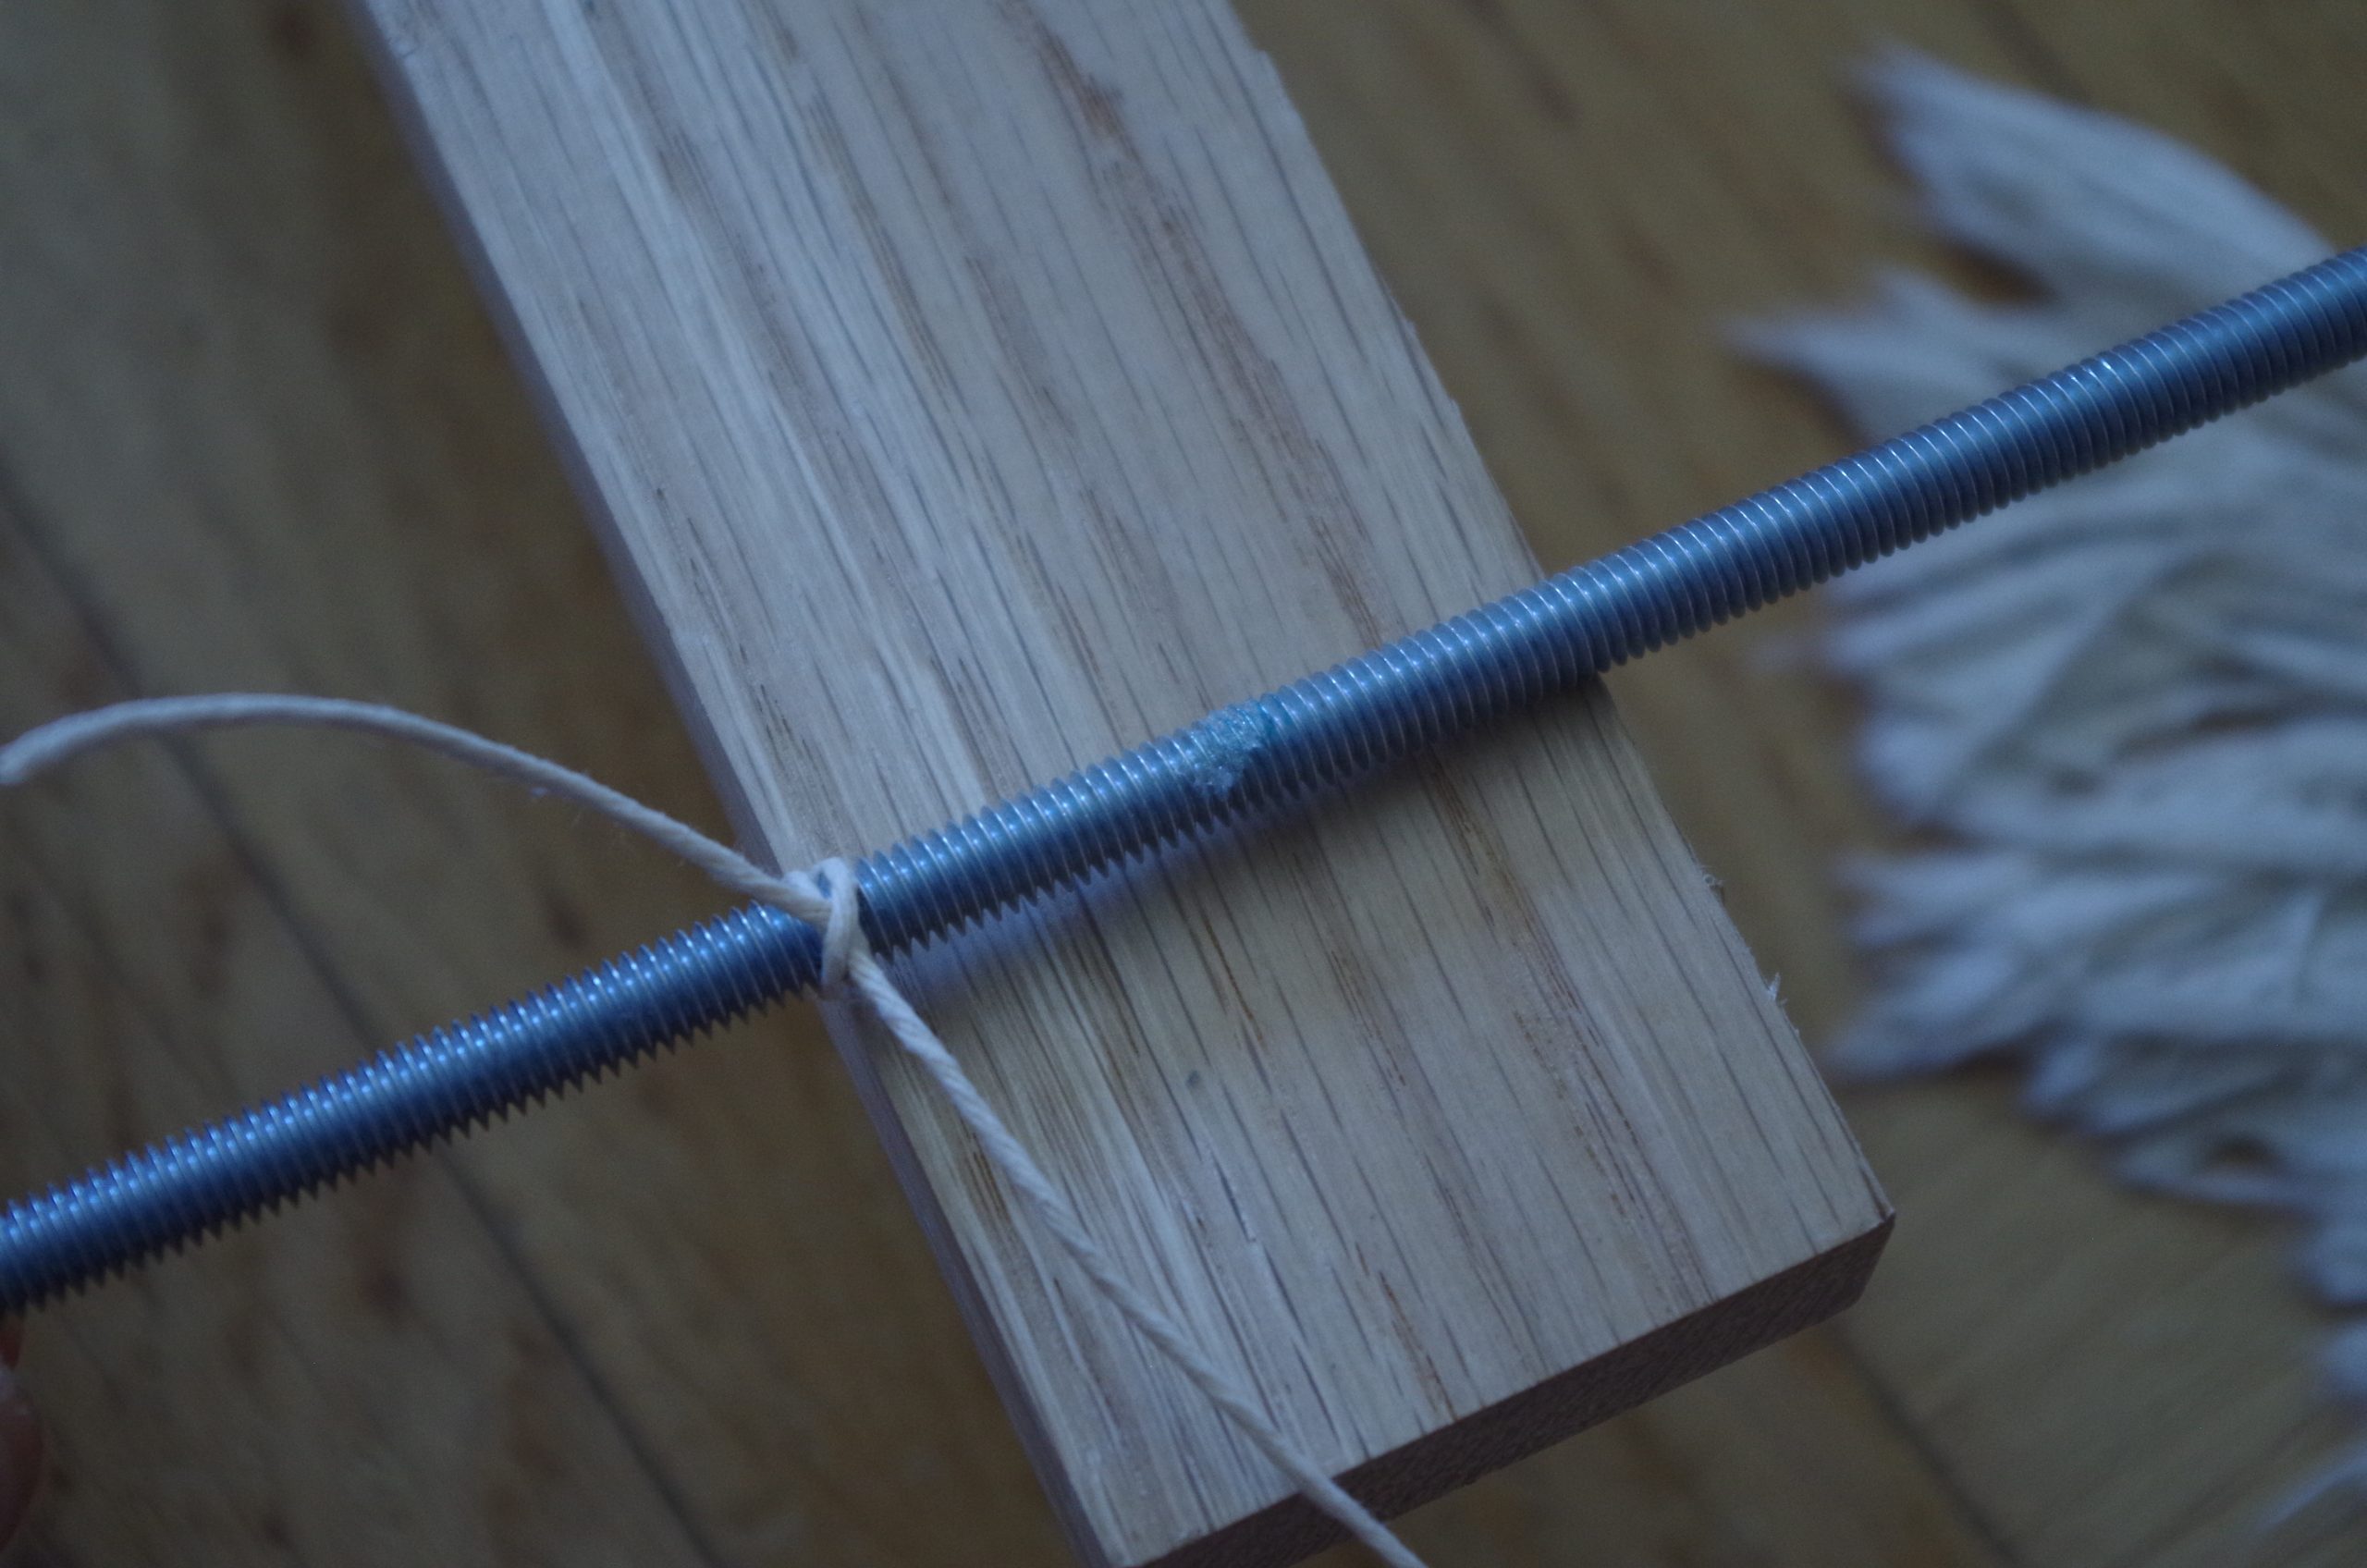
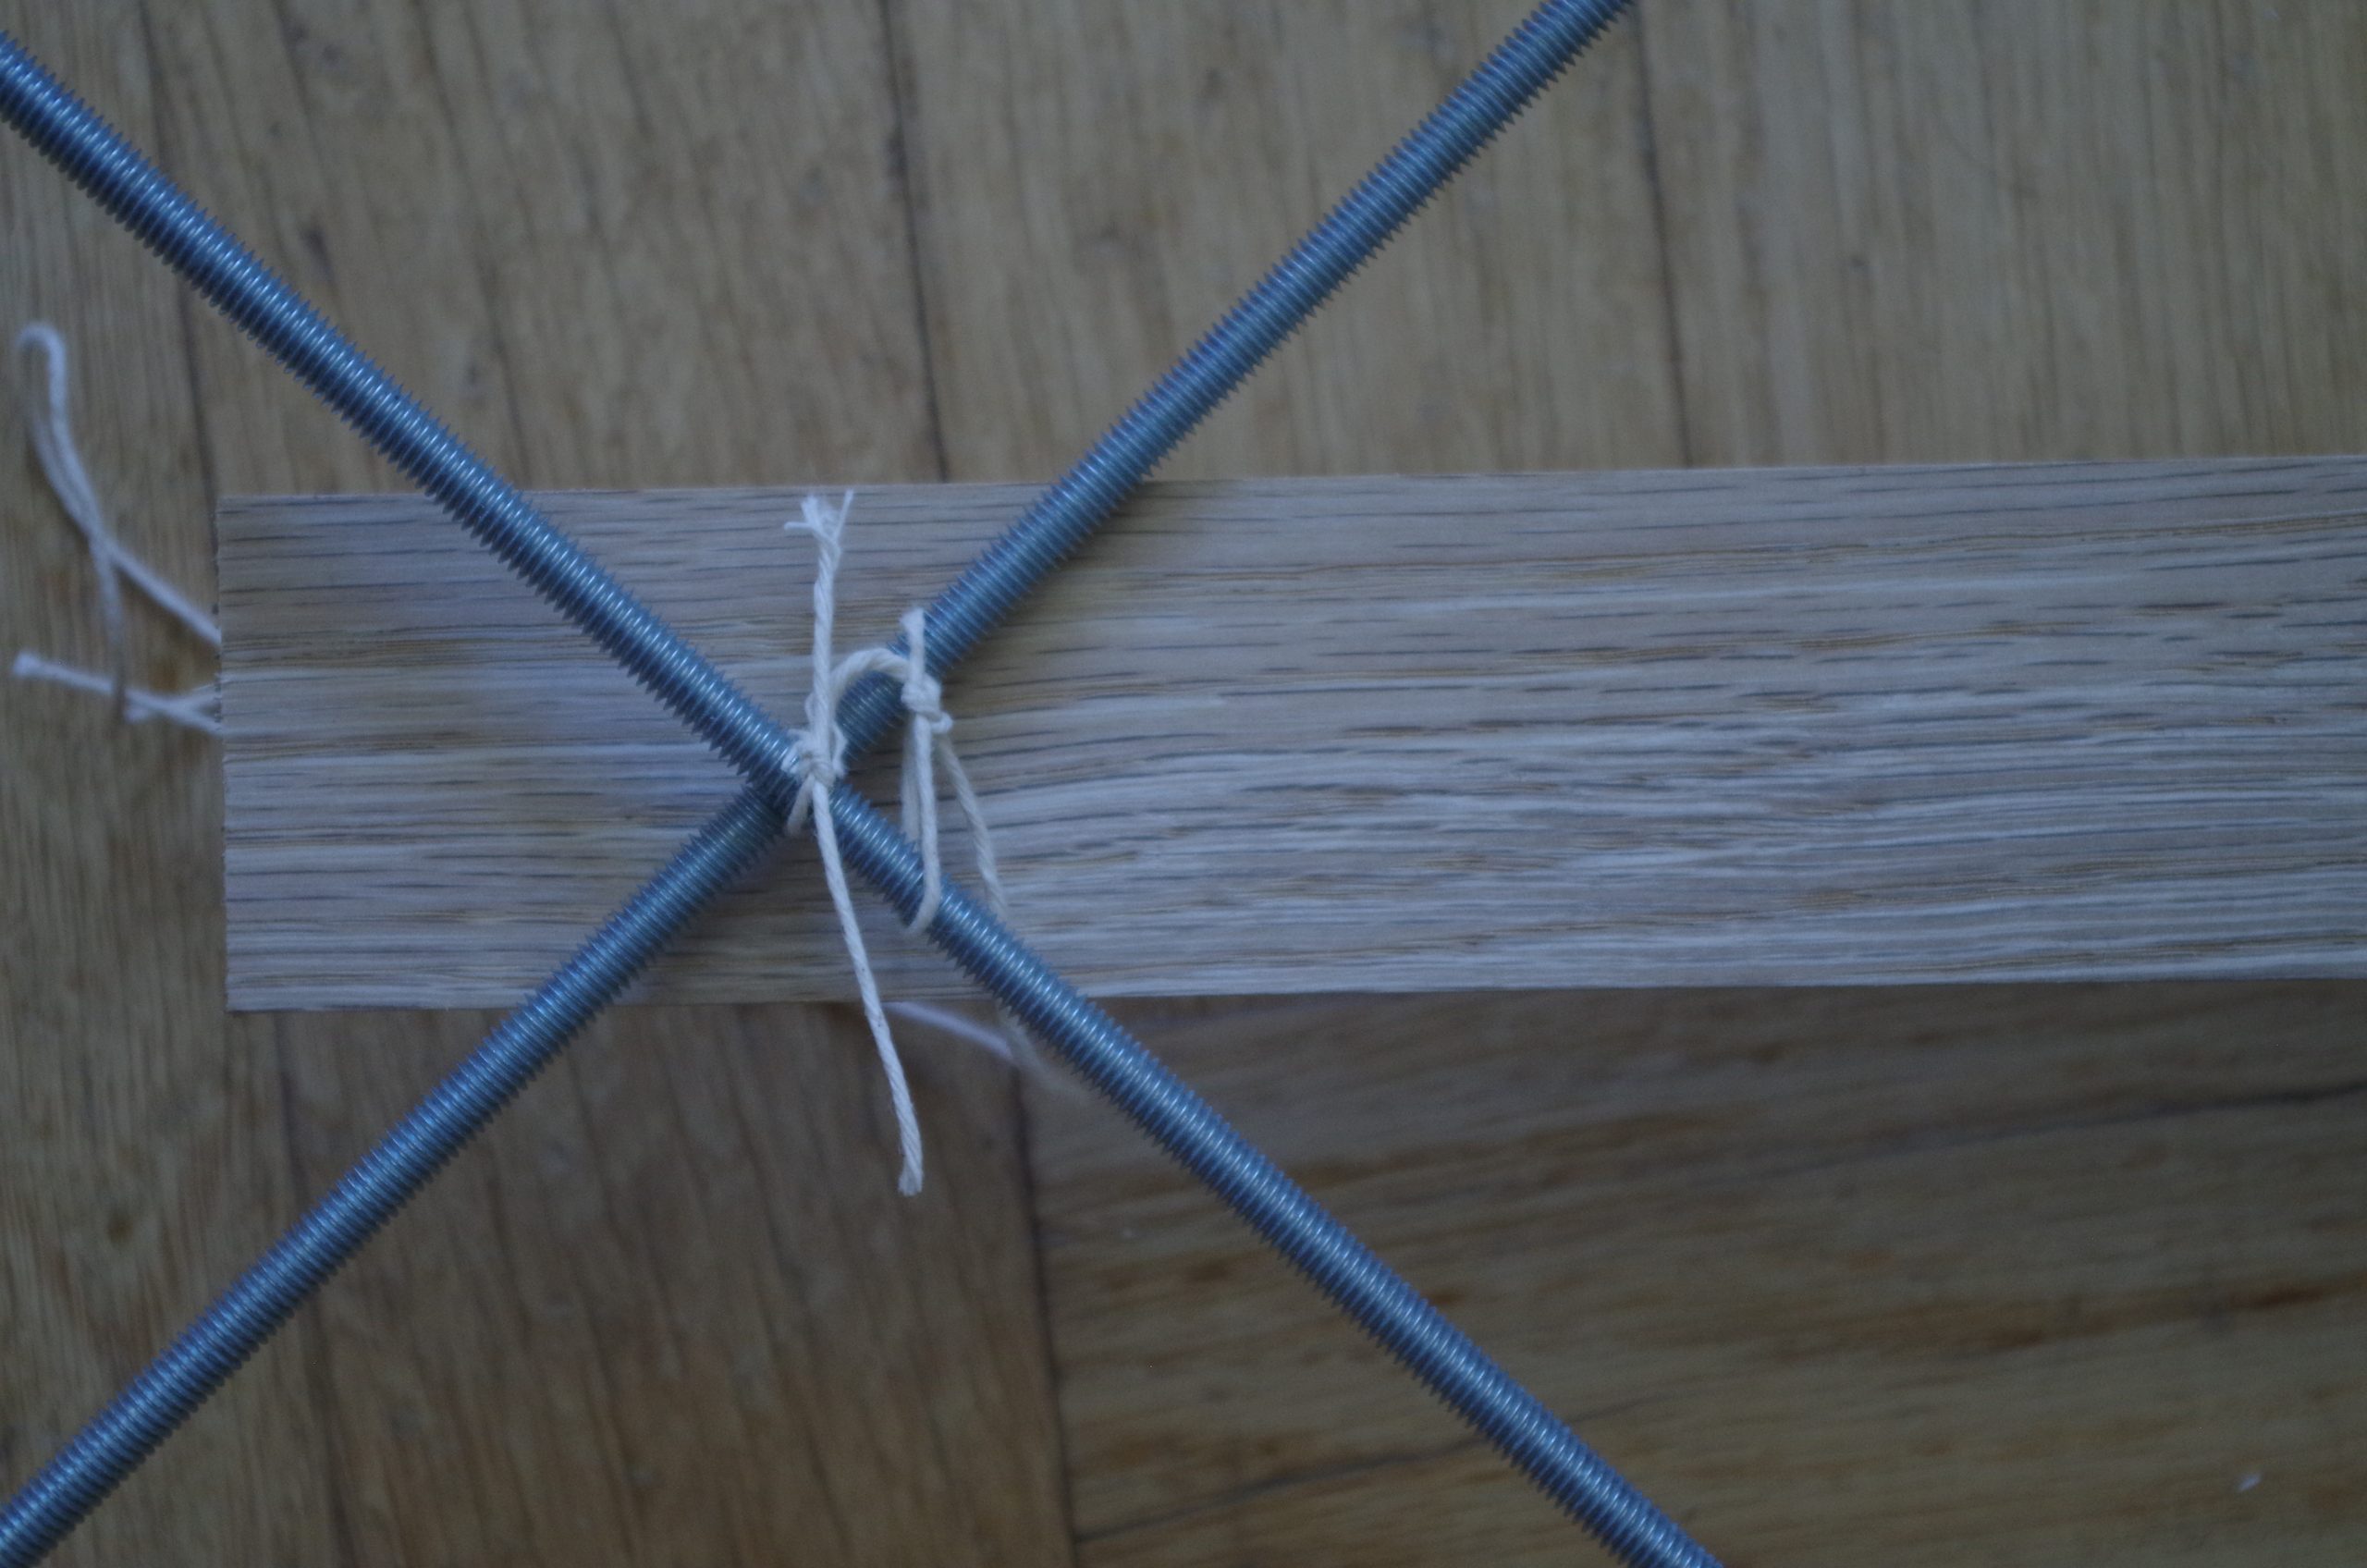
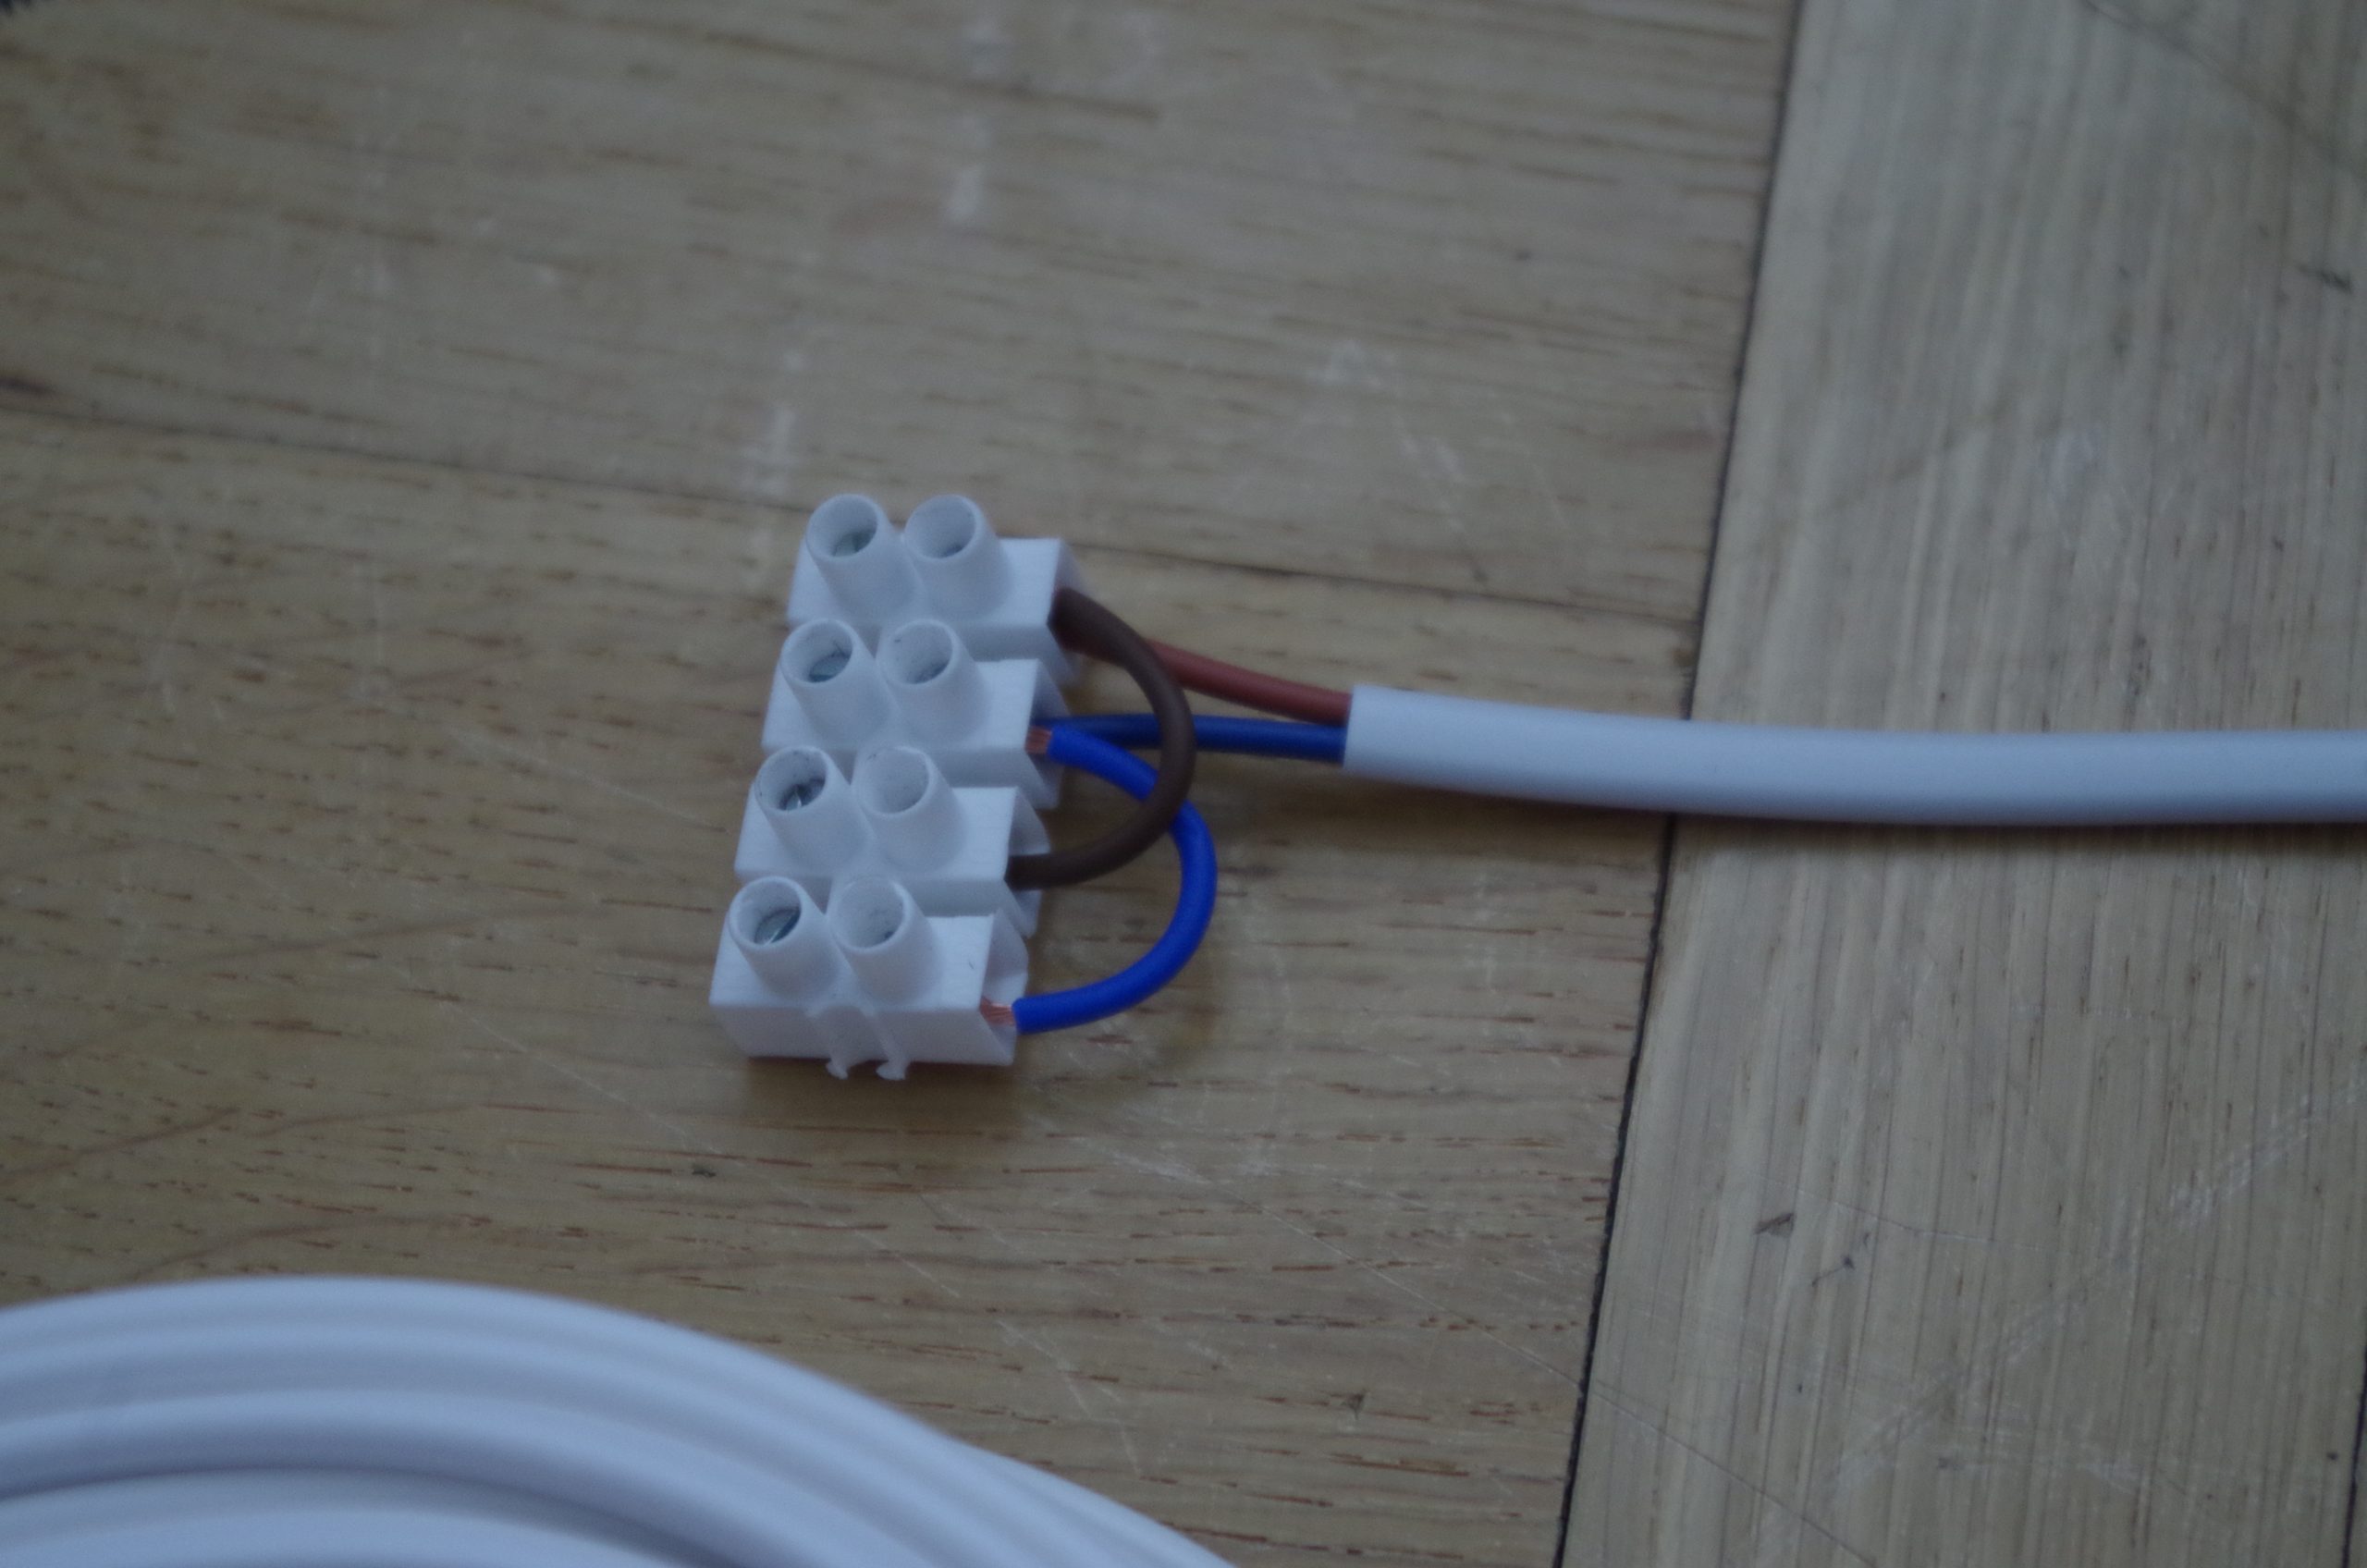
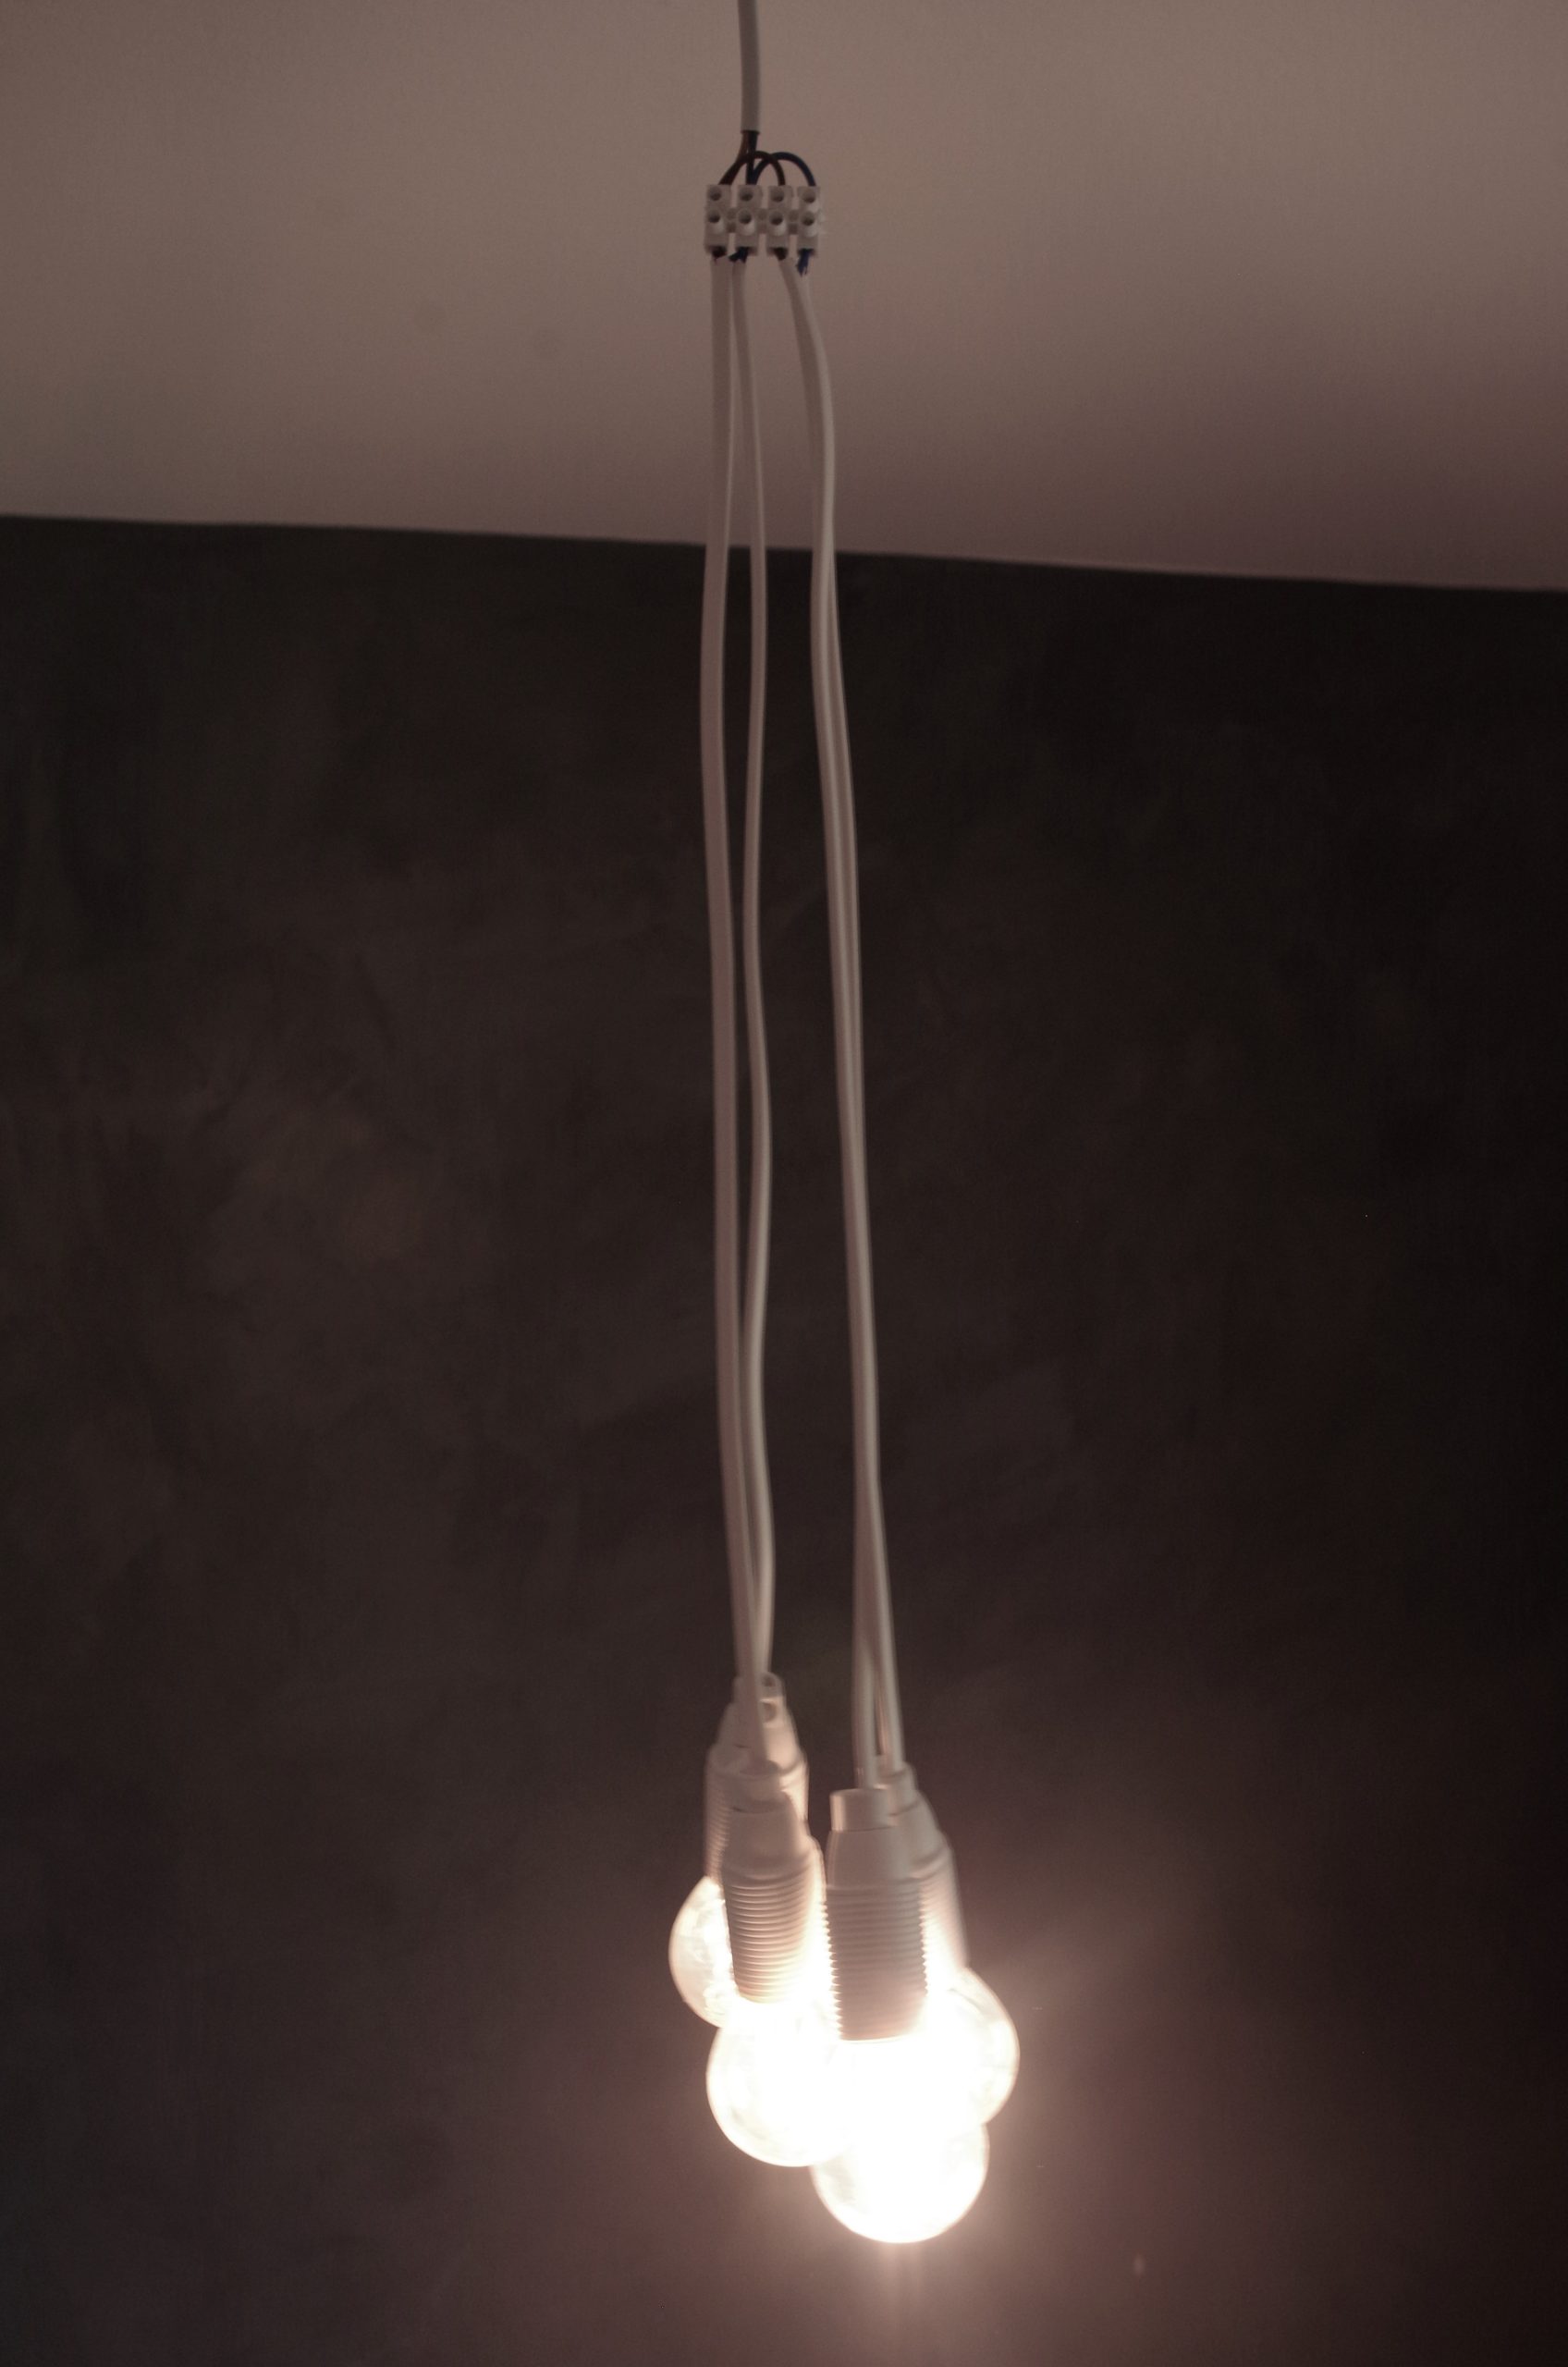
With the lamp structure made it was time to start the electrical stuff. Even though I have an engineering masters degree in physics and kind of know how electrons behave, that is on a whole other level of abstraction. With a lot of googling standards I manged to get things to light up. I made a parallel connection from the connector so that the four sockets would be easier to connect onto the connector.
It was then time to lash the entire thing onto the lamp-structure, screw in the hook an see how it looked from the ceiling. I really should have done some center of mass testing before attaching the hook though, you can clearly see the entire thing tilting, which I later fixed by adding a toilet roll spacer to the high end and it now sits well. I also found out that the lamp was too close to the ceiling so i hade to add a steel-wire loop to att some distance. Now that I think of it maybe steel-wire loops originating from further out on the cross from all four sides would mean that both the tilting and the distance can by manipulated more and also mean the the 3 SEK loop wouldn’t have to be purchased.
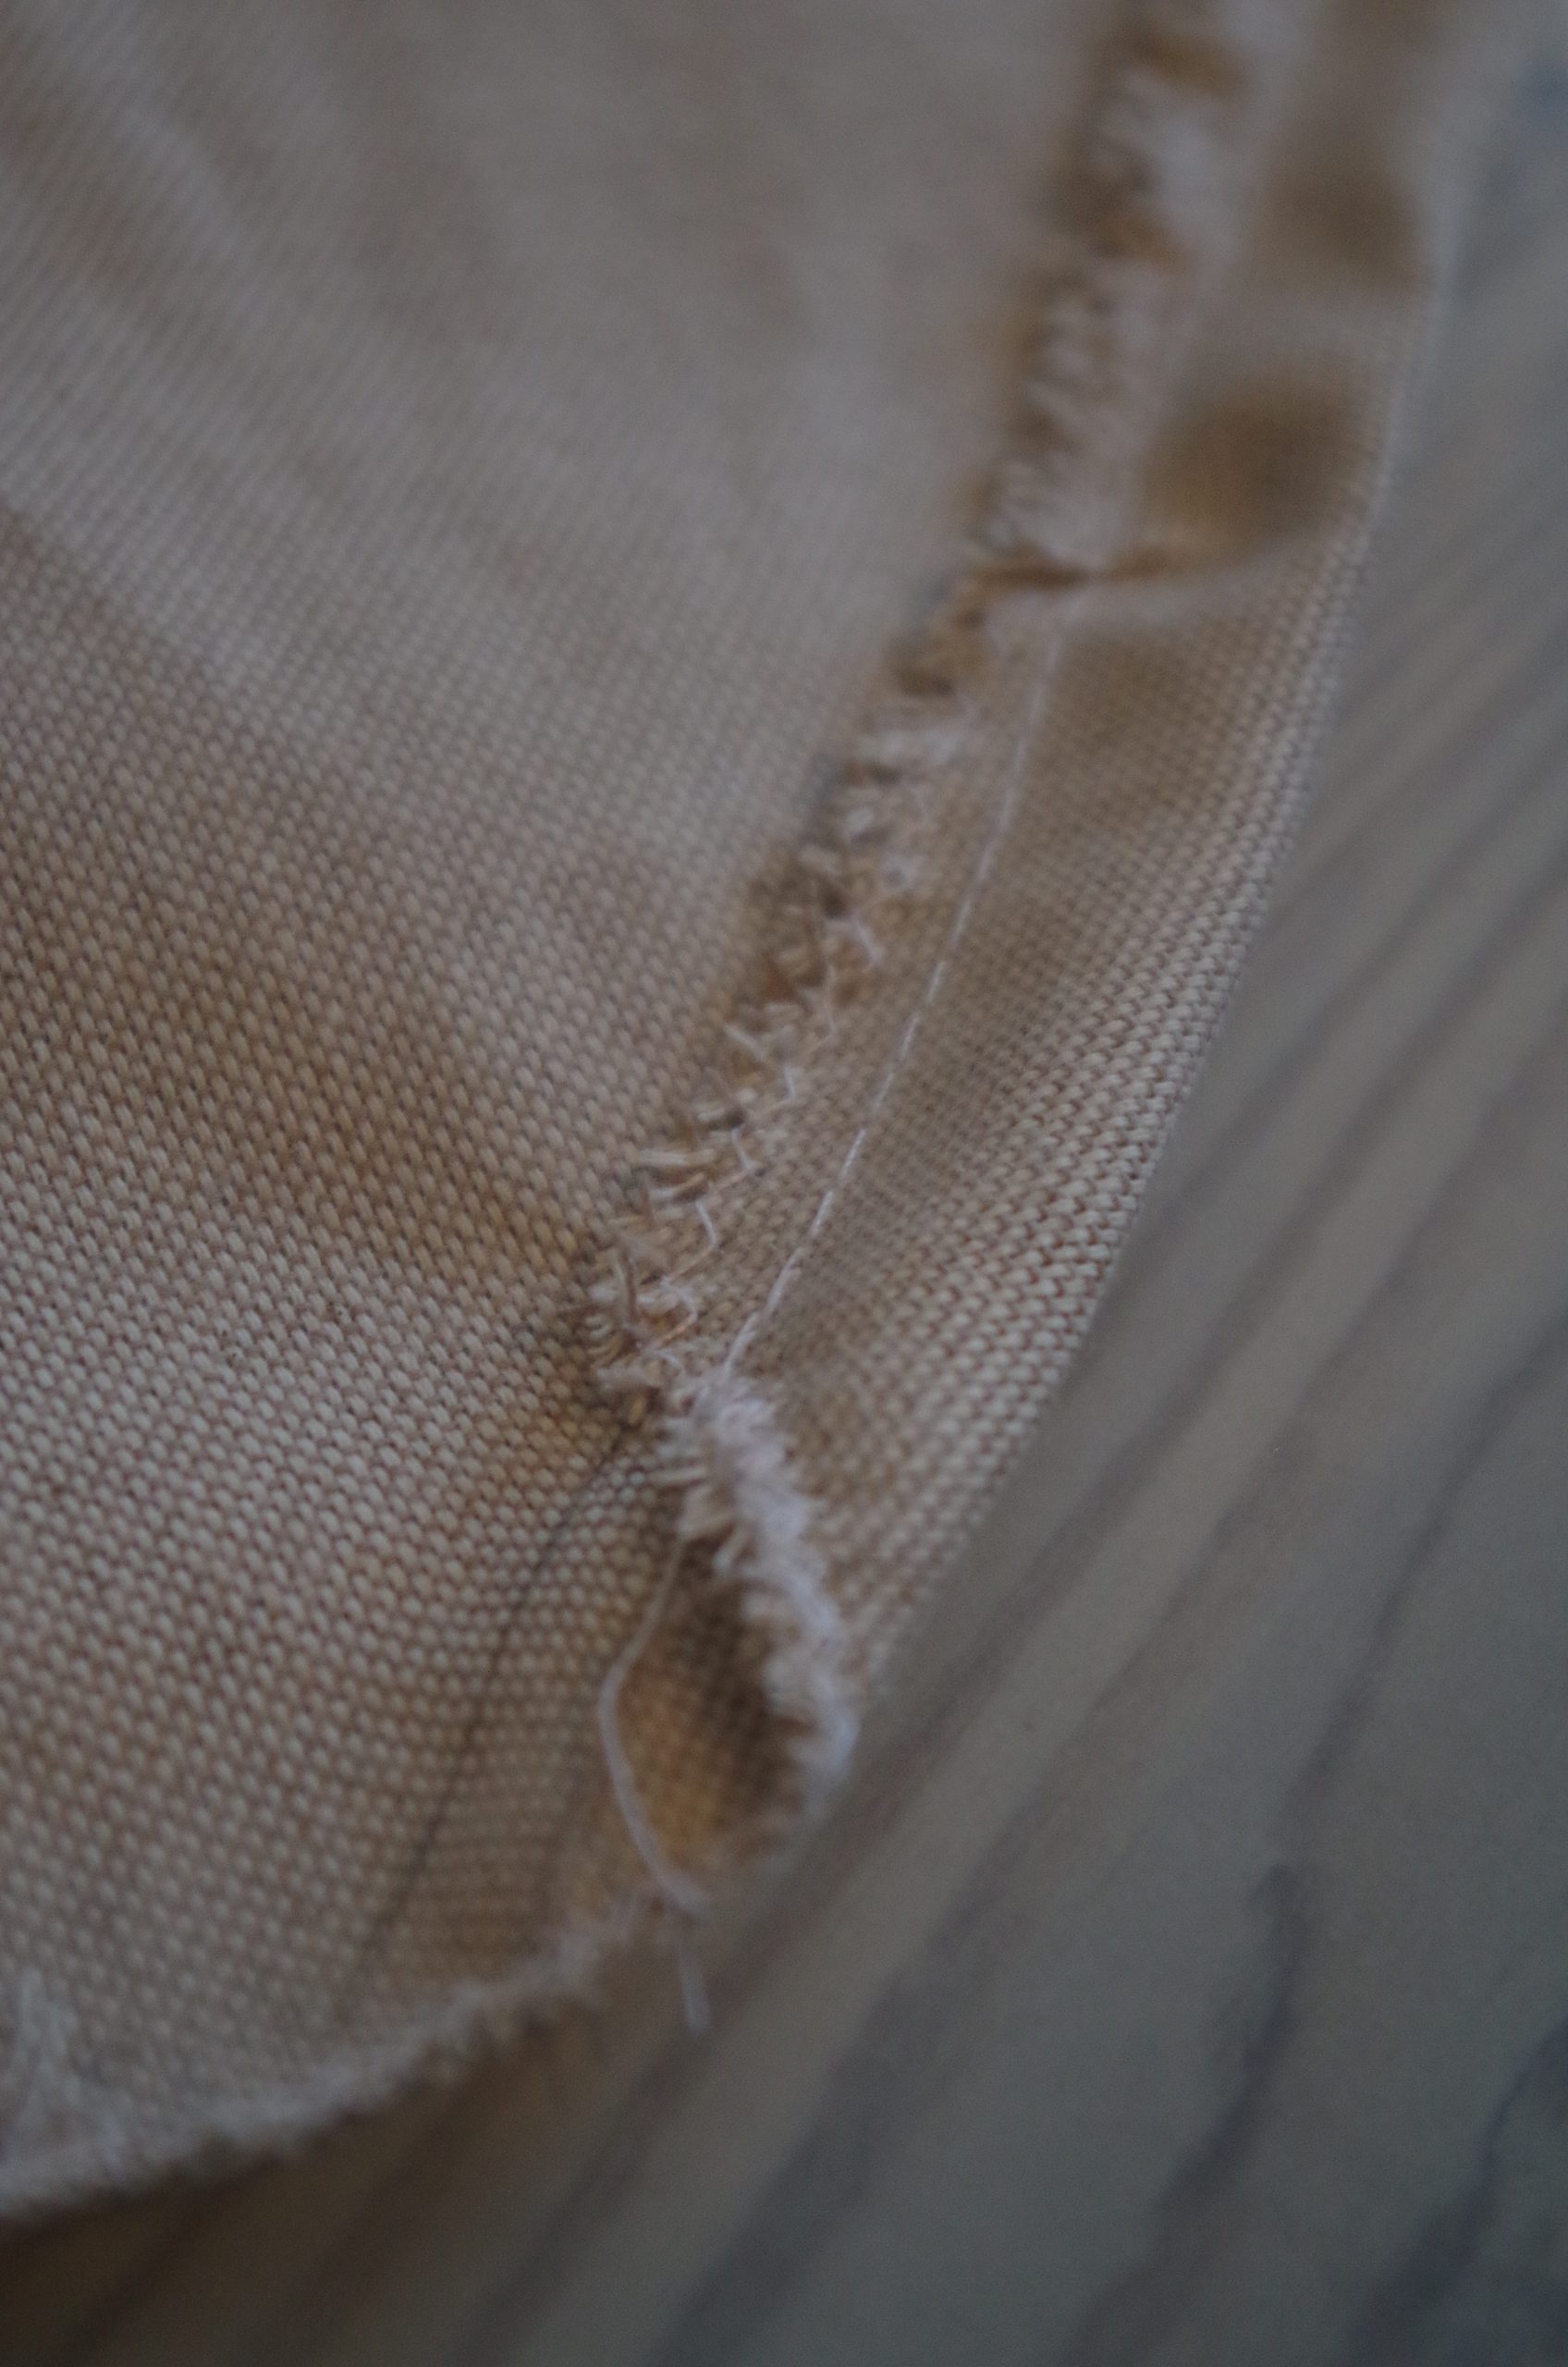
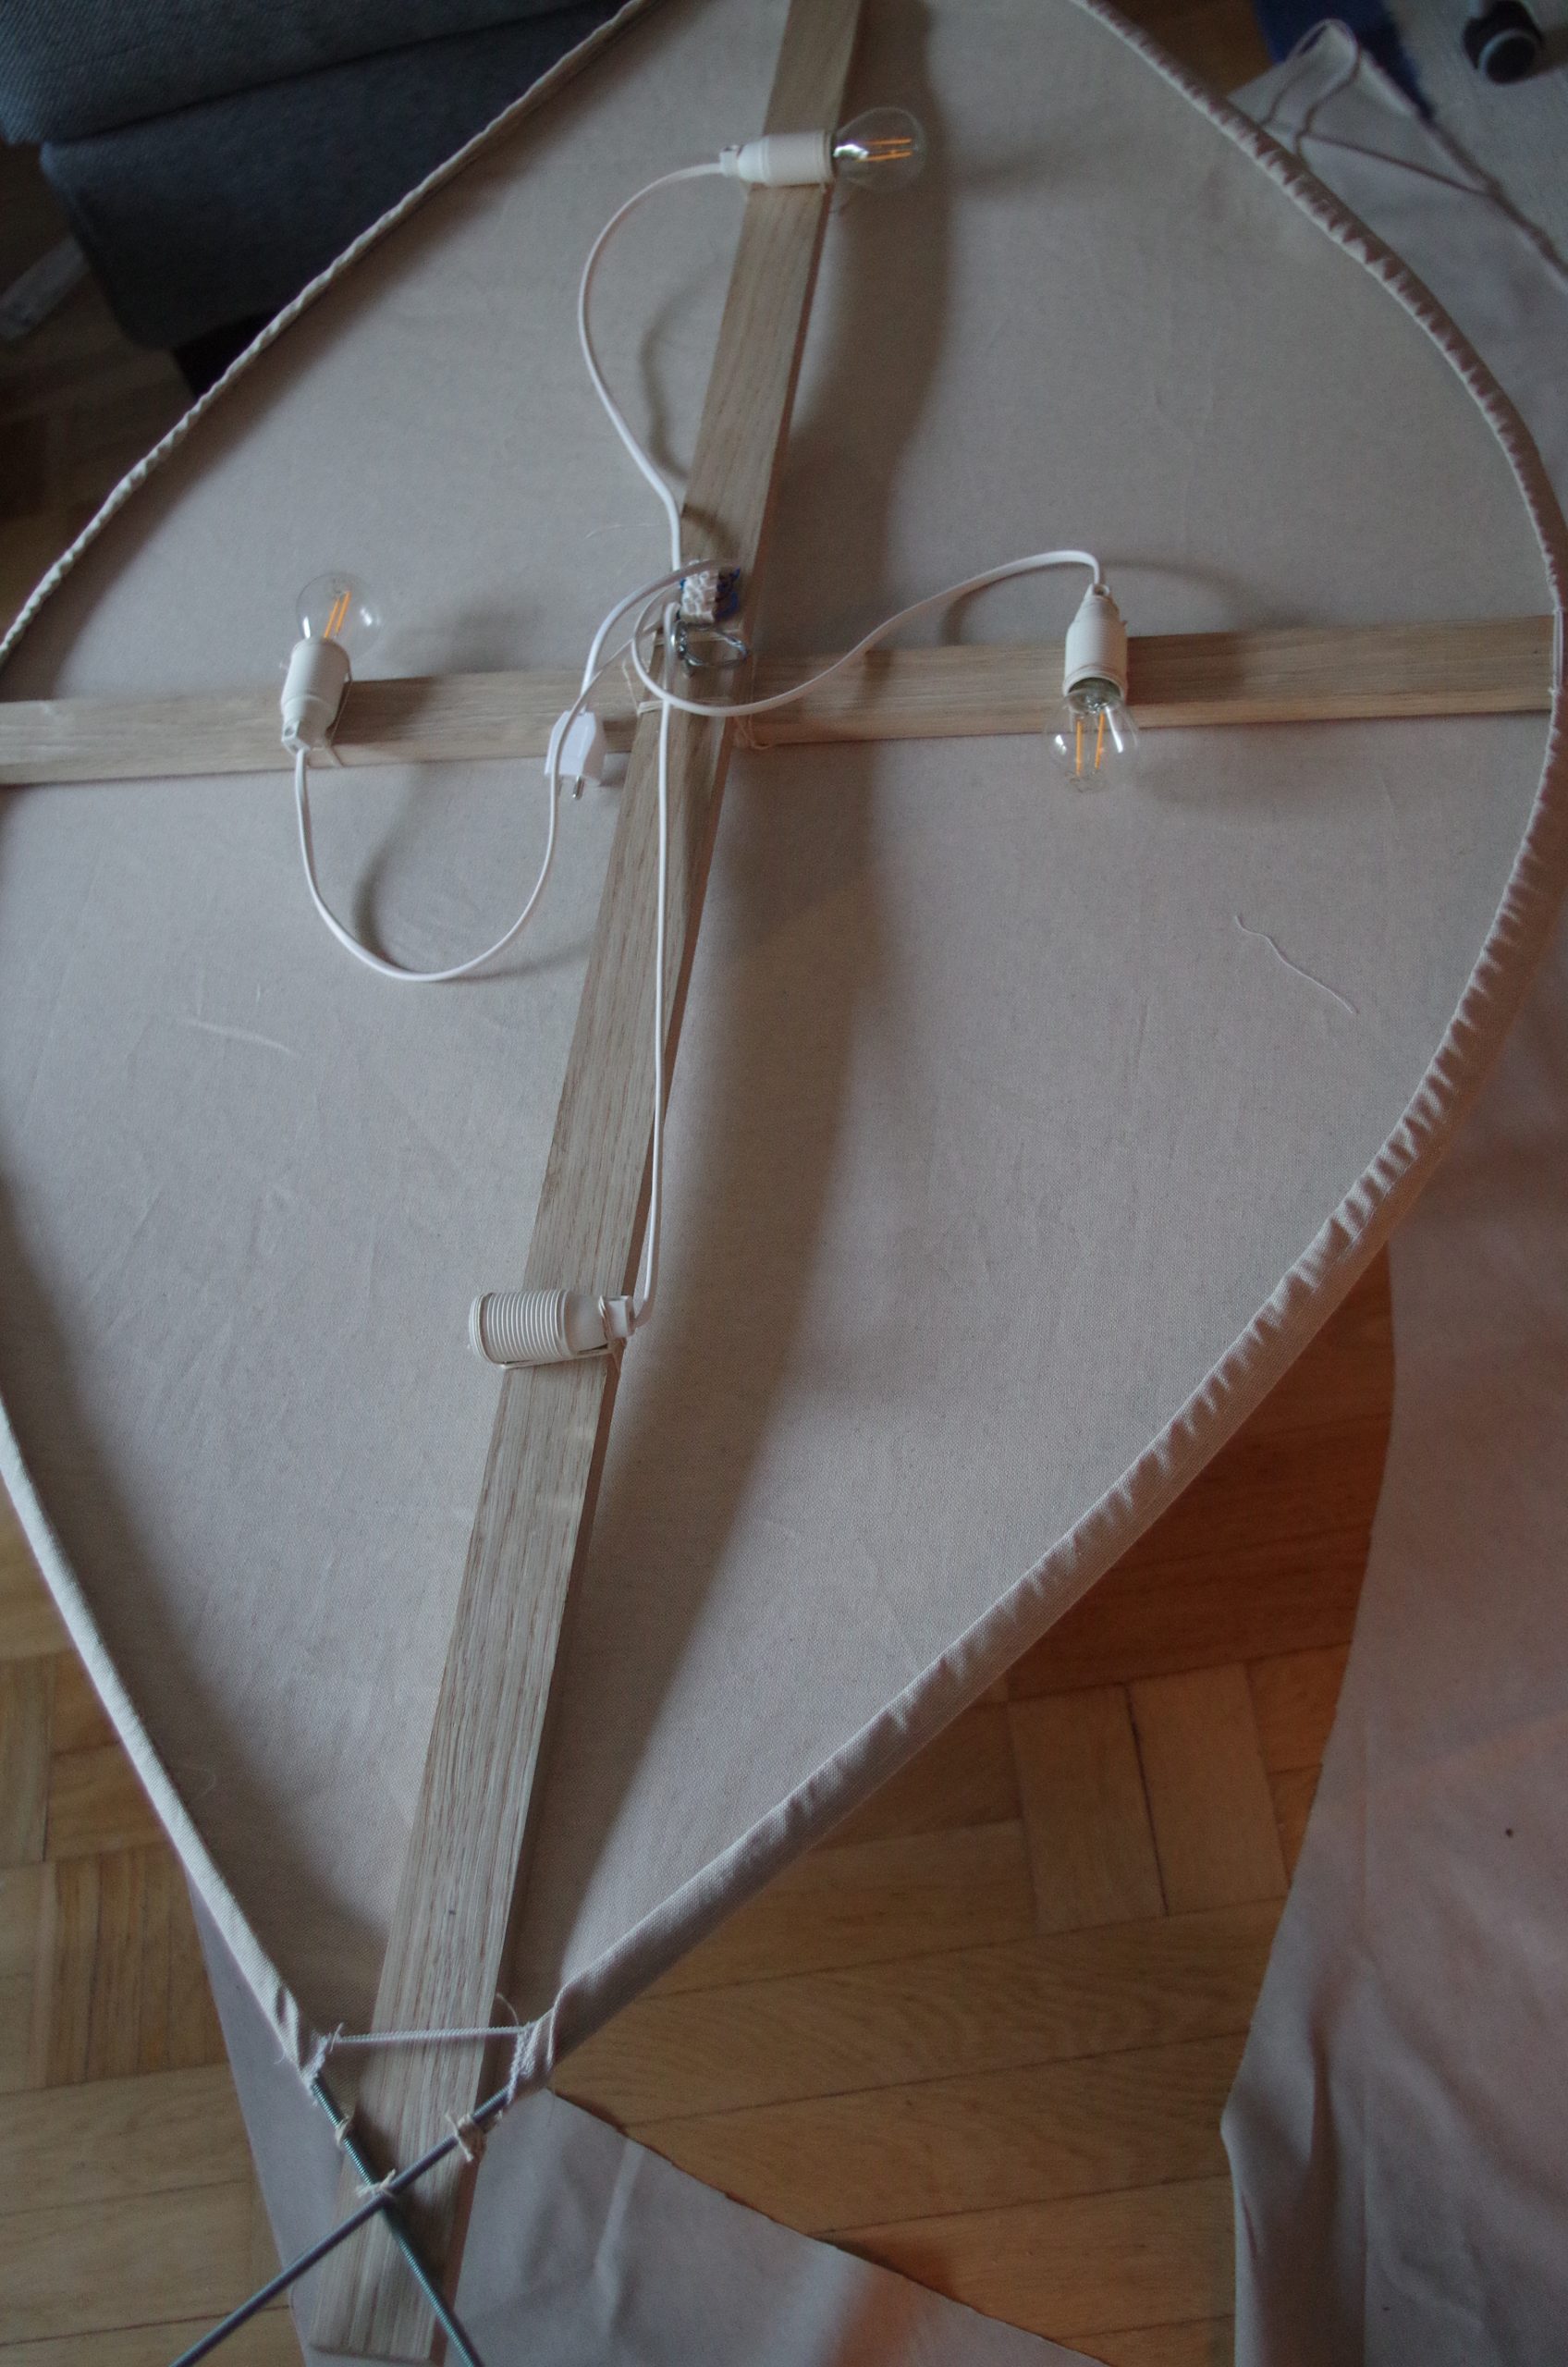
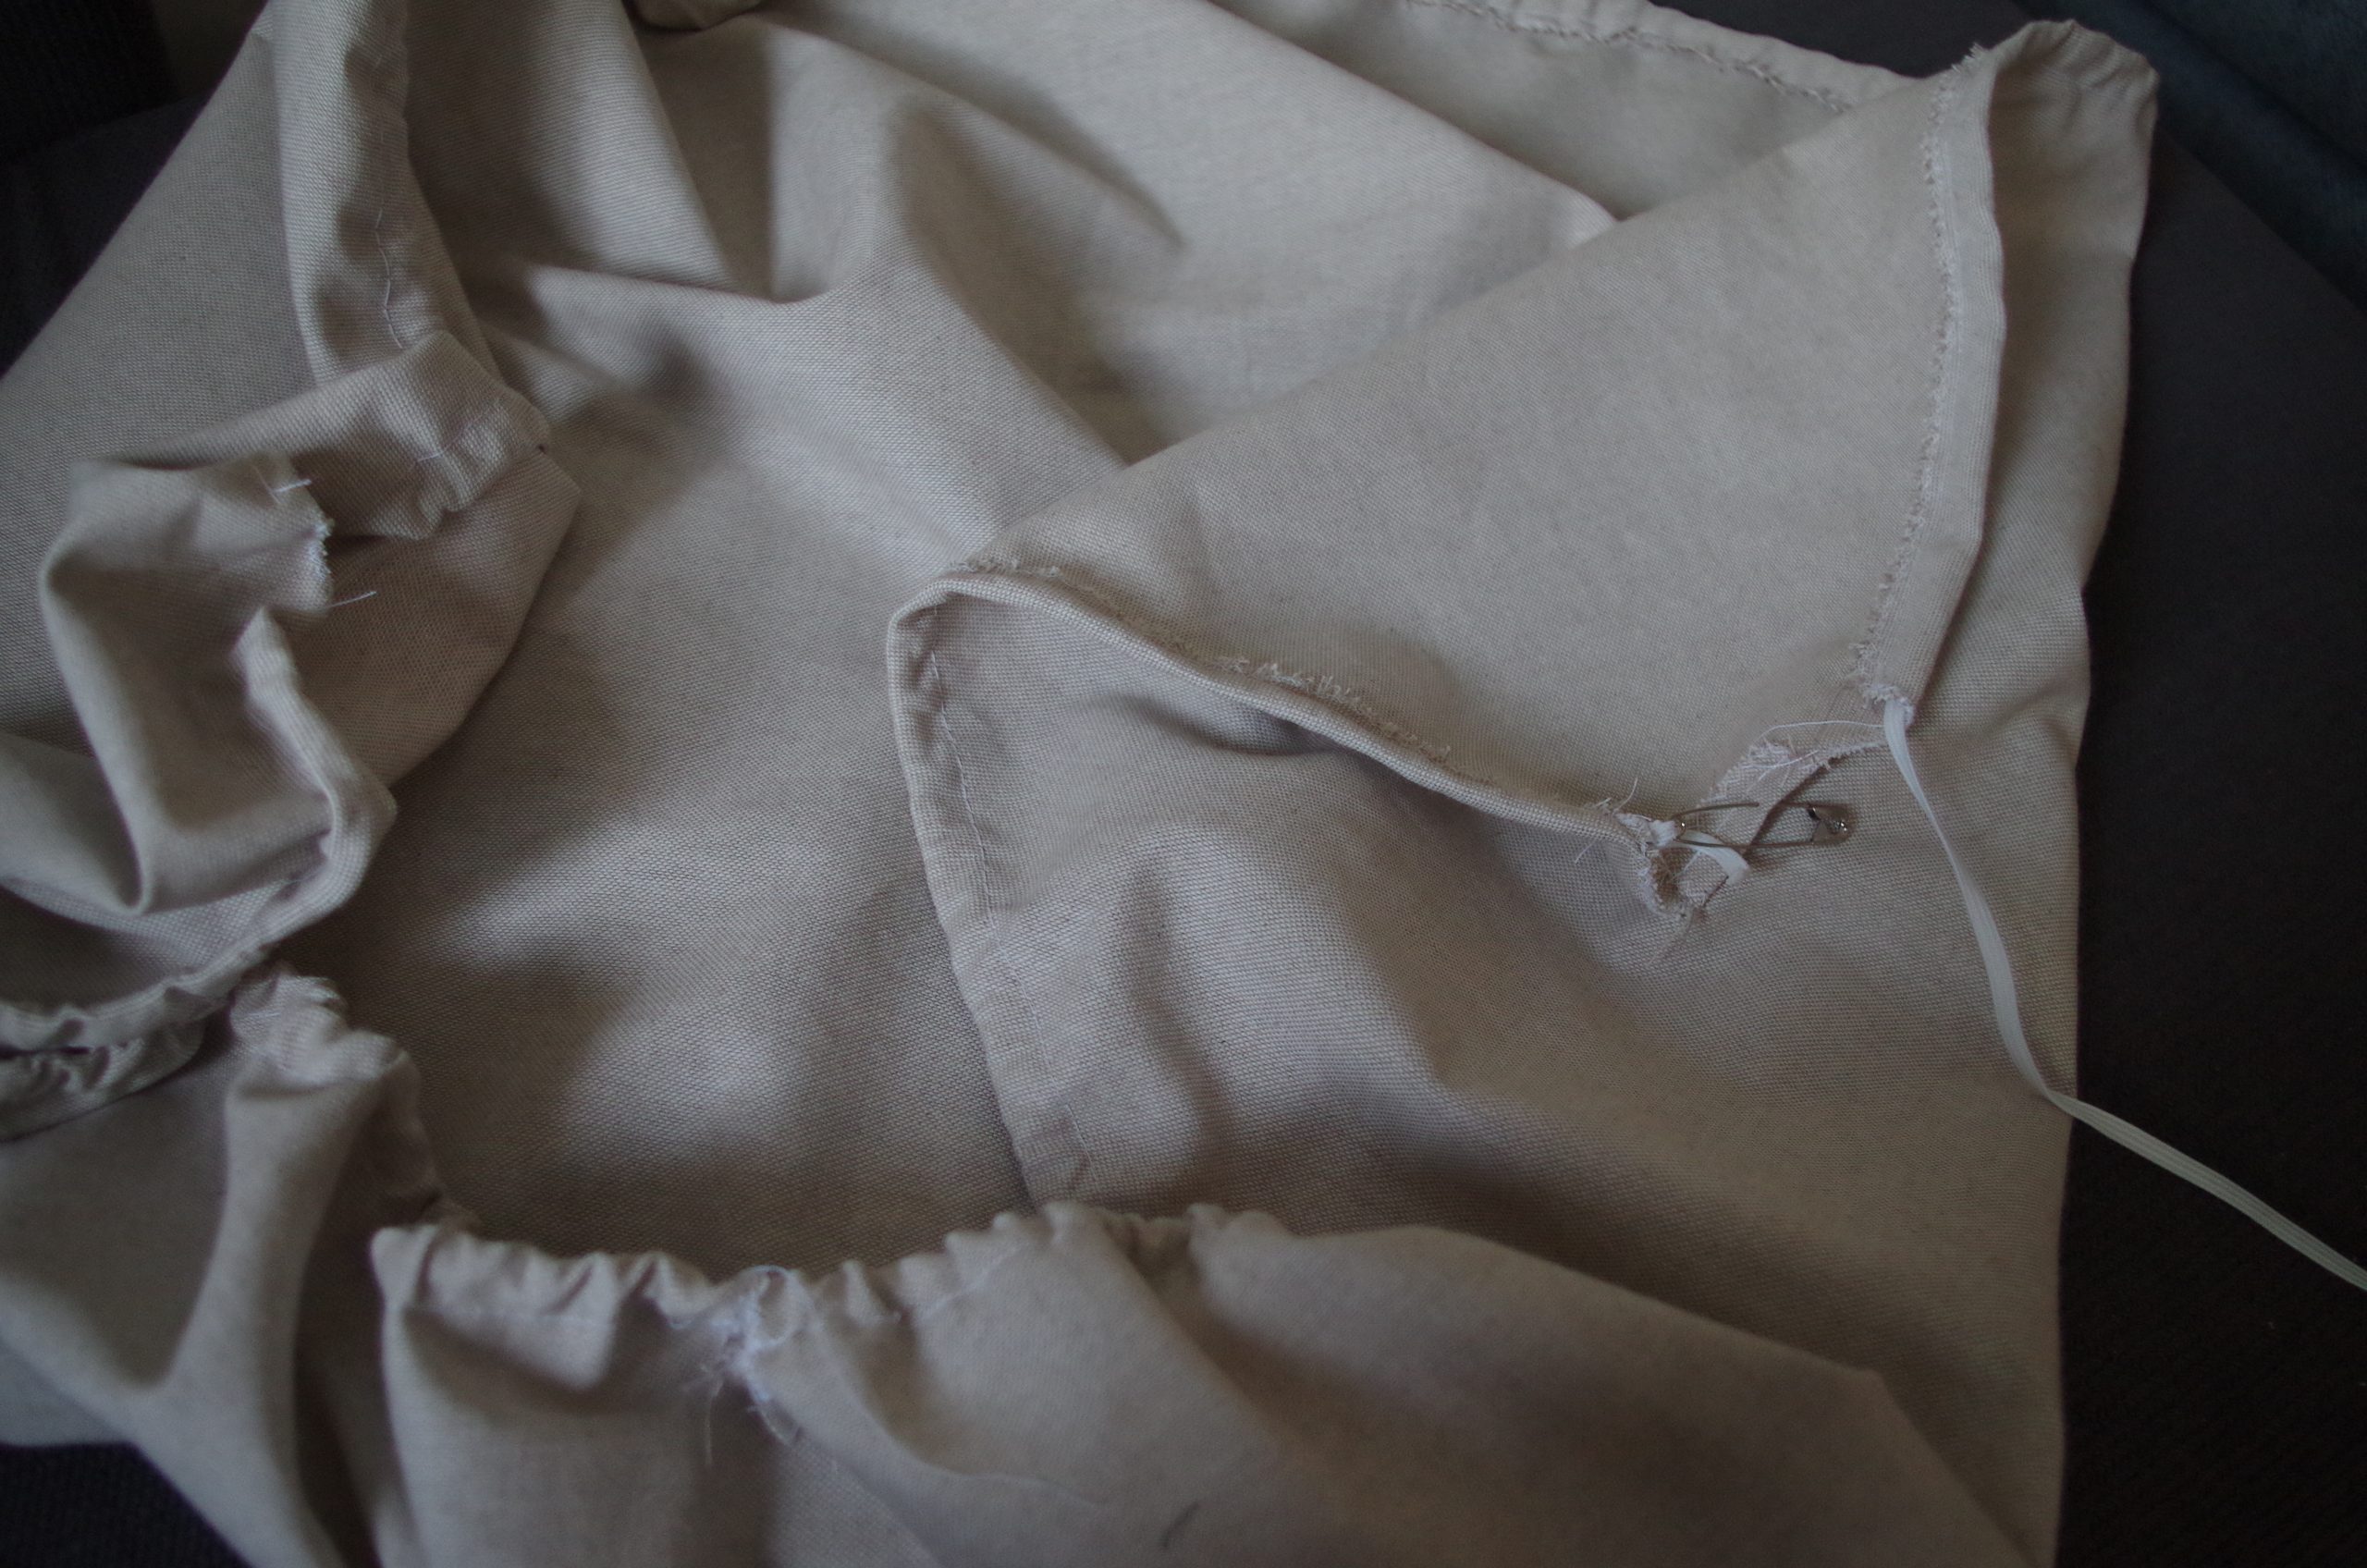
Forwards and onwards! Time had come to cut out the fabric that was going to cover the entire thing, why did I bother to by expensive wood? Anyway, cut out a larger piece than you think you need, I didn’t and the fabric ended up hanging on by the skin of its teeth. Cutting out, zig-zagging the edge and sewing a channel for the elastic band, threading the band using a safety pin. Nothing exiting here. I did however add an extra piece of elastic at the pointy parts to keep them together. The fit as pointed out earlier was, and is, tight. I hope it doesn’t shrink to much in the first laundry it has.
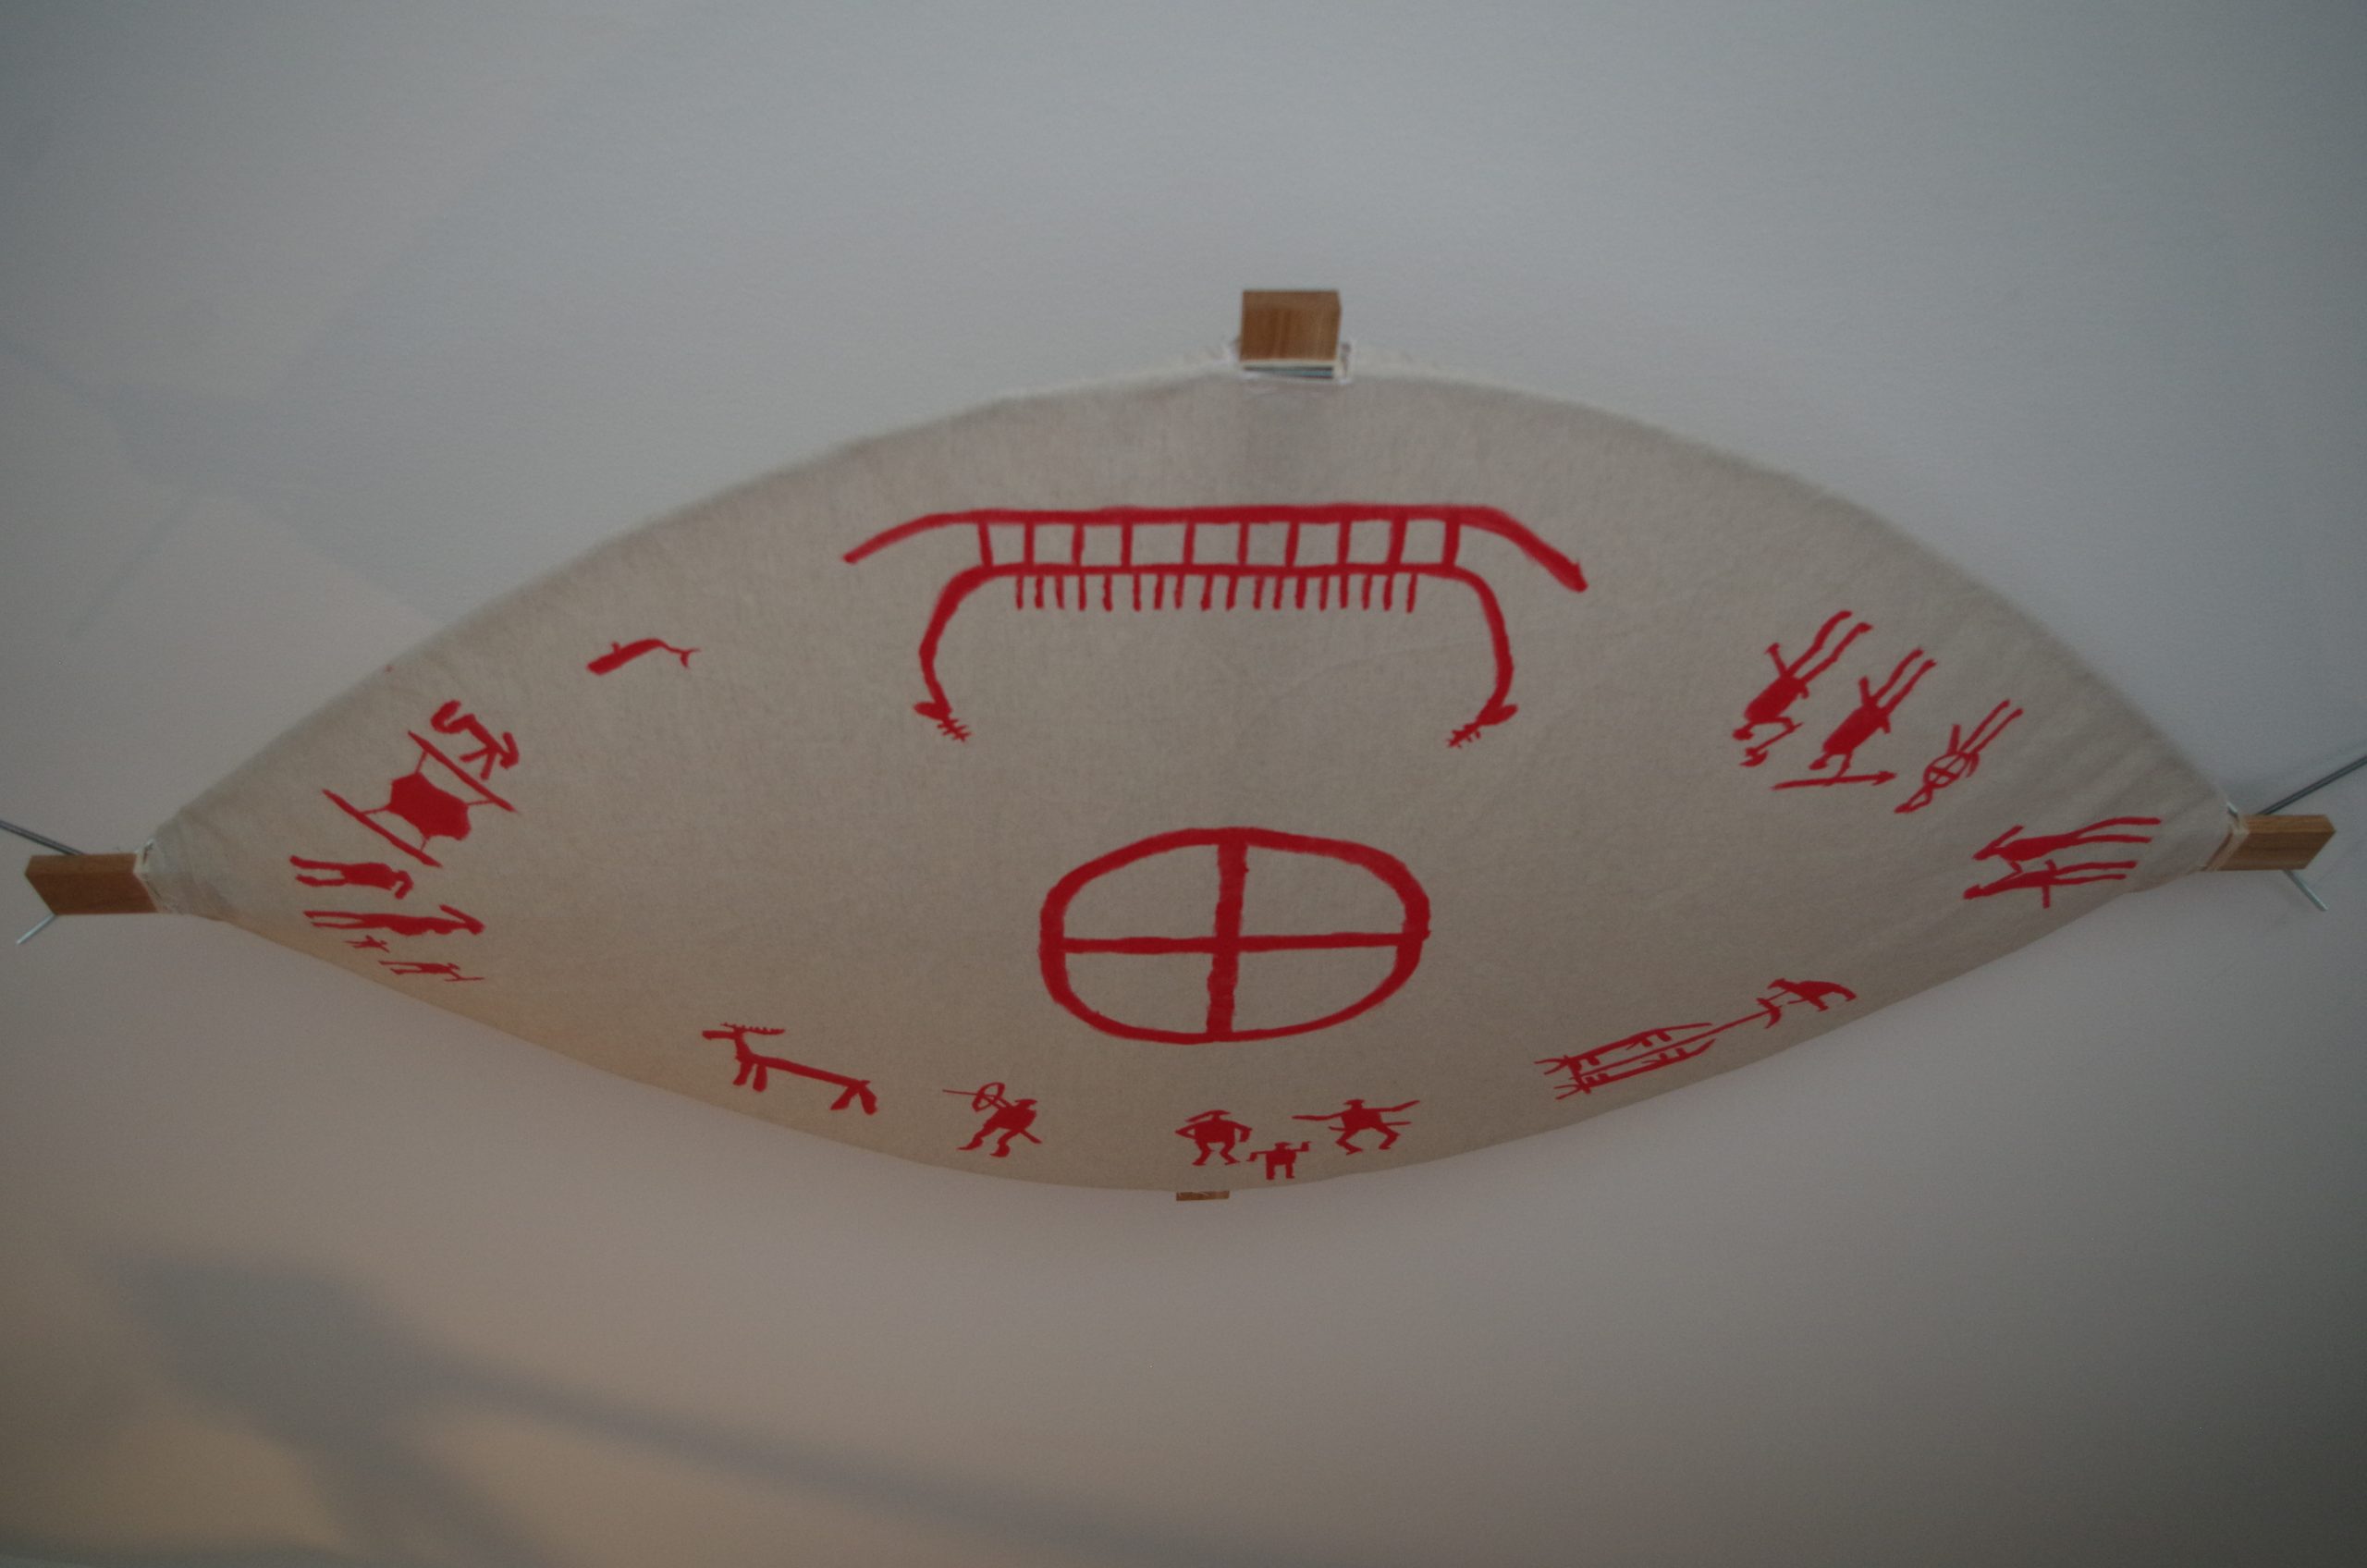
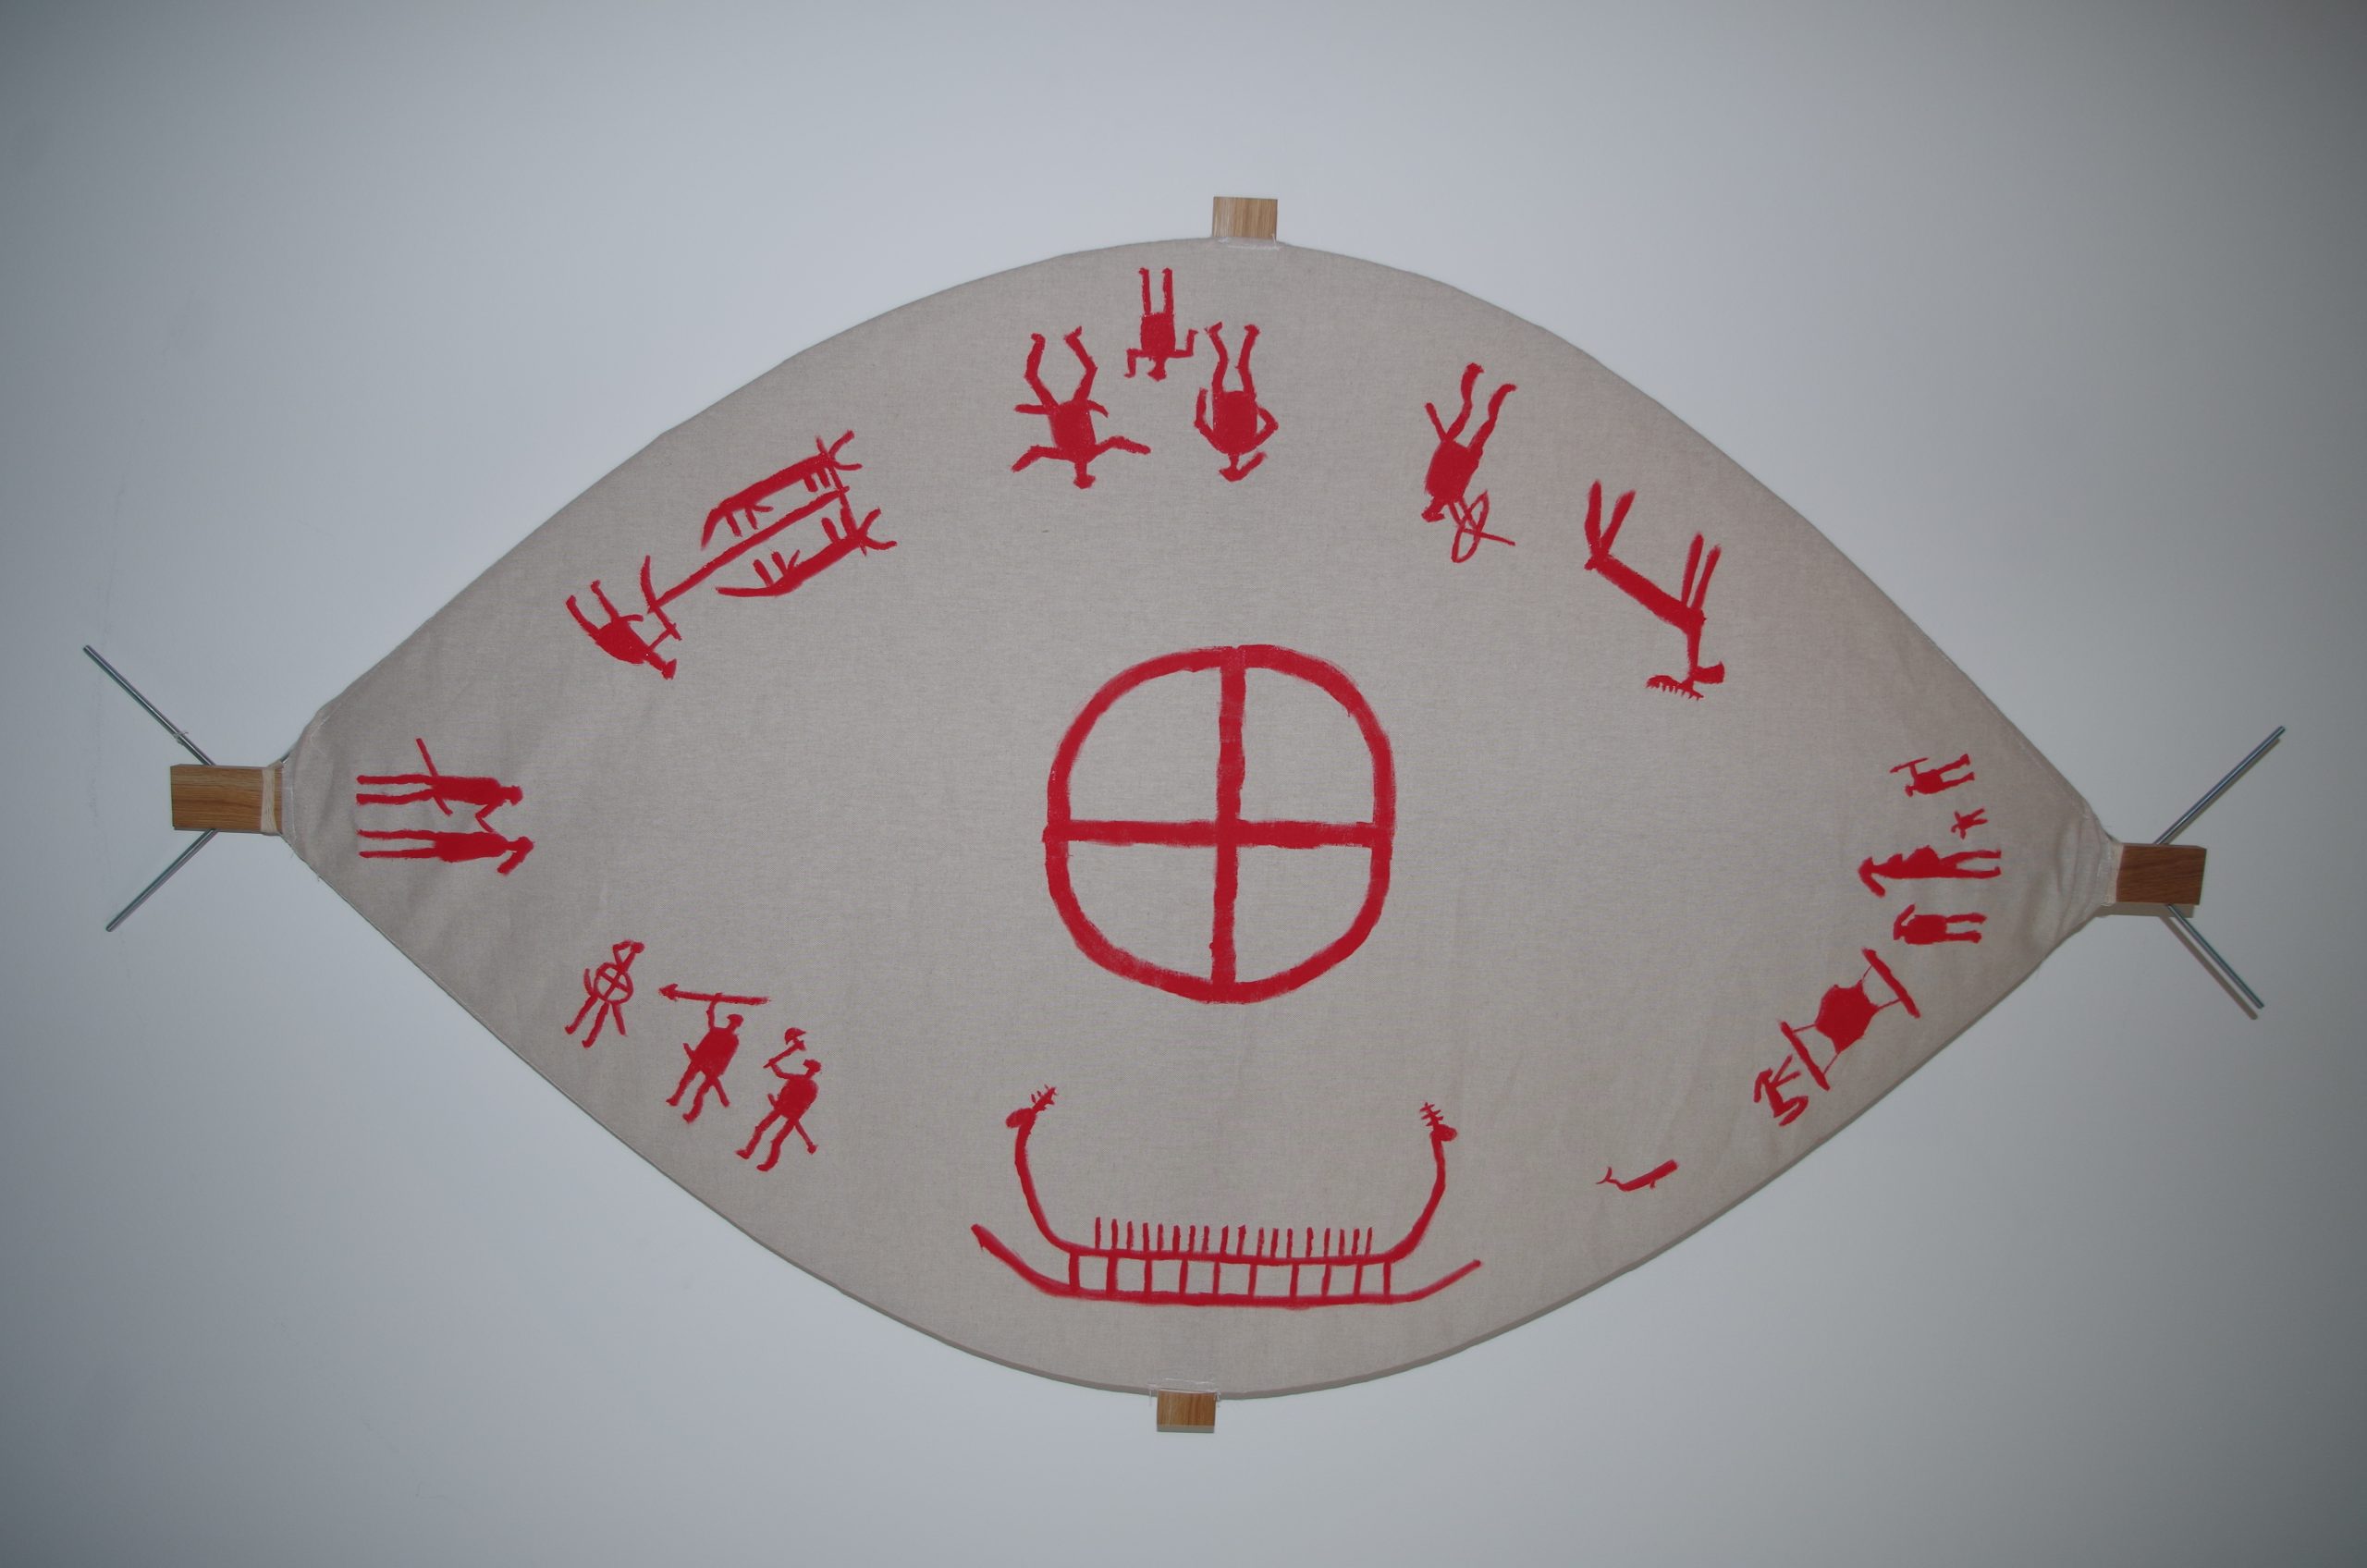
No on the the most fun but also most scary part: painting the decorative motif. I had an idea that I wanted to replicate some of the stone to bronze age rock carvings that frequent the area around where I currently live. The rock carvings are today often filled in with red paint to make them more visible to visitors and I thought that that might be a suitable way to make this big beige slate pop a little. The rock carvings are frequently of boats, raids, the sun symbol or the like, so here’s what I ended up with:
