Or maybe they just weren't documented properly during creation?
Knife sheath modification
When I was attending the World Scout Moot in Canada 2013, the Swedish contingent did a round trip to among other places, New York and Manitoulin Island. I visited some museum on the lower Manhattan where they displaced very ornate Native American glass-pearl embroidered clothes, please enlighten me which museum this might be! We also visited a Pow-Wow on Manitoulin where they wore clothing with similar decoration.
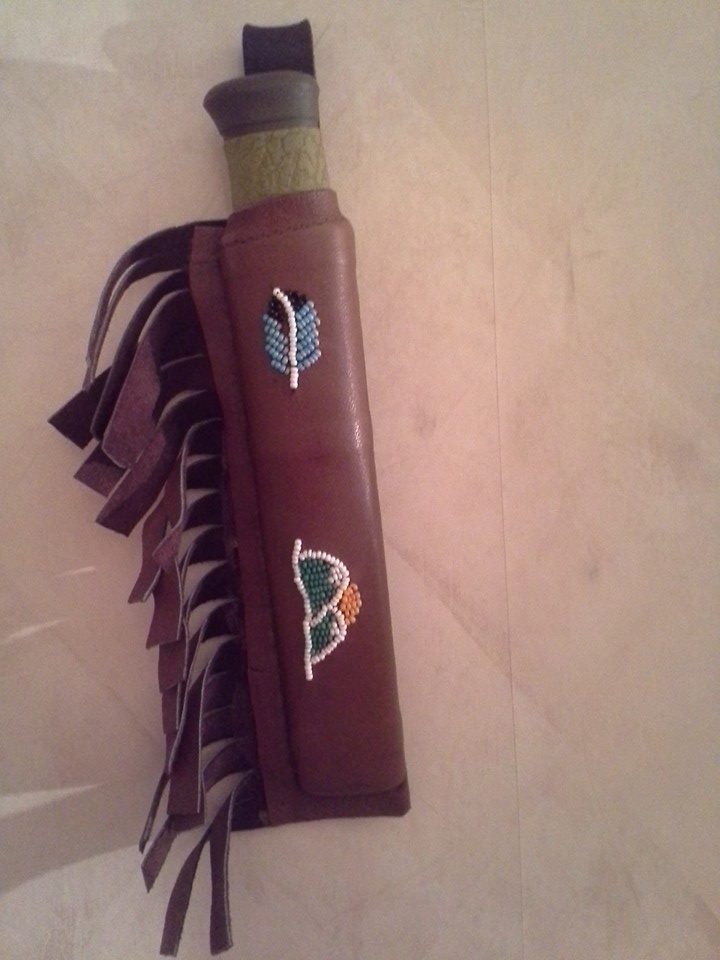
Well, I got inspired. This knife and sheath if an ordinary Mora 2000 model. Quite ordinate, long flat blade, perfect for onion cutting, but not tree felling, plastic sheath. I decided to do something more personal about it. Dug out some old thin leather from my stashes, possibly some old grandma jacket, found some glass-pearls my mother had hidden away and started embroidering the leader.
I then fit the leader to the sheath, cut it out and glued it with contact adhesive, and sewed the leather shut. I left some fringes on the leather because, you know, inspiration.
It has held up nicely except the pearls which breaks if you accidentally sit on the sheath against something hard like a rock, while wearing it.
Paint printing on converse
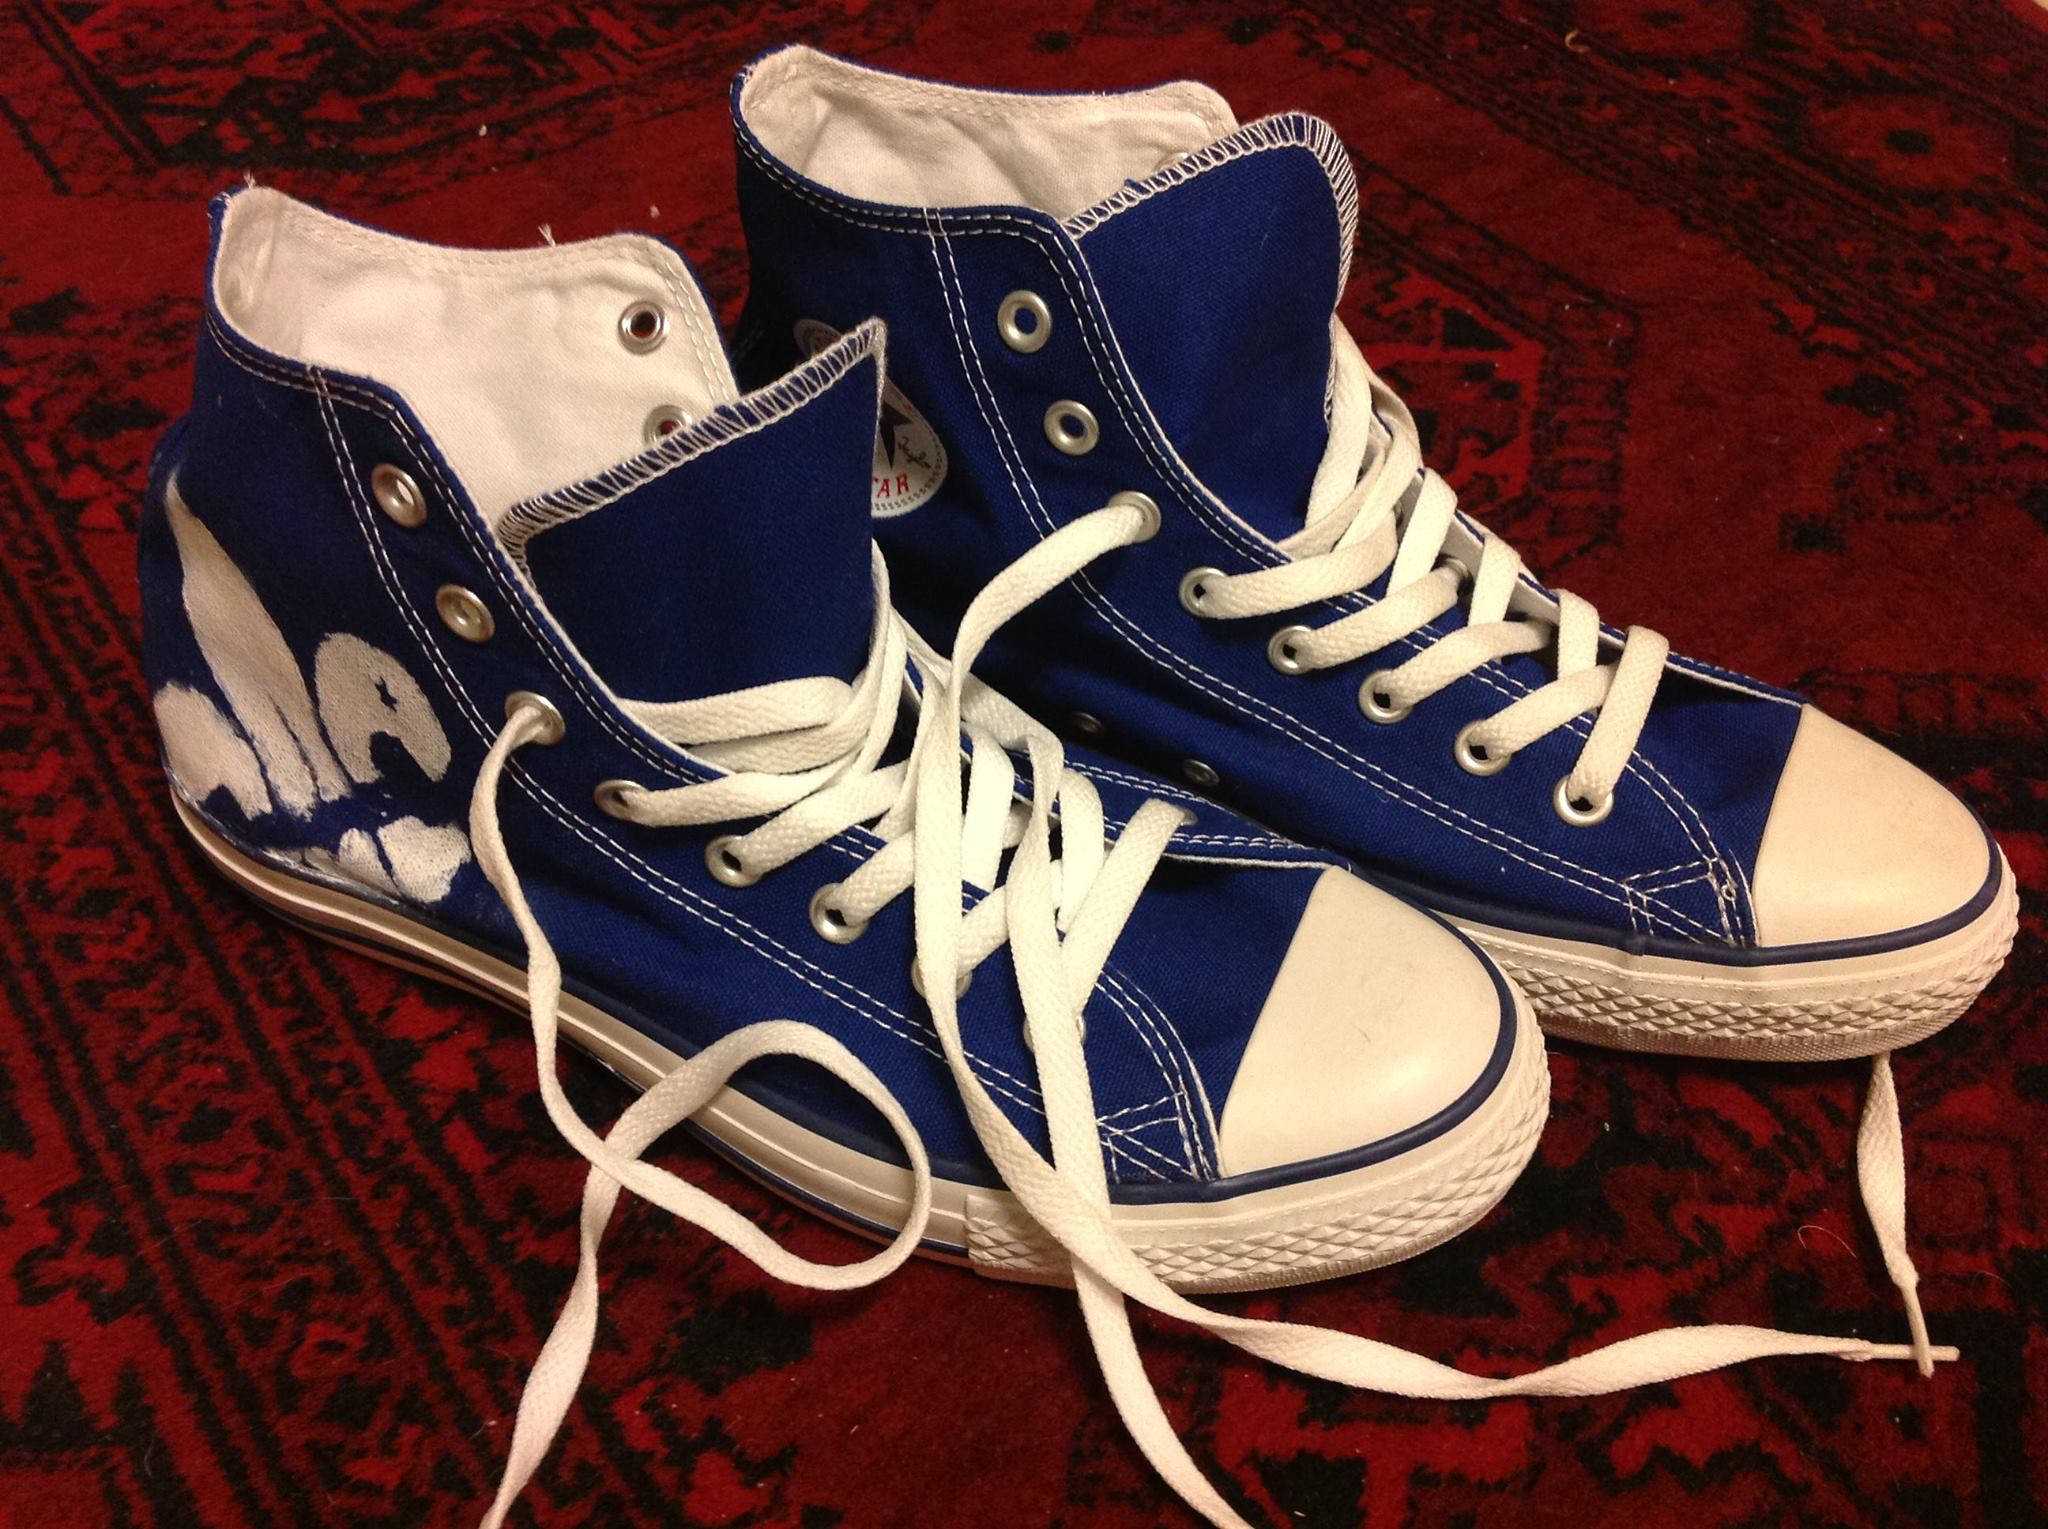
Well, for these converse there is not much to say. I wanted to do some personalisation, so I cut out a stencil from a plastic ice-cream jar lid, used white fabric paint, and painted the scout lily on them.
Shoe rack
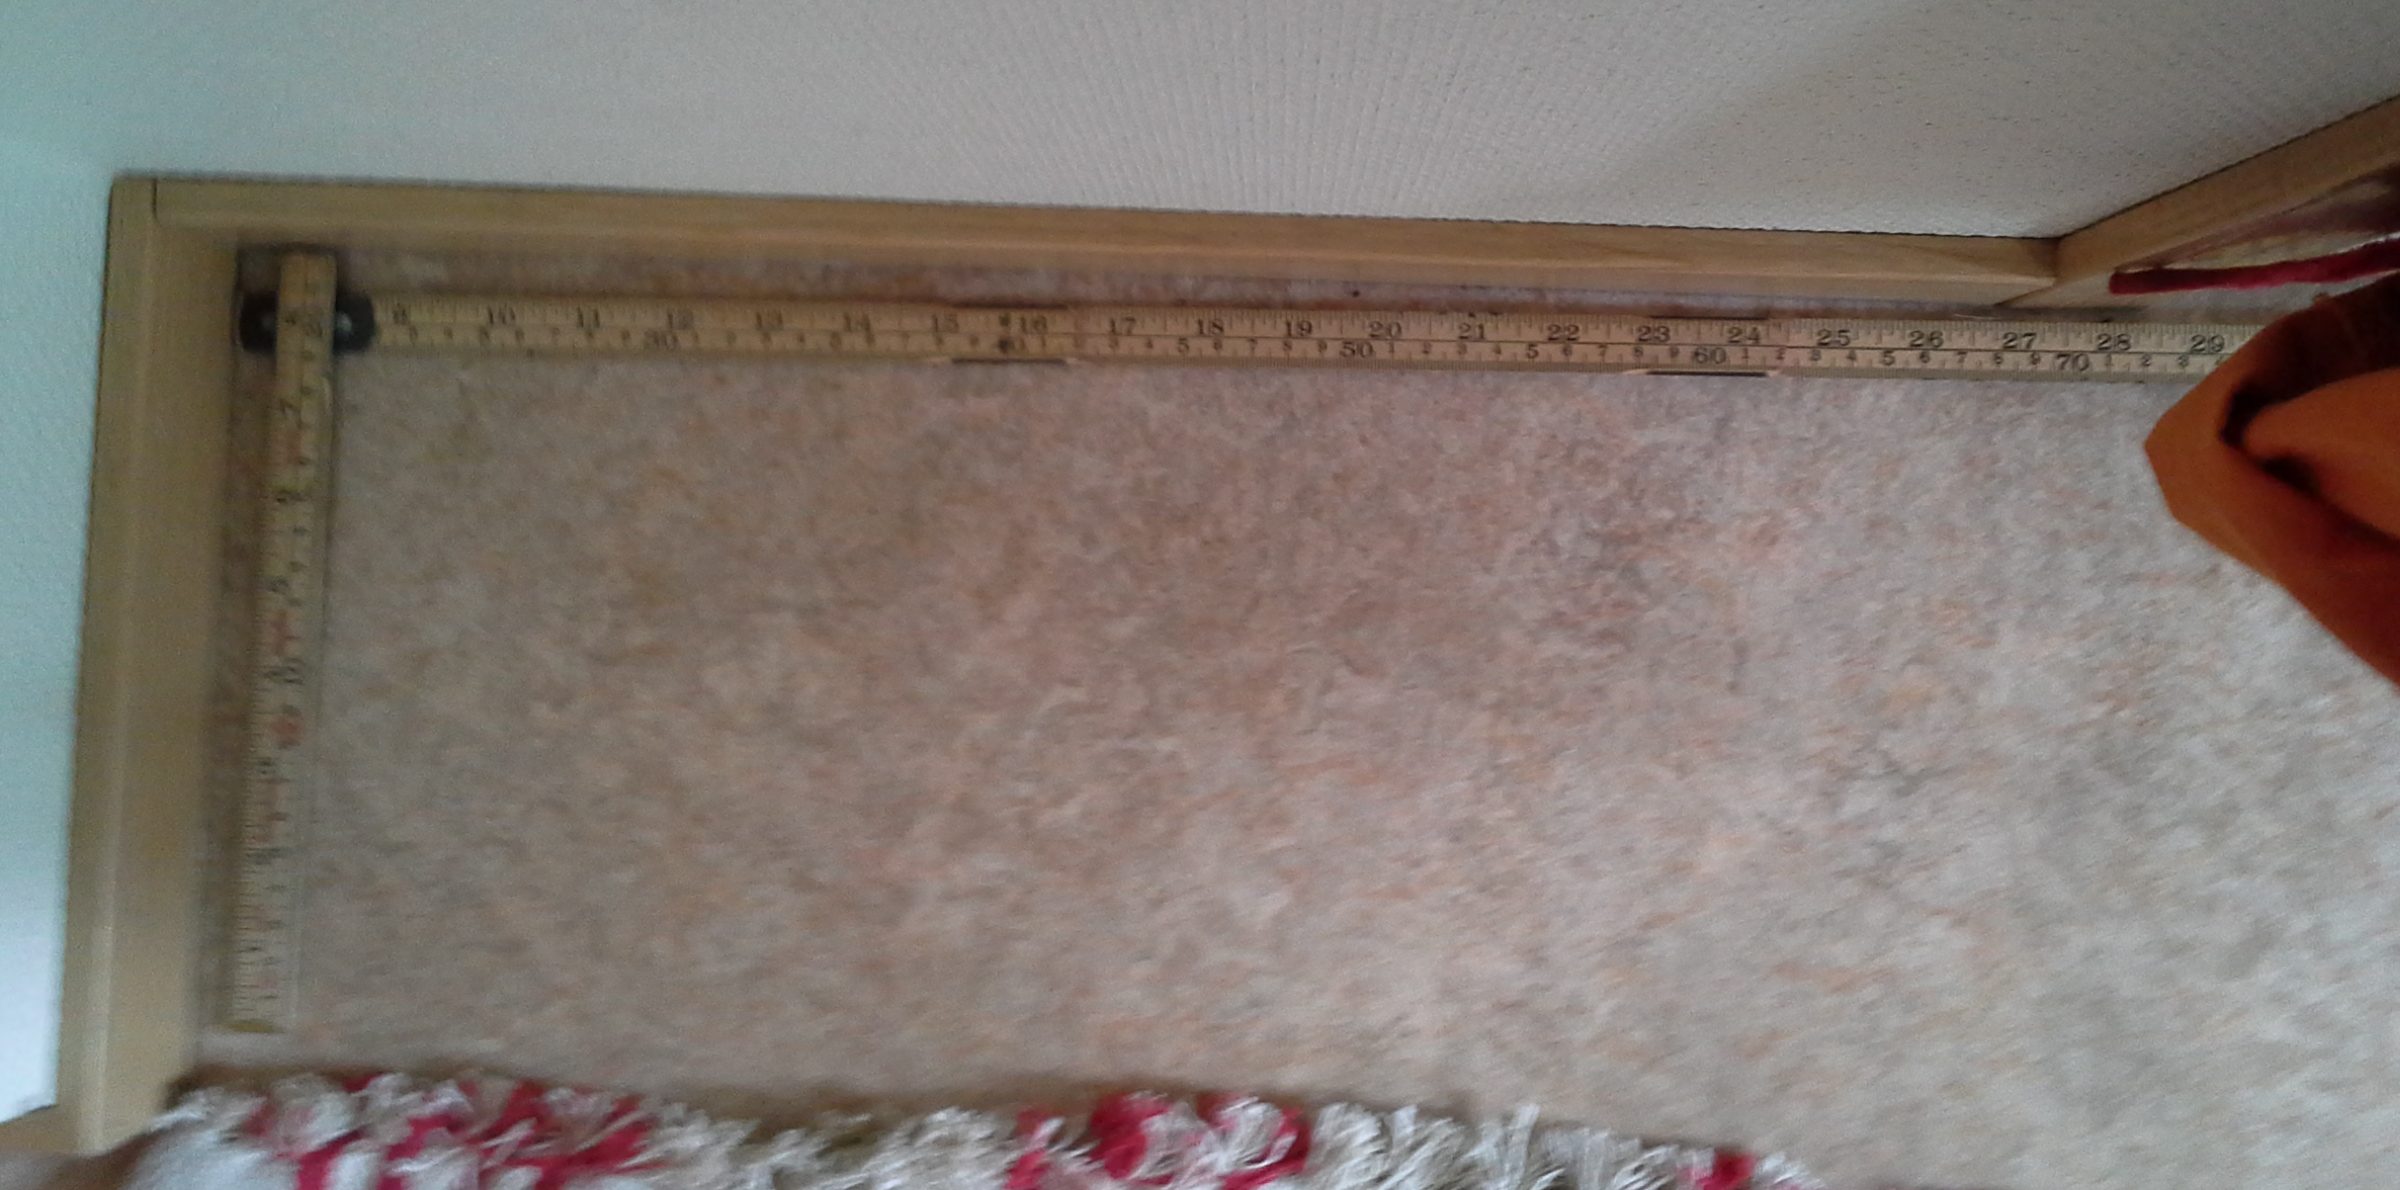
I In my student apartment in Lund (24m2) There wasn’t very much room for a somewhere to put the shoes. The obvious place was quite small, smaller than all the commercially available ones anyone, about 20 by 65 cm floor space.
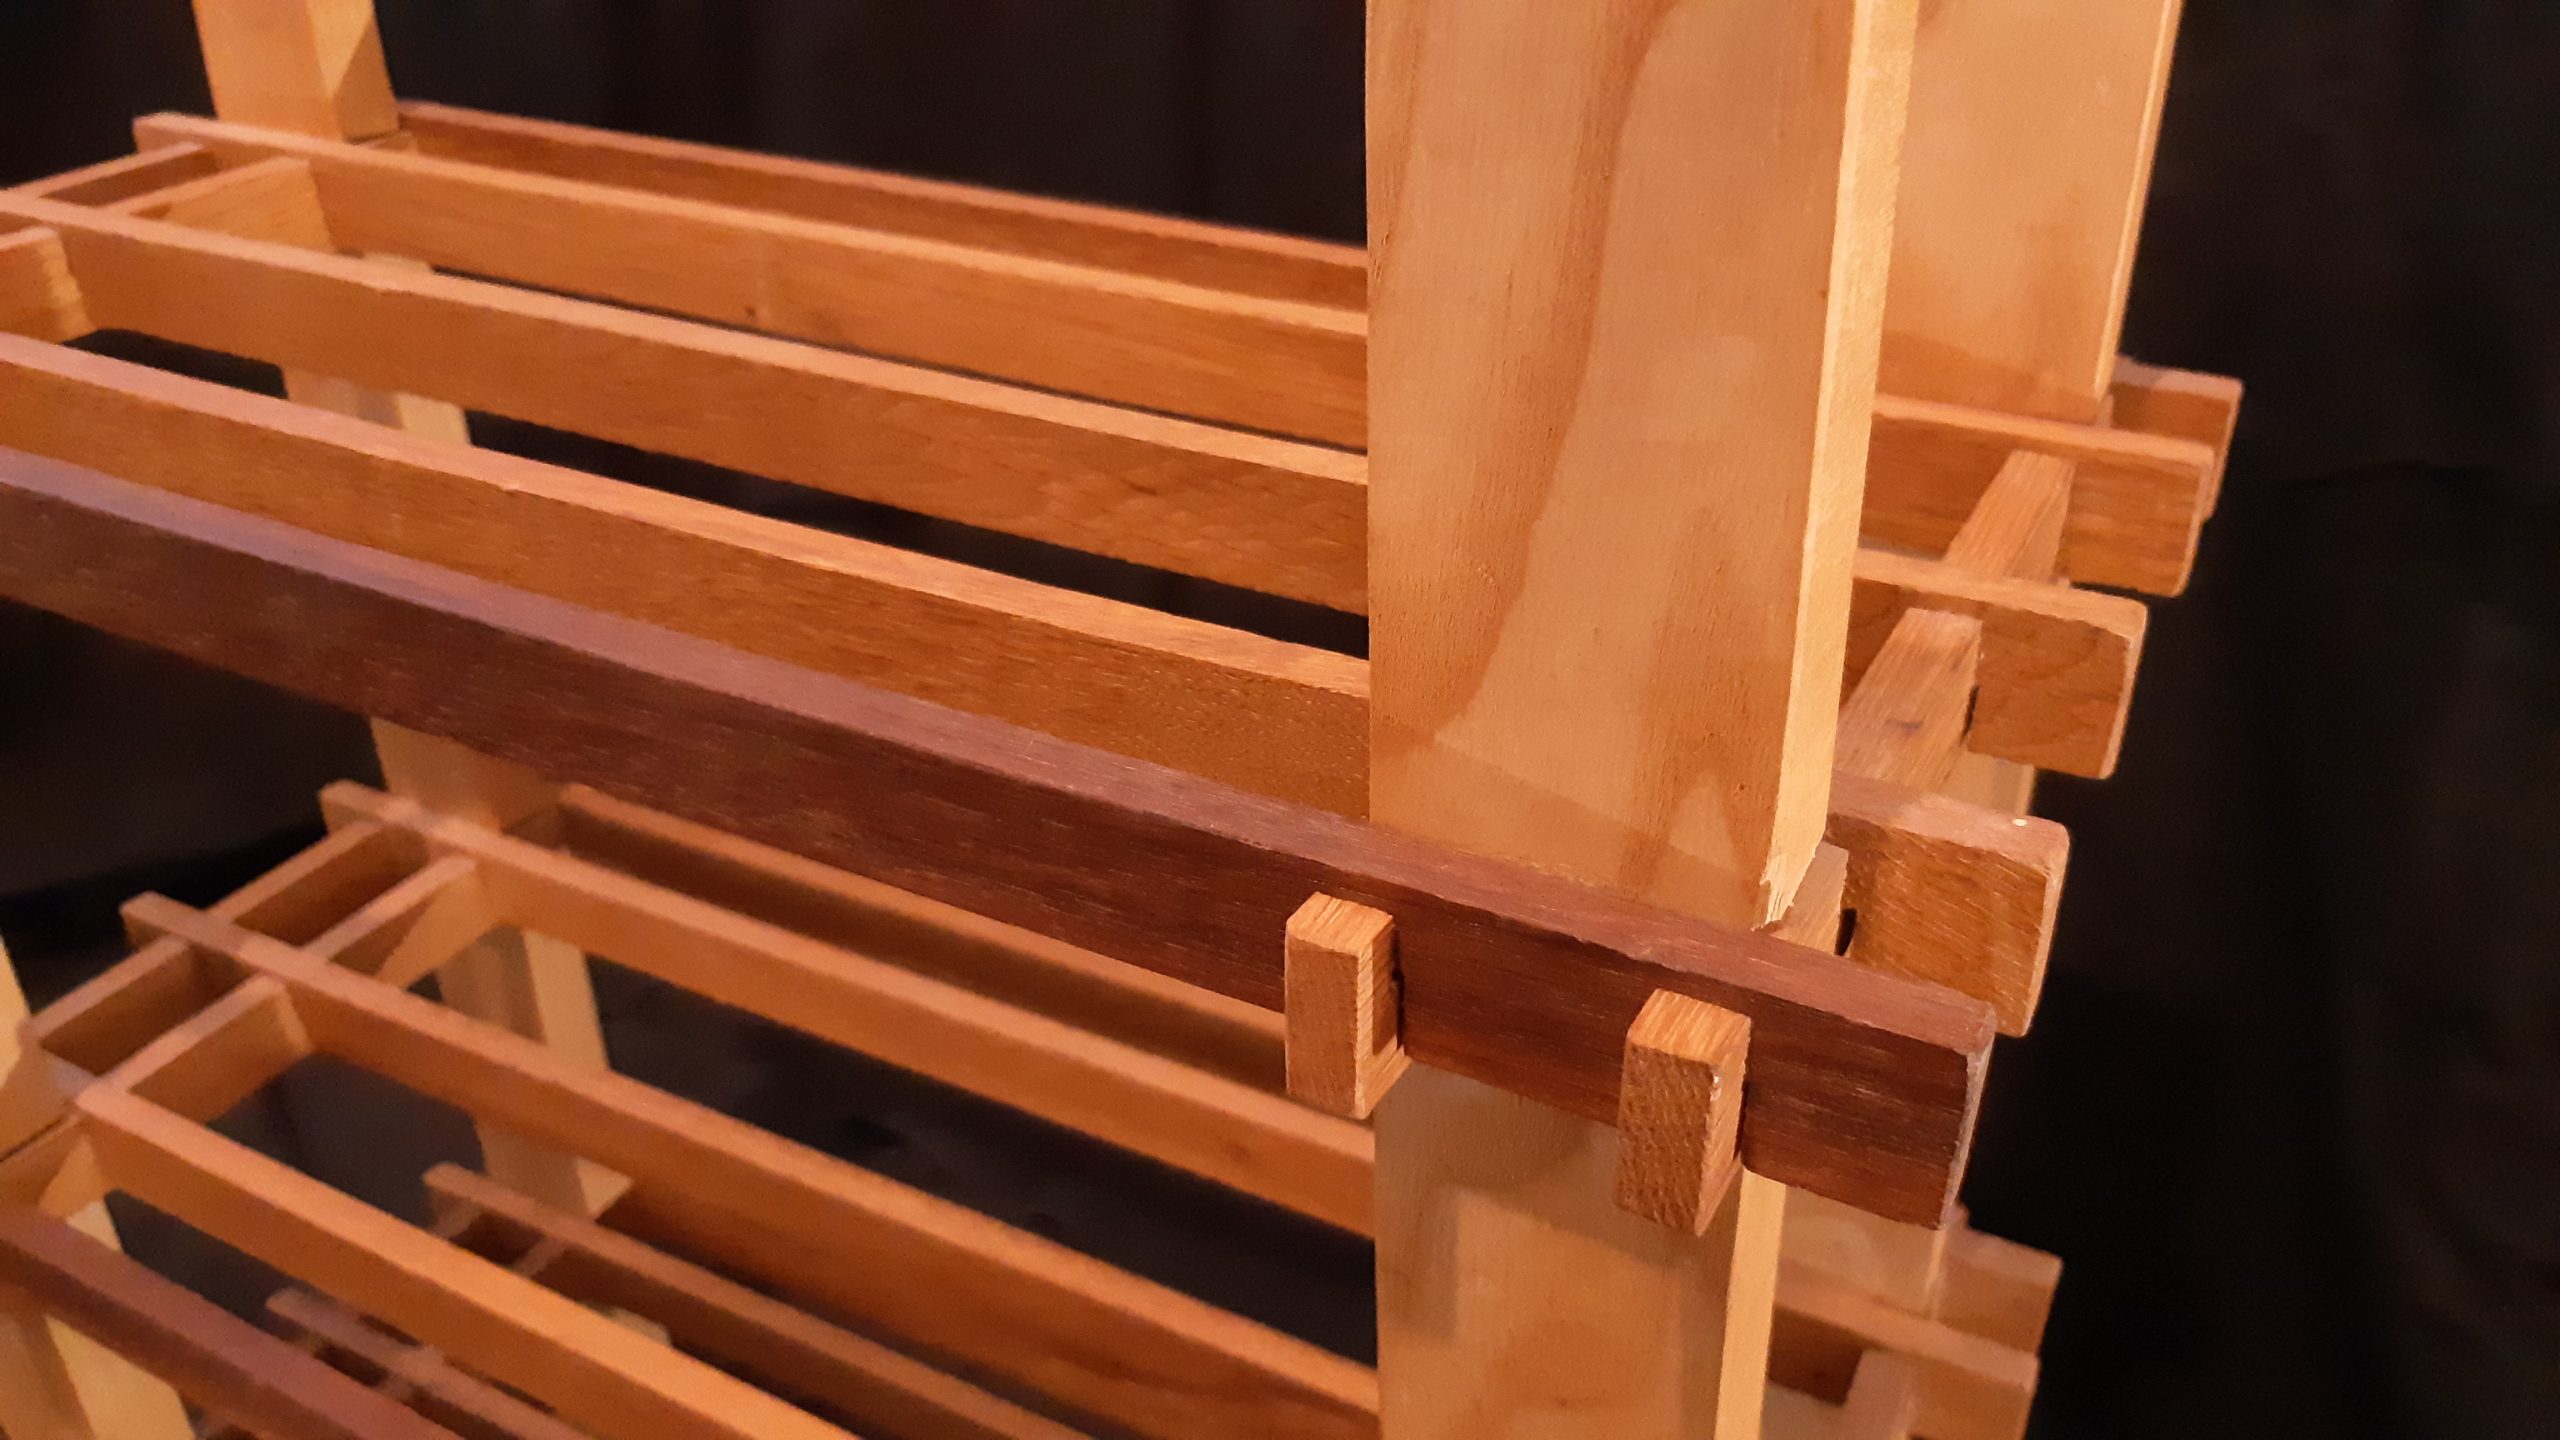
I therefore decided to build my own. Me brother has some left-over ash from his projects and we have collected quite a few oak sticks used for spacing wood at a warehouse where I and him had worked. I joined everything with simple cross-lap joints and glue.

The joints could be prettier but I still use the rack to this day, so I think it is fine. I definitively like my decision to use darker oak sticks in the front.
Kilt making
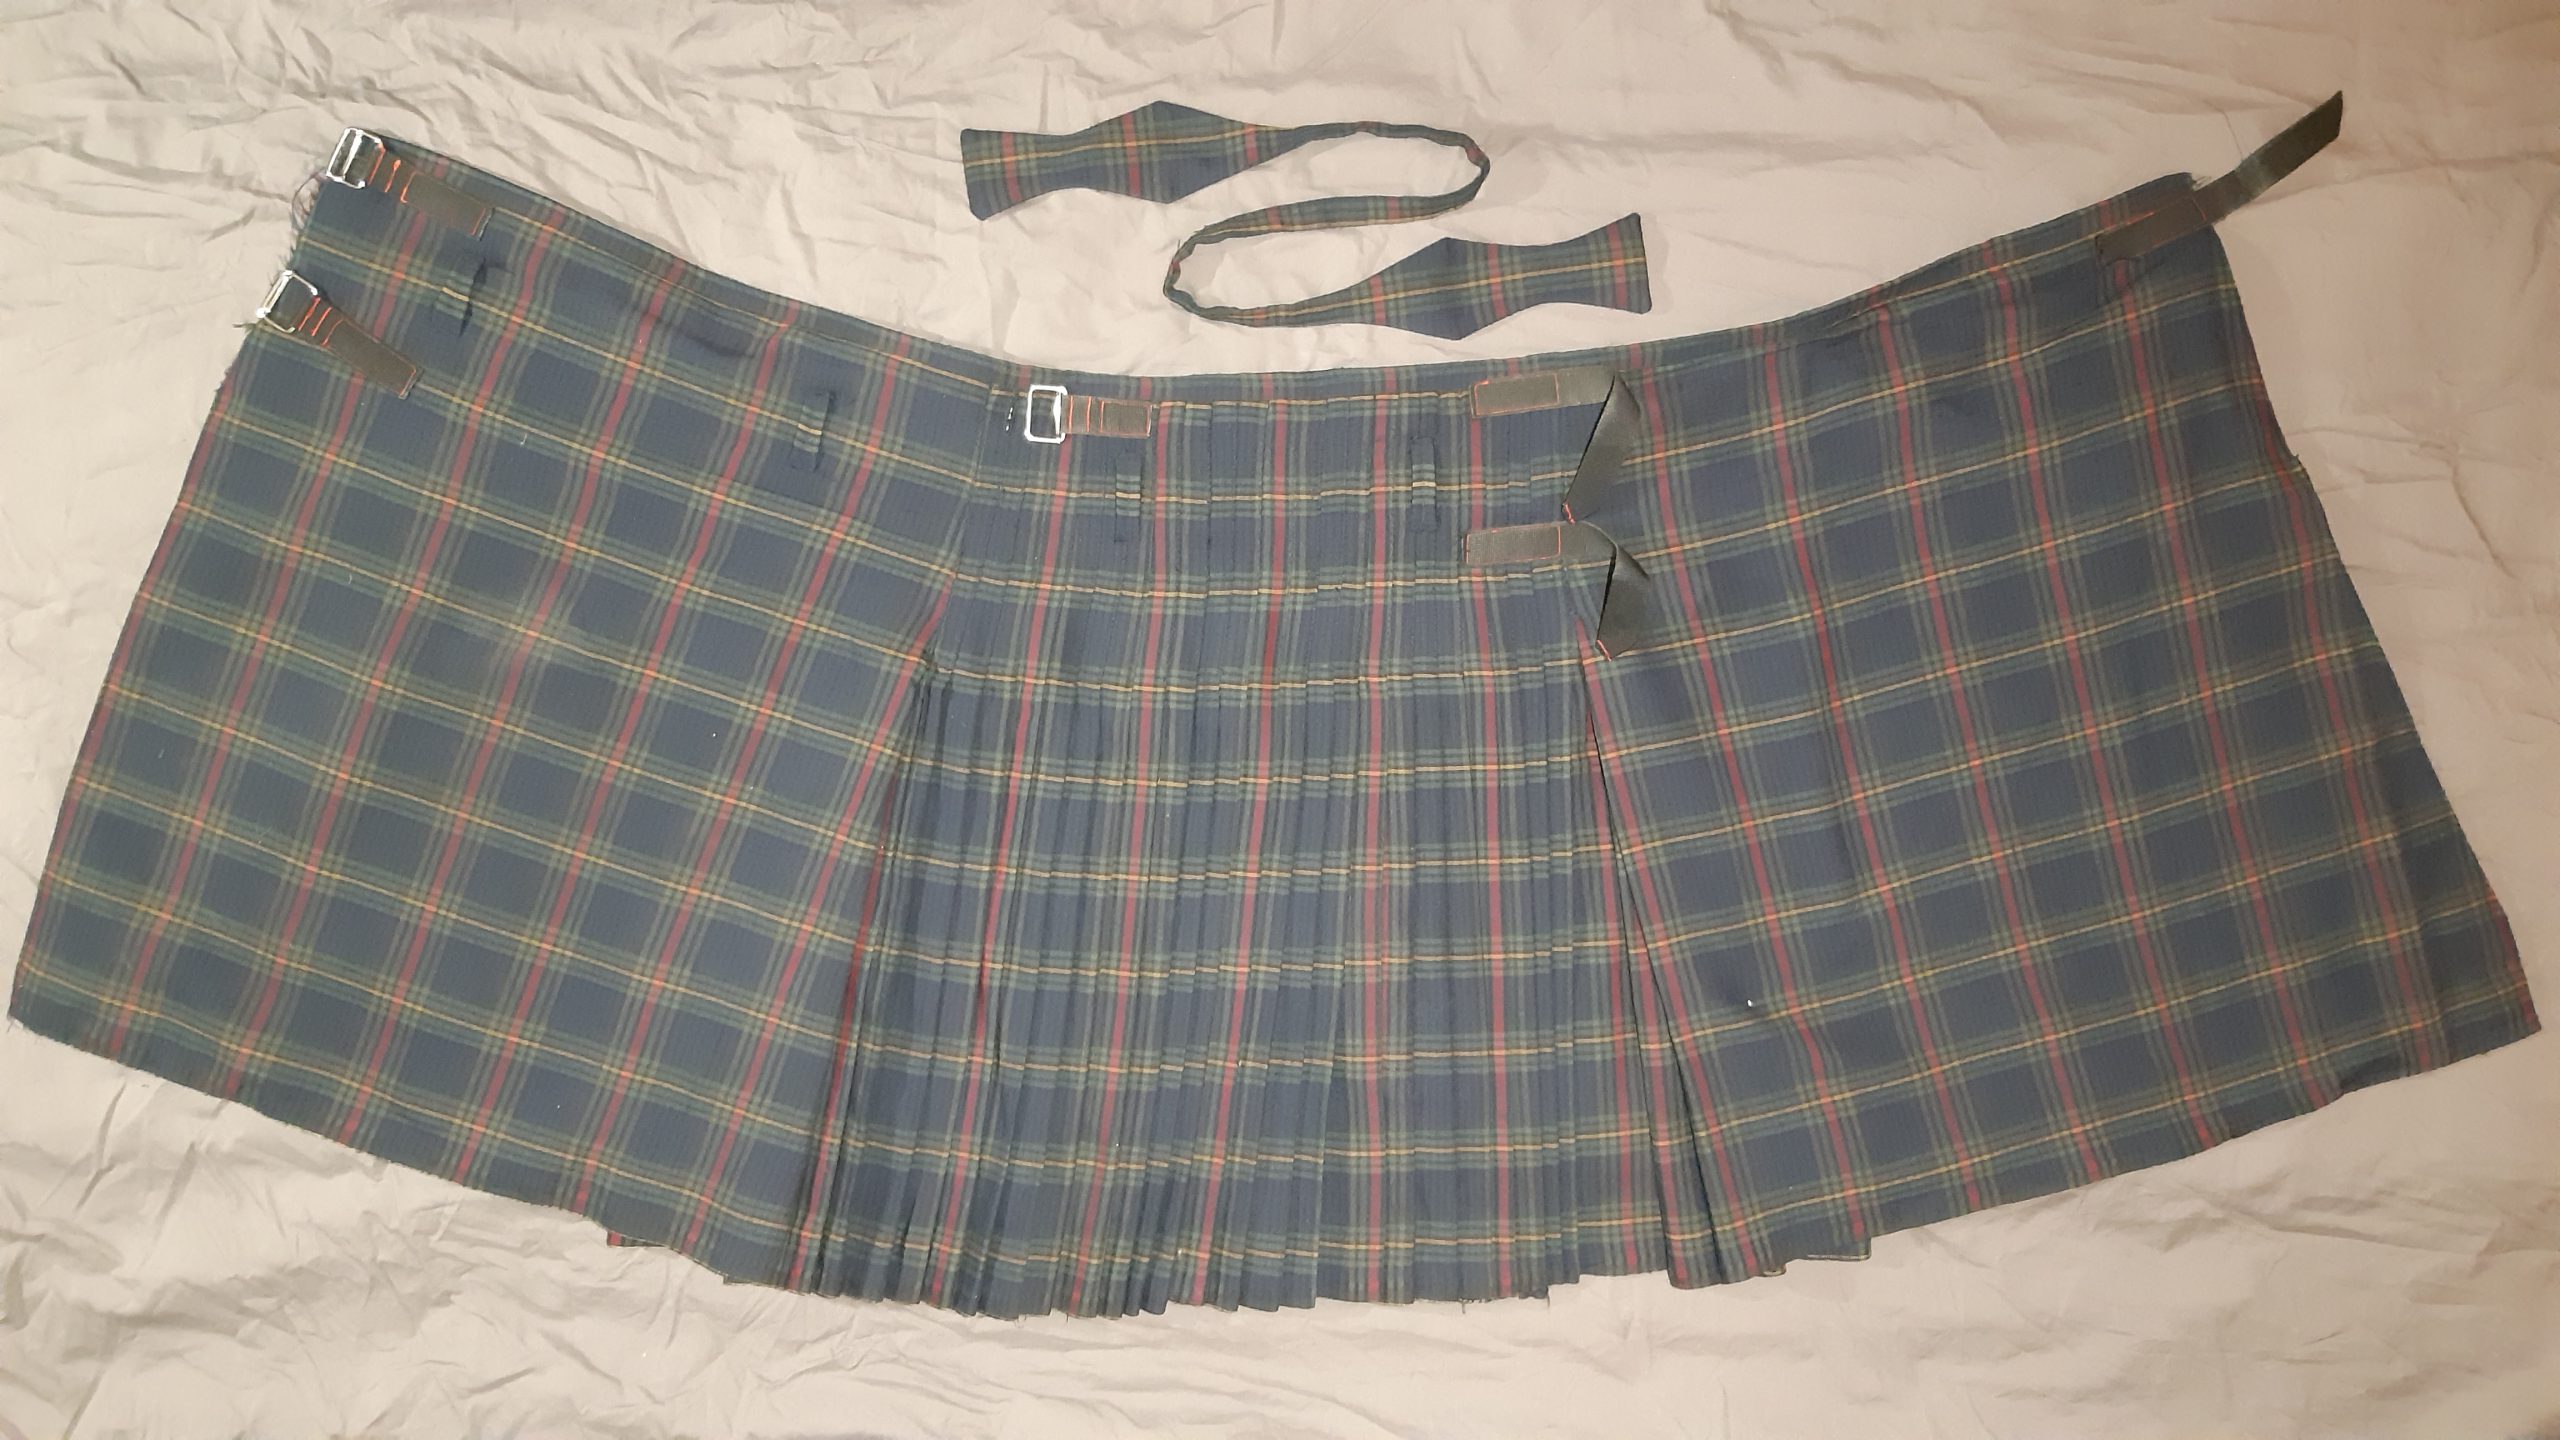
Don’t you also just hate wearing tight, uncomfortable jeans all day every day? Well i got tired of it and started thinking. I ended up with the idea that a kilt might be nice, at least when home and I want to be cosy, so when home over christmas I asked my mum if she had some leftover fabric and she gave my some green linen that I then proceeded to make a prototype out of. The pleated linen quite quickly becomes ugly so I rarely use it except in very hot sumer days where converse and a “skirt” is kind of socially acceptable boys, at least it it resembles a kilt.
But I wanted to do something more, something better so I shopped around on the internet for woolen fabrics, but when you need 4 meters of full-width it gets quite expensive, that’s why real kilts costs what they do, excluding the sewing that goes into them. Towards easter I found some polyester-wool mix on reduced price and went for it. I also bought the definitive guide on sewing kilts: The Art of Kiltmaking by Barbara Tewsbury and Elsie Stuehmeyer. It didn’t show up on time for my project though but actually a day after I had completed it, so I never got around to read it, which in hindsight might have yielded a better result, who knows?
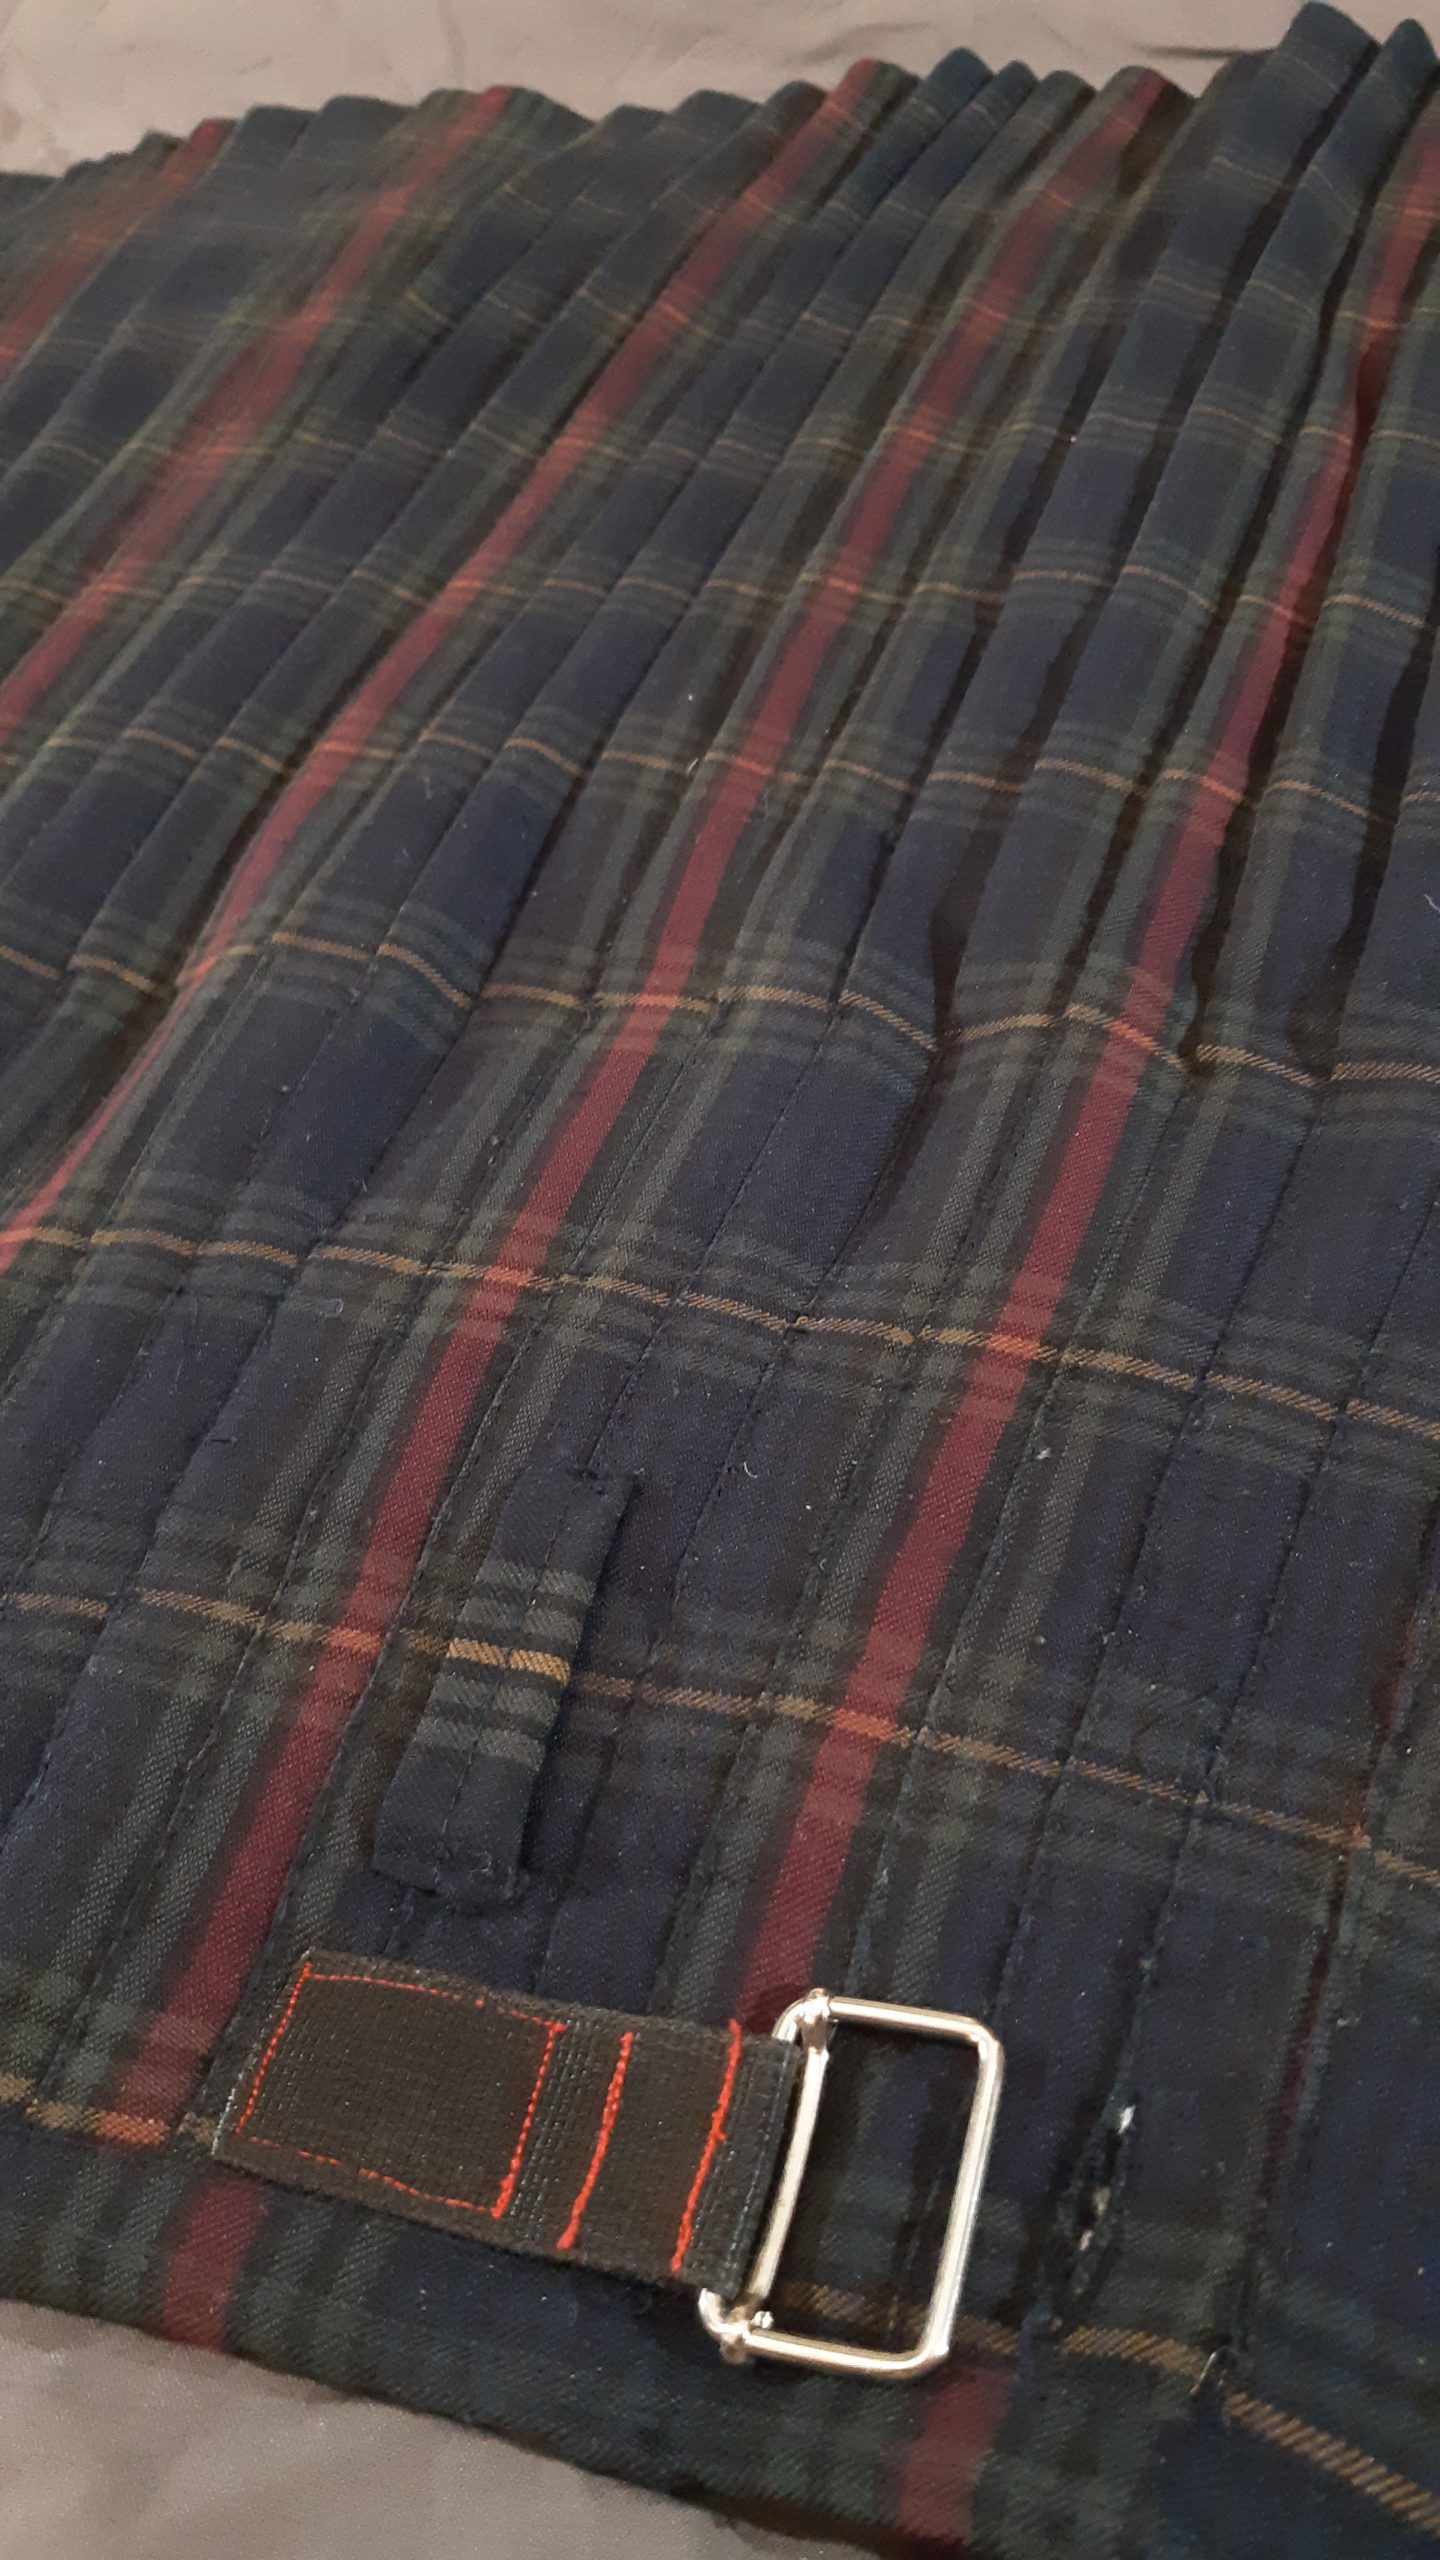
I did however watch a lot of youtube videos on how to sew and googled how to measure etc. The straps I harvested from some old rucksack that was worn out and the buckles I had to buy. The thing that actually took the longest was the pleating, I had to redo it a couple of times before I got it right. The classic way to pleat is to get the pattern of the fabric to continue undisturbed around the kilt, and this is the hard part: To get the pattern to become undisturbed but also the measurements to be correct.
When pleated one has to bast the pleats down to keep everything in place during sewing. I also bought and used a ton of safety-pins to be able to rearrange the pleats slightly towards the top. The top of the kilt has to taper towards the waist from the bum since the former is smaller than the latter. I didn’t have the patience to hand-sew the pleats so I did it on a machine, which went a lot quicker than If I had sewn it by hand, and the result is good enough.
I lined the top with some loosely woven “canvas” and then covered that with the outer fabric. I also sew a small pocket in the front apron of the kilt to hold keys and some small coins and the like. To finish it of and to be able to use it at student parties together with a suit jacket I also made a bow-tie of the same fabric.
Outdoors Anorak
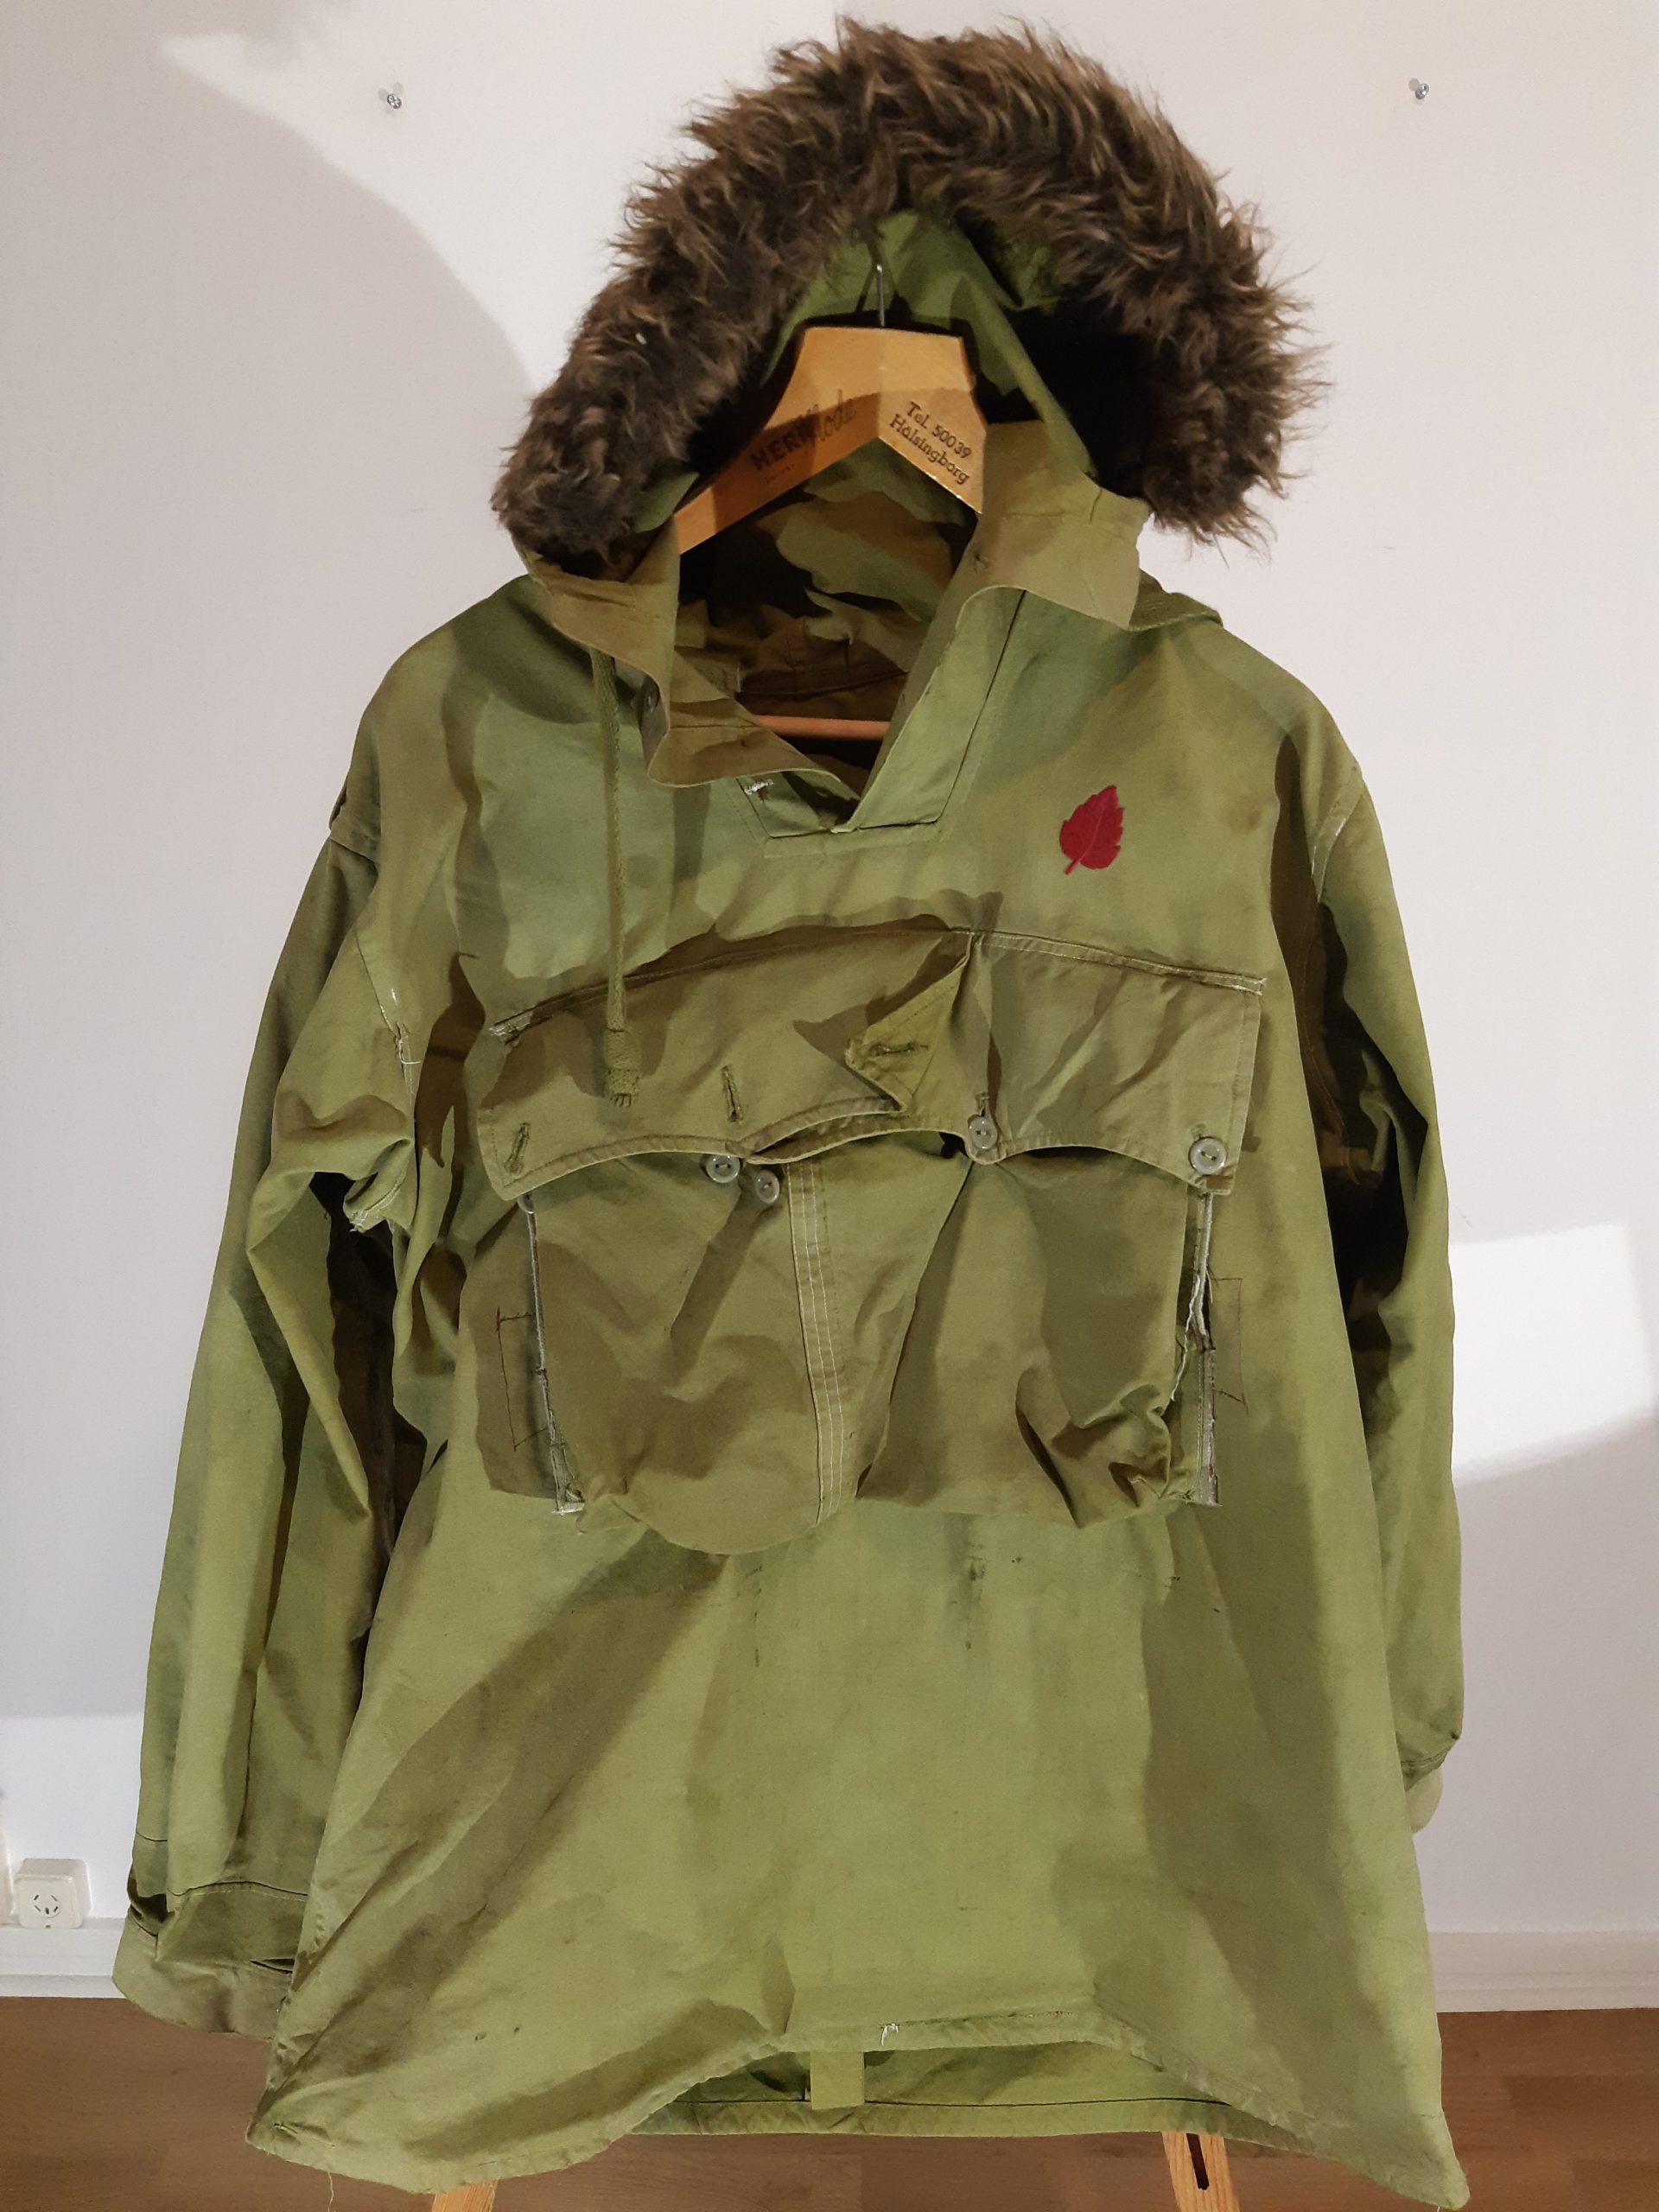
As opposed to an indoor one, no? Anyway, I wanted an outdoors jacket to use when scouting so all modern plastics went right out the window, open fires and plastics means 3rd degree burns. I found some old surplus swedish army snow camouflage on the internet. The ones I found were all made around the second world war and are made from very tight woven cotton kind of like Ventile, so it should be kind of water resistant especially if waxed.
When wet the cotton fibres swell up, and if you have a very tight woven fabric, the swelling therefore make the fabric become stiff and seals up the fabric. This is why cotton is also used to make the spacings between planks in wooden boats water-tight.
Anyway, the anorak cost about 130 SEK, I then moved the two pockets into one big, bought some fabric wash-in colour and made it green. To finish it of I added the red leaf patch.
After some years I also managed to get hold of the fake fur hood-rim from some old run-of-the-mill winter coat and sewed that on there. All in all it has served me very well, but the old cotton thread seams from 1941 or thereabouts have given up and i have replaced it with a much more expensive piece of clothing.
I did make a plum-purple city sibling to it as well, with a white hand of Sauruman on the back that almost fell to pieces before being replaced the the ETA-Proof city jacket.
City jacket
When it was high time to retire my old cool city anorak I though it was going to be cheaper to make my own jacket, and I also wanted to create something. I wanted to make a civilian kind of shell-jacket that was water-resistance, i.e. a kind of outdoor jacket with more of a city feel to it. It is often windy and rains where I live.
I decided that I wanted some sort of fabric that resembles what I was already familiar with: the Fjällräven G1000 cotton/polyester mix. It is enough water repellant for city use (and outdoors depending on the use) and feels like a normal fabric, no pure plastics here – that was too much of an unexplored territory for me. In the end I found ETA-proof that works in much the same way, and ordered it from some german site. I ordered some 2nd sort due to cheaper price but have come to regret it due to the amount of colour that has disappeared with use and laundry.
I tried making my own pattern for a jacket but quickly abandoned that idea when I was made aware that I hade yet another jacket ready for retirement. I slaughtered this jacket so that I could get a basic pattern, but decided to move the joining of the back and front pieces to the chest, taking inspiration from the Arc’teryx brand. I did this in an attempt to create a more weather resistant build. I also added another layer of fabric on the upper back all over to the chest seem to improve water resistance. It is actually this extra layer that shows on the front.
So now it was only a matter of sewing everything together.
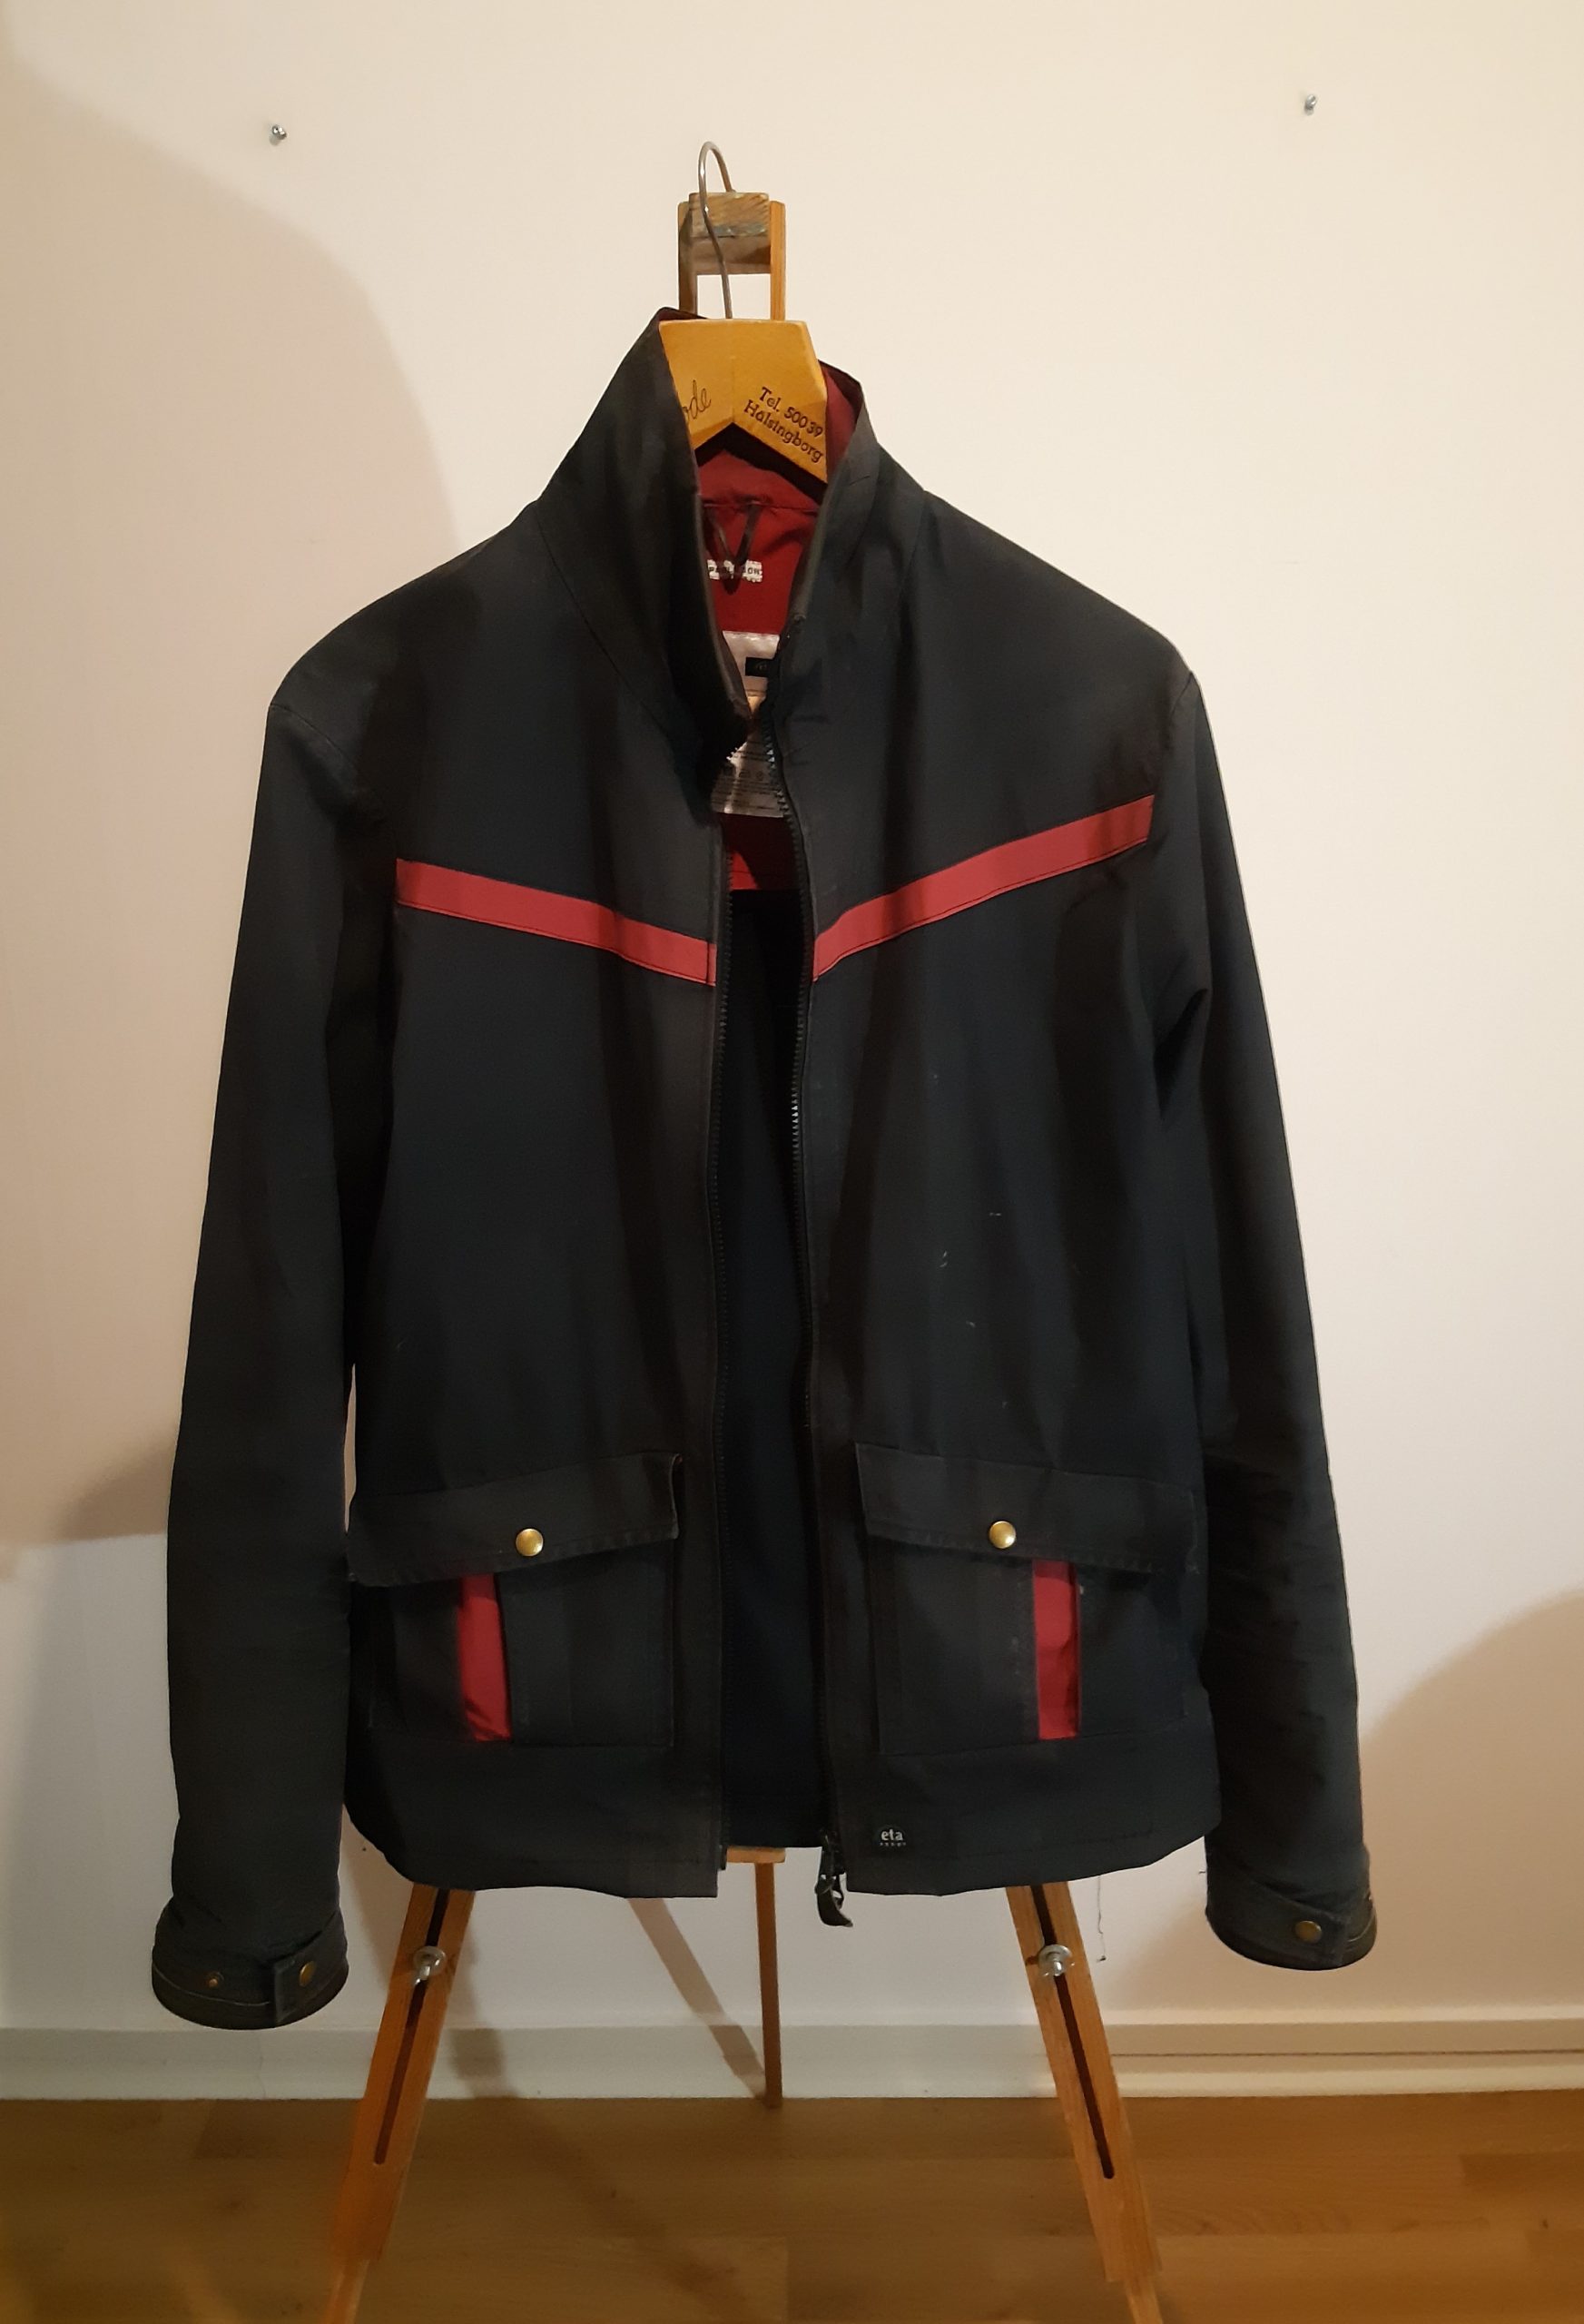
The sleeves I actually lengthened compared to the pattern jacket by about 4-5 cm which allows the hand to be partially covered by the sleave, which is very nice in colder weather, I also widened the last part a bit so that the sleeves might more easily go over gloves or mittens.

To finish it all of a took some black coloured leather and finished the sleeves and the collar, so that they would not wear out as quickly and be more comfortable. I can only say that it has worked very well. It is a shame that I didn’t have enough for the whole collar but only the front part. I also used this leather for the hanging loop in the neck.
The fabric actually nicely enough delivered with washing instructions patches which I used, so the jacket kind of looks bought if you don’t look to closely on the seems.
Elk horn entrance ditty-shelf
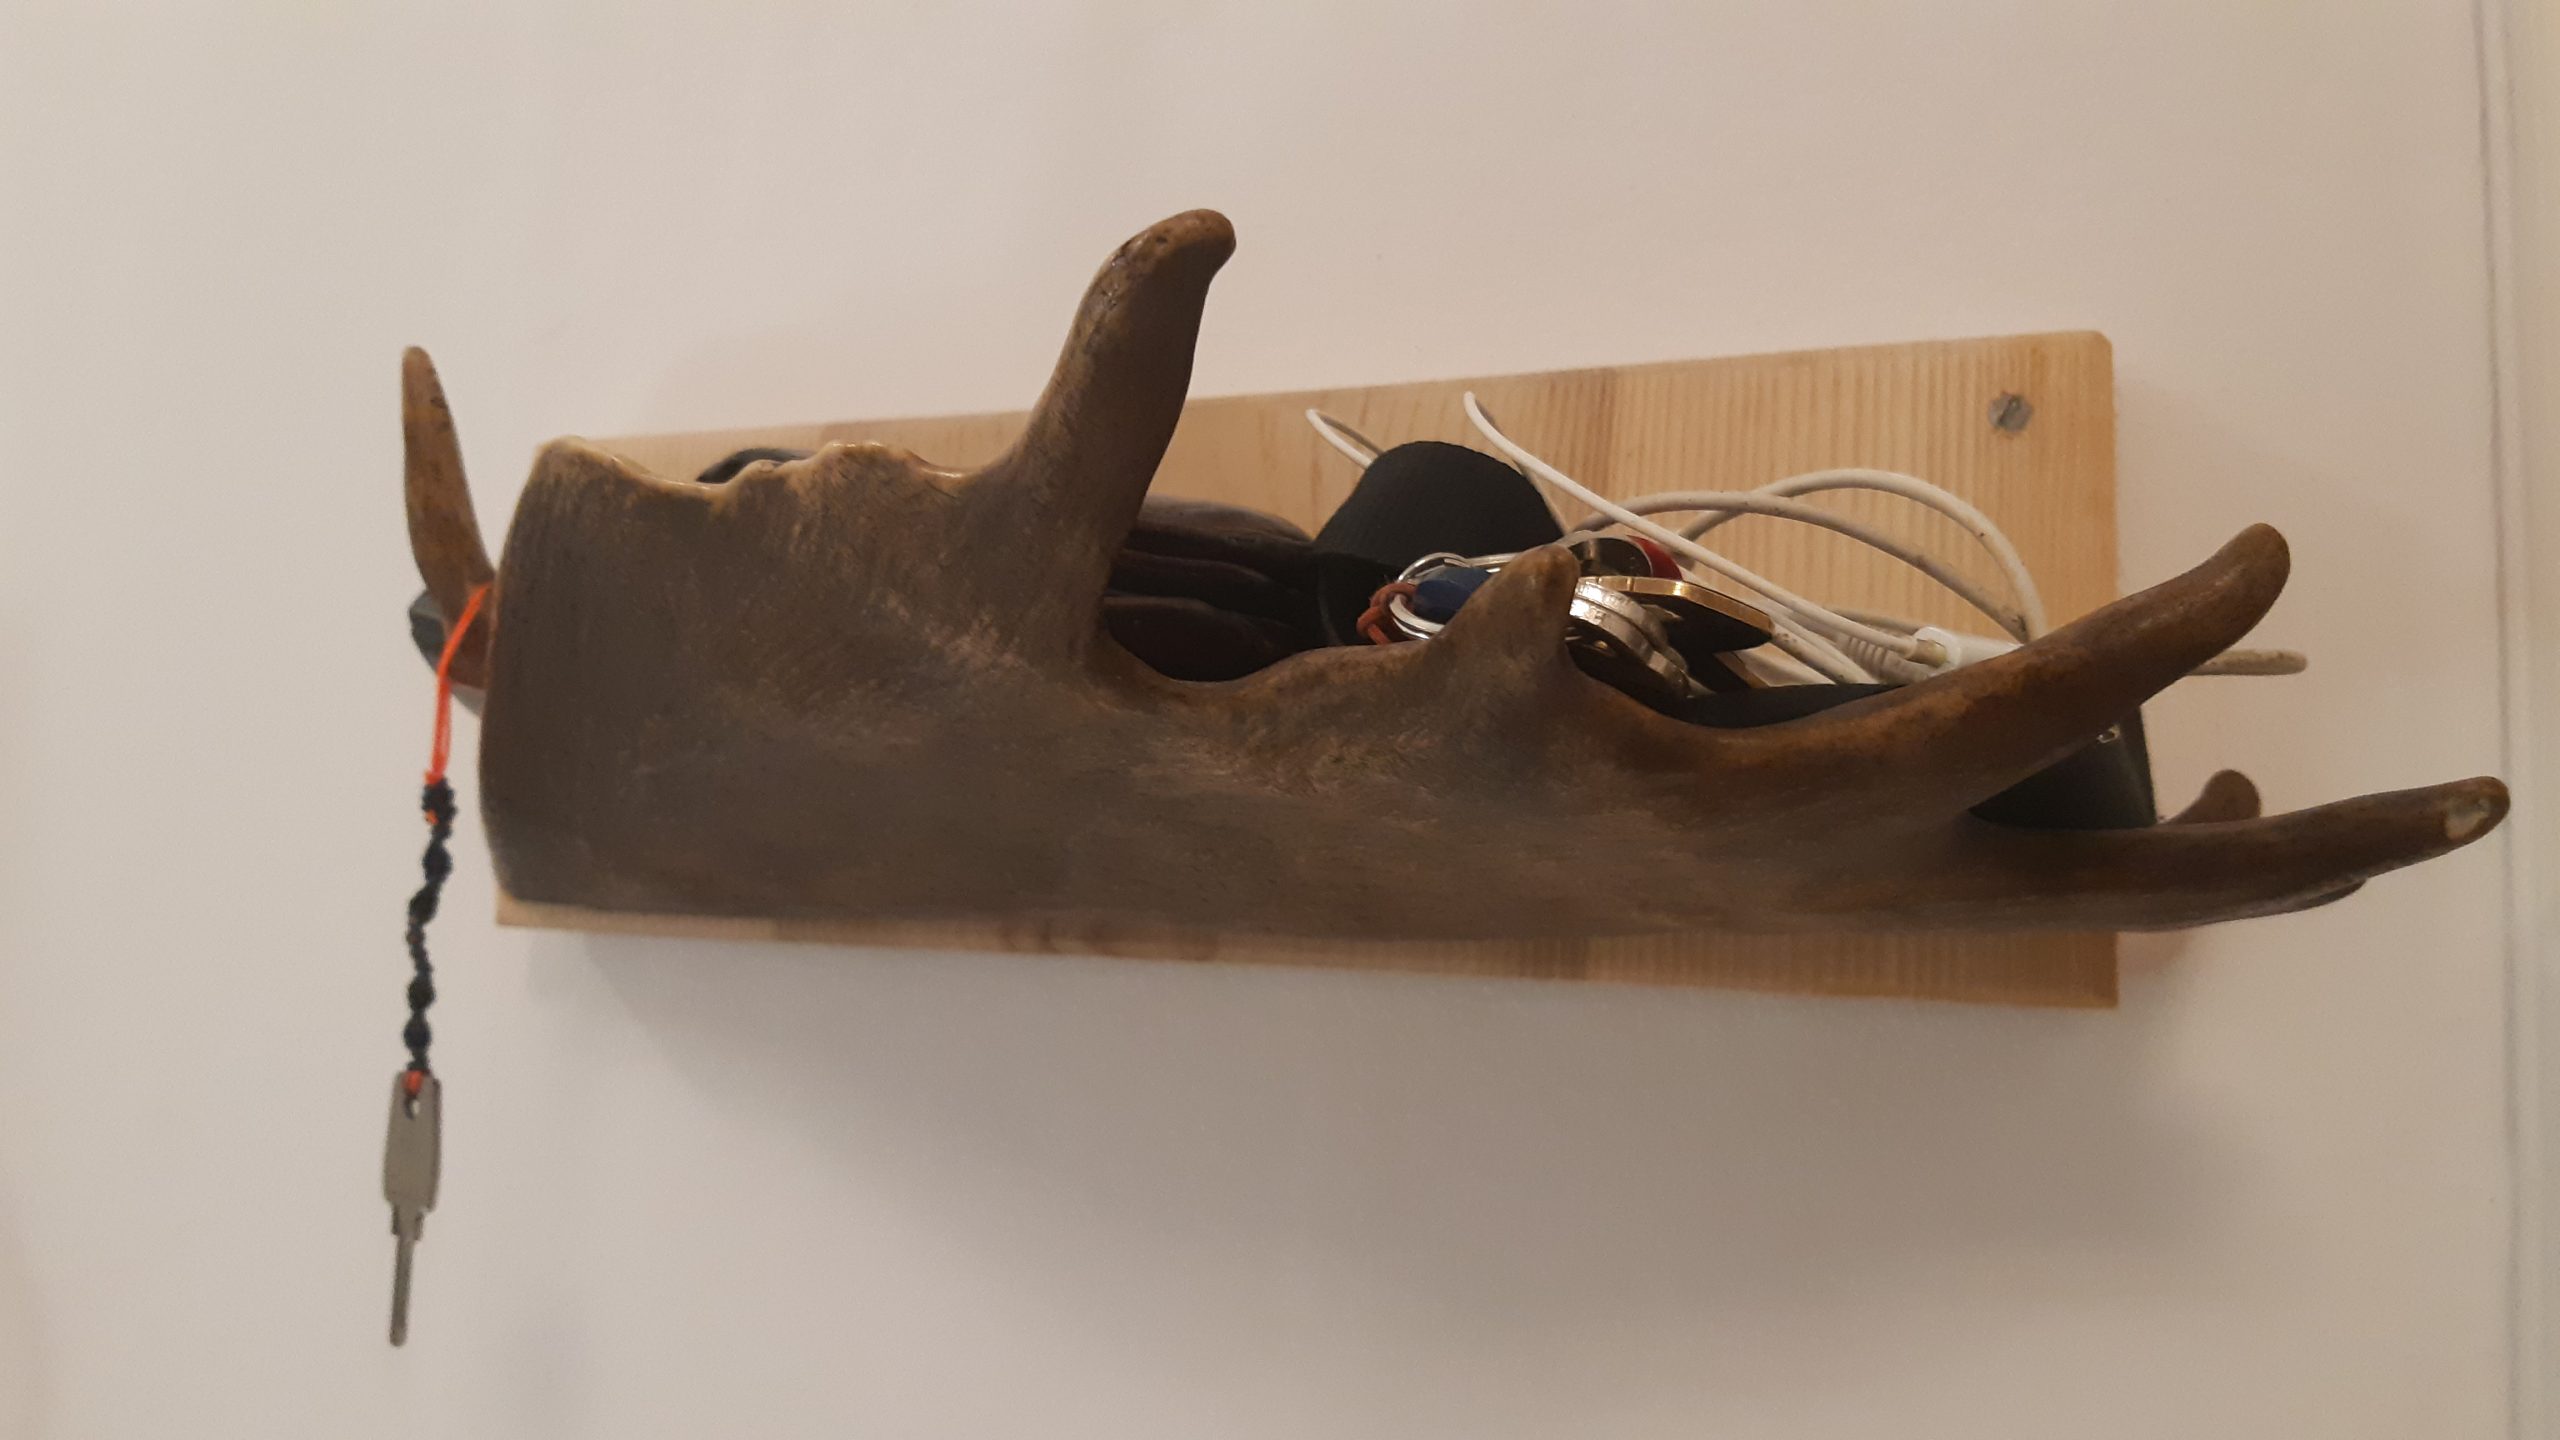
When out and about one day to buy some second hand cutlery to the student guild I happened on an elk-horn at the shop. Horns kan be quite costly, especially reindeer, but this was only 50 SEK so I bought it for future projects.
Later on I realised that I wanted somewhere to put my keys when getting home, so I sawed of the horn so that a surface to attach it to a board was created. I then got some left-over ash and attached it with construction glue and some screws. Finished!
Mobile phone resting station
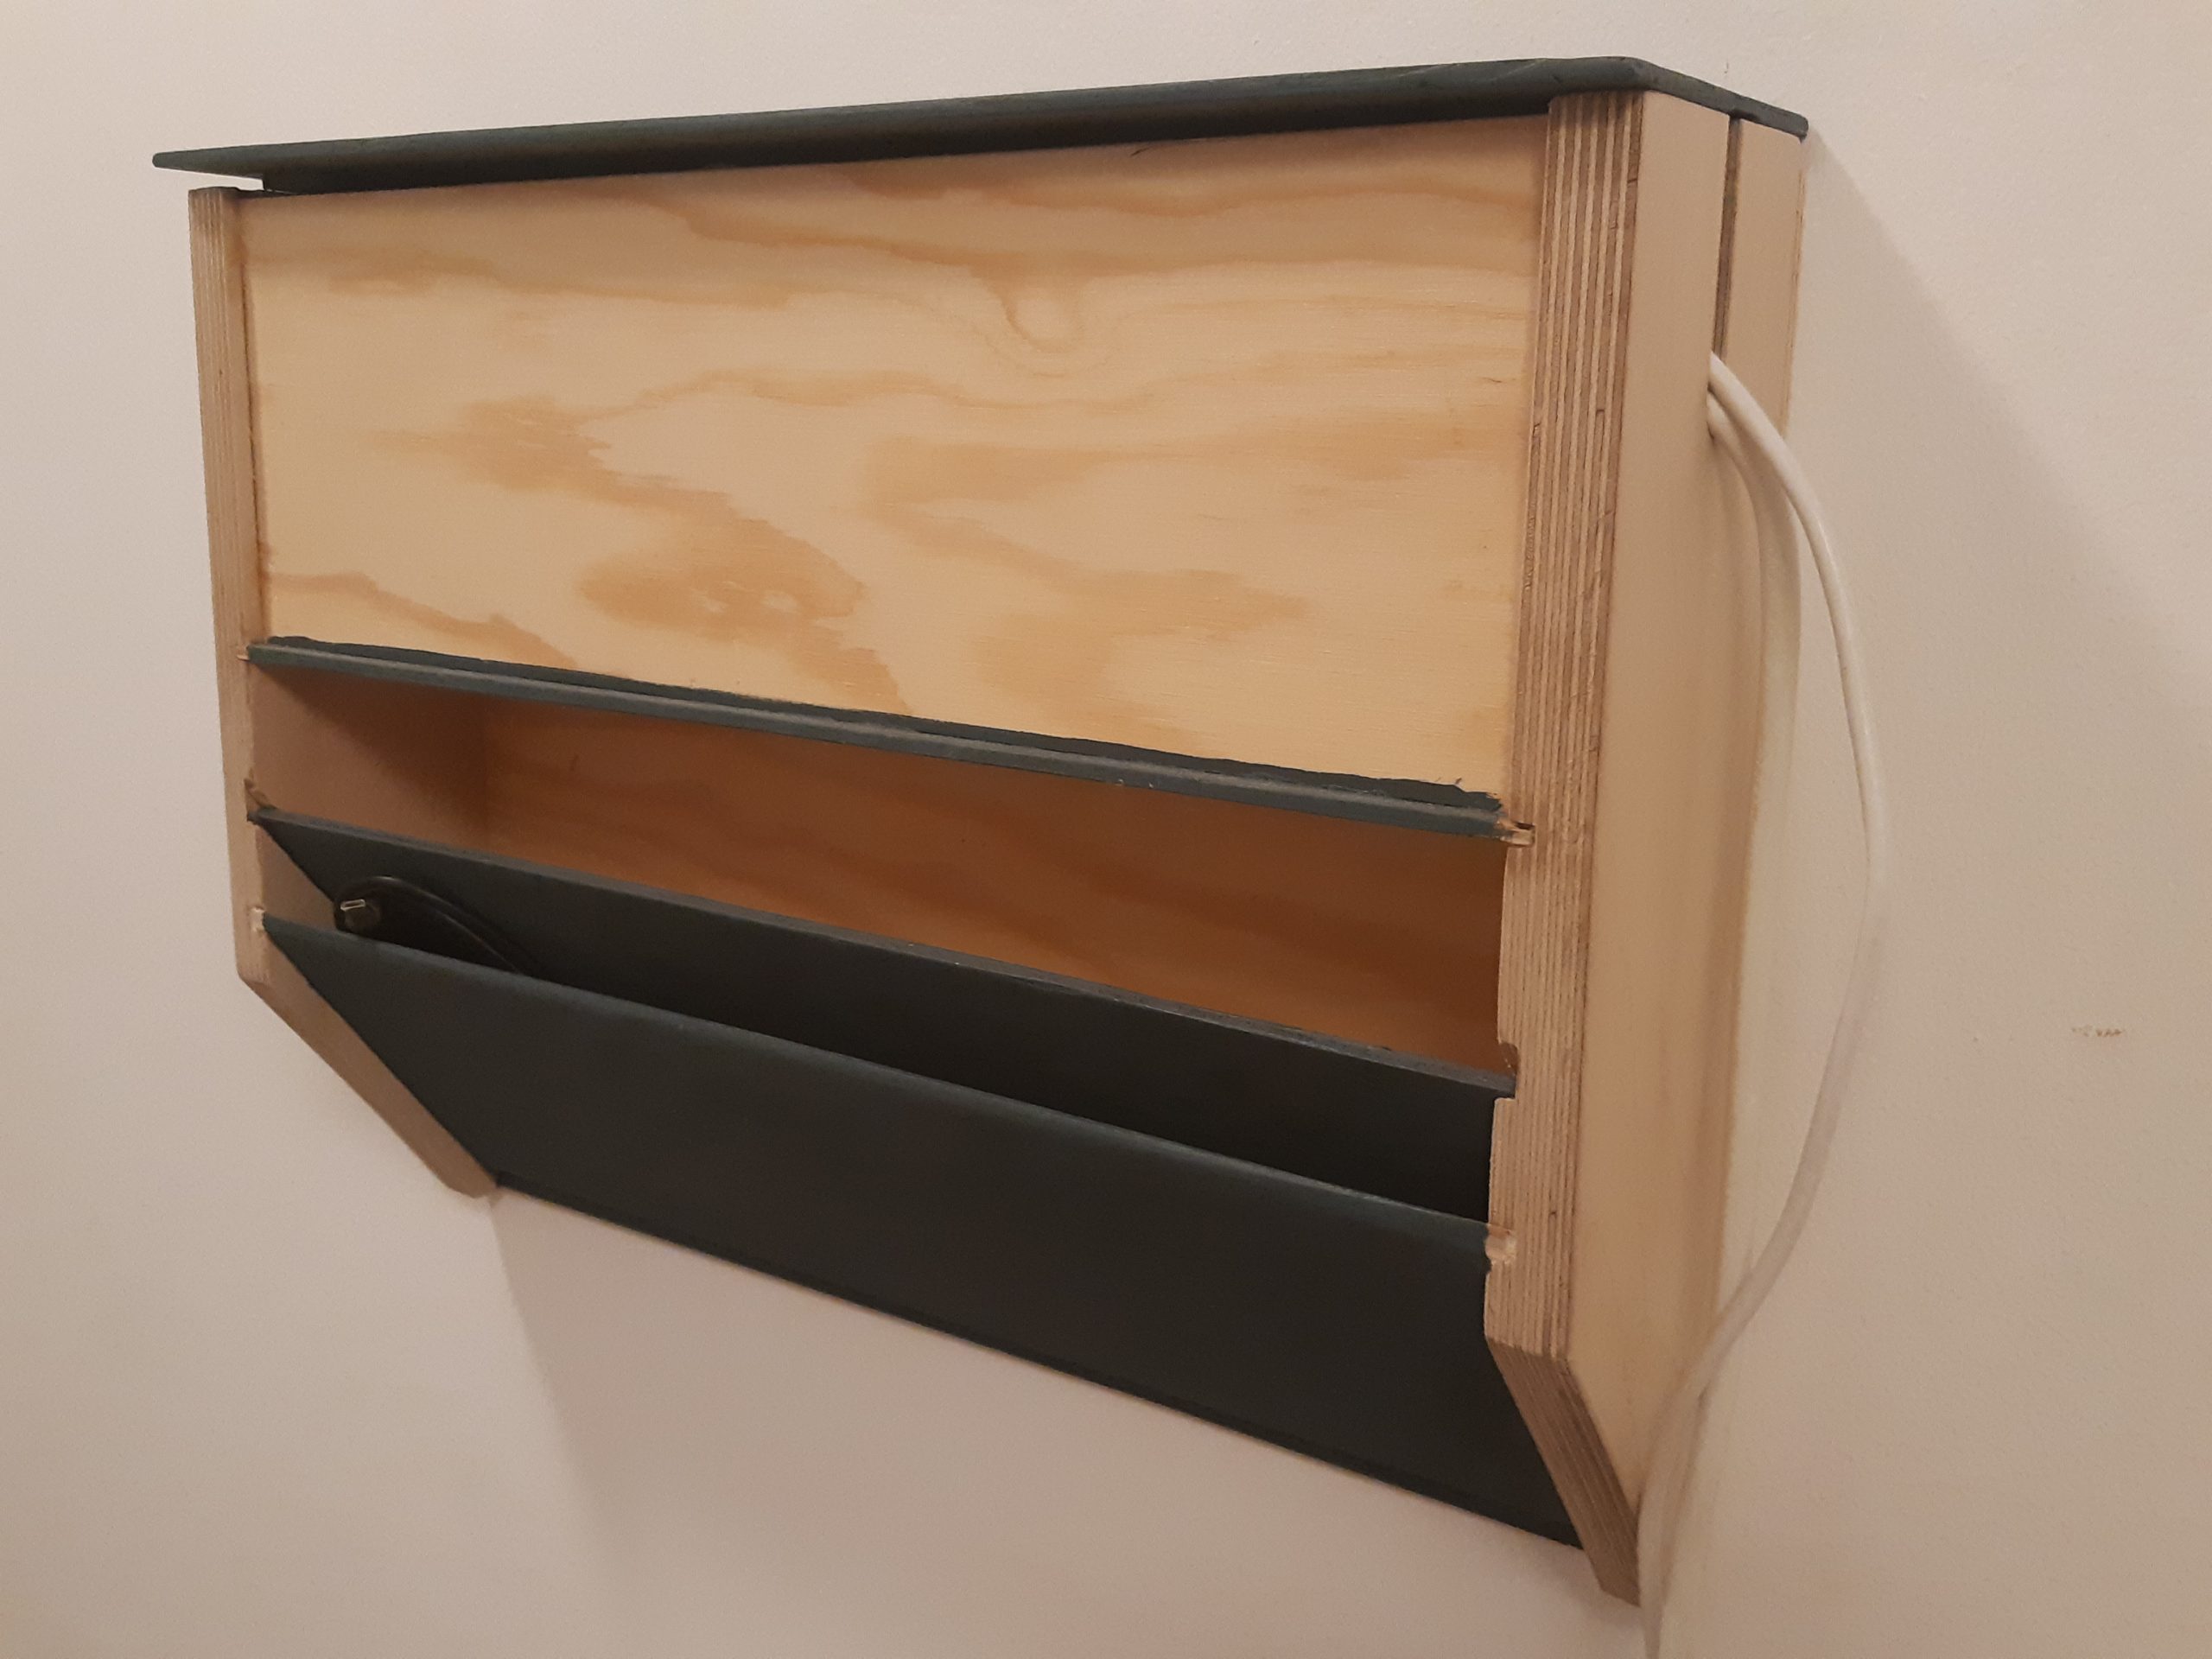
When moving in to my new apartment one of my wants was to get all of the electronics out of the bedroom. So for the very short hallway to my bedroom i figured a mobile charging station would be nice, a convenient place to drop of ones phone before entering the bedroom.
I designed it so that it would be as flat as possible but still have the possibility to store many phones and keeping the phones safe. I ended up with the depicted design. To top parts conceals a plug board where the chargers can be plugged in. The botton sloped parts are where the phones are supposed to live.
Coat hanger board
For the longest time I didn’t have a coat hanger or hat shelf in my entrance because nice stuff is expensive. I just used an IKEA hanger for the door on the bathroom door and that was ok. It was quite bulky and didn’t look very nice though. At one point I found a quite nice second hand hat shelf on blocket and bought it. Now I only lacked somewhere to hang coats and jackets.
I shopped around for hooks everywhere But a wanted quite a few, and I also wanted something that went in the style of the hat shelf’s metal.

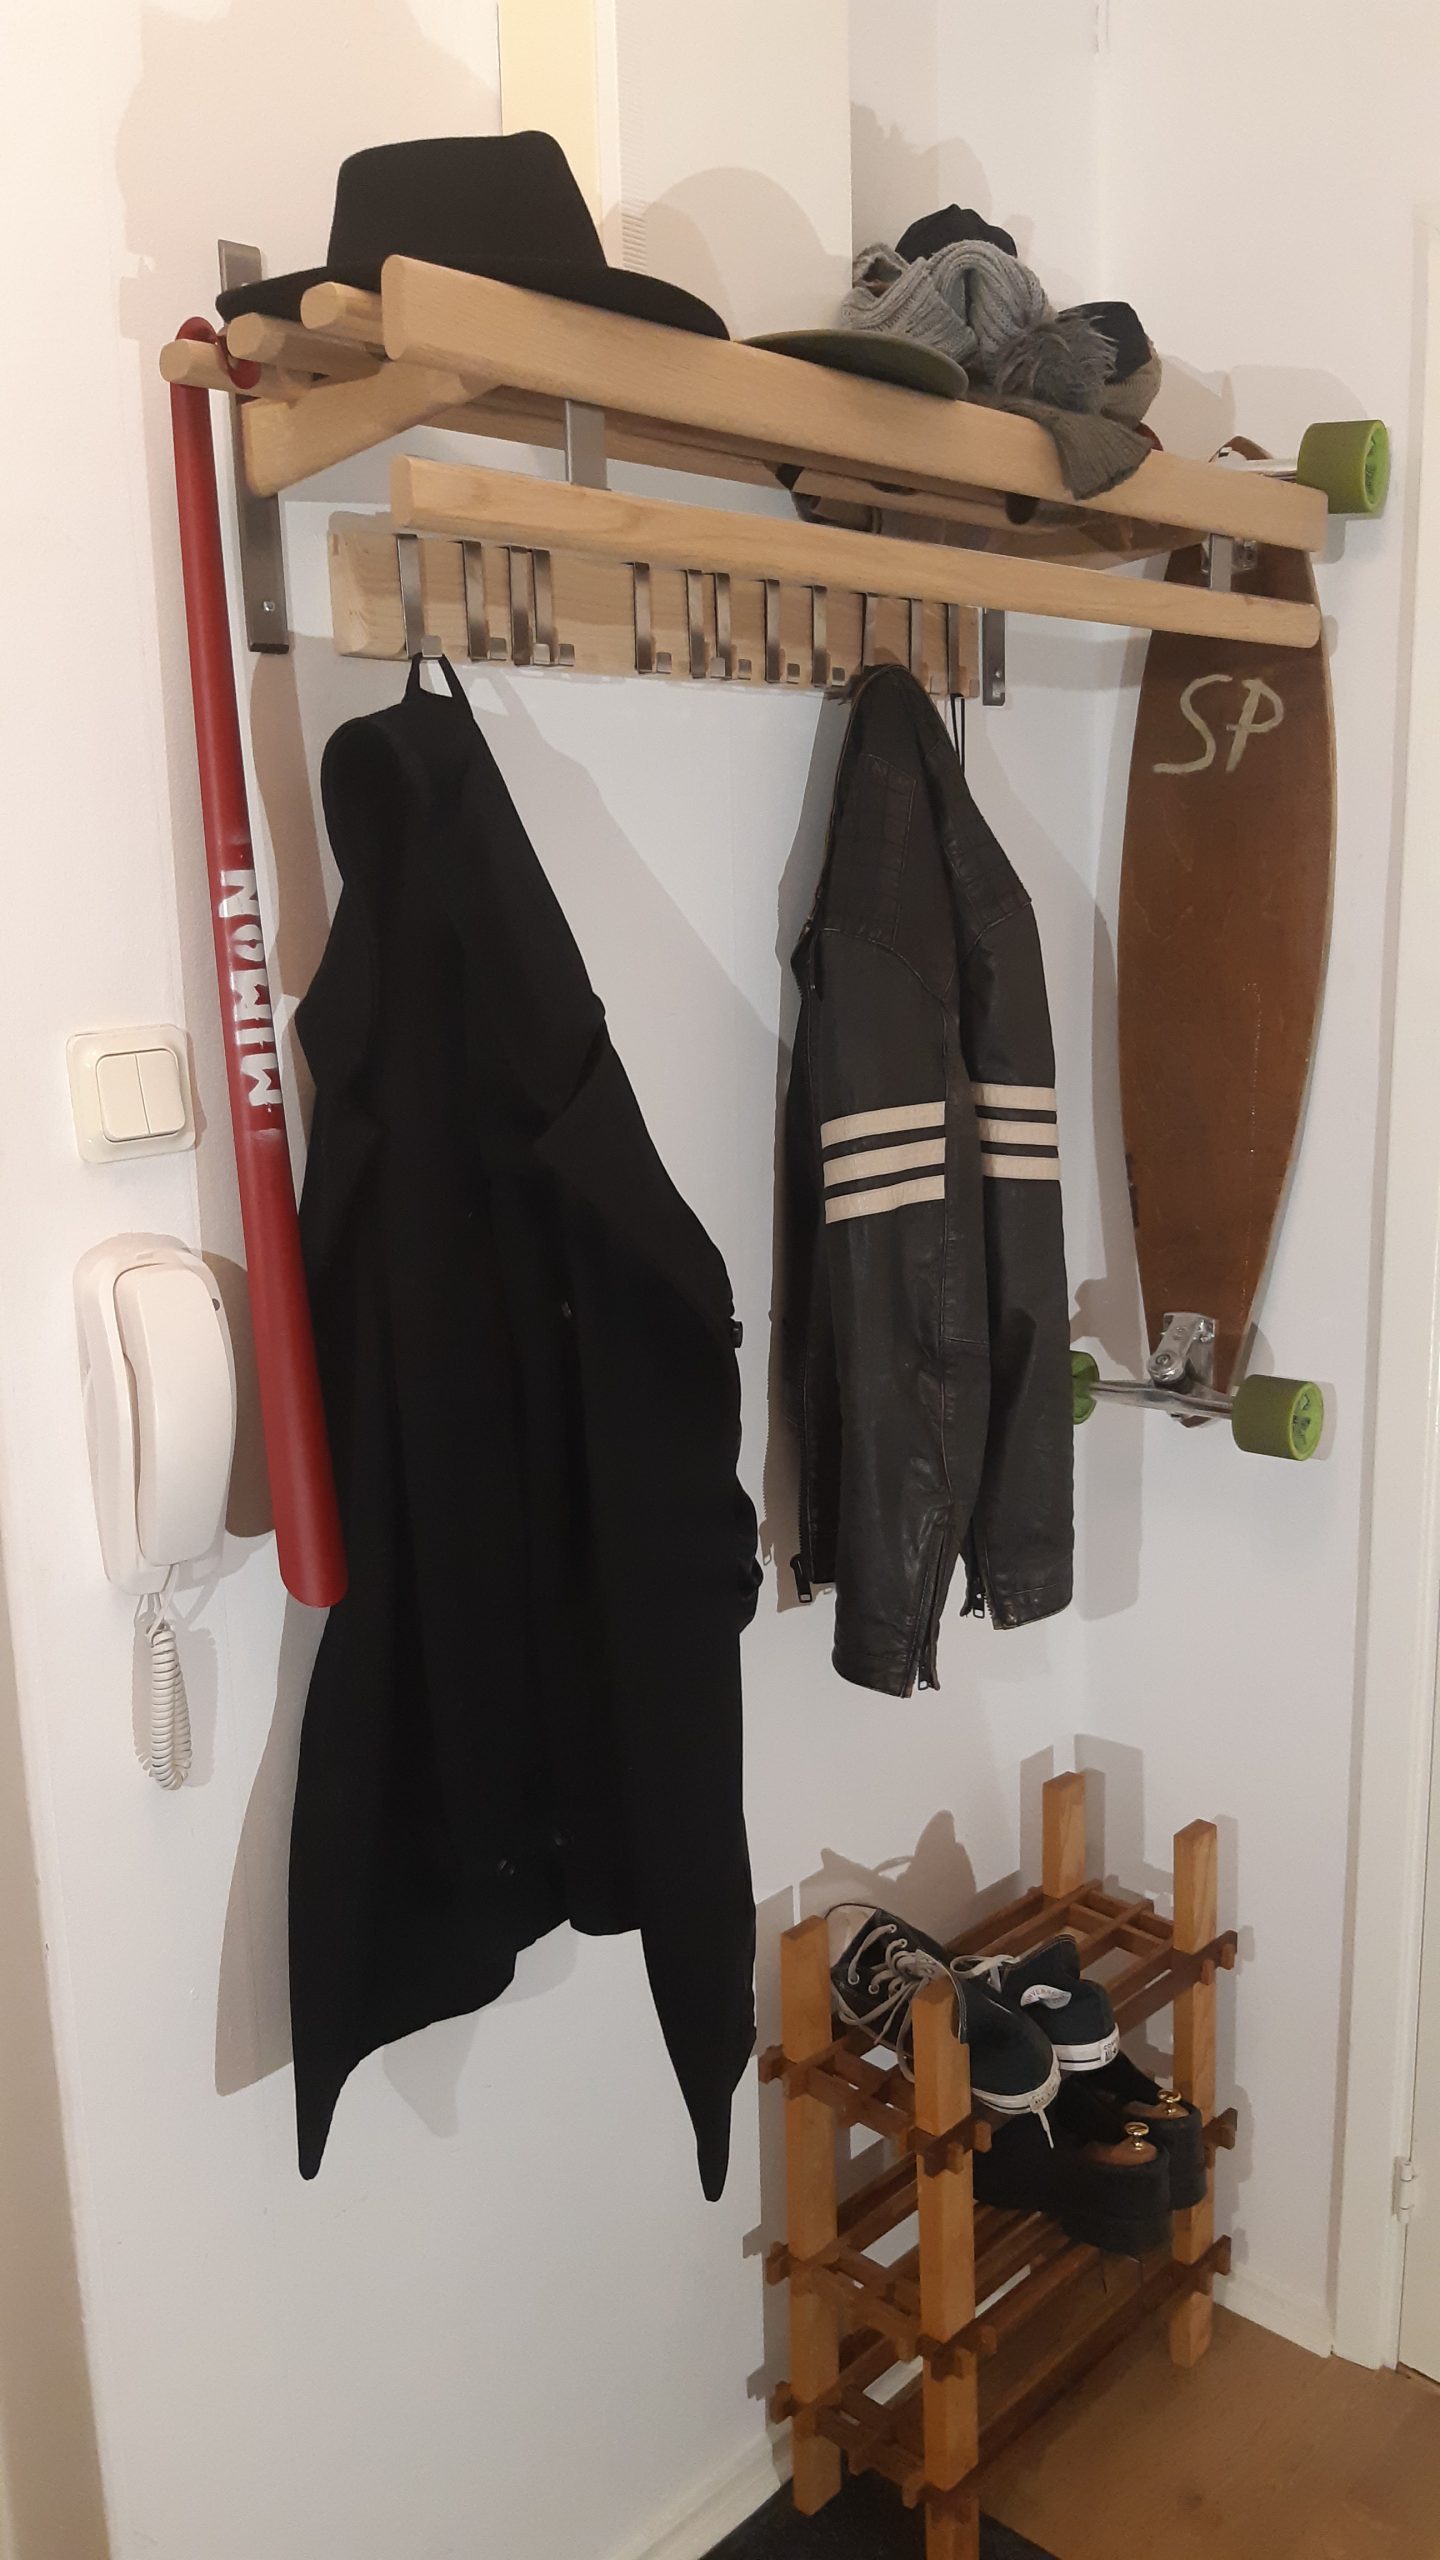
In the end I found hooks in IKEA that are supposed to live on cupboard doors in the bathroom, they where in the same style as the metal on the shelf. The best part was that they where only 25 SEK per pair or something, so I ordered 6 pairs because I figured that I could make the “door” they where supposed to hang on.
I went to my small but bigger than most people’s stock pile of wood and fetched a piece of ash. I sawed it to dimension then proceeded to put in the grove with a circular saw. I had now way of thinning down the wood enough easily, so a grove it was to accommodate the measurements of the hooks. Because of some measurement errors the grove got a little bit to close to the front. Always erase your faulty lines before applying the saw! Well it works anyway. There is an idea to pad the hooks with self-adhesive felt patches, might work.
To round of the bottom and sides I used an overhead router that I had borrowed from my brother for some other project, I can’t recall which one now but it had something to do with very precise round holes.
Anyway, I mounted the board to the wall with three screws that are subsequently hidden by some of the hooks. I’m quite happy with the end-result except the miss-measurement.
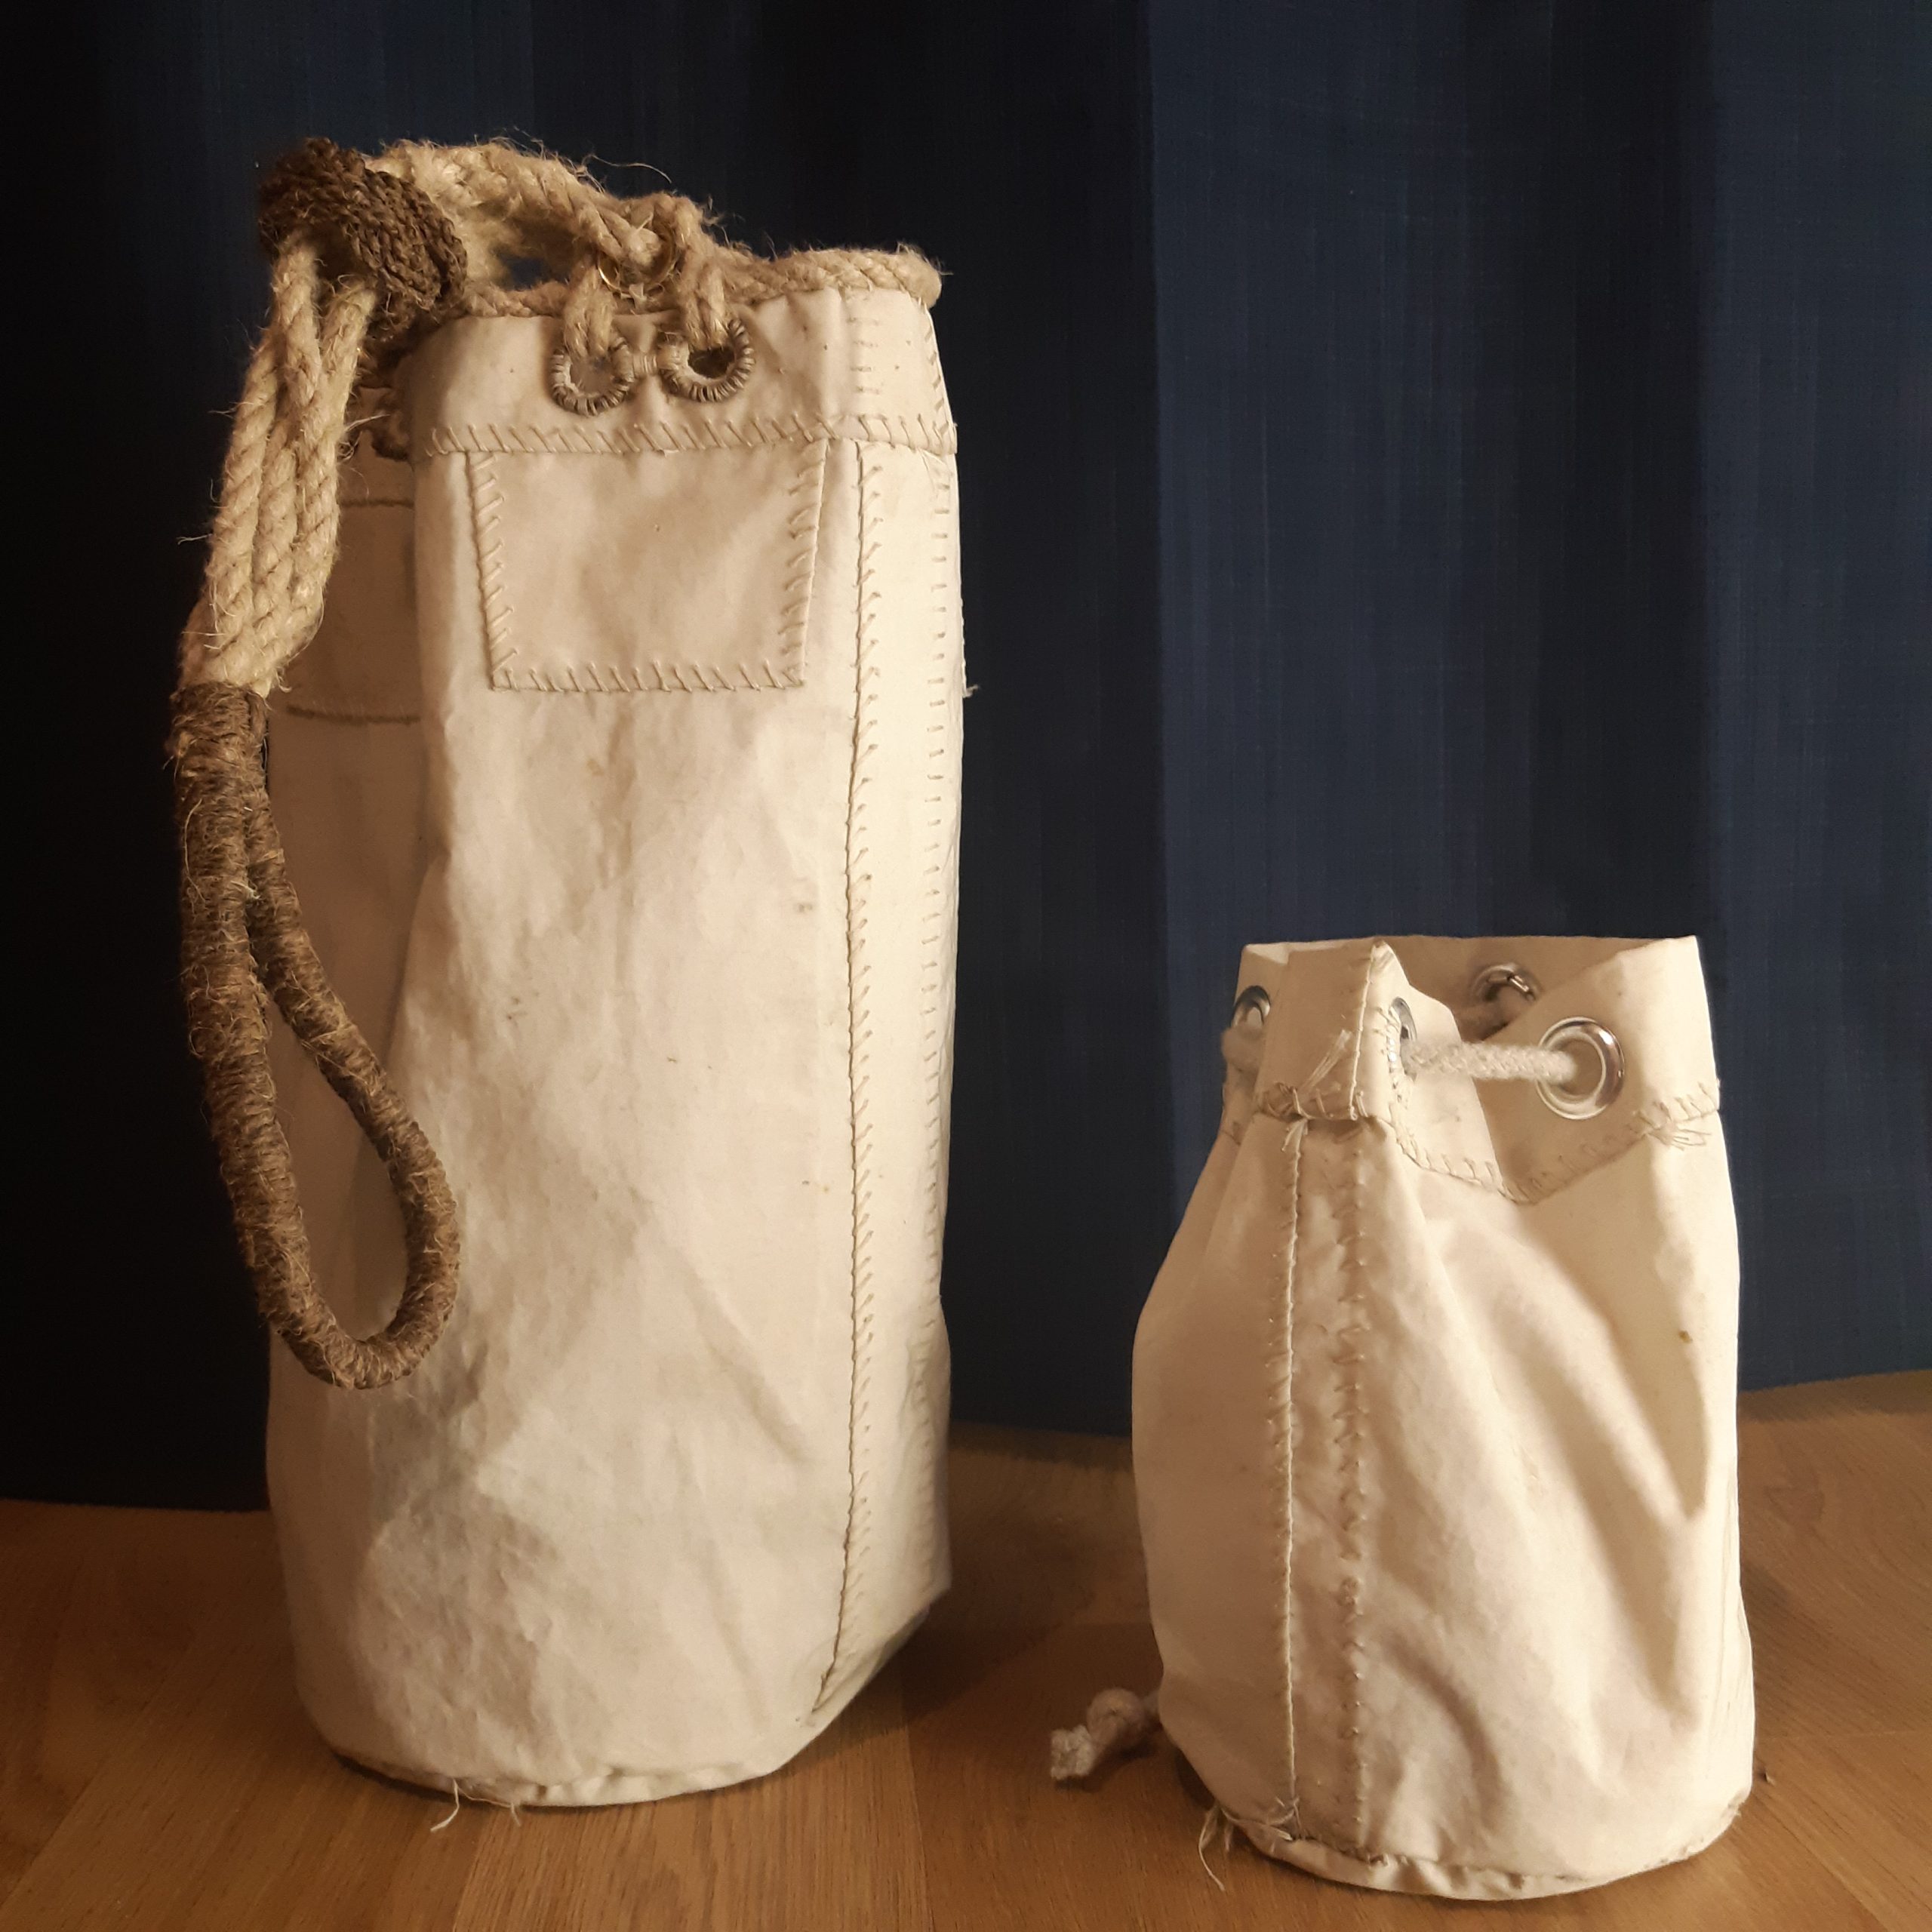
Sailmakers ditty-bag
During the building of the opti-schooner I had to make a fore-sail that would suit it. This would requiring knowledge on how to loft and sew sails, I ordered The Sailmaker’s Apprentice by Emiliano Marino. If you’re interested in classic sailmaking it is a well worth read.
In it he has a ditty bag project as an apprenticeship project in which one has to try out all the crafting techniques that goes into sailmaking, but on a much smaller scale. Naturally I had to make one for my sailmaker’s stuff. For a guide to making one I highly recommend getting a copy of the book which is excellently illustrated by Christine Erikson.
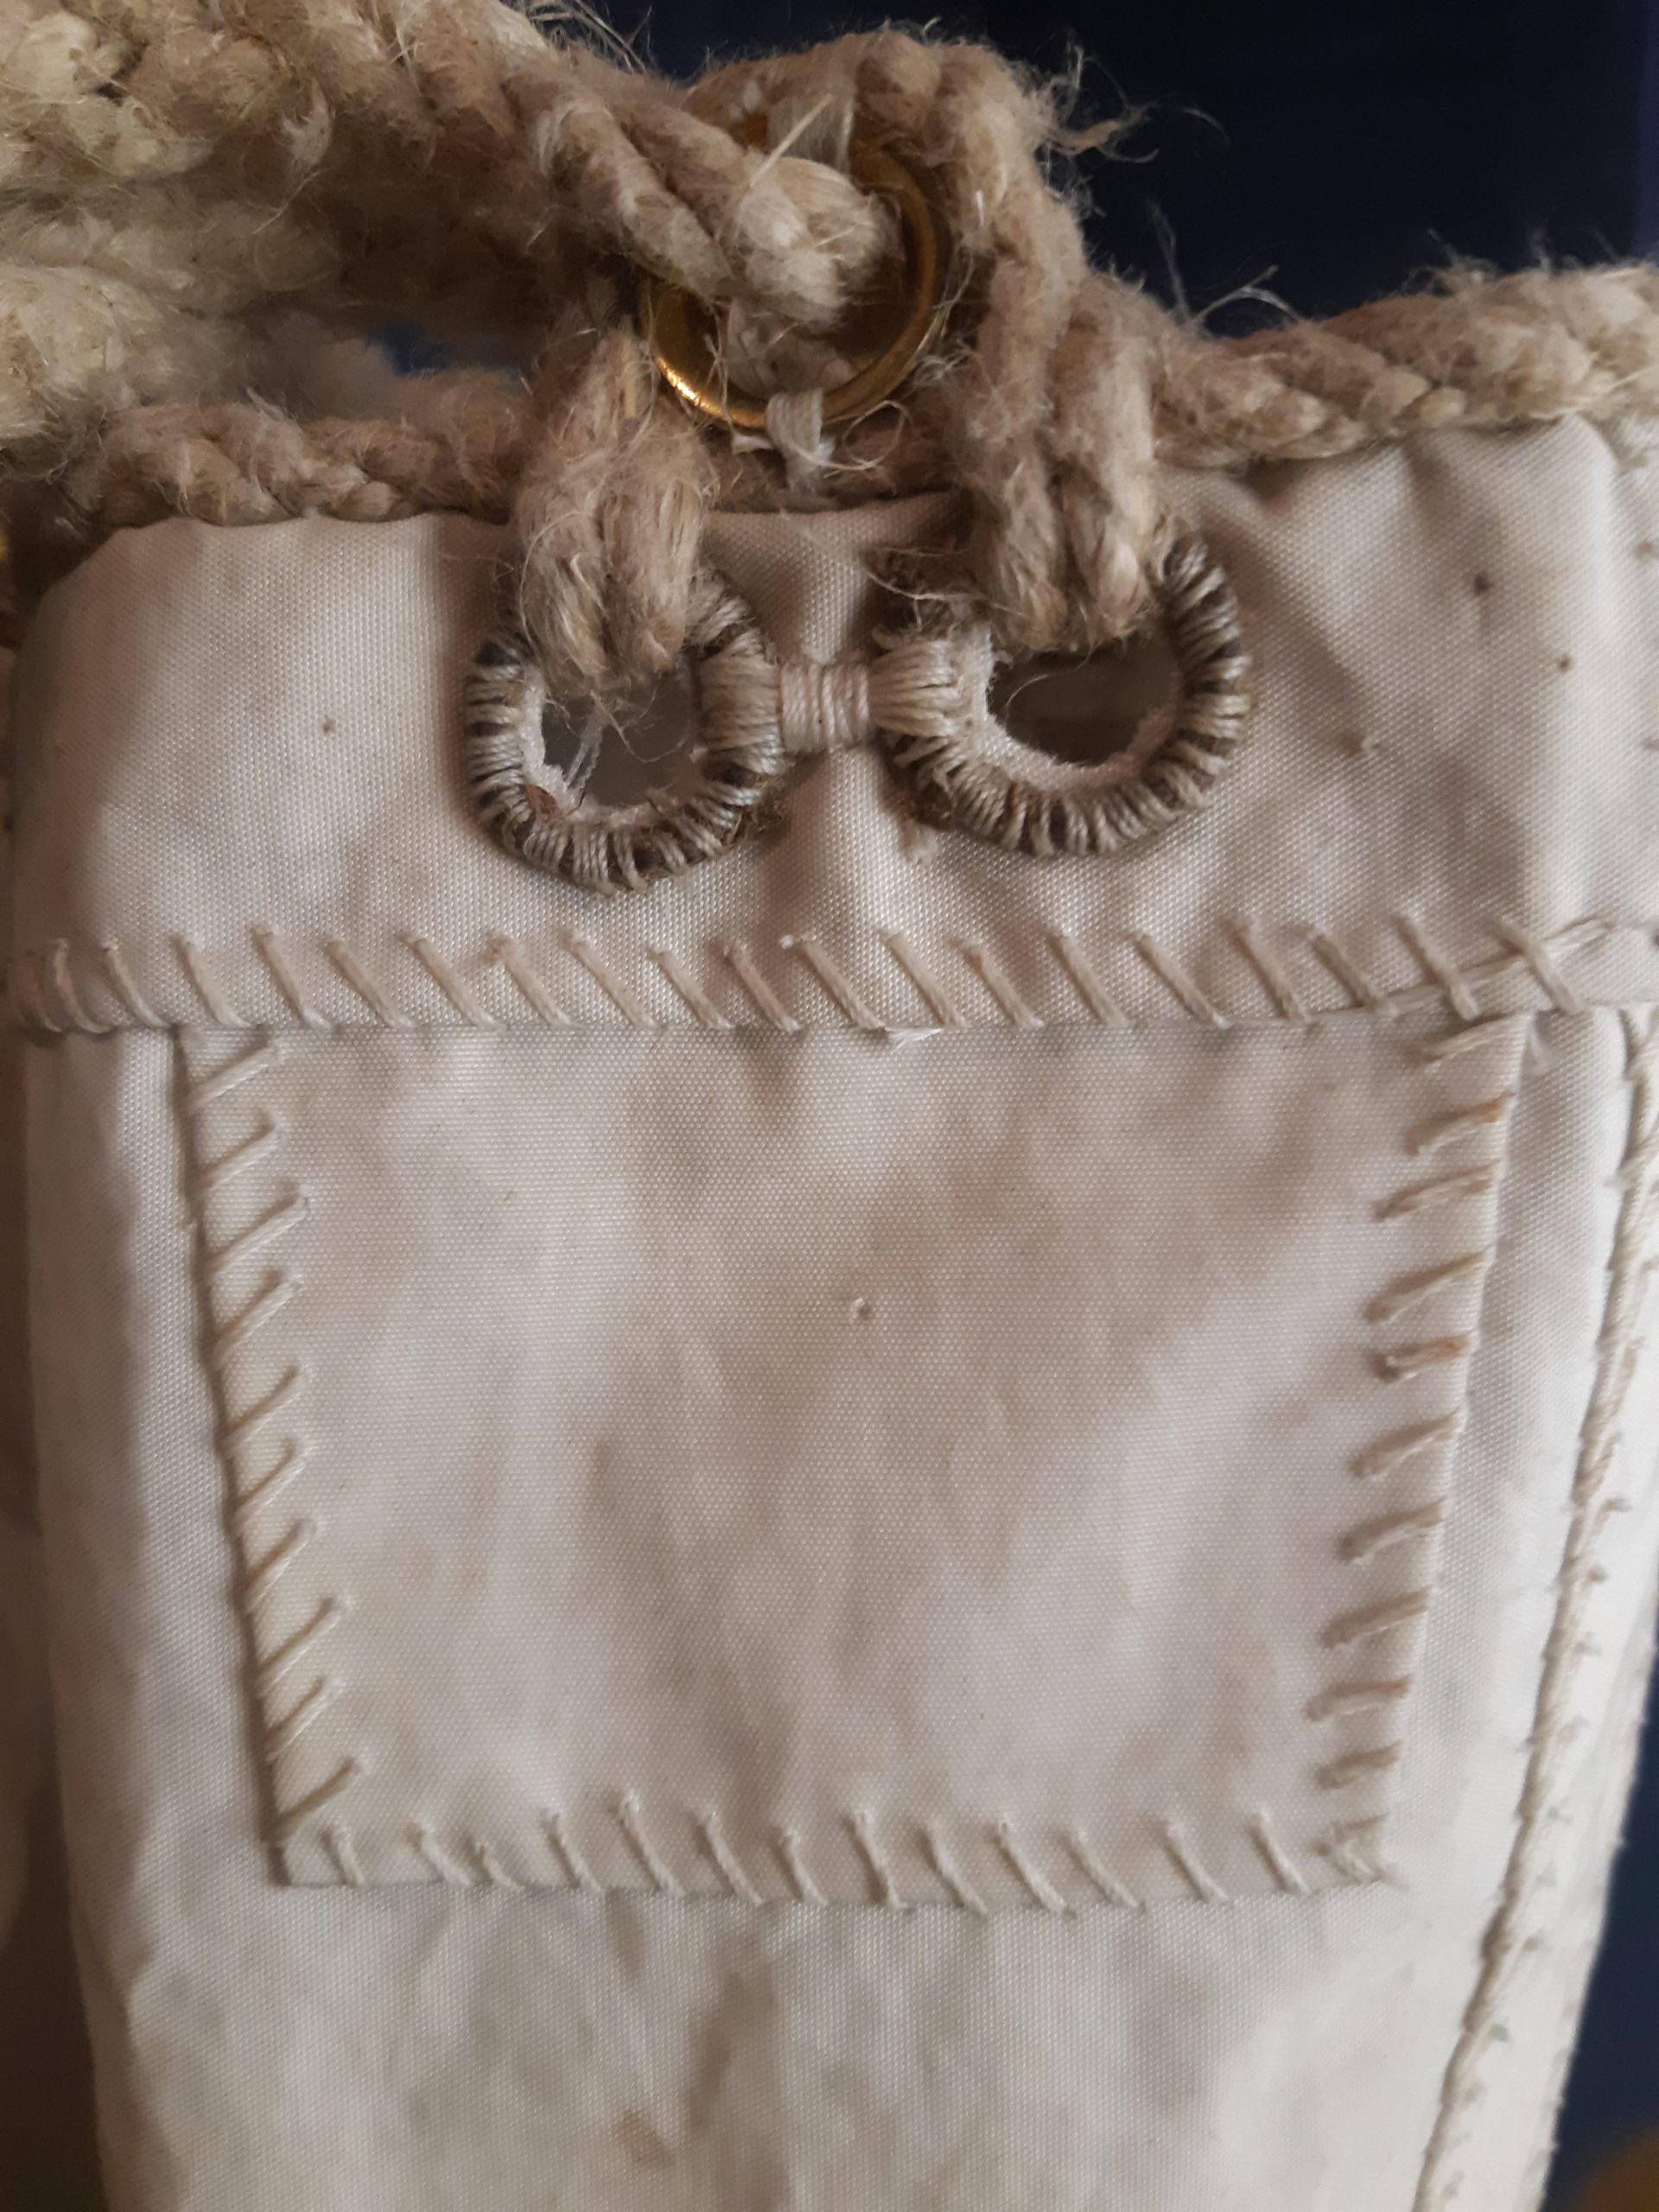
I started with the small one as a prototype that could hold most of my minor stuff when sewing a bigger one. This was more or less finished in an evening, a long one though mind you. The sailcloth is old Dacron from some sail I had saved. It has no reinforcement patches and the eyelets are cheap pressed ones.
I did reinforce two on the eyelets with some sewing though, probably not needed. The rope use for closing is a cotton/polyester old rope from some stash I have.
The larger one is made from the same sailcloth, but the finishwork is what sets it apart. I started this bag on the train from Gothenburg to Stockholm, It took the whole trip to get the basic bag sewn up. During 10 days of sailing I continued with the reinforcement patches, eyelets, rope edge, pressing in the brass thimbles. I then continued with the splicing of the rope on the train back from Örnsköldsvik to Stockholm and then the last bit – the turks head, from Stockholm back to Gothenburg.
The rope used is hemp and the darker is tarred hemp, or marline. It gives of a very nice scent hanging in my apartment. To get the marline i bought to be think enough to make a turk’s head I had to twine it into a two strand rope. I think Ray Mears has a good tutorial on youtube on how to make two-strand rope with limited tools or space, but basically you just twine each strand a lot and then let them go together.
