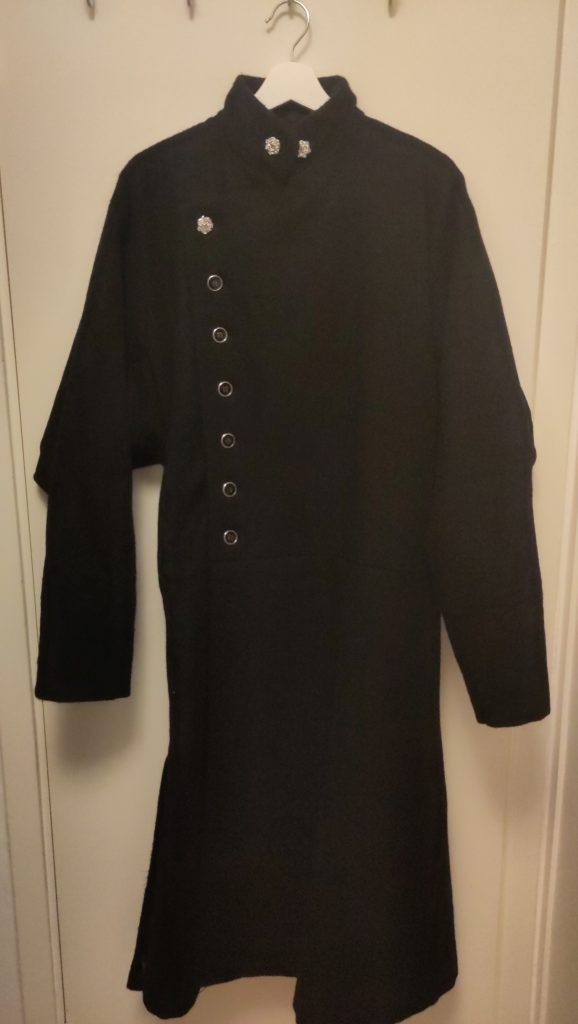
Viking travels for a pattern
Many years ago now I was given a woolen fabric from my mother to sew something of. She had originally bought it sew herself a new winter coat form a pattern of a worn out one, but never did so she gave it to me instead. The fabric has stayed with me through two moves and many winters but now I finally felt that the time had come to do somehing with it. Maybe the motivation was helped by a lack of opportunity to work on the boat, space requirements of my apartment, and my old coat starting to be quite shabby? Who knows?
I had for a long time thinking of this project and with the experience of sewing my old city/outdoors shell jacket, I wanted something simpler in the construction of the sleeve fastening. I was inspired with old uniforms such as the Hussar uniform jackets of the 19th century as well as Viking and eastern European looking Kaftan. Throughout my internetting I came across Susanna Broome’s Viking age Outdoor clothing which looked promising as a pattern start. But to my disappointment it looked sold out everywhere so I gave up. However, I came across this booklet in my sailtrip to Norway during the summer of 2023. With it in hand I was now ready to start.
Inspirations
With no more excuses it was time to start sewing and to be able to start that some final design decisions had to be made. As mentioned I some inspirations and reasons for my design. I really had three or so main sources to draw from. The pattern is really from the reconstructions of a viking age kaftan, but then I wanted to modernise up to uniforms of the 19th century with a row of buttons that are smaller but quite tight together and a stand-up collar. I also drew a bit from my fantasies of the 19th century Russian noblemen, think Tolstoy or Dostoevsky, with some sparkle. The last parts was finalised in the store while looking at buttons.
Pattern enlargement and fabric cutting
Really the sewing is nothing special to a person used to it. I estimated that it would take about 2 days to sew, it ended up taking almost 5, but of course I am not very experienced and also often quite optimistic in my time schedules. It didn’t help either that it was around Christmas and a lot of other things going on.
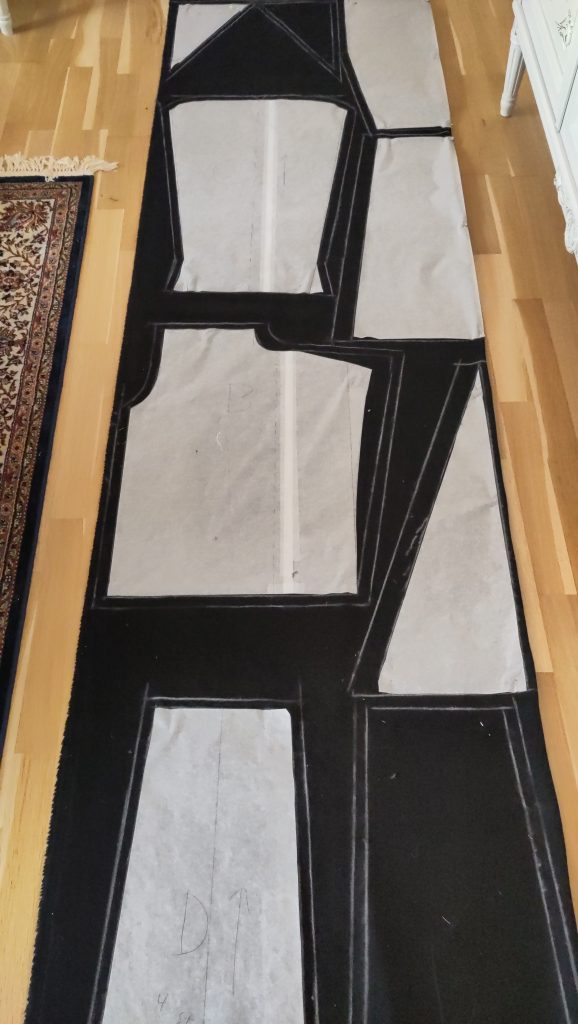
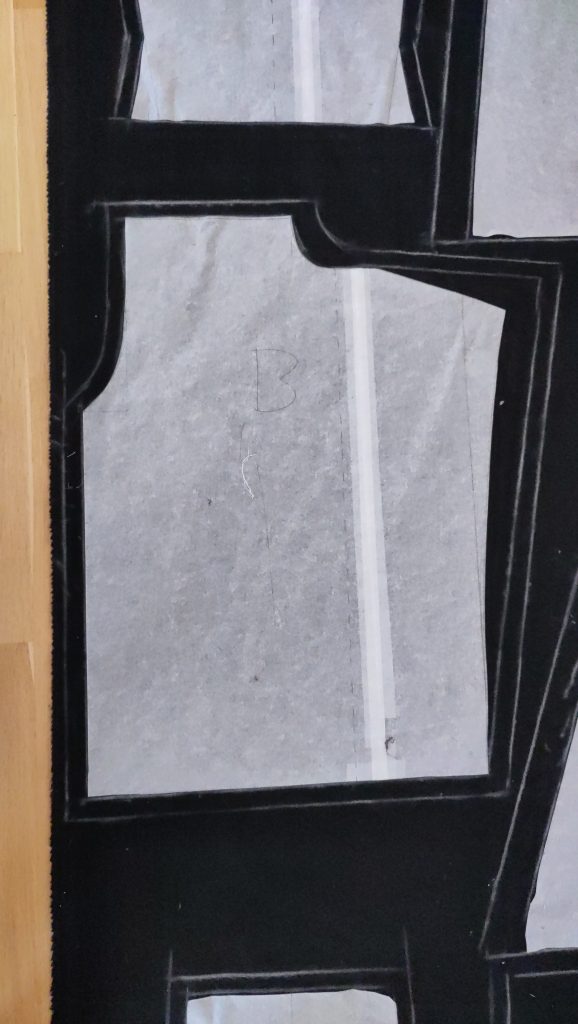
I started with enlarging the pattern from the Viking Outdoor Clothing booklet onto paper for easier planning on how to cut the fabric, and also to be able to more accurately reproduce for the jacket liner later on. When lying it out on the fabric I allowed 2 cm of margin for sewing in case something needed adjustment. The overlapping part of the front piece I made even bigger than that so that the final cut could be made on the body.
After a sanity check from my mum I got the approval to start cutting. All the thinking has had to have happened before this, because when the scissors hits the fabric the die is cast and there is no going back.
Sewing starts
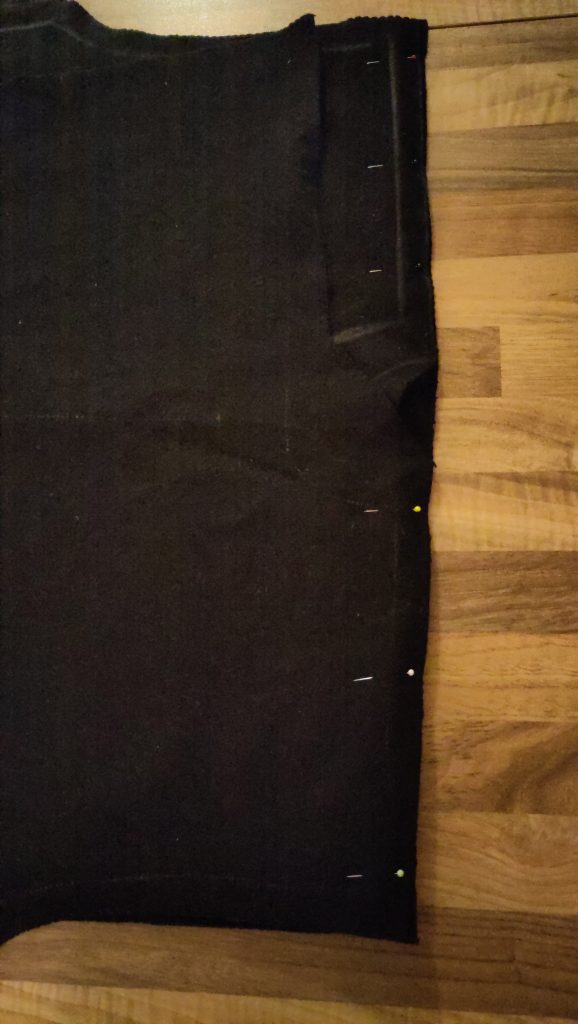
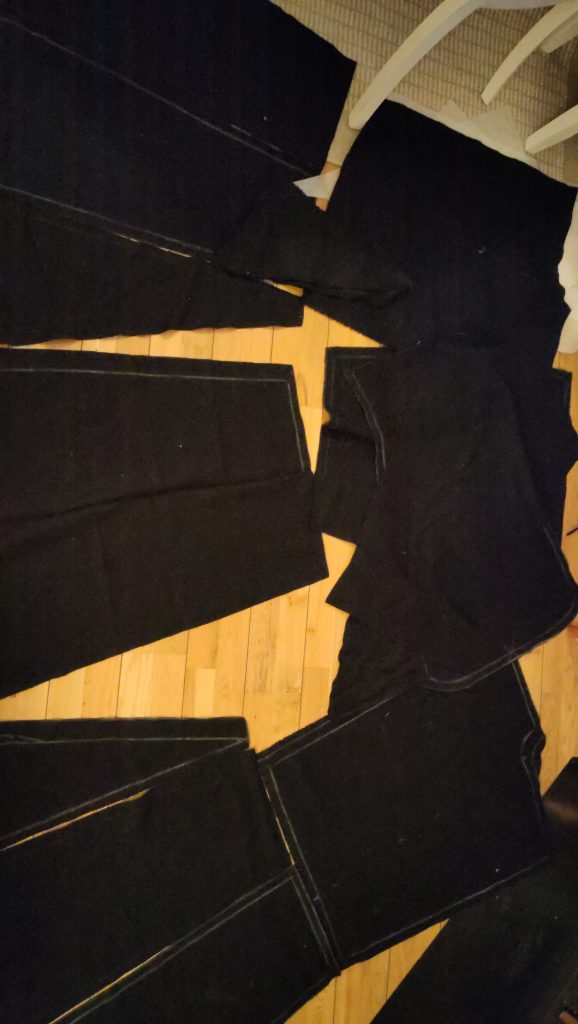
Unfortunately the picture taking was a lower prio than getting this project done in time, so you will have to bear with we with the quality of the images and well as the lack of them in some steps. I also got some flu over Christmas from the small snot factories in the extended family which did not help matters.
The absolute first step was to zig-zag all the edges to keep them from falling apart, the next to attach the back piece to the two front pieces. The next steps in order was to sew in the armpit wedges and then sew the entire sides together of the jacket part, assemble the two front pieces of the skirt, and then attach the front and back pieces of the skirt to the jacket.
It was now somewhat of a thing that could be worn and had taken the better part of two whole days. Some mistakes and fitting had been made and redoing had to be done. For example the jacket part was shortened by 6 cm to be more of a modern fit. Here the extra large 2 cm margin saved me.
Repetitions
Which the outer layer done for now it was time to start with the liner. I had bought a red polyester/viscose type fabric with paisley pattern on it to be a bit flashy. The pattern paper previously created was modified according to to changes and to fit the liner. It was then used to cut out the liner pieces. Don’t be confused by the spirit guide, it’s sole purpose was a straight edge, even though I got a few comments on whether I was a carpenter or a tailor.
The front pieces was cut short compared to the outer fabric so that no overlap on the front of the chest happened. The sleeves where also shortened a bit to better fit the modified sleeves of the outer fabric plus hemming.
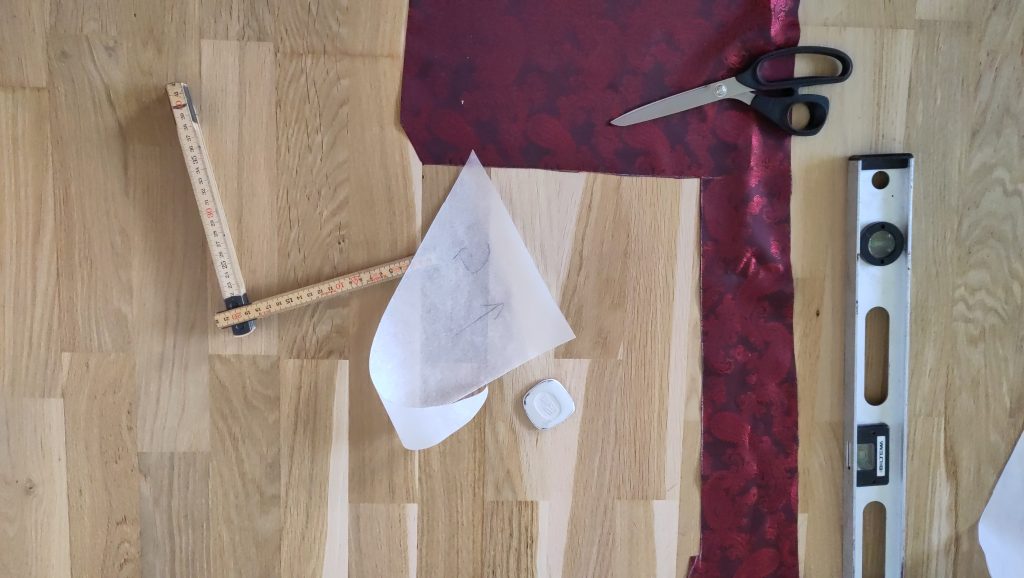
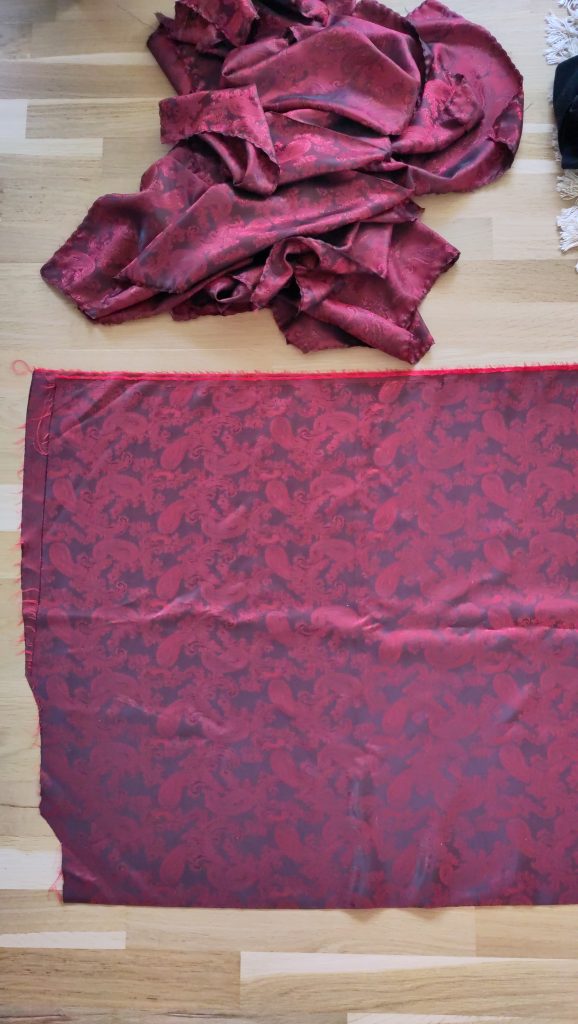
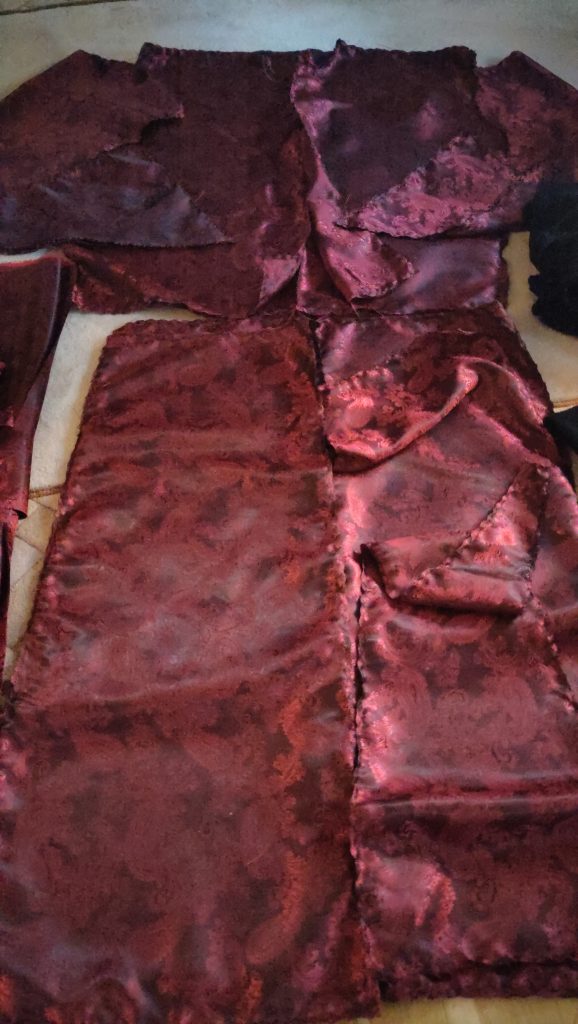
It is starting to come together - last bits of machine sewing
To fill up the difference on the front between the outer fabric and the liner a facing in the same fabric as the outer fabric was added. Here We simply put the outer fabric down and used as the pattern to get two full length facings. The edges where zig-zagged. To add some stability and structure to the front, a layer of vlieseline was added between the facing and the outer layer on both sides of the front.
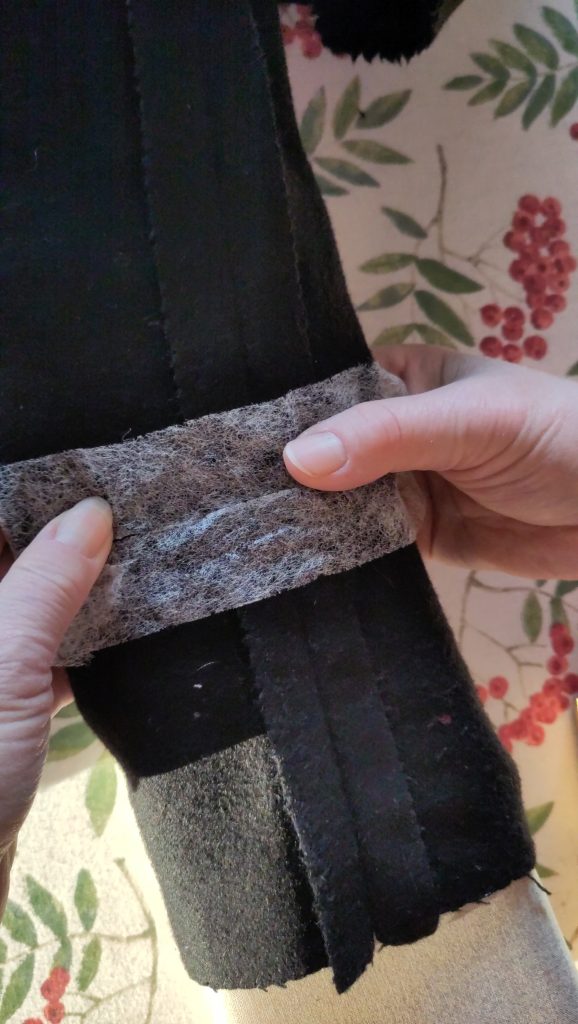
Vlieseline was also added when hemming the sleeves to aid the sewing and give a bit of structure and to hold the hem up. The sleeves were only sewed in the seam of the sleeve it self so if looks seamless from the outside.
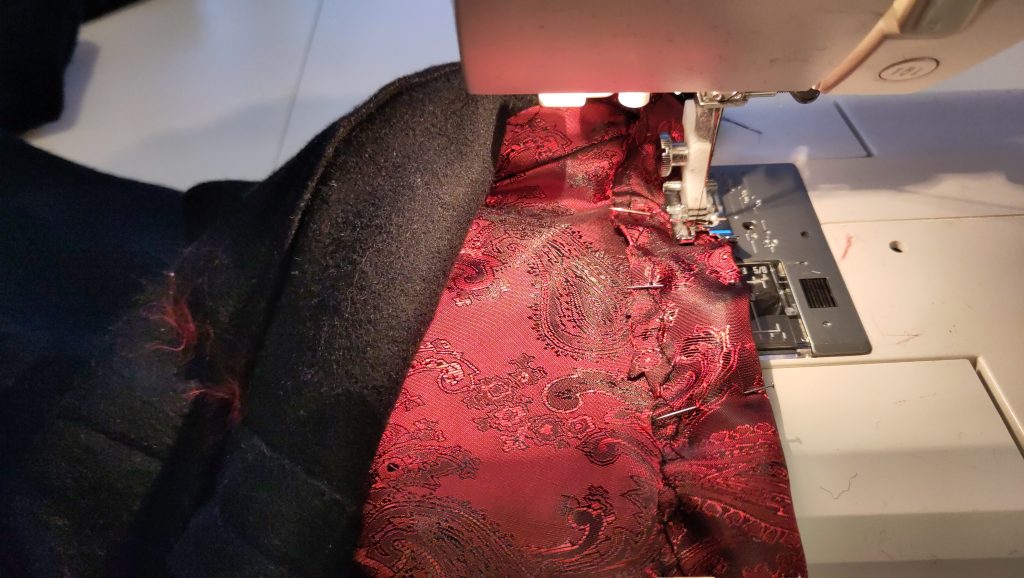
The whole jacket was then assembled by sewing the liner to the facing and hemming the skirt’s edges over the liner to attach it there. The skirt of the coat was then hemmed to the correct length and the liner was adjusted to match by cutting of the extra and hemming that one as well. The lower edge will not be attached to the outer layer for ease of repair in the future. The sleeves of the liner and the outer fabric will be fastened by hand with some stitches some time in the future.
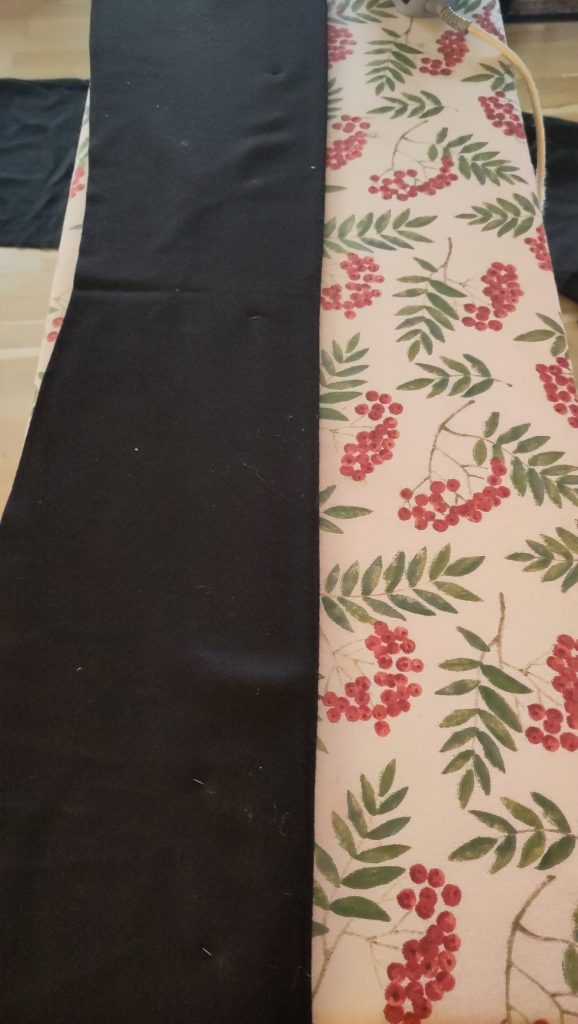
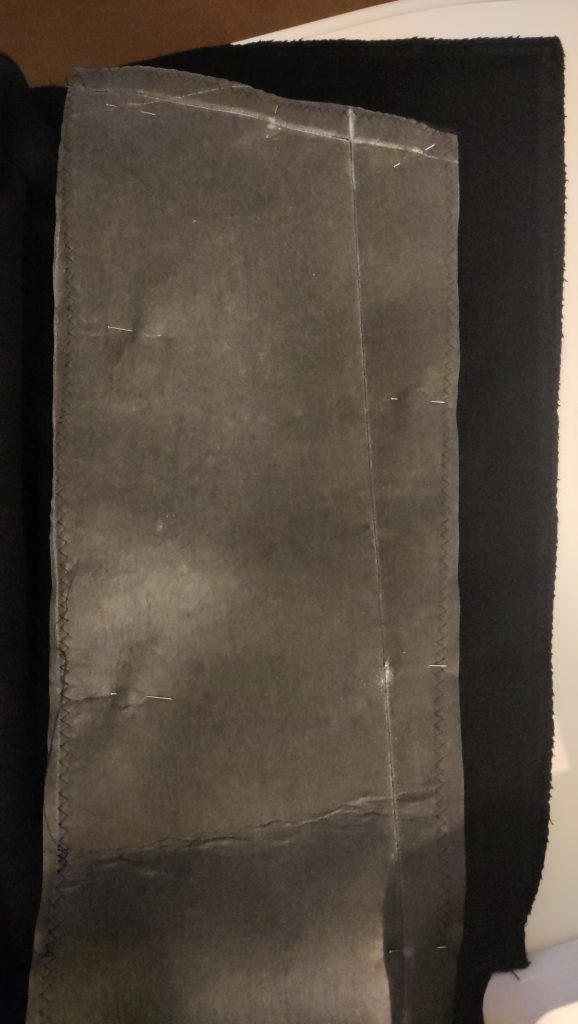
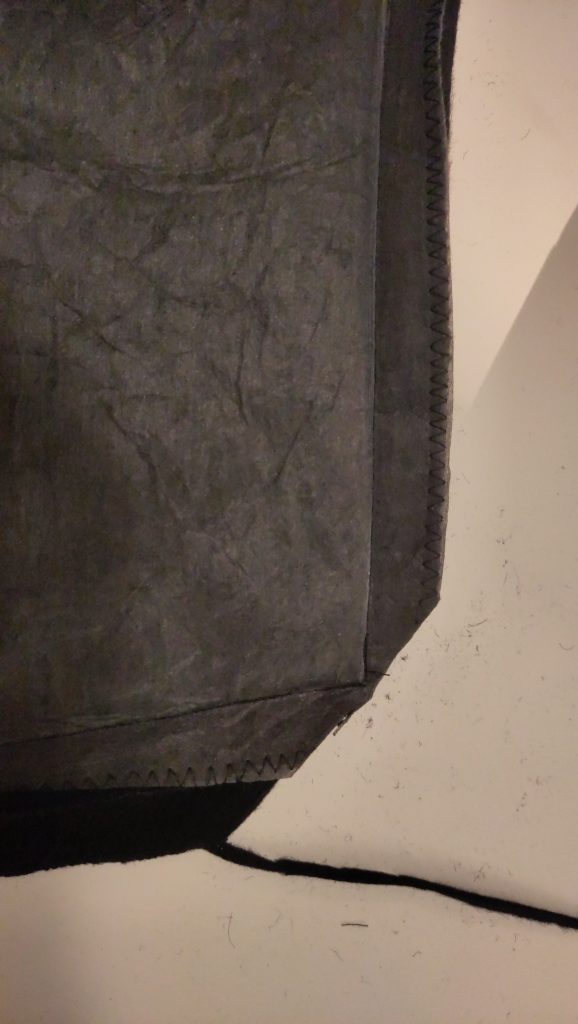
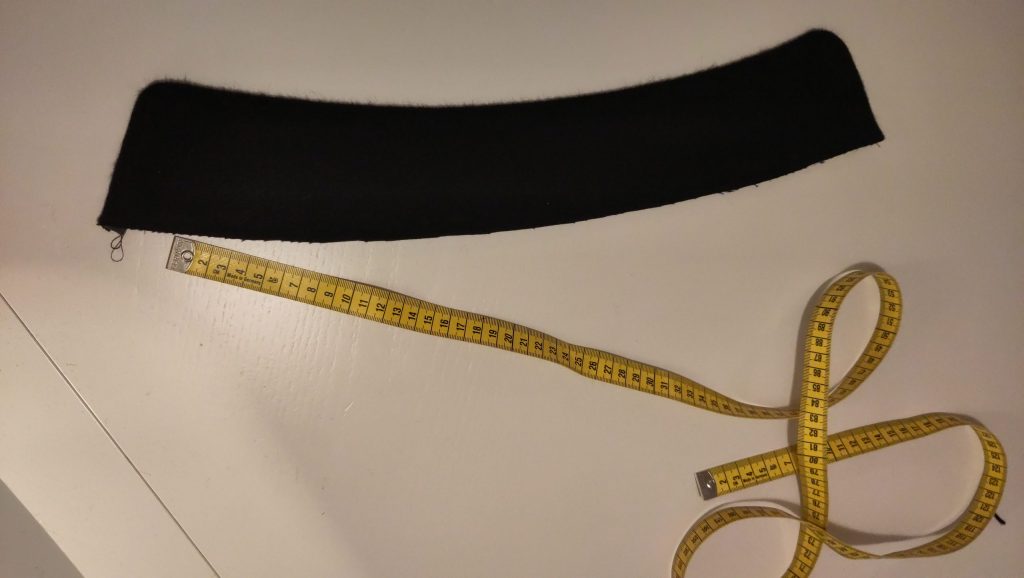
With the coat in a somewhat of a completed state I constructed the collar. I wanted a stad-up collar of quite rigid construction. Luckily one of my mum’s coats had a stand-up collar that I could pattern from and then adjust to fit me properly. To get it more rigid two layers of Vlieseline was added to this, one on each piece of the collar.
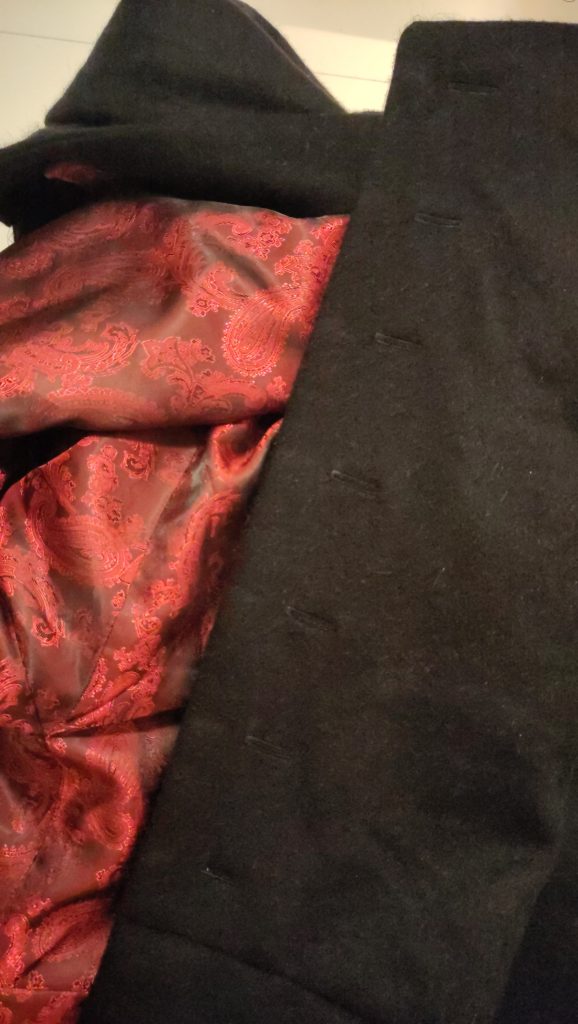
The very last machine sewing I did was to sew all 7 of the buttonholes in the front. This went exceptionally smooth thanks to the sewing machine’s automatic function.
Collar and buttons - handsewing
Unfortunately this is where the pictures end. I handsewed the inside of the collar to the jacket and then the liner neck to the collar on the inside, while on the train from Gotherburg to Stockholm for New Years celebration. On the morning of New Years eve I sucessfully completed the last buttons, those decorative ones on the collar by the Adam’s apple. Not much more to say other that some better pictures are needed, but it looks fabulous in real life with glittering top buttons and the red liner.
